Why eSIM Beats Physical SIMs in the USA
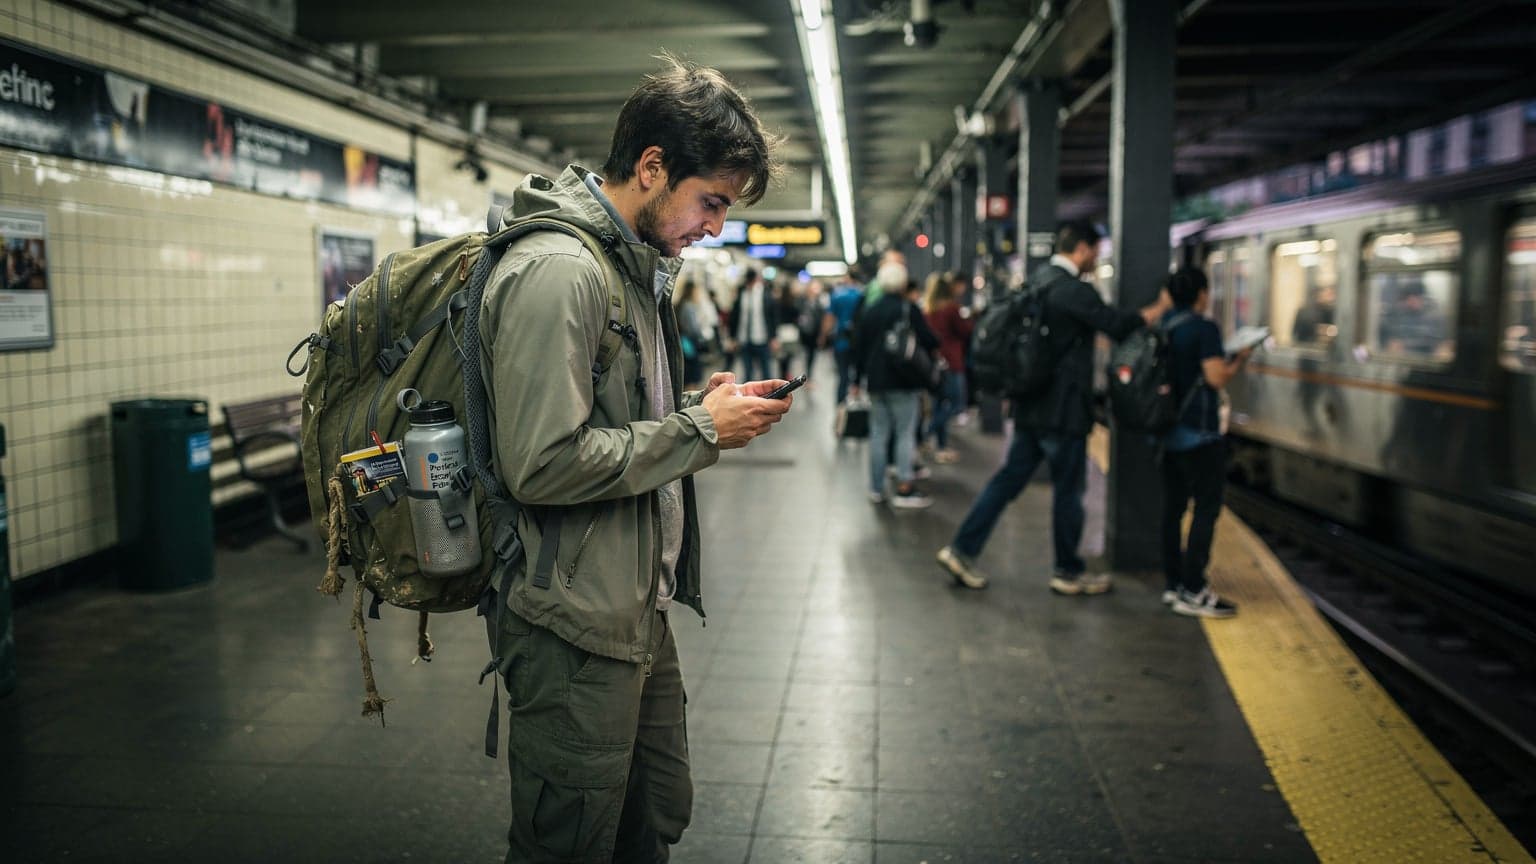
Look, I've spent enough time fumbling with tiny SIM ejector tools at arrivals halls, trying to swap out my home SIM for a local one. In the US, it's even more of a pain. Finding a T-Mobile or AT&T store in a new city, dealing with sales reps who might not understand your short-term tourist needs, and then often paying a premium for a prepaid physical SIM, it's just not worth the hassle when you're on the clock. An eSIM cuts all that out. You buy it online, activate it before you even land, and boom, you're connected the moment the plane touches down. No paper, no waiting, no awkward conversations.
The Convenience Factor: Instant Connectivity
Imagine this: You've just landed at JFK after a red-eye from Europe. You're tired, you need to call an Uber, and you're already behind schedule. With a physical SIM, you'd be looking for a store that's actually open, hoping they have stock, and then going through the activation process. With an eSIM, you enable the Cellesim profile you already installed back home, and your phone connects to the local network instantly. It's a small thing, but that immediate access to maps, ride-shares, and checking hostel availability (or confirming your Airbnb code) can save you a lot of stress and, more importantly, time. Time is money, especially when you're trying to hit all the spots on a tight itinerary.
Avoiding Tourist Traps at the Airport
Airport kiosks are notorious for inflated prices, whether it's for snacks or SIM cards. I once saw a 10GB physical SIM at LAX going for $60, when an equivalent eSIM would have cost me around $25-30. Don't fall for it. These guys prey on tired travelers who are desperate for connectivity. An eSIM bypasses these airport markups entirely, letting you purchase your data at fair, transparent prices directly from your phone. It's one of those tactical moves that separates the seasoned traveler from the newbie.
The Dollar Numbers: eSIM vs. Local SIM vs. Roaming
Let's talk brass tacks. Money. Because that's what truly matters when you're trying to stretch every dollar on the road. For my last 8-day trip to the US, hitting up family in Chicago and then a few days in Denver, I budgeted for 2GB of data. My Cellesim plan, 3GB for 10 days, cost me $11. That's right, $11 for 3GB over 10 days. I used about 1.8GB, so I was well within budget. If I had gone with my home carrier's roaming, I'd be looking at $10/day, so $80 total, for probably far less data. A local physical SIM might have cost me $30-40 for 5GB from a budget MVNO, plus the time to get it.
Breaking Down the Costs: A Real-World Example
Here’s how the numbers typically shake out for a hypothetical 14-day trip to the US, needing about 20GB of data (I know, I know, some of you are heavy streamers, but sometimes a hostel WiFi is truly horrendous and you just need to download a movie for the Greyhound bus). Let’s assume you’re primarily using data for navigation, social media, email, and occasional video calls.
| Option | Typical Cost (2 Weeks, ~20GB) | Pros | Cons |
|---|---|---|---|
| Cellesim eSIM | $25 - $40 | Instant activation, competitive pricing, multi-network access, flexible plans | Requires eSIM-compatible phone, no local phone number (usually) |
| Local Physical SIM (e.g., T-Mobile Tourist Plan) | $40 - $60 | Local US number, often unlimited data on specific plans | Time-consuming purchase/activation, can be more expensive, physical swap required |
| Home Carrier Roaming | $100 - $140+ | Seamless use of home number, no setup | Extremely expensive, data caps often very low, unexpected charges |
See the difference? We're talking serious cash. That $60 saved on data could be another night at a decent hostel, or a couple of solid meals. My philosophy is, every dollar saved on logistics is a dollar earned for experiences.
The Cheapest Local Alternative: T-Mobile's Tourist Plan
For fairness, if you absolutely, positively need a local physical SIM, your best bet is often T-Mobile's tourist plan. You can sometimes find it at larger T-Mobile stores in major cities. They used to offer a decent 30-day plan with unlimited data for around $30-40. The catch? It's not always advertised, and not every store will carry it. Plus, you still have to go through the whole setup process, which can be a pain if you don't speak English fluently or if the store is busy. I've seen travelers spend an hour in a queue at a T-Mobile store near Times Square, just to be told the plan wasn't available at that location.
Choosing Your eSIM Plan: Data Needs and Duration
This is where planning comes in. Don't just grab the biggest, cheapest plan you see. Think about how you actually use your phone. Are you a map-checker and WhatsApp user, or are you streaming Netflix in your Airbnb and video calling home every night? Your data consumption dictates your budget.
How Much Data Do You Really Need?
Most travelers overestimate their data needs. Based on my own tracking, which I do religiously for my Substack, a typical backpacker uses about 500MB to 1GB per day. This covers navigation (Google Maps), checking social media, sending messages, light browsing, and the occasional email. If you're doing more video streaming, heavy photo uploads, or constant video calls, bump that up to 2-3GB per day.
Here’s a rough breakdown:
- Light User (Maps, Messaging, Email): 500MB - 1GB per day
- Moderate User (Social Media, Light Browsing, Some Video): 1GB - 2GB per day
- Heavy User (Streaming, Video Calls, Large Downloads): 2GB - 4GB+ per day
Calculate your total: (GB consumed / day) × (number of days) = total GB needed. For example, a moderate user on a 10-day trip would need 1GB/day * 10 days = 10GB. Look for a Cellesim plan around that mark, maybe with a little buffer.
Matching Plans to Trip Duration
Cellesim offers a range of plans, from short 7-day stints to longer 30-day options, with varying data allowances. For a quick city break, a 5GB for 7 days plan might be perfect. For a cross-country road trip, you'll want something more substantial, perhaps 20GB for 30 days. Don't pay for data you won't use. It’s like buying a first-class ticket when you’re flying budget. (Though, let's be real, who's flying first-class on a backpacker budget anyway?).
| Trip Duration | Recommended Cellesim Plan (Example) | Estimated Cost |
|---|---|---|
| Short Trip (3-7 Days) | 5 GB for 7 days | $10 - $15 |
| Medium Trip (8-14 Days) | 10 GB for 15 days | $18 - $25 |
| Long Trip (15-30 Days) | 20 GB for 30 days | $30 - $40 |
| Extended Stay (30+ Days) | 30 GB for 30 days (renewable) | $45 - $60 |
Frequently Asked Questions
What is the cheapest way to get data in the USA for tourists?
The cheapest way for tourists to get data in the USA is typically an eSIM, with plans starting around $5 for 1GB. It's more affordable and convenient than local physical SIMs or international roaming, especially for short to medium trips.
Can I use an eSIM on any phone in the USA?
No, you need an eSIM-compatible phone. Most modern smartphones released in the last 3-4 years, including recent iPhones (XS and newer) and many Android flagships, support eSIM technology. Always check your device specifications before purchasing.
Do I get a local US phone number with an eSIM?
Generally, no. Most data-only eSIMs for the USA, including Cellesim plans, do not provide a local US phone number. You can continue to use your home number for calls and texts via your primary SIM (with data roaming off), or use VoIP apps like WhatsApp or Google Voice for communication.
What if my eSIM doesn't work after activation?
First, ensure your device's cellular data is switched to the eSIM profile and data roaming is enabled for the eSIM. Check your APN settings, which are usually pre-configured but might need manual entry (consult Cellesim's support or your confirmation email). If issues persist, contact Cellesim support, they can troubleshoot connection problems.
Is eSIM coverage good in rural areas of the USA?
eSIM coverage in the USA depends on the underlying network provider. Cellesim plans often leverage AT&T and T-Mobile. AT&T generally offers better coverage in rural areas and national parks, while T-Mobile is stronger in urban centers. Always check specific carrier coverage maps for your planned route.
Can I top up my Cellesim USA eSIM plan?
Yes, Cellesim generally allows you to top up your existing eSIM plan with more data or extend its validity if you need more connectivity during your trip. You can usually do this directly through the Cellesim website or app, if available.
Network Coverage in the USA: What to Expect
The US is vast, and network coverage can be a mixed bag, especially once you leave major metropolitan areas. Most Cellesim eSIMs for the USA leverage the networks of major carriers like AT&T and T-Mobile. This is crucial because it gives you access to robust 4G and increasingly common 5G speeds in urban centers and along major highways.
Major Carriers: AT&T and T-Mobile
AT&T and T-Mobile are the two main players you'll likely connect to with a Cellesim eSIM in the US. Verizon is also a big one, but Cellesim plans typically utilize AT&T and T-Mobile's infrastructure. Here's what you need to know about them:
- AT&T: Generally excellent coverage, especially strong in rural areas and national parks. Their network tends to be reliable even in less populated regions, which is a big plus if you're planning a road trip through, say, the Southwest deserts.
- T-Mobile: Strong in urban and suburban areas, often boasting faster 5G speeds in cities. Coverage can be spottier in very remote parts of the country, but their network has improved dramatically over the years. If you're sticking to cities like New York, Los Angeles, or Miami, T-Mobile will serve you well.
Before you commit to a plan, it's always smart to check the coverage maps on AT&T's and T-Mobile's websites, especially if you're heading to a specific remote location like a national park or a small town off the beaten path.
Understanding Network Bands and Phone Compatibility
This is where my technical support lead hat comes on. For your phone to work seamlessly in the US, it needs to support the correct network frequency bands. The primary bands for 4G LTE in the US are Band 2 (1900 MHz), Band 4 (1700/2100 MHz), Band 5 (850 MHz), Band 12 (700 MHz), and Band 66 (1700/2100 MHz). For 5G, you'll mostly see n71 (600 MHz), n41 (2500 MHz), and n260/n261 (mmWave). Most modern smartphones, especially those released in the last 3-4 years, are global phones and support these bands. However, if you have an older or region-locked device, it's worth double-checking your phone's specifications. A quick Google search for 'your phone model + US frequency bands' will tell you everything you need to know. Don't get caught out with a phone that won't connect!
Activating Your Cellesim eSIM in the USA
One of the beauties of eSIMs is the straightforward activation process. No more swapping cards, just a few taps on your phone. However, there are a couple of small tricks to ensure you're connected the moment you land. For a deeper dive into device compatibility, check out our guide on iPhone eSIM abroad.
Pre-Arrival Setup is Key
I always recommend installing your eSIM before you leave your home country. You'll need an internet connection to download the eSIM profile, which is much easier to do in a familiar environment with reliable Wi-Fi. Once the profile is installed, you can enable it when you land in the US. If you wait until you're at the airport, you might be scrambling for a Wi-Fi signal, which, as we know, can be hit or miss and often requires jumping through hoops to access.
Step-by-Step Activation (iOS & Android)
The process is similar for both iOS and Android devices, primarily involving scanning a QR code.
For iOS (iPhone):
- Purchase your Cellesim eSIM: Head to the Cellesim website and choose your desired USA plan.
- Receive your QR Code: After purchase, you'll get an email with a QR code and manual activation details.
- Go to Settings: On your iPhone, open Settings > Cellular (or Mobile Data).
- Add eSIM: Tap Add eSIM.
- Scan QR Code: Choose Use QR Code and scan the code from your Cellesim email. If scanning isn't working, choose Enter Details Manually and copy/paste the SM-DP+ Address and Activation Code.
- Label Your eSIM: Name your new plan something clear, like "Cellesim USA" or "Travel Data".
- Set Data Line: Once installed, you can choose which line to use for cellular data. Make sure to select your new Cellesim eSIM for data when you arrive in the US. Keep your primary line for calls if you need to receive texts or calls from home, but disable its data roaming.
For Android:
- Purchase your Cellesim eSIM: Same as above, pick your plan from Cellesim.
- Receive your QR Code: Email will contain the QR code and manual details.
- Go to Settings: Open Settings > Network & internet (or Connections) > SIMs (or Mobile network).
- Add SIM/eSIM: Tap Add eSIM or Download a SIM.
- Scan QR Code: Scan the QR code. Again, if it's not working, look for an option to Enter it manually and input the activation code.
- Enable eSIM: Once added, enable the new eSIM profile.
- Set Data Priority: Choose your Cellesim eSIM for mobile data. Remember to turn off data roaming for your home SIM to avoid charges.
Border Crossing and Connectivity: The North American Trick
This is where an eSIM really shines, especially for those of us who like to combine trips. If you're doing a North American tour, hitting up Canada or Mexico alongside the US, a regional eSIM can be a goldmine. I've used this trick countless times. Instead of buying separate eSIMs for each country, look for a North America-specific plan.
Multi-Country Plans: Canada, USA, Mexico
Cellesim, for instance, often has regional plans that cover Canada, the US, and Mexico under a single data package. This means you can cross the border, say from Tijuana into San Diego, or from Vancouver into Seattle, without having to switch eSIMs or worry about losing connectivity. Your phone just latches onto the local network, whether it's AT&T, Telus, or Telcel. It's seamless and it saves you money compared to buying three individual country plans.
The key here is checking the country list for your regional eSIM. Not allBest eSIM for USA Travel 2026: Tourists Save Big on Data