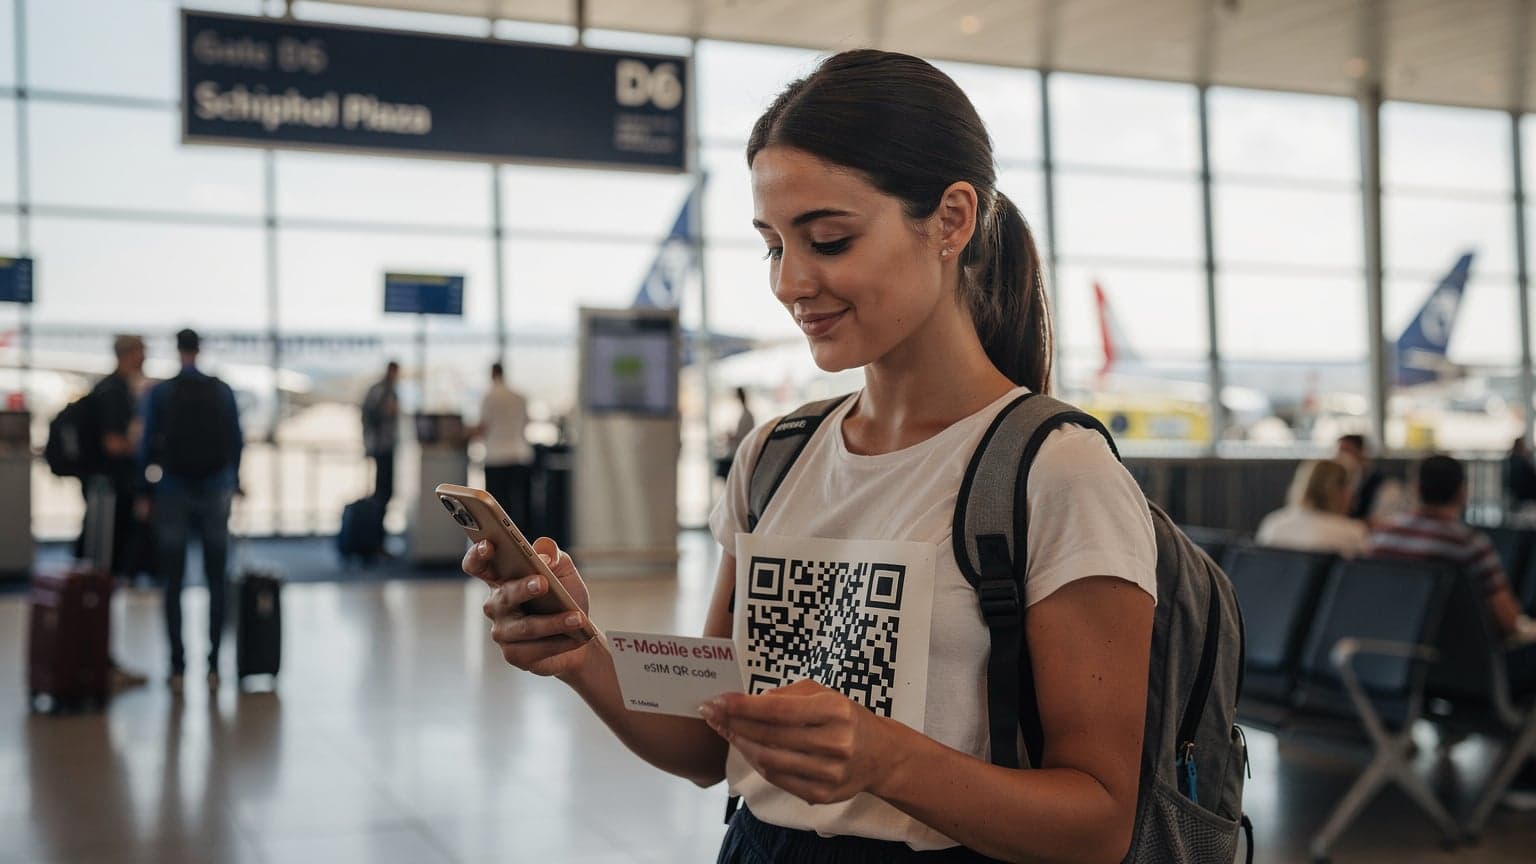
AT&T Roaming: Why It Hits Your Wallet Hard
Look, I get it. You're an AT&T customer, you like your plan, and the thought of messing with new phone numbers or complicated setups abroad feels like a hassle. AT&T plays on that, offering options like International Day Pass or Passport. But let me tell you, as someone who’s slept in over 200 hostels and tracked every single euro, these plans are rarely the smartest move for your wallet.
I remember my first time in Europe, landing in Frankfurt, thinking my AT&T plan would just 'work'. It did, for about 10 minutes, then I got a text: “Welcome to Germany, you’re now on International Day Pass, $10/day.” Ten bucks a day just to use my phone like normal? For my three-week trip, that would have been a cool $210, on top of my regular bill. That's a week's worth of hostel beds, gone. (If you’re looking at longer stints, say for the Paris 2026 Olympics, those daily charges can really balloon into an expense that makes your eyes water.)
Here's the breakdown of why AT&T's offerings often fall short for budget travelers:
- International Day Pass: Costs $10 per day, only charged on days you use data, make calls, or send texts. Sounds okay, right? But it caps at 10 days per billing cycle, then it's 'free' for the rest of that cycle. So, for a 20-day trip, you're looking at $100. Still a significant chunk.
- AT&T Passport: This used to be their go-to for longer trips, offering a bundle of data, talk, and text for a flat fee (e.g., $60 for 1GB, $120 for 3GB). The catch? If you go over, the per-MB rate is astronomical. We're talking pennies per MB, which adds up to dollars in minutes. It's like a night bus to Bratislava that charges you extra for every kilometer past the first 100, then charges you for breathing.
- Limited Data: Even with these plans, the data allowances are often far less generous than what you'd get from a local SIM or a dedicated travel eSIM. You find yourself constantly checking usage, turning off apps, and hunting for Wi-Fi. Who wants to spend their vacation doing that?
The bottom line is, these plans are designed for business travelers on expense accounts, not for the backpacker trying to stretch every dollar in Southeast Asia or South America. For us, every euro counts, and paying US prices for international data is just plain bad math.
eSIM for International Travel: A Budget Backpacker's Secret
This is where eSIMs come into their own. If your phone supports it (most modern iPhones and Android flagships do, check your settings if you're unsure), an eSIM is a digital SIM card that you can activate remotely. No more fumbling with tiny plastic cards, no more finding a SIM tray tool, no more worrying about losing your home SIM in a dodgy hostel locker.
The beauty of a travel eSIM, especially one from a provider like Cellesim, is that it lets you keep your AT&T line active for calls and texts (which often have better roaming rates or are free via Wi-Fi calling) while using the eSIM for all your data needs. This dual-SIM functionality is a game-changer. I used it extensively on my last trip through the Balkans, hopping from Montenegro to Albania to Kosovo. (Speaking of, if you're ever venturing that way, check out your Ultimate eSIM Guide for Kosovo Travel in 2026.)
Think about it: you land in Rome, already have your Cellesim eSIM active, and your phone connects to the local network instantly. You can call your hostel via WhatsApp, look up the cheapest bus from Fiumicino Airport to Termini Station, and even check reviews for the best pizza place in Trastevere, all without paying a cent to AT&T for data. That's peace of mind, and it's cheap peace of mind, which is the best kind.
What is an eSIM and Why Should AT&T Users Care?
An eSIM, or embedded SIM, is essentially a small chip inside your phone that functions as a digital SIM card. Instead of swapping physical cards, you download a 'profile' onto this chip. For AT&T users, this means:
- Keep your US number: Your AT&T physical SIM or eSIM stays active, so friends and family can still reach you on your regular number. Important for two-factor authentication from banks, too.
- Separate data stream: Your travel eSIM handles all your internet traffic, giving you local rates for data.
- Flexibility: You can switch between your AT&T line and your travel eSIM for data with a few taps in your phone's settings.
This flexibility is crucial. I once had a dodgy connection with a local SIM in rural Uruguay, trying to find directions to a remote beach for Carnival. With an eSIM, I could have just switched to another provider if the first one wasn't cutting it. That's a luxury I didn't have then, but I definitely have now.
AT&T eSIM Support for International Devices
Most modern, unlocked phones support eSIM. If you bought your phone directly from AT&T, it might be locked to their network. You'll need to get it unlocked before you can use a travel eSIM from another provider. This is a crucial step, and you should do it well in advance of your trip. AT&T typically has requirements for unlocking, like having the device fully paid off and being an active customer for a certain period. Don't leave this to the last minute at the airport, or you might find yourself stuck.
Comparing AT&T vs. Travel eSIM: The Real Numbers
Let's talk brass tacks. I'm all about the numbers, and this is where travel eSIMs truly shine. Consider a typical two-week trip to Europe. Let's say you're a moderate data user, averaging about 1GB per day. That's 14GB for the trip.
| Plan | Cost (USD) | Data (GB) | Cost per GB | Notes |
|---|---|---|---|---|
| AT&T International Day Pass (14 days) | $100 (capped at 10 days) | Uses home plan data | Varies wildly, often high after initial cap | Still a lot for limited data. |
| AT&T Passport (3GB for 30 days) | $120 | 3GB | $40.00 | Exceeding 3GB is very expensive. |
| Cellesim Europe eSIM (15GB for 30 days) | $30 | 15GB | $2.00 | Much more data for a fraction of the price. |
The difference is staggering. For that 14GB of data, with Cellesim, you'd spend about $30-40. With AT&T's Passport, you'd blow through 3GB and then start paying exorbitant overage fees, likely pushing your total over $200. Even with the Day Pass, you're looking at $100 for basic usage, and you're still relying on your AT&T plan's data limits. The math is simple: a dedicated travel eSIM wins, every time, for data.
This isn't just about saving money, it's about freedom. Knowing you have ample, affordable data means you can use Google Maps without fear, upload photos to Instagram, stream a bit of music on a long train ride, and video call your family without constantly checking your data counter. It means less stress, and more enjoying your trip.
AT&T International Day Pass vs. Passport: A Closer Look
While I generally advise against them for budget travel, it's worth understanding the specifics if you're considering AT&T's options as a backup or for very short trips:
- International Day Pass: As mentioned, $10/day, charged only on days of use. Maxes out at 10 charges per billing cycle. If you're on a long trip (say, 20 days), you'll pay $100 for the first 10 days of active use, then get data 'free' for the remaining 10 days within that same billing cycle. The catch? You're using your domestic plan's data, and if you have a limited plan, you could still hit your cap and face throttling or overage fees once you're back home.
- AT&T Passport: This used to be a good option for people who wanted a specific amount of data. It offered different tiers, like 1GB or 3GB for a 30-day period. The main issue is the cost per GB and the insane overage fees. If you're not meticulous with data, you'll burn through 1GB in a day or two, especially if you're relying on navigation or social media. Then, every subsequent MB is charged at a premium. It's a quick way to rack up a four-figure bill.
Neither of these options makes sense for a true budget traveler who needs reliable, affordable data for an extended period. They are, in my experience, designed to give the illusion of convenience at a premium price.
Getting Your AT&T eSIM Before You Go
If you're an AT&T customer and you've been using a physical SIM, you can request an eSIM from AT&T. This converts your existing phone number to a digital eSIM profile. Why would you do this? It frees up your physical SIM slot, allowing you to insert a local physical SIM if you choose that route instead of a travel eSIM.
Here's how you generally get an AT&T eSIM:
- Check Device Compatibility: Ensure your phone supports eSIM. Most iPhones XR and newer, and many Android flagships (Samsung Galaxy S20+, Google Pixel 3+), do.
- Contact AT&T Support: Call AT&T customer service or visit an AT&T store. Explain that you want to convert your physical SIM to an eSIM.
- Receive Activation Code: AT&T will provide you with a QR code or an activation code to install the eSIM profile on your device.
- Activate eSIM: Follow the on-screen prompts on your phone to scan the QR code or manually enter the details.
It's important to do this before you leave the US. Trying to troubleshoot this from a dodgy Wi-Fi connection in a hostel in Montevideo during Uruguay Carnival 2026 is not how you want to spend your precious travel time.
Unlocking Your AT&T Phone for International eSIMs
This is critical. If your phone is locked to AT&T, no travel eSIM will work. You must unlock it. Here's the general process:
- Check Eligibility: AT&T requires that your device be fully paid off and that you have been an active customer for a certain period (usually 60 days for postpaid, 6 months for prepaid).
- Submit an Unlock Request: Go to AT&T's device unlock portal on their website. You'll need your account number, phone number, and device IMEI.
- Wait for Approval: AT&T will review your request. This can take a few business days.
- Unlock Your Device: Once approved, you'll receive instructions, usually involving connecting to Wi-Fi and restarting your phone.
Do this months, not days, before your trip. If you have any issues, you'll want ample time to resolve them with AT&T customer service, which can sometimes feel like trying to get a straight answer out of a night bus driver about arrival times.
Activating a Travel eSIM: The Cellesim Way
Once your AT&T phone is unlocked and ready, activating a travel eSIM is remarkably simple. I've done it countless times, from airport lounges to remote mountain cafes. It's usually a 2-minute job.
Here's the drill with a provider like Cellesim:
- Choose Your Plan: Head to the Cellesim website or app. Select the country or region you're traveling to, and pick a data plan that suits your needs. For instance, if you're heading to the Bahamas for Spring Break 2026, grab a regional plan.
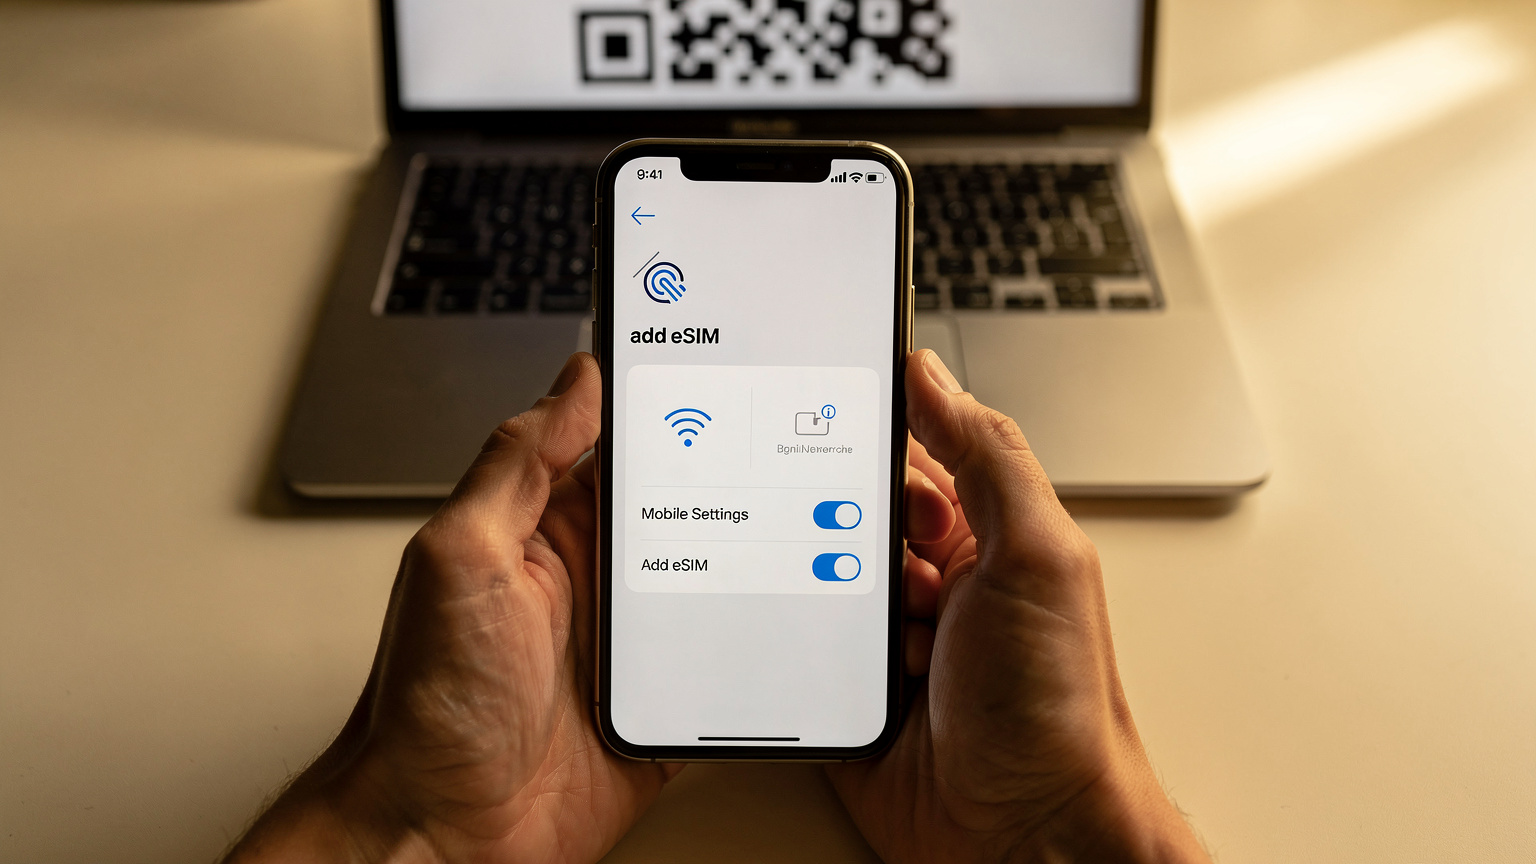
- Purchase and Receive QR Code: Complete your purchase. You'll immediately receive an email with a QR code and detailed instructions. You can also access this via your Cellesim account.
- Install eSIM on Your Phone:
- For iPhone (iOS 17+): Go to Settings > Cellular > Add eSIM. Choose 'Use QR Code' and scan the code. Follow the prompts.
- For Android: Go to Settings > Network & internet > SIMs (or Mobile network) > Add more (or + sign). Choose 'Download a SIM instead' and scan the QR code. Follow the prompts.
- Configure Data Roaming & Default Line: Once installed, you'll have two lines on your phone. Name them clearly (e.g., 'AT&T US' and 'Cellesim Europe'). Set your Cellesim eSIM as your primary line for cellular data. Ensure Data Roaming is ON for your Cellesim line and OFF for your AT&T line. You can keep your AT&T line active for calls and texts if you wish, but for data, it's all about the Cellesim line.

I usually do step 3 right before I fly, or even on the plane if I have access to Wi-Fi. That way, the moment I land, my phone connects, and I'm good to go. No more frantic searches for airport Wi-Fi or local SIM kiosks, which, let's be honest, often have inflated prices for tourists.
Managing Dual SIMs on Your iPhone or Android
Having two active lines (your AT&T and your travel eSIM) means you need to manage them correctly to avoid unexpected charges. Here’s a quick guide:
- Label Your Lines: In your phone settings, rename your cellular plans. Something like 'AT&T Primary' and 'Cellesim Travel' makes it easy to distinguish.
- Default for Data: Always set your travel eSIM as the default for Cellular Data. This is the most important step to prevent AT&T from charging you.
- Default for Calls/Texts: You can choose which line is default for calls and texts. If you want to receive calls on your AT&T number, keep it as default for calls. For outgoing calls and texts, you can be prompted to choose, or set one as default. For me, WhatsApp covers most of my communication needs when abroad, so the default for calls matters less.
- Data Roaming: Make sure Data Roaming is turned OFF for your AT&T line. This is your safety net against accidental usage.
Mastering these settings takes five minutes, and it will save you hundreds of dollars.
Data Management on the Road: Counting Every Megabyte
Even with an affordable travel eSIM, it pays to be smart about your data usage. I've seen travelers burn through 10GB in a few days because they weren't paying attention. Remember, every megabyte costs, and while travel eSIMs are cheap, unlimited data is often a myth, or expensive.
| Activity | Estimated Data Usage per Hour | Budget Traveler Tip |
|---|---|---|
| Basic browsing, email | 20-50 MB | Mostly fine, but avoid image-heavy sites. |
| Google Maps navigation | 5-10 MB (download maps offline!) | Download offline maps for cities you'll be in. HUGE saving. |
| Social media (browsing) | 50-150 MB (depending on video/images) | Limit video auto-play. Post photos, but don't scroll endlessly. |
| Video streaming (SD) | 500-700 MB | Only on Wi-Fi, never on mobile data. Seriously. |
| Video calls (WhatsApp, Zoom) | 200-500 MB | Use sparingly, or on Wi-Fi. Voice calls are much cheaper data-wise. |
| Music streaming | 50-100 MB | Download playlists offline before you leave the hostel Wi-Fi. |
Here’s my personal data philosophy: assume 500MB to 1GB per day for general use. This includes checking maps, WhatsApp messages, quick social media checks, and looking up bus schedules. If you're a heavy streamer or always on video calls, you'll need more. But for the average backpacker, 1GB/day is a solid benchmark. So, for my 8-day trip to Athens and Santorini, I budgeted 8GB. Spent about €280 total on everything, including a 10GB eSIM for €18. Data was not where I broke the bank.
Apps to Help You Monitor and Save Data
Your phone's built-in data usage monitor is your best friend. On iPhone, it's in Settings > Cellular. On Android, Settings > Network & internet > Mobile network > App data usage. Beyond that, consider these:
- Google Maps Offline: Download city maps before you leave your hostel with Wi-Fi. This dramatically cuts down on navigation data.
- WhatsApp: Use it for all your calls and texts. It uses very little data for voice calls, and even less for texts.
- Data Saver Mode: Both iOS and Android have data saver modes that restrict background app refresh and data usage. Turn it on!
- Wi-Fi First: Always connect to secure Wi-Fi networks when available, especially for heavy tasks like uploading photos or video calls. Hostel Wi-Fi, while sometimes spotty, is usually free.
Remember, your goal isn't to never use data, it's to use it efficiently and affordably. Don't be that person asking for the Wi-Fi password at every café, but also don't stream Netflix on a mountain trail.
Border Crossing and Multi-Country Hacks
This is where travel eSIMs really shine over local physical SIMs or AT&T's regional plans. When you cross a border, say from Spain to Portugal, a local Spanish SIM stops working or incurs roaming fees. With a regional Europe eSIM from Cellesim, you seamlessly connect to a local partner network in Portugal without missing a beat. No need to buy a new SIM, no downtime, no extra cost.
I've crossed countless borders. I remember once, taking the local bus from El Paso, Texas, into Ciudad Juárez, Mexico. With a US-only plan, my phone would have died. But with an active Mexico eSIM, I was able to navigate the bus routes and find my way to Mercado Juárez without a hitch. It's the small tactical advantages like this that make or break a budget trip.

Another example: that notoriously tricky border crossing between Laos and Thailand near Huay Xai. I'd just finished a slow boat down the Mekong. Getting a Thai SIM meant navigating a crowded border post. But with my multi-country eSIM already active, my phone simply switched networks the moment we crossed into Thailand. I was able to book my next hostel in Chiang Rai and look up bus times while still at the immigration checkpoint. That's efficiency.
eSIMs for Regional Travel: Europe, Asia, etc.
Many travel eSIM providers offer regional plans that cover multiple countries. These are fantastic for multi-country trips:
- Europe Plans: Cover 30+ countries in Europe, perfect for backpacking through the Schengen Area.
- Asia Plans: Often cover popular destinations like Thailand, Vietnam, Malaysia, and Singapore.
- Global Plans: More expensive, but useful if you're doing a round-the-world trip hitting many different continents.
Always check the specific country list for your regional eSIM. Some might exclude a particular country you're visiting, like Kosovo, which is often left out of broader European plans. (Again, for Kosovo, a dedicated eSIM is your best bet.)
Local SIM Card Alternatives: When Every Euro Counts
For fairness, I always mention the local SIM card option. If you have an unlocked phone and you're staying in one country for an extended period (say, a month or more), a local physical SIM card can sometimes be marginally cheaper than a travel eSIM. You're talking about saving maybe €5-10 over a month, but for some, that's a hostel night.
Here's the catch:
- Time and Effort: You have to find a store, usually at the airport (where prices are higher) or in a city center. You'll need your passport for registration in many countries. You'll spend time in line, explaining what you need, and getting it activated.
- Local Phone Number: You get a local number, which can be useful for local bookings but can also be a hassle for friends/family back home.
- Single Country: As soon as you cross a border, that local SIM is often useless or becomes expensive for roaming.
- Potential Language Barrier: In many countries, dealing with local SIM shops means navigating a language barrier, which can be frustrating when you just want data.
For example, in Italy, you can get a TIM or Vodafone IT SIM with 30GB for around €25-30. This is a good deal. But a Cellesim Europe eSIM might offer 15GB for €20, activated before you land, working across 30 countries. The convenience factor often outweighs the tiny price difference, especially for shorter trips or multi-country itineraries.
Where to Buy Local SIMs and What to Ask
If you decide to go the local SIM route, here are my tactical tips:
- Avoid Airport Kiosks: They are almost always more expensive. Head into the city center.
- Official Carrier Stores: Go to an official store for a major carrier (e.g., Vodafone, Orange, Telefónica, T-Mobile). Avoid third-party resellers.
- Bring Your Passport: Most countries require ID for SIM registration.
- Ask for a 'Tourist SIM' or 'Data Package': Be specific. Ask about data limits, validity, and any roaming charges if you plan to cross borders.
- Check APN Settings: Sometimes, you'll need to manually configure your Access Point Name (APN) settings. The store attendant should help with this.
It's an option, but it's often more hassle than it's worth unless you're truly pinching every penny and staying put in one place for a while.
Final Thoughts on AT&T eSIM and Your Travel Budget
The bottom line for AT&T customers traveling internationally in 2026 is this: you have options. But for the budget-conscious traveler, those options mostly involve looking beyond AT&T's roaming plans. A dedicated travel eSIM is almost always going to be the more financially savvy choice for data.
I've seen too many travelers get hit with massive bills because they thought their AT&T plan was 'good enough'. Don't be one of them. Take control of your connectivity costs. Research your options, get your phone unlocked, and load up a Cellesim eSIM before you even step on the plane. It's one of the easiest ways to save significant money on your trip, freeing up those precious euros for experiences, not exorbitant data fees.
Think about it: that $100 you save by not using AT&T's Day Pass? That's two nights in a solid hostel, or a week's worth of amazing street food in Bangkok, or a scenic train ride through the Swiss Alps. For me, that's a no-brainer. Happy travels, and stay connected smartly!
Frequently Asked Questions
Can I use my AT&T eSIM internationally?
Yes, you can use your AT&T eSIM internationally, but it will incur roaming charges under their International Day Pass or Passport plans. These plans are often significantly more expensive than using a dedicated travel eSIM from a third-party provider for data, saving you money while keeping your AT&T line active for calls and texts.
How much does AT&T charge for international data roaming?
AT&T's International Day Pass costs $10 per day, capped at $100 per billing cycle, for days you use data. Older Passport plans offered bundles like 3GB for $120, with high overage fees. In comparison, a travel eSIM can provide 15GB of data for around $30-40, making it much more affordable for data-heavy users.
Can I keep my AT&T number while using an international eSIM?
Absolutely. When you use a travel eSIM, you install it as a secondary line on your phone. This allows you to keep your primary AT&T line active for calls and texts, while using the travel eSIM for all your data needs, ensuring you don't miss important calls or messages.
Do I need to unlock my AT&T phone to use a travel eSIM?
Yes, if your AT&T phone is locked to their network, you must get it unlocked before you can install and use a travel eSIM from another provider. AT&T typically requires the device to be fully paid off and for you to be an active customer for a certain period before they will unlock it.
How do I activate a travel eSIM on my AT&T phone?
After ensuring your AT&T phone is unlocked, purchase a travel eSIM plan from a provider like Cellesim. You'll receive a QR code, which you then scan through your phone's cellular settings (Settings > Cellular > Add eSIM on iPhone, or similar path on Android). Set the travel eSIM as your default for cellular data and turn off data roaming for your AT&T line.
Is a local physical SIM cheaper than a travel eSIM for AT&T users?
For very long stays (over a month) in a single country, a local physical SIM might be marginally cheaper, but the convenience and multi-country coverage of a travel eSIM often outweigh the small cost difference. Local SIMs require in-person purchase, passport registration, and often don't roam cost-effectively across borders.