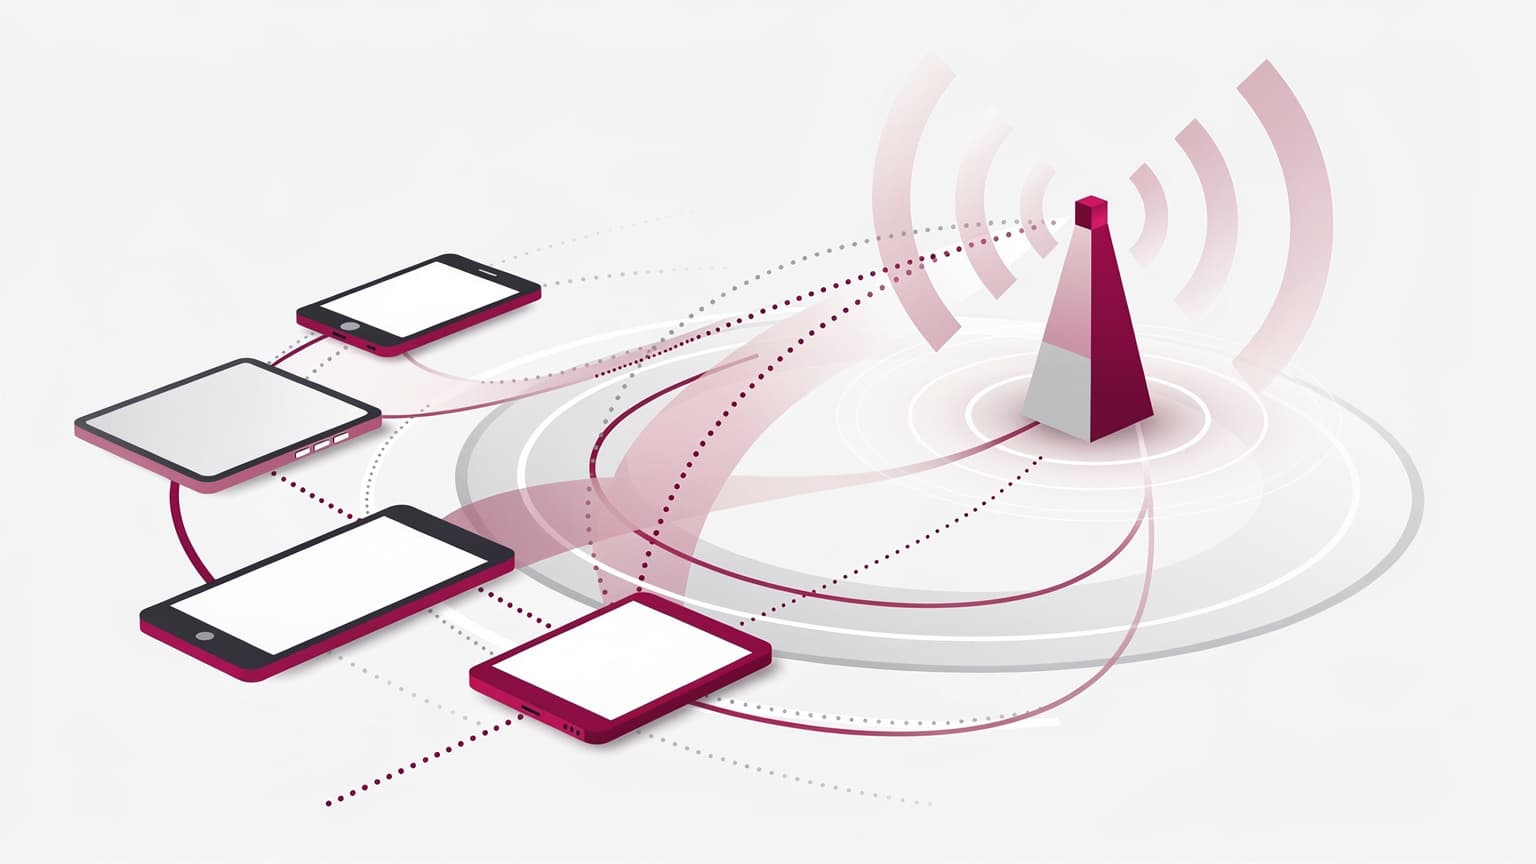
Before you begin, make sure you have an eSIM-compatible smartphone (most models from iPhone XS onwards, and many newer Android devices support it), a stable Wi-Fi connection for the initial setup, and access to the email account you used for your eSIM purchase. If you're unsure about your device, a quick check of your phone's settings under 'Cellular' or 'Mobile Data' usually confirms eSIM support.
Choosing the Right Cosmote eSIM Plan for Greece
Greece, from the ancient streets of Plaka in Athens to the sun-drenched beaches of Mykonos, demands reliable connectivity. Cosmote, being the largest mobile operator in the country, offers extensive coverage, even reaching some of the smaller Cycladic islands. However, getting a physical SIM can be a bit of a bureaucratic dance, especially if you're not fluent in Greek. I once spent an hour in a Vodafone store near Syntagma Square, passport in hand, just trying to explain I needed data, not a two-year contract.
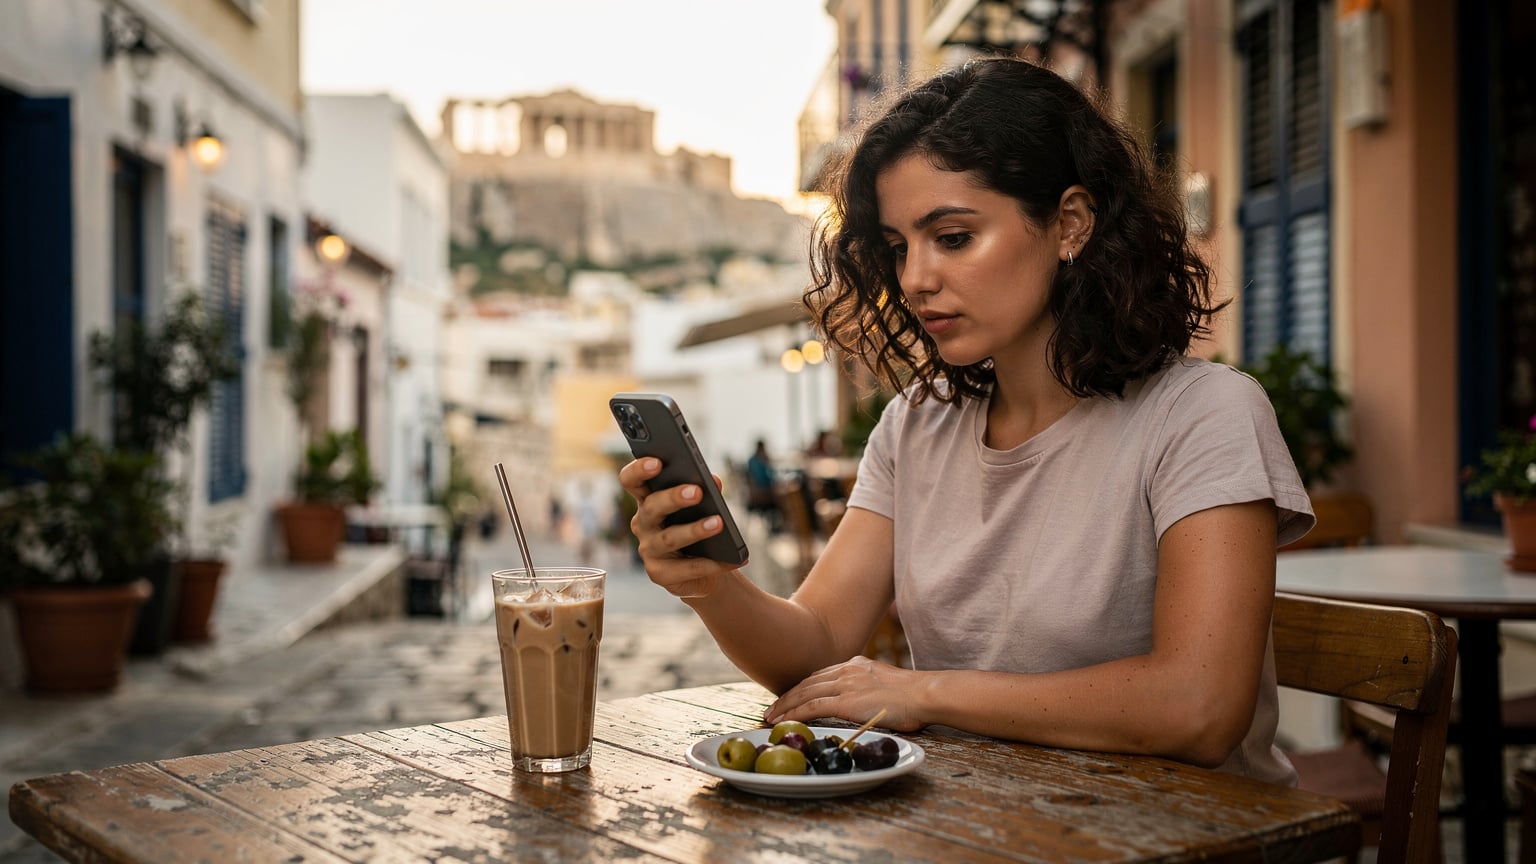
This is where an eSIM shines. Instead of dealing with paperwork and store visits, you can pick a plan that suits your travel style. Are you a digital nomad needing constant connectivity in a café in Kolonaki, or just someone who needs maps to navigate the labyrinthine alleyways of Rhodes Old Town? Cosmote offers various data packages, typically ranging from 5GB to unlimited, valid for 7, 15, or 30 days. Consider how long you'll be staying and your data habits. For example, if you're spending a week island-hopping, a 15GB plan might be perfect.
When you purchase a Greece eSIM through a provider like Cellesim, you're essentially getting access to Cosmote's robust network without the local SIM card hassle. It's a significant advantage, especially for those last-minute trips where every minute counts. (Believe me, I've missed trains from Larissis Station trying to find an open phone shop on a Sunday.)
Step-by-Step: Activating Your Cosmote eSIM via QR Code
The QR code method is by far the easiest way to get your Cosmote eSIM up and running. Most Cellesim purchases will come with a QR code in your confirmation email. Think of it as your digital passport to Greek data.
Prerequisites
- An eSIM-compatible device: Check your phone's settings.
- Wi-Fi connection: Crucial for the initial download.
- Your eSIM QR Code: Found in your purchase confirmation email.
- A second device or printed QR: You'll need to scan the QR code with the phone you're activating, so either display it on another screen (laptop, tablet) or print it out.
Activation Steps for iOS Devices
- Open Settings: Tap the 'Settings' icon on your home screen.
- Go to Cellular/Mobile Data: Select 'Cellular' (or 'Mobile Data' in some regions).
- Add eSIM: Tap 'Add eSIM'. You might see 'Add Data Plan' instead.
- Scan QR Code: Choose 'Use QR Code'. Position your phone's camera over the QR code displayed on your other device or printout.
- Confirm Data Plan: Once scanned, your iPhone will detect the Cosmote plan. Tap 'Continue' or 'Add Data Plan'.
- Label Your Plan: You'll be prompted to label your new plan. I usually go with something like 'Greece Cosmote' or 'Cellesim Greece' to keep things clear, especially if I have multiple eSIMs.
- Set Default Line: Decide if this new plan will be your primary line or a secondary one for data only. For most travelers, setting it as 'Secondary' and using it for 'Mobile Data Only' is the way to go.
Activation Steps for Android Devices
- Open Settings: Find and tap the 'Settings' app.
- Go to Network & Internet: Select 'Network & Internet' or 'Connections'.
- Tap SIMs/Mobile Network: Look for 'SIMs' or 'Mobile Network' and then 'Add eSIM' or 'Download a SIM'.
- Scan QR Code: Choose to scan a QR code. Point your camera at the QR code.
- Confirm & Activate: Your Android device will recognize the Cosmote profile. Follow the on-screen prompts to 'Download' and 'Activate' the eSIM.
- Set Data Preference: Similar to iOS, you'll have the option to set this new eSIM as your preferred network for mobile data. Make sure to enable it.
Manual eSIM Installation for the Tech-Savvy Traveler
Activation Steps for iOS Devices
- Open Settings: Tap the 'Settings' icon on your home screen.
- Go to Cellular/Mobile Data: Select 'Cellular' (or 'Mobile Data' in some regions).
- Add eSIM: Tap 'Add eSIM'. You might see 'Add Data Plan' instead.
- Scan QR Code: Choose 'Use QR Code'. Position your phone's camera over the QR code displayed on your other device or printout.
- Confirm Data Plan: Once scanned, your iPhone will detect the Cosmote plan. Tap 'Continue' or 'Add Data Plan'.
- Label Your Plan: You'll be prompted to label your new plan. I usually go with something like 'Greece Cosmote' or 'Cellesim Greece' to keep things clear, especially if I have multiple eSIMs.
- Set Default Line: Decide if this new plan will be your primary line or a secondary one for data only. For most travelers, setting it as 'Secondary' and using it for 'Mobile Data Only' is the way to go.
Activation Steps for Android Devices
- Open Settings: Find and tap the 'Settings' app.
- Go to Network & Internet: Select 'Network & Internet' or 'Connections'.
- Tap SIMs/Mobile Network: Look for 'SIMs' or 'Mobile Network' and then 'Add eSIM' or 'Download a SIM'.
- Scan QR Code: Choose to scan a QR code. Point your camera at the QR code.
- Confirm & Activate: Your Android device will recognize the Cosmote profile. Follow the on-screen prompts to 'Download' and 'Activate' the eSIM.
- Set Data Preference: Similar to iOS, you'll have the option to set this new eSIM as your preferred network for mobile data. Make sure to enable it.
Manual eSIM Installation for the Tech-Savvy Traveler
Manual eSIM Installation for the Tech-Savvy Traveler
Sometimes, a QR code scan just isn't an option, or perhaps you're having trouble with it. Maybe your other device ran out of battery, or the lighting is poor. For these moments, knowing how to manually enter the details is a lifesaver. This method requires a bit more typing, but it's equally effective.
Where to Find the Manual Details
Your Cellesim confirmation email, in addition to the QR code, will contain the 'SM-DP+ Address' and 'Activation Code'. These are the pieces of information you'll need.
Manual Installation Steps for iOS
- Start 'Add eSIM' Process: Follow steps 1-3 from the QR code method (Settings > Cellular > Add eSIM).
- Choose Manual Entry: Instead of 'Use QR Code', select 'Enter Details Manually' or 'Enter Activation Code'.
- Input SM-DP+ Address: You'll see fields for 'SM-DP+ Address' and 'Activation Code'. Carefully type or paste the 'SM-DP+ Address' provided in your email.
- Input Activation Code: Enter the 'Activation Code' into the corresponding field.
- Confirm & Activate: Tap 'Next' or 'Activate' and follow the prompts to complete the setup and label your plan.
Manual Installation Steps for Android
- Start 'Add eSIM' Process: Follow steps 1-3 from the QR code method (Settings > Network & Internet > SIMs > Add eSIM).
- Choose Manual Entry: Look for an option like 'Enter it manually' or 'Add using activation code'.
- Input SM-DP+ Address and Activation Code: Enter the provided 'SM-DP+ Address' and 'Activation Code' into the respective fields.
- Confirm & Activate: Proceed with the on-screen instructions to download and activate the eSIM profile.
Post-Activation Checks and Network Settings
Manual Installation Steps for Android
- Start 'Add eSIM' Process: Follow steps 1-3 from the QR code method (Settings > Network & Internet > SIMs > Add eSIM).
- Choose Manual Entry: Look for an option like 'Enter it manually' or 'Add using activation code'.
- Input SM-DP+ Address and Activation Code: Enter the provided 'SM-DP+ Address' and 'Activation Code' into the respective fields.
- Confirm & Activate: Proceed with the on-screen instructions to download and activate the eSIM profile.
Post-Activation Checks and Network Settings
Once your eSIM is installed, it's not quite a done deal. You'll want to make sure it's actually working and configured correctly. I've had situations where the eSIM was installed but wasn't set as the primary data source, leading to unexpected roaming charges from my home carrier.
Verify Network Connection
- Check Signal Bars: You should see a signal indicator with 'Cosmote GR' or 'GR Cosmote' next to it, along with your home carrier if you're using Dual SIM.
- Disable Wi-Fi: Turn off Wi-Fi on your device.
- Test Data: Try opening a browser or an app like Google Maps to confirm you have internet access. A quick search for 'Acropolis Museum hours' (it's open 9 AM to 8 PM in summer, closed Mondays) should do the trick.
Configure Data Roaming and APN
Configure Data Roaming and APN
For Cellesim-provided eSIMs, data roaming is typically enabled by default and included in your plan, so you shouldn't incur extra charges. However, it's always good to double-check.
- Go to Cellular/Mobile Data Settings: Navigate back to your phone's cellular settings.
- Select Your New eSIM: Tap on the 'Greece Cosmote' or similar label you created.
- Enable Data Roaming: Ensure 'Data Roaming' is toggled ON for this specific eSIM. Don't worry, this is how it connects to Cosmote's network.
- APN Settings: In most cases, the APN (Access Point Name) will configure automatically. If you're having issues, look for an 'APN' section under your eSIM settings. The common APN for Cosmote is usually 'internet' or 'gprs.cosmote.gr'. You shouldn't need to change this unless specifically instructed by support.
Troubleshooting Common Cosmote eSIM Issues
Even with careful setup, sometimes things don't go perfectly. Here are a few common hiccups and how to fix them.
No Network Connection After Activation
First, restart your phone. A simple reboot often resolves minor network registration issues. If that doesn't work, ensure 'Data Roaming' is enabled for your eSIM profile and that your preferred mobile data line is set to the Cosmote eSIM. Double-check your APN settings as mentioned above. If you're still stuck, you might need to manually select the network operator. Go to your eSIM settings, then 'Network Selection' or 'Carrier', and choose 'Cosmote GR' from the list instead of 'Automatic'.
QR Code Not Scanning
This is a frequent one. Ensure the QR code is well-lit, clearly displayed (not blurry), and flat. Sometimes, adjusting the distance between your phone camera and the QR code helps. If all else fails, use the manual installation method with the SM-DP+ Address and Activation Code provided in your email. It's a reliable backup, and I've used it more times than I care to admit when I'm in a dimly lit corner of a café in Exarcheia.
Slow Data Speeds or Intermittent Connection
If you're experiencing slow speeds, first check your location. Are you in a remote area or inside a building with thick walls? Sometimes, even in a city like Thessaloniki, signal can drop in specific spots. If the issue persists, try resetting your network settings (this won't erase your data, but it will reset Wi-Fi passwords and paired Bluetooth devices). As a last resort, contacting Cellesim support with details of your location and device can help them diagnose any deeper network issues. Often, it's just a congested cell tower, especially during peak tourist season in popular spots like Santorini.
Why Choose an eSIM Over a Physical SIM in Greece?
After years of fumbling with tiny SIM trays and losing those crucial ejector pins (always keep one in your wallet!), I've become a firm believer in eSIMs for international travel. The convenience alone is worth it.
I still remember landing in Athens once, exhausted, and needing to call my Airbnb host. The kiosks at Eleftherios Venizelos Airport were closed. The phone shops in the city center like Cosmote and Vodafone typically close at 5 PM on Saturdays and are entirely shut on Sundays. If I'd had an eSIM, I could have activated it on the tarmac. That's a lesson learned. For a comparison of connectivity options, you might find Nomad eSIM vs. Cellesim: The Budget Backpacker's Data Showdown in 2026 helpful.
With an eSIM, you avoid the physical exchange. No more hunting for a local phone store, especially if you arrive late at night or on a public holiday when most shops, even in tourist hubs like Monastiraki, are closed. You can purchase and activate your data plan before you even board your flight. This means you land with data already active, ready to order a taxi via Beat or check the local bus schedule for the OASA transit system without hunting for public Wi-Fi. It's truly a game-changer for spontaneous trips or Last-Minute Europe Getaway? Activate an eSIM Instantly for Your Spontaneous Summer Adventure. Plus, you keep your home SIM active, allowing you to receive important calls or texts without swapping cards. This dual-SIM functionality is invaluable for staying connected without feeling completely cut off from home.
Cosmote's network is robust, offering strong 4G and growing 5G coverage across mainland Greece and many islands. Pairing that with the ease of an eSIM makes for a truly hassle-free connectivity experience. If you have more questions about general eSIM functionality, check out our eSIM FAQ.