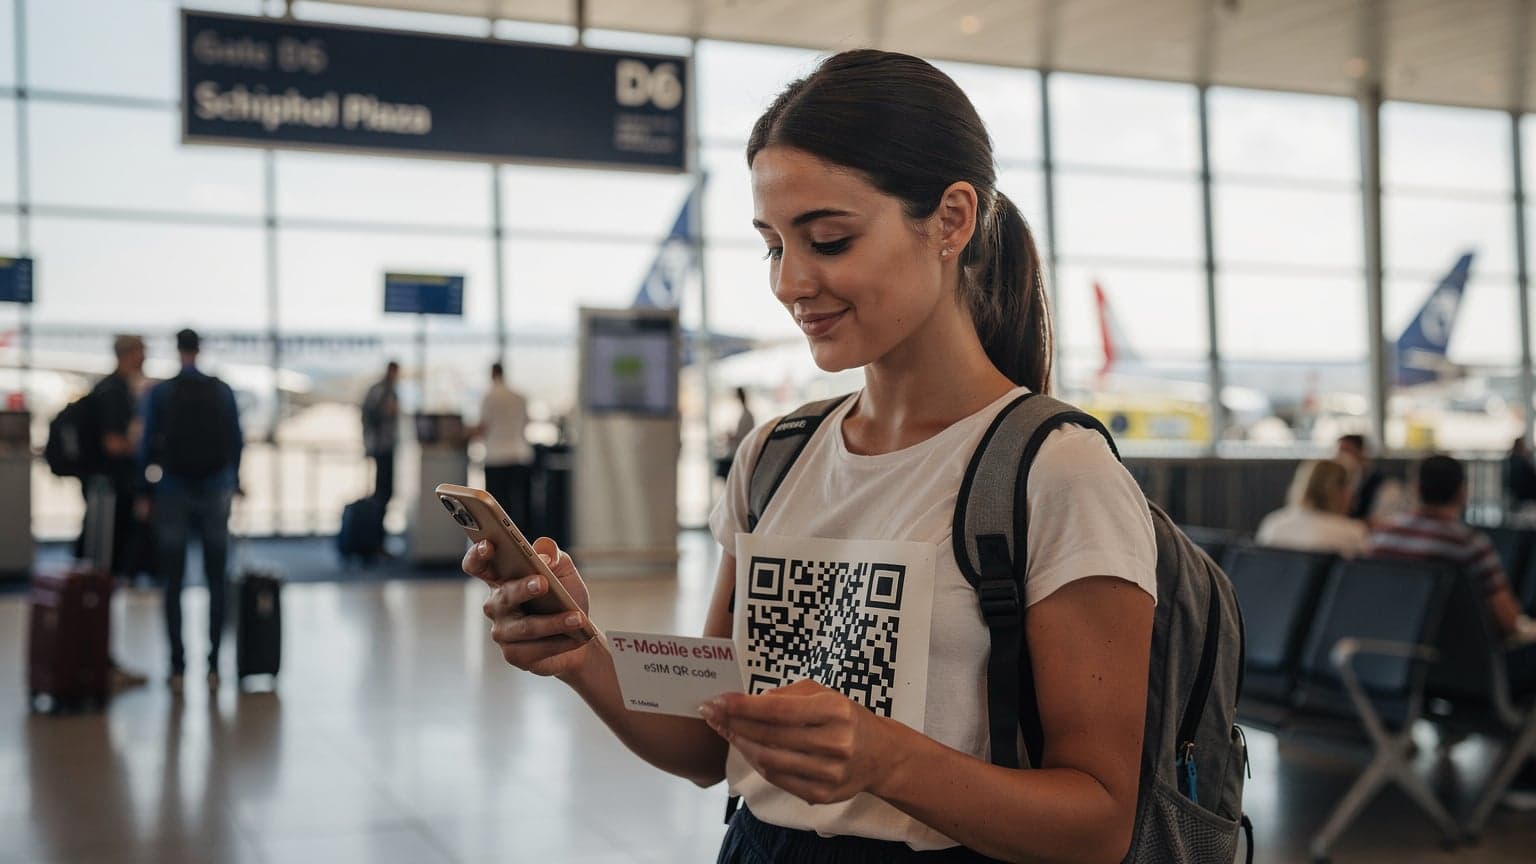
What is an eSIM and Why iPhones Excel with It?
An eSIM, short for embedded Subscriber Identity Module, is a digital SIM. It lets you activate a cellular plan from a carrier without needing a physical nano-SIM card. Unlike old-school SIMs, which are physical bits of plastic, an eSIM is a tiny, integrated circuit built right into your phone's motherboard. Think of it as a dedicated, miniature chip (specifically, the MFF2 form factor) that gets its network instructions sent directly over the air.
iPhones have really led the way with eSIMs, especially since the iPhone 14 line in the US completely ditched the physical SIM tray. Apple's not just trying to save space, though that's a nice bonus. They're making it super easy for international travelers to switch carriers or grab a local data plan with just a few taps in their settings. Because it's digital, you get more flexibility, no more lost SIM cards, and instant activation when you land in a new country.
The Technical Edge: How eSIMs Simplify Connectivity
From an engineering standpoint, the eSIM's biggest perk is that you can reprogram it. Instead of being stuck with one carrier profile baked onto a plastic card, an eSIM can hold several profiles at once. Only one (or two, if you're using Dual SIM Dual Standby, or DSDS) can be active for data at any given time, but the potential is there. This magic happens thanks to a secure element (SE) and a Remote SIM Provisioning (RSP) setup, which allows carriers to push new subscriber profiles straight to your eSIM chip. This over-the-air setup gets rid of all the hassle of distributing and activating physical SIMs.
For example, imagine you arrive at Frankfurt Airport. You no longer need to hunt for a Vodafone or Telekom shop, show your passport, and wait for them to activate your service. With an eSIM you bought beforehand, your phone can connect almost immediately - sometimes even before you've fully disembarked. That kind of speed and convenience is a game-changer for anyone who needs to be connected the moment they step off the plane.
iPhone eSIM Compatibility: Models and Regions
Not every iPhone handles eSIMs the same way. While many newer models support the tech, there are regional differences you should know about. Knowing what your device can do is step one for truly effortless international data.
Which iPhone Models Support eSIM?
Generally, iPhones from the iPhone XS, XS Max, and XR (released in late 2018) onwards support eSIM functionality. This includes every generation right up to the latest iPhone 17 and iPhone 18 and eSIM. However, there's a big difference for iPhones sold in the US starting with the iPhone 14 series: these are eSIM-only. That means they don't have a physical SIM tray at all. This design choice is forward-thinking, but it can sometimes catch travelers off guard if they're used to physical SIM cards or specific older networks.
| iPhone Model Series | eSIM Support | Physical SIM Tray | Notes |
|---|---|---|---|
| iPhone XS, XR, XS Max | Yes | Yes | Dual SIM (one physical, one eSIM) |
| iPhone 11, 12, 13 series | Yes | Yes | Dual SIM (one physical, one eSIM) |
| iPhone SE (2nd & 3rd Gen) | Yes | Yes | Dual SIM (one physical, one eSIM) |
| iPhone 14, 15, 16, 17, 18 (US models) | Yes | No | eSIM-only configuration for US market |
| iPhone 14, 15, 16, 17, 18 (International models) | Yes | Yes | Dual SIM (one physical, one eSIM or two eSIMs, depending on region) |
Regional Variations and Dual eSIM Support
While US iPhones have fully embraced eSIM, many international versions of the iPhone 14 and newer still have a physical SIM slot alongside their eSIM capabilities. This is pretty common in places where local carriers are still getting on board with eSIMs, or where people just prefer a physical SIM. For instance, iPhones sold in mainland China don't support eSIM at all; instead, they have dual physical SIM slots, which is a unique regional thing.
What's more, iPhones from the iPhone 13 series and newer support Dual eSIM. This means you can have two eSIM profiles active simultaneously for Dual SIM Dual Standby (DSDS). This is super handy for keeping your home plan active while using a travel plan, or even juggling two international plans if you're crossing multiple borders, say, from the UAE to Saudi Arabia.
Activating Your eSIM on iPhone: A Step-by-Step Guide
Getting an eSIM up and running on your iPhone is pretty straightforward. It usually involves scanning a QR code or typing in some details. The main thing is to have a good Wi-Fi connection when you activate, because your phone needs to download the carrier profile.
Method 1: QR Code Scan (Recommended)
This is the easiest and most common way to activate an eSIM, especially if you buy it from Cellesim or another online provider. You'll get a QR code, usually by email or in your account dashboard. Here’s how to do it:
- Open Cellular Settings: On your iPhone, go to Settings > Cellular > Add eSIM (or Add Cellular Plan).
- Scan QR Code: Tap Use QR Code. Hold your iPhone camera over the QR code from Cellesim or your chosen carrier. Make sure you have good light and a steady hand.
- Confirm & Label: Once scanned, your iPhone will find the new cellular plan. Confirm you want to add it, and then you'll be asked to give your new plan a name (like "Travel Europe" or "Cellesim Data"). This step is key for keeping track of multiple plans later.
- Set Default Line: Next, you'll pick which line to use for data, voice, and iMessage/FaceTime. When traveling internationally, you'll typically set your new eSIM as your main data line and your home physical SIM (if you have one) for calls, if you want to keep receiving calls on your home number.
- Verify Activation: After setup, check your iPhone's status bar for signal strength on your new line. You might even see two signal indicators if you're using Dual SIM Dual Standby.
It's worth noting that some older iPhones or specific carrier rules might need you to adjust the APN (Access Point Name) setting. You can usually find this under Settings > Cellular > [Your eSIM Label] > Cellular Data Network. However, Cellesim eSIMs usually come pre-configured, so you shouldn't need to mess with APN settings unless they tell you to.
Method 2: Manual Entry
Sometimes, you might get activation details as a string of numbers and letters, or maybe the QR code just won't scan. In those cases, manual entry is your backup plan:
- Open Cellular Settings: Go to Settings > Cellular > Add eSIM (or Add Cellular Plan).
- Enter Details Manually: Tap Enter Details Manually at the bottom of the screen.
- Input SM-DP+ Address and Activation Code: You'll need to type in the SM-DP+ Address (Subscription Manager Data Provisioning+) and the Activation Code provided by your eSIM provider. Sometimes a Confirmation Code is also required.
- Follow On-Screen Prompts: Just like with the QR code, label your plan and set up your default lines.
This method is easier to make mistakes with, so double-check every character you type. One wrong digit can stop the profile from downloading.
Managing Multiple eSIMs and Data Plans on Your iPhone
One of the best things about eSIMs on iPhones is being able to manage several cellular plans at once. This is where the real flexibility comes in, letting you switch between your home carrier and a travel data plan without ever touching your phone's hardware.
Switching Between Data Plans
With multiple eSIMs installed, your iPhone's Cellular settings become your control center for connectivity. To switch your active data plan:
- Go to Cellular Settings: Head to Settings > Cellular (or Mobile Data).
- Select Cellular Data: Tap on Cellular Data.
- Choose Your Desired Plan: From the list of plans you've installed (like "Primary," "Travel Europe," "Cellesim USA"), pick the one you want to use for data. Your iPhone will immediately try to connect to that network.
This feature is a lifesaver for digital nomads or people on long trips, say, exploring the USA. You can activate different regional eSIMs as you travel from state to state, or even just switch between different carrier networks for better coverage.
Assigning Lines for Specific Contacts
Beyond simply switching data, iPhones give you fine-tuned control over which line to use for certain contacts or types of communication. When you call or text someone, your iPhone remembers which line you used last for them. You can also manually assign a preferred line for each contact:
- Default Voice Line: In Settings > Cellular > Default Voice Line, you can set one line as the primary for all outgoing calls and texts.
- Per-Contact Preference: When looking at a contact, tap their phone number and choose Use [Label] to assign a specific line for future talks with that person. This is especially handy if you want to use your home number for family and friends, but your travel eSIM for local contacts you meet in, say, Greece.
This level of control helps prevent accidental roaming charges on your home line for calls, while making sure your data always goes through your more affordable travel eSIM.
Optimizing Your iPhone for eSIM Performance and Battery Life
While eSIMs are incredibly convenient, getting the best performance and battery life, especially with several active profiles, requires a bit of smart setup. As a network engineer, I can tell you that poorly managed radio interfaces are a drain.
Understanding Dual SIM Dual Standby (DSDS) Impact
When you have two cellular plans active via DSDS (for example, your home physical SIM and a travel eSIM), your iPhone's radio hardware is actively listening on two networks at the same time. This takes extra power. While newer iPhone modems are very efficient, keeping two connections going, even in standby, will use more battery than just one active line. For instance, if your home SIM is constantly searching for a signal in an area where your carrier has no coverage (like deep in the Amazon or a remote village in the Aland Islands), that constant radio activity will significantly cut into your battery life.
Tips for Saving Battery:
- Turn Off Unused Lines: If you don't need to get calls or texts on your home line while abroad, go to Settings > Cellular, tap on your home plan, and switch Turn On This Line off. This will deactivate the radio for that line, saving a good chunk of power.
- Background App Refresh: Limit background app refresh for apps you don't absolutely need (Settings > General > Background App Refresh). This cuts down on unnecessary data usage and your phone waking up its radio.
- Wi-Fi Assist: Think about turning off Wi-Fi Assist (Settings > Cellular > Wi-Fi Assist). While it can be helpful, it might subtly use cellular data even when you're on Wi-Fi, which isn't ideal if you're trying to save a limited travel data plan.
Maximizing Data Speeds: Carrier Aggregation and Band Selection
For those of us who love network tech, getting the fastest data speed is a priority. Modern iPhones support extensive carrier aggregation (CA), meaning they can combine multiple frequency bands to hit higher theoretical speeds. For example, in European cities, you might see networks combining LTE Band 3 (1800MHz) with Band 7 (2600MHz) and even Band 20 (800MHz) for better capacity and speed. With 5G, sub-6 GHz bands like n78 (3500MHz) are often combined with lower frequency LTE bands as anchors.
When picking an eSIM, consider the frequency bands the network operator in your destination supports. While Cellesim partners with top local networks, knowing the frequencies in use can give you an edge. For instance, in downtown Tokyo, NTT Docomo uses dense deployments on Band 1 (2100MHz) and Band 3 (1800MHz) for LTE, boosted by 5G on n78 and n257 (mmWave). A good eSIM connection here should fully use these bands for peak performance, often giving you real-world download speeds of 100-300 Mbps on LTE-A and possibly 500-800 Mbps on 5G, depending on how busy the cell tower is and the signal quality.
While you can't manually pick specific bands on an iPhone, you can make sure your eSIM is set for LTE or 5G by going to Settings > Cellular > Cellular Data Options > Voice & Data and choosing the highest available generation (e.g., 5G Auto or 5G On).
The Critical Role of VoLTE and VoWiFi with eSIMs
Voice over LTE (VoLTE) and Voice over Wi-Fi (VoWiFi) are fundamental technologies for making calls today. When you're traveling with an eSIM, understanding how they work together is key to having clear calls without racking up huge traditional roaming bills.
What are VoLTE and VoWiFi?
VoLTE, or Voice over Long-Term Evolution, sends voice calls over the 4G LTE data network instead of the older 2G/3G circuits. This means much better call quality, quicker call setup, and you can use data services at the same time you're on a call. Without VoLTE, your iPhone would often drop down to 3G or even 2G for calls, making both call quality and data availability worse.
VoWiFi, or Voice over Wi-Fi, expands your cellular coverage by letting you make and receive calls and messages over any Wi-Fi network. This is incredibly useful in spots with bad cellular signal but good Wi-Fi, like basements, remote cabins, or even on a flight with Wi-Fi available.
Both technologies are essential for a modern communication experience, especially for iPhone users who expect consistent, high-quality connections.
eSIMs and Voice Functionality Gotchas
The main issue with eSIMs and voice calls is that while data is almost always supported, VoLTE and VoWiFi really depend on your specific eSIM provider's agreement with the local network operator. Not all eSIM data plans automatically include VoLTE, and even fewer offer VoWiFi. If your eSIM plan doesn't support VoLTE, your iPhone will try to fall back to 3G (UMTS/HSPA) or 2G (GSM/EDGE) for calls. If these older networks are being shut down in your travel destination (which is happening in many parts of Europe and North America), you might find yourself unable to make regular cellular calls.
For example, in much of the US, AT&T and Verizon have largely turned off their 3G networks. If your travel eSIM in the US doesn't support VoLTE, your iPhone might struggle to make calls, even if you have full 4G data. Always check with your eSIM provider about VoLTE support before buying, especially if making calls is important for your trip. Cellesim makes sure to partner with providers that offer VoLTE where it's available, giving you a smoother experience.