iPhone eSIM: Your 2026 Practical Guide to Global Connectivity
Hey there, fellow travelers and tech enthusiasts! If you're reading this, you probably have an iPhone (or you're eyeing one) and you're keen to make your trips abroad smoother, cheaper, and way less stressful when it comes to staying online. Forget wrestling with tiny SIM cards, hunting for local shops, or getting hit with huge roaming fees. By 2026, the eSIM is definitely the go-to for international mobile service, and your iPhone is perfectly set up to use it. This guide will tell you everything you need to know, from the basics to smart tips for your next adventure.
What Exactly is an eSIM?
Before we get into the good stuff, let's quickly clear up what an eSIM is. The "e" means embedded. It's a digital SIM card built right into your iPhone's hardware. Instead of a physical chip you pop into a tray, you download and activate an eSIM profile electronically. This tech isn't brand new, but it's now widely adopted and supported by big carriers and specialized eSIM companies, making it super powerful for travelers. Think of it like having several virtual SIM card slots on your phone, letting you swap between different networks and plans with just a few taps.
Why Your iPhone and eSIM Are the Perfect Travel Duo
Your iPhone is leading the way with eSIM technology. Most iPhone models from 2018 onward (iPhone XS/XR and newer) support eSIM. And newer models, especially those sold in the US, often don't even have a physical SIM tray - they're eSIM-only. This combination offers a ton of perks for anyone traveling the world:
- Instant Activation: No need to find a physical store or wait for a SIM card to arrive. You can buy and activate an eSIM plan from anywhere with internet.
- Dual SIM: Keep your home number active for calls and texts while using an eSIM for data overseas. That means no missed important calls and no card swapping.
- Save Money: Kiss expensive roaming charges goodbye. eSIM plans, especially from dedicated travel eSIM providers like Cellesim, are much more affordable than traditional roaming.
- Flexibility: Easily switch between plans, add more data, or buy new plans for different countries right from your phone.
- Security: No physical card to lose, break, or have stolen.
- Eco-Friendly: Less plastic waste compared to physical SIM cards.
Getting Started: Prepping Your iPhone for eSIM Travel
Before you take off, a little preparation goes a long way to make sure your eSIM experience is smooth sailing.
1. Check Your iPhone's Compatibility
Most iPhones from the XS/XR generation and newer support eSIM. To be sure, head to Settings > General > About. Look for "Available SIM" or "Digital SIM." If you see it, your phone is good to go. If you have a US-bought iPhone 14 or newer, it's eSIM-only, so you're definitely all set!
2. Make Sure Your iPhone is Unlocked
For an eSIM to work with a new carrier, your iPhone needs to be unlocked. If you bought your iPhone directly from Apple, it's probably unlocked. If you got it through a carrier, it might be locked to that network. Contact your home carrier to confirm and ask them to unlock it if needed. This step is critical; a locked phone can't use third-party eSIMs.
3. Update Your iOS
Always keep your iPhone updated to the latest iOS version. Apple often releases updates that improve eSIM features and compatibility. Go to Settings > General > Software Update to check.
Picking the Right eSIM Provider for Your Trip
This is where you'll really start to save money and enjoy the convenience. While some regular carriers offer international eSIM roaming, dedicated travel eSIM providers are usually the best choice for flexibility and value. Companies like Cellesim specialize in offering data plans for hundreds of countries, often costing a lot less than traditional roaming.
Things to Think About When Choosing an eSIM Plan:
- Destination Coverage: Make sure the provider covers all the countries you plan to visit. Cellesim, for instance, has wide global coverage.
- Data Allowance: How much data do you actually need? Consider your habits (browsing, social media, streaming, video calls). Plans range from 1GB to unlimited.
- Validity Period: How long will you be away? eSIM plans come with different validity periods (e.g., 7 days, 15 days, 30 days).
- Price: Compare prices per GB across different providers for your chosen destination and data needs.
- Customer Support: Good customer support is super helpful if you run into any problems while you're abroad.
- Ease of Use: Look for providers with user-friendly apps or websites for buying and managing plans.
For most international travelers, a data-only eSIM plan is enough. You can still make calls and send texts using apps like WhatsApp, FaceTime, or Messenger over data. However, some providers do offer plans with local numbers for calls and texts if that's important to you.
Step-by-Step: Activating Your eSIM on iPhone
Once you've picked and bought your eSIM plan (let's say from Cellesim), activating it on your iPhone is pretty straightforward:
1. Get Your eSIM Activation Info
After buying, you'll typically get an email or an in-app notification with your eSIM activation details. This usually includes a QR code, a manual activation code, or a direct activation link.
2. Add the eSIM to Your iPhone
- Go to Settings > Cellular (or Mobile Data) > Add eSIM.
- You'll usually see two options:
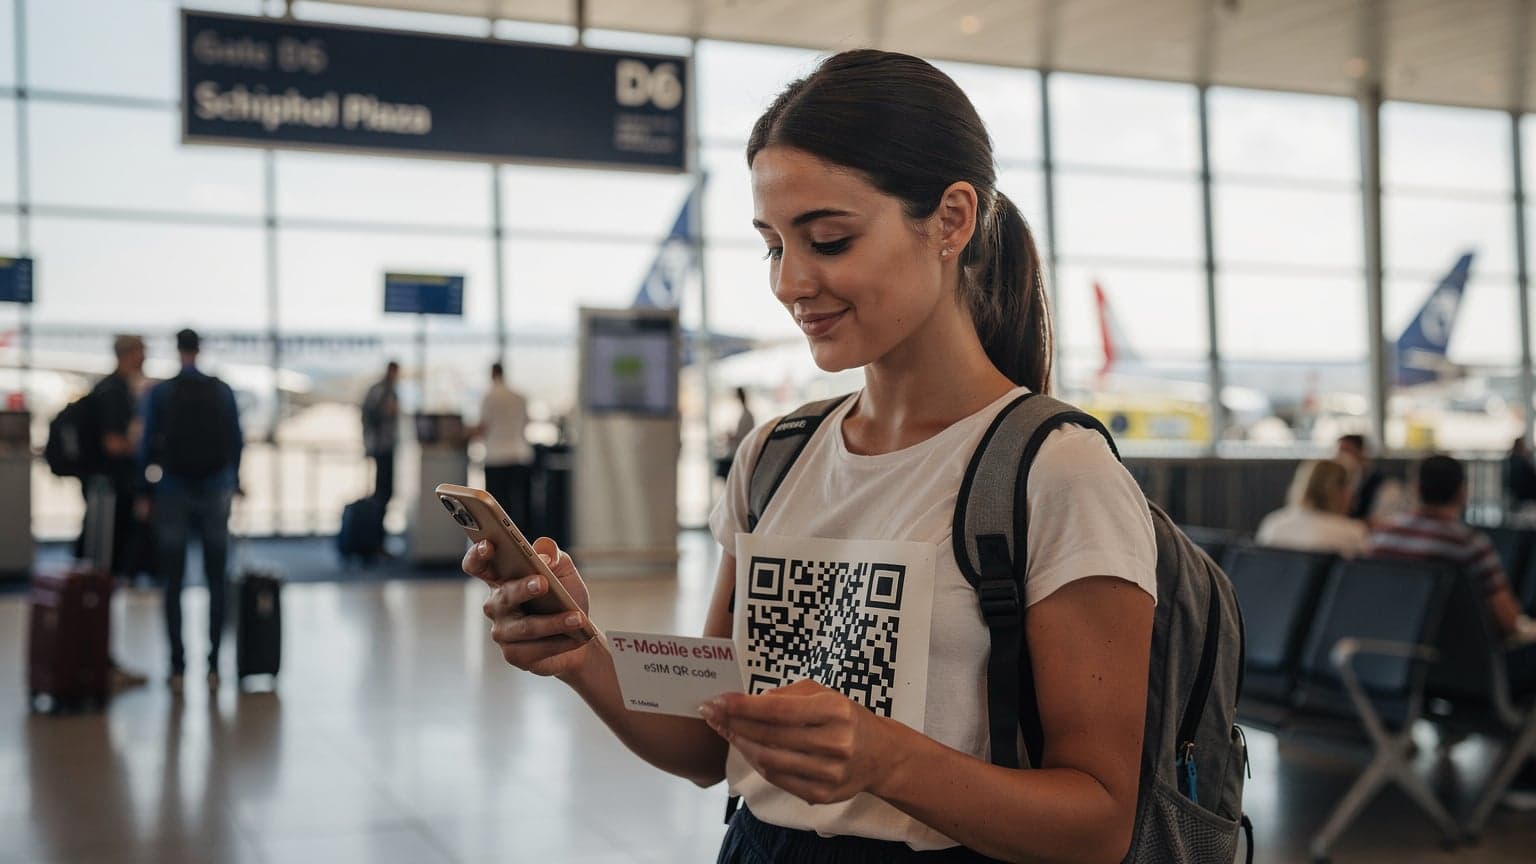
- Scan QR Code: This is the easiest way. Just point your iPhone camera at the QR code from Cellesim or your chosen provider.
- Enter Details Manually: If you can't scan the QR code, you can type in the SM-DP+ Address and Activation Code they gave you.
3. Label Your eSIM
Once added, your iPhone will ask you to name your new eSIM (like "Travel Data," "Cellesim Spain," "Work"). This helps you tell it apart from your main SIM.
4. Set Your Default Lines
Next, you'll choose which line to use for Default Voice Line, iMessage & FaceTime, and Cellular Data.
- For Default Voice Line, you'll probably want to stick with your main home number.
- For iMessage & FaceTime, you can also keep your primary number.
- For Cellular Data, select your newly added eSIM for your trip!
5. Enable Data Roaming (for eSIM, if needed)
This might sound odd, but some travel eSIMs need you to turn on Data Roaming for that specific eSIM. Don't worry, you won't get hit with extra charges if you've bought a dedicated travel eSIM plan from Cellesim, for example, since roaming is part of the plan's cost. To do this, go to Settings > Cellular > [Your eSIM Label] > Data Roaming and toggle it on.
6. Check Your Connection
Once you land at your destination, your iPhone should automatically connect to a local network. You'll see the network name show up in your status bar. Try browsing a website or sending a message to confirm it's working.
Smart Tips for Using Your iPhone eSIM Abroad
- Buy Before You Go: It's best to purchase and even activate your eSIM before you leave home, where you have good Wi-Fi. Then, you can activate the data plan when you land.
- Watch Your Data: Keep an eye on how much data you're using so you don't run out unexpectedly. You can check this in iPhone Settings > Cellular, or often directly in your eSIM provider's app (like the Cellesim app).
- Top-Up Options: If you're low on data, most providers offer easy ways to top up right through their app or website.
- Primary vs. Secondary: Remember, your iPhone lets you use your primary SIM for calls/texts and your eSIM for data at the same time. This is super convenient.
- Turn Off Home SIM Data Roaming: To avoid accidental charges, make sure data roaming is OFF for your home SIM card while you're abroad. You can still get calls and texts on it without data.
- Delete After Use (Optional): Once your trip is over, you can delete the eSIM profile from your iPhone if you don't plan to use it again. Go to Settings > Cellular > [Your eSIM Label] > Remove Cellular Plan.
- Emergency Calls: If you have an eSIM-only iPhone (like US iPhone 14+), understand how to make emergency calls if your eSIM data isn't active. iPhones are designed to allow emergency calls even without an active cellular plan.
Looking Ahead to 2026 and Beyond
By 2026, eSIM technology is everywhere. The convenience, flexibility, and cost savings it offers are clear, especially for iPhone users. As more devices become eSIM-only and providers like Cellesim keep expanding their services and making things easier, traditional physical SIM cards will become a thing of the past for international travel. Embrace the future of connectivity, enjoy your trips, and stay connected with your iPhone and an eSIM!