Prerequisites: An eSIM-compatible smartphone (iPhone XR or newer, most recent Samsung Galaxy models, Google Pixel 3a or newer), a stable Wi-Fi connection for activation, and a Cellesim account.
Choosing the Right eSIM for Semana Santa
Semana Santa in 2026 will draw millions to cities like Seville, Málaga, and Valladolid, making reliable data a priority. Traditional SIM cards often involve queues, passport registration, and can be a hassle, particularly when you just want to get to your hotel in Barrio Santa Cruz. An eSIM simplifies this. But which one? The key is understanding the local network infrastructure.
For Spain, the primary carriers are Telefónica (Movistar), Vodafone, and Orange. All three offer robust 4G LTE and increasingly 5G services. When evaluating an eSIM, ensure it leverages these primary networks. For instance, in urban areas of Seville or Málaga, you'll primarily be on LTE bands B3 (1800MHz), B7 (2600MHz), and B20 (800MHz) for 4G, with 5G on n78 (3.5GHz). A Cellesim Spain plan, for example, typically roams on Movistar or Vodafone, providing access to these key frequencies. This means you should expect downlink speeds in the range of 50-150 Mbps on 4G in city centers, dropping to 10-30 Mbps in more rural or crowded parade routes, which is more than sufficient for navigation and streaming.
Consider your data needs. Are you just looking for maps and messaging, or will you be uploading high-resolution photos and video to social media? Cellesim offers various data packages for Spain, from 1 GB for a quick weekend to 20 GB for an extended stay. A good baseline for a week of moderate use, including navigation and light social media, is usually 5-7 GB. If you plan to use your phone as a hotspot or stream video, scale up.
| Cellesim Plan (Spain) | Data Included | Validity | Typical Roaming Carrier |
|---|---|---|---|
| Spain 5 GB | 5 GB | 7 Days | Movistar / Vodafone |
| Spain 10 GB | 10 GB | 15 Days | Movistar / Vodafone |
| Europe 20 GB | 20 GB | 30 Days | Multiple EU partners |
Step-by-Step eSIM Purchase and QR Code Retrieval
Buying your eSIM should be straightforward, designed to get you connected with minimal fuss. Here is how to secure your Cellesim plan.
- Select Your Destination and Plan: Navigate to the Cellesim website or open the Cellesim app. Choose "Spain" or a broader "Europe" plan if you're visiting multiple countries. Select the data amount and validity period that aligns with your travel plans for Semana Santa 2026. For example, a 10 GB plan for 15 days is often a sweet spot for a typical week-long trip.
- Complete Purchase: Add the selected eSIM plan to your cart and proceed to checkout. You will need to create a Cellesim account if you don't already have one. Enter your payment details. Once the transaction is complete, you will receive a confirmation email.
- Retrieve Your QR Code: The confirmation email will contain a link to your Cellesim account dashboard, or you can log in directly. Under "My eSIMs" or "Active Plans," you will find your purchased eSIM. Crucially, this section will display a QR code and, typically, a manual activation code. This QR code is your provisioning profile, essentially the digital key to connect your phone to the network.
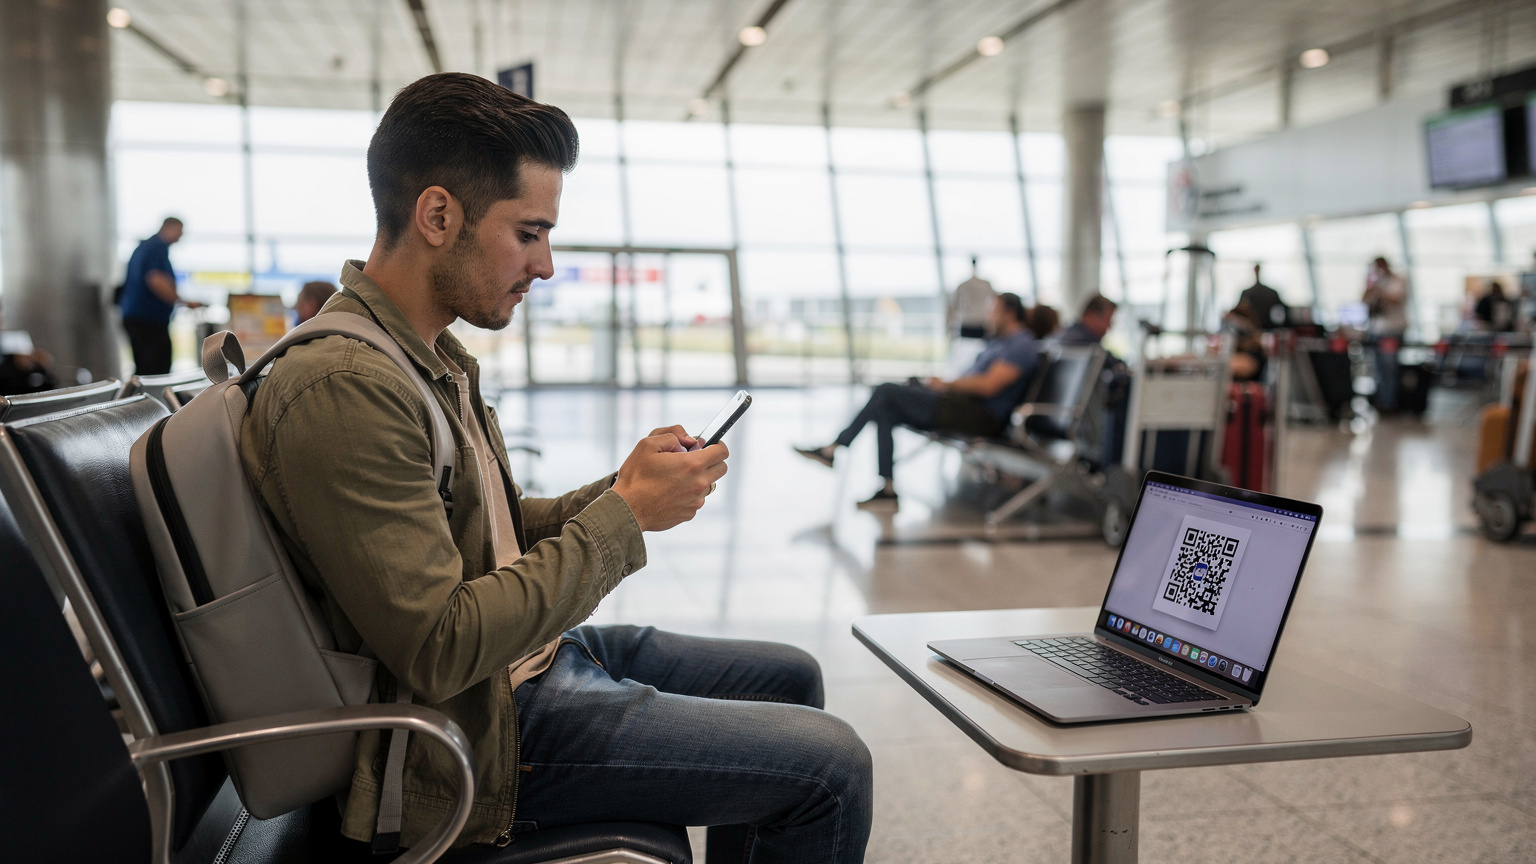
- Prepare for Activation: Before you attempt to scan the QR code, ensure you are connected to a stable Wi-Fi network. Do not try to scan the QR code with the same device you are using to display it, unless you plan to use the manual entry method. I usually display the QR code on a laptop screen or print it out for scanning. It might sound old-school, but it prevents unnecessary frustration.
Activating Your eSIM on iOS and Android
The activation process differs slightly between iOS and Android devices, but both are designed to be intuitive. Here's how to get your Cellesim eSIM up and running.
iOS Activation Steps
For iPhone users (iPhone XR, XS, 11, 12, 13, 14, 15 series):
- Go to Settings: Open the "Settings" app on your iPhone.
- Navigate to Cellular/Mobile Data: Tap on "Cellular" (or "Mobile Data" in some regions).
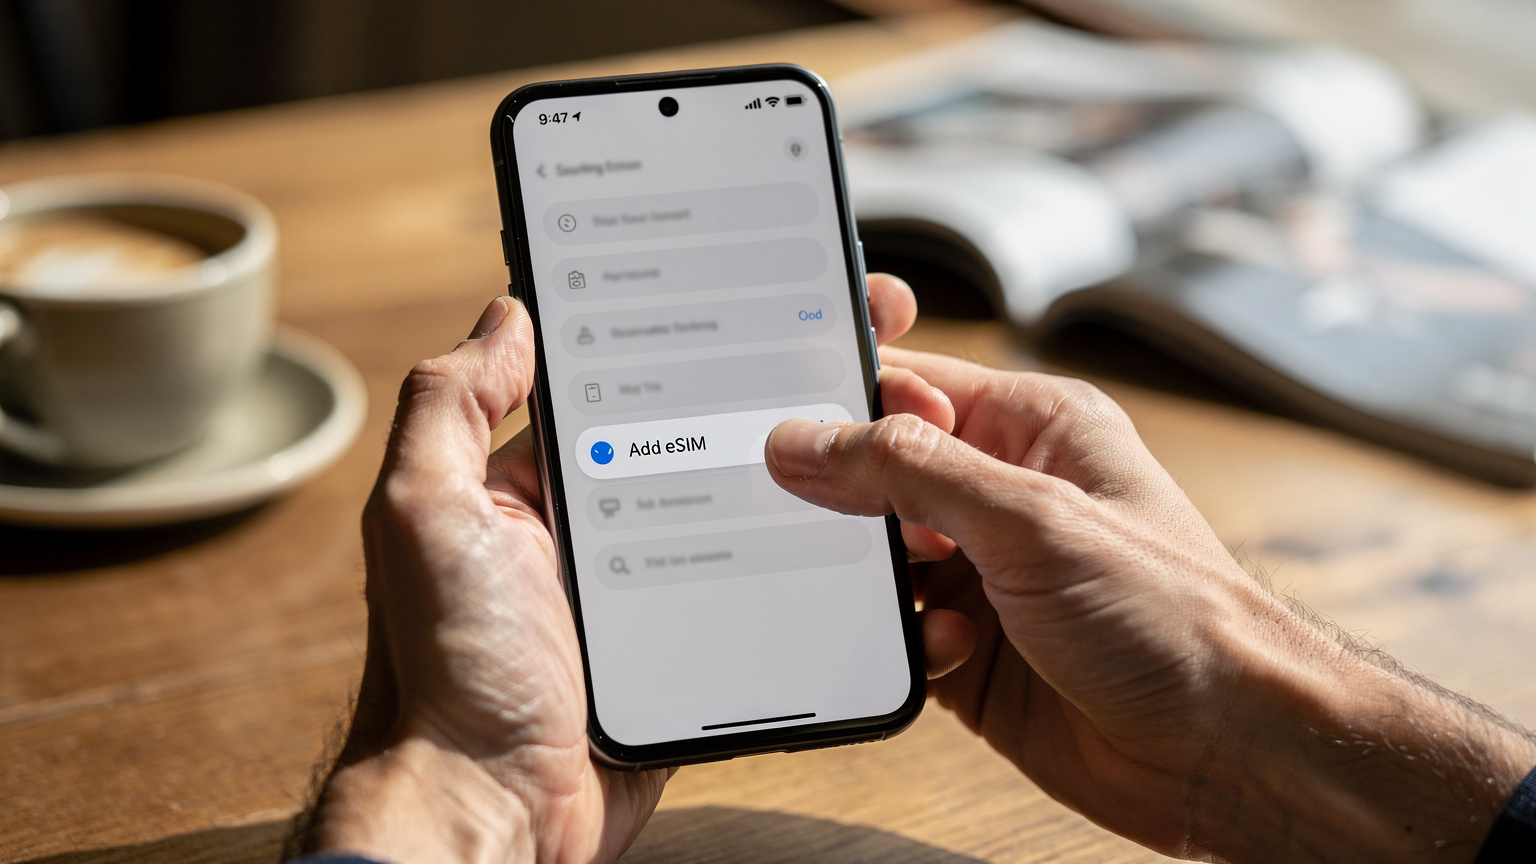
- Add eSIM: Tap "Add eSIM" or "Add Data Plan." Your iPhone will then prompt you to "Use QR Code."
- Scan QR Code: Position your iPhone camera to scan the QR code you retrieved from your Cellesim account. If scanning isn't possible, choose "Enter Details Manually" and input the SM-DP+ Address and Activation Code provided by Cellesim.
- Label Your eSIM: Once scanned, follow the prompts. Your iPhone will ask you to label your new plan, e.g., "Semana Santa Data" or "Spain Travel." This helps differentiate it from your primary line. Choose your new eSIM as your primary data line when abroad.
- Enable Data Roaming: For the eSIM to function, ensure "Data Roaming" is toggled ON for the new eSIM line. This is counter-intuitive for physical SIMs but necessary for eSIMs using a foreign network. (And don't worry, with Cellesim, this won't incur unexpected charges.)
Android Activation Steps
For Android users (Samsung Galaxy S20 or newer, Google Pixel 3a or newer, etc.):
- Open Settings: Go to the "Settings" app on your Android device.
- Navigate to Network & internet: Tap on "Network & internet" or "Connections," depending on your device manufacturer's UI (Samsung typically uses "Connections," Pixels use "Network & internet").
- Add Mobile Network: Tap "SIMs" or "Mobile Network," then look for "Add more" or a plus (+) icon next to "Mobile Network."
- Download eSIM: Select "Download a SIM instead?" or "Add an eSIM."
- Scan QR Code: Your phone will open a QR code scanner. Align it with the Cellesim QR code. If scanning fails, choose the manual entry option and input the provided details.
- Configure eSIM: Once the eSIM is downloaded and installed, you'll be prompted to name it. Set it as your preferred mobile data network.
Verifying Connectivity and APN Settings
After activation, your phone should attempt to connect to the local network. A crucial step is verifying your Access Point Name (APN) settings, especially if you experience slow speeds or no data connection.
First, check your signal strength. You should see a network indicator (e.g., "Movistar" or "Vodafone ES") next to your Cellesim line, along with 4G or 5G bars. If you only see a small "x" or "no service," that's a red flag. Open a browser and try navigating to a simple page like example.com. If it loads, great! If not, it's time to check the APN.
APN settings define how your device connects to the internet through the carrier's network. Most eSIMs auto-configure this, but some older Android devices or specific firmware versions (looking at you, certain Xiaomi models pre-MIUI 13) can sometimes miss this. For Cellesim plans in Spain, the typical APN is "internet."
- For iOS: Go to Settings > Cellular > your Cellesim plan > Cellular Data Network. Ensure the APN field under "Cellular Data" is set to "internet." Leave username and password blank unless specifically instructed otherwise.
- For Android: Go to Settings > Network & internet > SIMs > your Cellesim plan > Access Point Names. Tap the (+) to add a new APN if "internet" isn't listed, or tap the existing one to edit. Set the Name to "Cellesim Internet" and the APN to "internet." Save and select it.
Once set, toggle airplane mode on and off to force a re-registration with the network. This often resolves minor connectivity glitches. Remember, for VoLTE and VoWiFi, many eSIMs are data-only, meaning calls and texts will still rely on your primary line (if active and roaming) or VoIP apps like WhatsApp. If you need to receive OTPs for banking, consider a dedicated eSIM OTP service or ensure your primary line supports international SMS.
Troubleshooting Common eSIM Issues
Even with careful setup, sometimes things don't go as planned. Here are the top three issues you might encounter and how to address them.
No Service or 'Emergency Calls Only'
This typically indicates your eSIM isn't properly registered with the local network. First, ensure "Data Roaming" is enabled for your Cellesim profile. This is often overlooked. Second, manually select the network operator. Instead of "Automatic," try selecting Movistar or Vodafone from the available networks in your phone's cellular settings. Sometimes the automatic selection process can be a bit slow or pick a weaker partner. I've seen this happen in more remote parts of Andalusia where network handovers are less frequent.
Slow or Intermittent Data
If you have a signal but data is sluggish, revisit your APN settings as detailed above. A misconfigured APN is a frequent culprit. Also, consider the local network conditions. Semana Santa parades mean massive crowds, which can cause significant cell tower congestion, a phenomenon known as cell-site saturation. Even if the network theoretically supports 100 Mbps, if a thousand people are simultaneously streaming live video of a 'paso,' your actual throughput will be much lower. This isn't an eSIM problem, but a network capacity issue. Try moving a few blocks away from the densest crowds. Another factor can be carrier aggregation. If your phone isn't successfully combining multiple frequency bands (like B3+B7), your speeds will be limited. This is usually device-dependent.
eSIM Not Activating, QR Code Scan Failure
If your QR code scan fails repeatedly, double-check your Wi-Fi connection. A weak Wi-Fi signal can interrupt the provisioning process. If you're scanning from your screen, ensure screen brightness is high and there are no reflections. As a last resort, use the manual activation code provided in your Cellesim account. This involves inputting a long string of characters, so be precise. If you've tried everything and it still won't activate, your device might have a carrier lock preventing foreign eSIMs. It's rare for modern devices, but some phones purchased through specific contracts can be locked to their original carrier. If that's the case, you'll need to contact your home carrier for an unlock. For deeper dives into carrier unlocking or manual activation troubleshooting, you might find my guide on T-Mobile eSIM QR Code Activation useful, as many principles apply universally.
Frequently Asked Questions
What is the best eSIM plan for Semana Santa in Spain?
For Semana Santa 2026, a 7-day to 15-day Cellesim plan with 5-10 GB of data is generally recommended. This balance supports navigation, communication, and moderate social media use without overspending. For extensive use, consider a 20 GB Europe plan.
Will my phone's normal number still work for calls and texts with an eSIM?
Yes, your primary number will remain active for calls and texts. Most Cellesim eSIMs are data-only. This means your primary line can still receive calls and SMS (though international roaming charges from your home carrier would apply for those). For data, your phone will prioritize the eSIM.
What network bands will my Cellesim eSIM use in Spain for Semana Santa?
In Spain, Cellesim eSIMs typically connect to major carriers like Movistar or Vodafone, utilizing LTE bands B3, B7, B20 for 4G, and n78 for 5G in urban centers. These are the most common and robust bands for high-speed data across the country.
Can I activate my eSIM before I arrive in Spain?
Yes, absolutely. It is highly recommended to purchase and activate your Cellesim eSIM while you still have a stable Wi-Fi connection at home or at your departure airport. This ensures you have data immediately upon landing, avoiding the scramble for connectivity.
What if my Cellesim eSIM is slow during Semana Santa parades?
During large events like Semana Santa parades, network congestion is common due to thousands of users in a small area. While your Cellesim eSIM will connect to the best available network, speeds might temporarily drop. Try moving slightly away from the densest crowds, or restart your phone to reconnect to the nearest cell tower.
Do I need to change APN settings for my Cellesim eSIM?
Generally, Cellesim eSIMs auto-configure APN settings. However, if you experience connectivity issues, manually checking and setting the APN to "internet" (without username/password) in your phone's cellular settings can resolve most data problems, especially on some Android devices.