

The eSIM Advantage: Why a QR Code is Your Best Travel Buddy
Remember those days, scrambling for a local SIM card the moment you landed? I do. I spent a good hour once in Terminal 3 at Changi Airport, after a brutal 16-hour flight, just trying to find an open counter for a Singtel card. The jet lag was real, the queue was long, and all I wanted was to tell my ride I'd arrived. eSIMs, especially those activated by a simple QR code, have truly changed that game, offering a smooth entry into staying connected.
For years, the ritual of landing in a new country meant a frantic search for a local mobile provider. In Lisbon's Baixa district, I once spent an entire afternoon hopping between Vodafone and MEO stores, only to realize I needed my passport, a local address, and a blood sample just to get a basic data plan. Exaggeration, maybe, but the frustration was palpable. The beauty of an eSIM is its sheer simplicity: no physical card to lose, no tiny ejector tool to forget, and certainly no awkward charades with a sales clerk who doesn't speak your language.
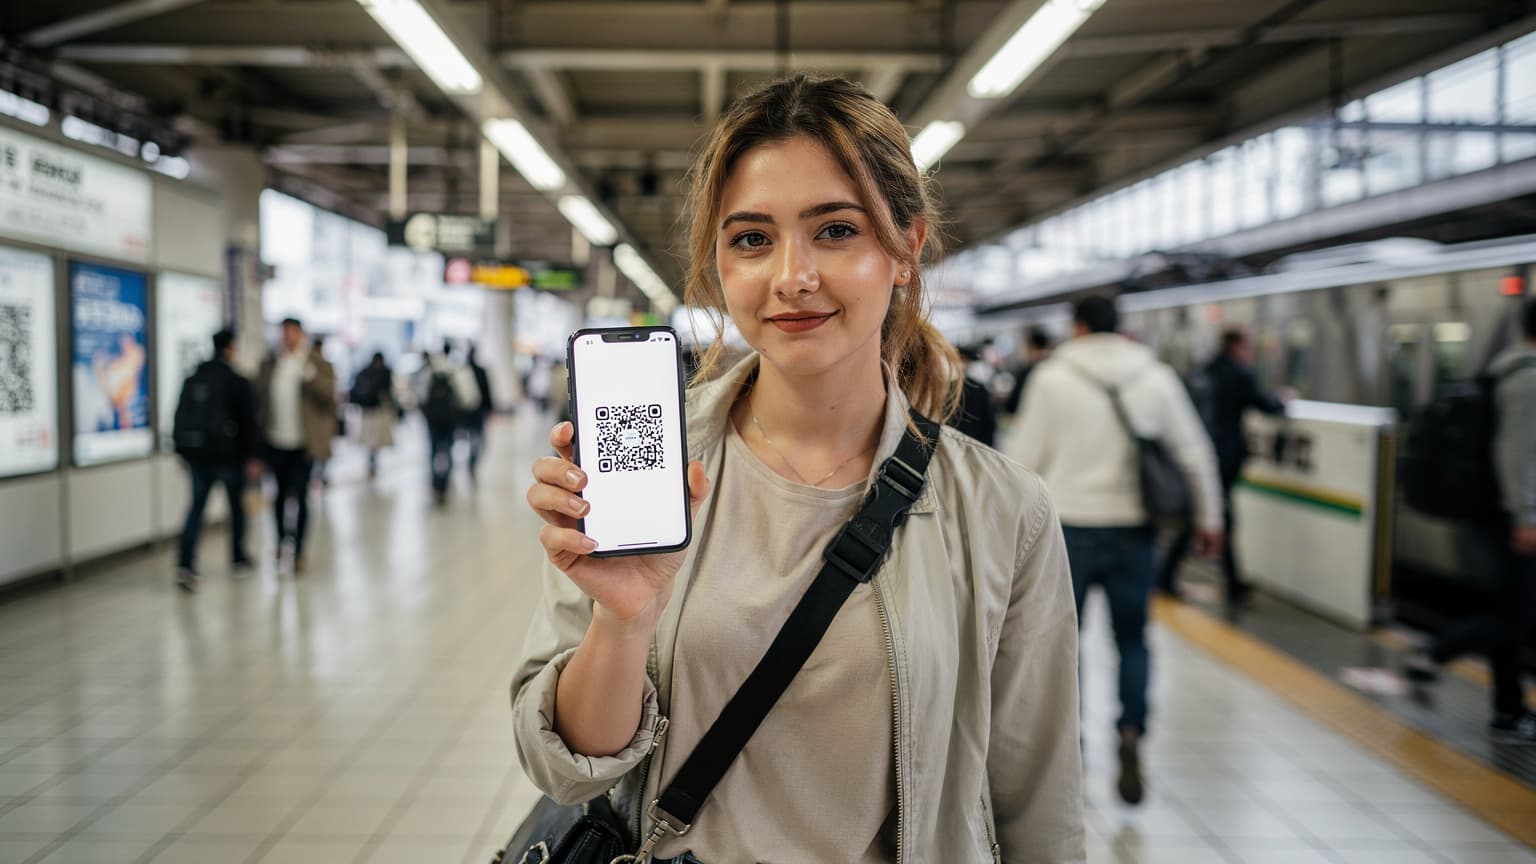
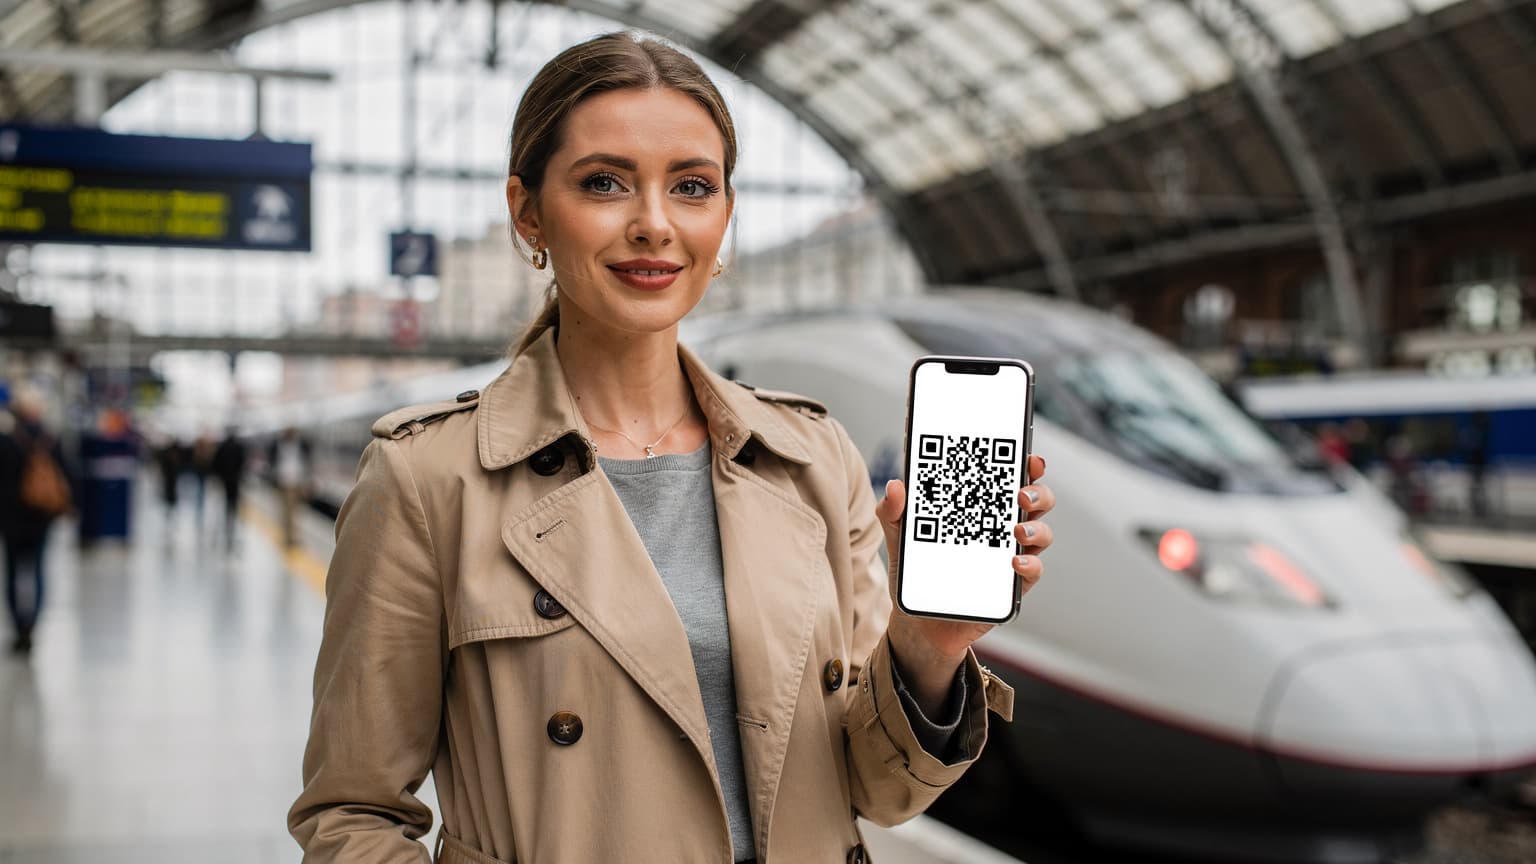
The QR code activation for a T-Mobile eSIM is, quite frankly, a revelation for anyone who values their sanity while traveling. You get an email, scan a code, and boom, you're connected. It's like magic, but it's just smart technology. This is especially useful when you're hitting the ground running, say, hopping directly onto the BVG in Berlin to get to your Airbnb in Prenzlauer Berg, and you need Google Maps working immediately.
What Exactly is an eSIM and How Does it Work with a QR Code?
Think of an eSIM as a digital SIM card, embedded directly into your phone. Instead of swapping out a physical chip, you download a profile onto this embedded chip. The QR code is simply the delivery mechanism for that profile. When you scan it, your phone automatically configures the necessary network settings, connecting you to the T-Mobile network, or your chosen international provider, as if you'd slipped in a traditional SIM.
This means your phone can hold multiple eSIM profiles, which is a blessing for frequent travelers. I typically keep my primary US number on one eSIM and load a Brazil eSIM for data when I'm exploring Ipanema Beach in Rio. It's a game-changer for managing different lines and data plans without the physical hassle.
Why T-Mobile Users Should Consider an eSIM for International Travel
T-Mobile has always positioned itself as a traveler-friendly carrier, with some plans offering basic international roaming. However, those basic speeds can often feel like dial-up internet from 1998, especially when you're trying to upload a high-res photo from the top of the Eiffel Tower, or stream a live video from a festival in downtown Los Angeles. An eSIM, particularly one you purchase from a third-party, can offer significantly faster speeds and more generous data allowances than T-Mobile's included roaming, often at a lower cost.
Moreover, having a dedicated international eSIM means you can keep your primary T-Mobile number active for calls and texts, while using the eSIM for all your data needs. This separation ensures you don't incur unexpected roaming charges for data, and you maintain a reliable connection wherever you roam. It's a smart strategy, especially if you're planning a long-stay adventure in places like the Galápagos, where reliable connectivity can be sparse and expensive.
Getting Your T-Mobile eSIM QR Code: The Nitty Gritty
So, you're convinced. You want the digital freedom of an eSIM. But how do you actually get that magical QR code from T-Mobile? It's not as complex as navigating the winding alleys of the Grand Bazaar, but there are a few paths you can take.
Requesting Your eSIM QR Code Directly from T-Mobile
Your first port of call is usually T-Mobile itself. They can issue you an eSIM QR code, essentially migrating your existing physical SIM to an eSIM, or setting up a new line. This is the most direct route if you want to stick with your T-Mobile plan for international use, or if you're getting a new T-Mobile device that's eSIM-only.
- Contact T-Mobile Customer Service: The easiest way is to call them or use their online chat. Explain that you need an eSIM profile for your device. They'll typically send you an email with the QR code. Make sure your email address on file is current.
- Visit a T-Mobile Store: If you prefer face-to-face interaction, head to a physical T-Mobile store. They can often generate a QR code for you on the spot, or print it out. Just remember, store hours can vary. Most T-Mobile stores in major US cities like New York or Los Angeles are open from 10:00 AM to 8:00 PM on weekdays, but always check ahead.
- Through the T-Mobile App or Website: Some T-Mobile plans allow you to request an eSIM directly through your account portal or the T-Mobile app. Look for options related to 'SIM & eSIM' or 'Device Management'. This is often the quickest method if available for your specific plan.
Keep in mind, T-Mobile's international roaming options, while convenient, aren't always the most robust. For a seamless Autumn 2026 city break in European capitals, you might find more comprehensive data plans from dedicated eSIM providers.
What If T-Mobile Doesn't Offer the Best Deal for Your Destination?
This is where the seasoned traveler's secret comes in. While T-Mobile offers eSIMs, their international data packages might not always be the most cost-effective or data-rich, especially if you're planning extensive data use, like live streaming from a crowded festival. Often, a third-party eSIM provider offers better rates and more flexible plans for specific regions or countries. This is where Cellesim, for instance, comes in, providing data plans that can often outcompete traditional carrier roaming.
Ensuring Your Device is eSIM Compatible
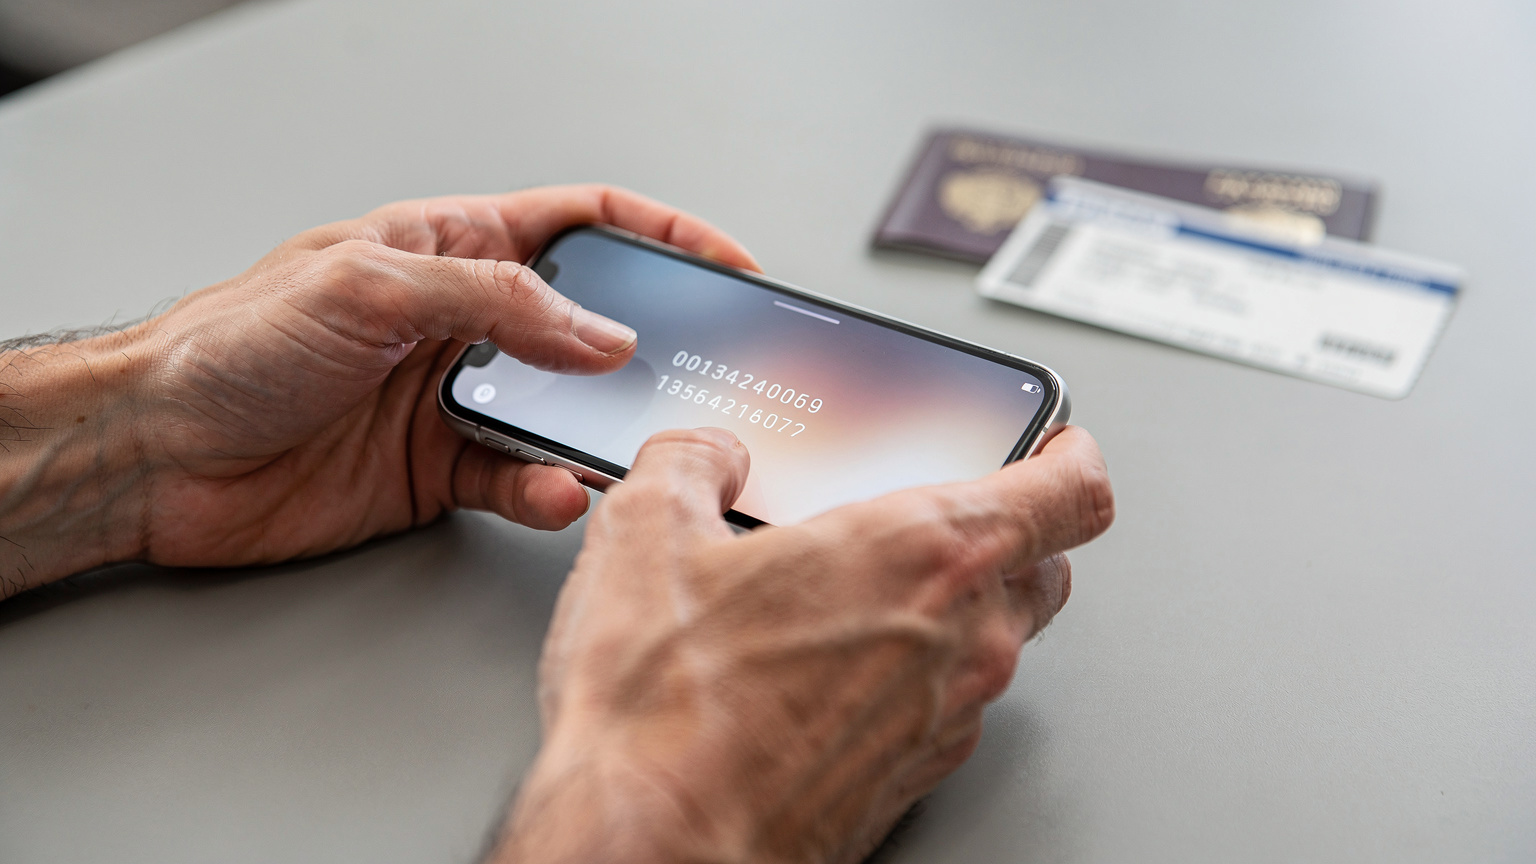
Before you even think about QR codes, confirm your phone supports eSIM technology. Most newer smartphones, especially those released in the last few years, are compatible. If you're rocking an iPhone XR or newer, a Samsung Galaxy S20 or newer, or a Google Pixel 3 or newer, you're likely good to go. If you're unsure, a quick search on your phone manufacturer's website will confirm it. I learned this the hard way trying to get an eSIM for an older Android phone in Da Nang, Vietnam, only to realize it wasn't supported. Always check!
Activating Your T-Mobile eSIM: A Step-by-Step Walkthrough
The activation process is surprisingly straightforward, especially if you've got a QR code in hand. It typically takes less time than ordering a coffee in Rome's Trastevere neighborhood (which, depending on the barista, can be lightning fast or a delightful, drawn-out affair).
For iPhone Users (iOS 15 or newer)
Apple has made eSIM activation incredibly intuitive. If you're an iPhone user, you'll find this process quite familiar.
- Open Settings: Tap the 'Settings' app icon on your home screen.
- Navigate to Cellular/Mobile Data: Select 'Cellular' (or 'Mobile Data' in some regions).
- Add eSIM: Tap 'Add eSIM' or 'Add Data Plan'.
- Scan QR Code: Choose 'Use QR Code'. Your camera will open. Position your phone so the QR code from T-Mobile (or your third-party provider) is centered in the frame.
- Confirm Activation: Follow the on-screen prompts to label your new plan (e.g., 'Travel Data', 'T-Mobile International') and set your preferred primary line for calls and texts.
- Test Connectivity: Once activated, try browsing a website or making a call to ensure everything is working correctly.
This is usually where I take a deep breath, verify my connection, and then promptly open Google Maps to figure out the fastest ATM metro route from my hotel in Milan's Brera district to the Duomo.
For Android Users (Google Pixel, Samsung Galaxy, etc.)
Android devices also have a streamlined process, though the exact menu names might vary slightly depending on your phone's manufacturer and Android version.
- Open Settings: Find and tap the 'Settings' icon.
- Network & Internet: Select 'Network & Internet' or 'Connections'.
- SIMs / Mobile Network: Tap 'SIMs' or 'Mobile Network'.
- Add Mobile Plan/eSIM: Look for 'Add Mobile Plan' or 'Download a SIM'.
- Scan QR Code: Choose to 'Scan QR code'. Line up the QR code with your camera.
- Configure & Activate: Follow the prompts to configure your new eSIM. You might be asked to name the plan or set it as your preferred data SIM.
- Verify Connection: Once the process is complete, check your internet connection by opening a browser or an app.
If you're using a Samsung phone, you might find the option under 'Settings' > 'Connections' > 'SIM card manager'. It's always a good idea to ensure you're doing this in a place with stable Wi-Fi, just in case you need to re-download the profile.
Important Considerations During Activation
- Stable Wi-Fi Connection: Ensure you have a strong Wi-Fi connection during the activation process. The eSIM profile needs to be downloaded, and a flaky connection can cause issues.
- Avoid Activating Too Early: While tempting, don't activate your international eSIM weeks before your trip. Most plans start counting down from activation. Wait until a day or two before you depart, or even upon arrival.
- Keep the QR Code Handy: If you ever need to reinstall your eSIM (say, you factory reset your phone or move the eSIM to a new device), you'll need that QR code again. Save it, print it, email it to yourself.
Troubleshooting Common eSIM QR Code Issues
Even with the most straightforward technology, sometimes things go sideways. I've had my share of connectivity woes, from trying to get online in a remote part of Patagonia to realizing I'd accidentally deleted my eSIM profile while debugging another issue. Most eSIM QR code activation problems are minor and easily fixed.
Related reading
 eSIM 101 / Tech Hub
iPhone 18 eSIM Ön Siparişi: 2026'da Yurt Dışında İlk Günden Bağlantı Kurun
Yeni iPhone 18'inizi 2026'da heyecanla bekliyorsanız, yurt dışı seyahatleriniz için bağlantı planınızı da şimdiden yapın. eSIM teknolojisi sayesinde, cihazınız elinize ulaşır ulaşmaz global ağlara bağlanabilir, roaming ücretlerinden kaçınarak kesintisiz veri erişimi sağlayabilirsiniz. İşte iPhone 18'iniz için eSIM ön hazırlık rehberi.
 Sophie Clarke
 eSIM 101 / Tech Hub
iPhone eSIM Activation: Your Technical Guide for Seamless Travel Data 2026
Mobil ağ mühendisi gözünden, iPhone'unuzda eSIM etkinleştirme sürecini derinlemesine inceleyin. Seyahat ederken veri bağlantınızı sorunsuz hale getirmek için adım adım talimatlar, iOS sürüm farklılıkları ve yaygın tuzaklar hakkında teknik detaylar sunuyoruz.
 James Sterling
 eSIM 101 / Tech Hub
Family Travel, Big Screens: eSIM for PCs and Laptops in 2026
Traveling with devices and kids is a logistical puzzle, but eSIM for laptops and PCs can be a game-changer for staying connected without breaking the bank. Learn how to manage data for streaming, schoolwork, and keeping everyone happy, from airport lounges to theme park queues, all while avoiding costly hotel Wi-Fi.
 Mike Donovan
T-Mobile eSIM QR Code: Easy Activation for Your Next Trip
Related reading
eSIM 101 / Tech HubiPhone 18 eSIM Ön Siparişi: 2026'da Yurt Dışında İlk Günden Bağlantı Kurun
Yeni iPhone 18'inizi 2026'da heyecanla bekliyorsanız, yurt dışı seyahatleriniz için bağlantı planınızı da şimdiden yapın. eSIM teknolojisi sayesinde, cihazınız elinize ulaşır ulaşmaz global ağlara bağlanabilir, roaming ücretlerinden kaçınarak kesintisiz veri erişimi sağlayabilirsiniz. İşte iPhone 18'iniz için eSIM ön hazırlık rehberi.
Sophie ClarkeeSIM 101 / Tech HubiPhone eSIM Activation: Your Technical Guide for Seamless Travel Data 2026
Mobil ağ mühendisi gözünden, iPhone'unuzda eSIM etkinleştirme sürecini derinlemesine inceleyin. Seyahat ederken veri bağlantınızı sorunsuz hale getirmek için adım adım talimatlar, iOS sürüm farklılıkları ve yaygın tuzaklar hakkında teknik detaylar sunuyoruz.
James SterlingeSIM 101 / Tech HubFamily Travel, Big Screens: eSIM for PCs and Laptops in 2026
Traveling with devices and kids is a logistical puzzle, but eSIM for laptops and PCs can be a game-changer for staying connected without breaking the bank. Learn how to manage data for streaming, schoolwork, and keeping everyone happy, from airport lounges to theme park queues, all while avoiding costly hotel Wi-Fi.
Mike Donovan