The Dreaded 'No Service': What T-Mobile eSIM QR Code Problems Look Like
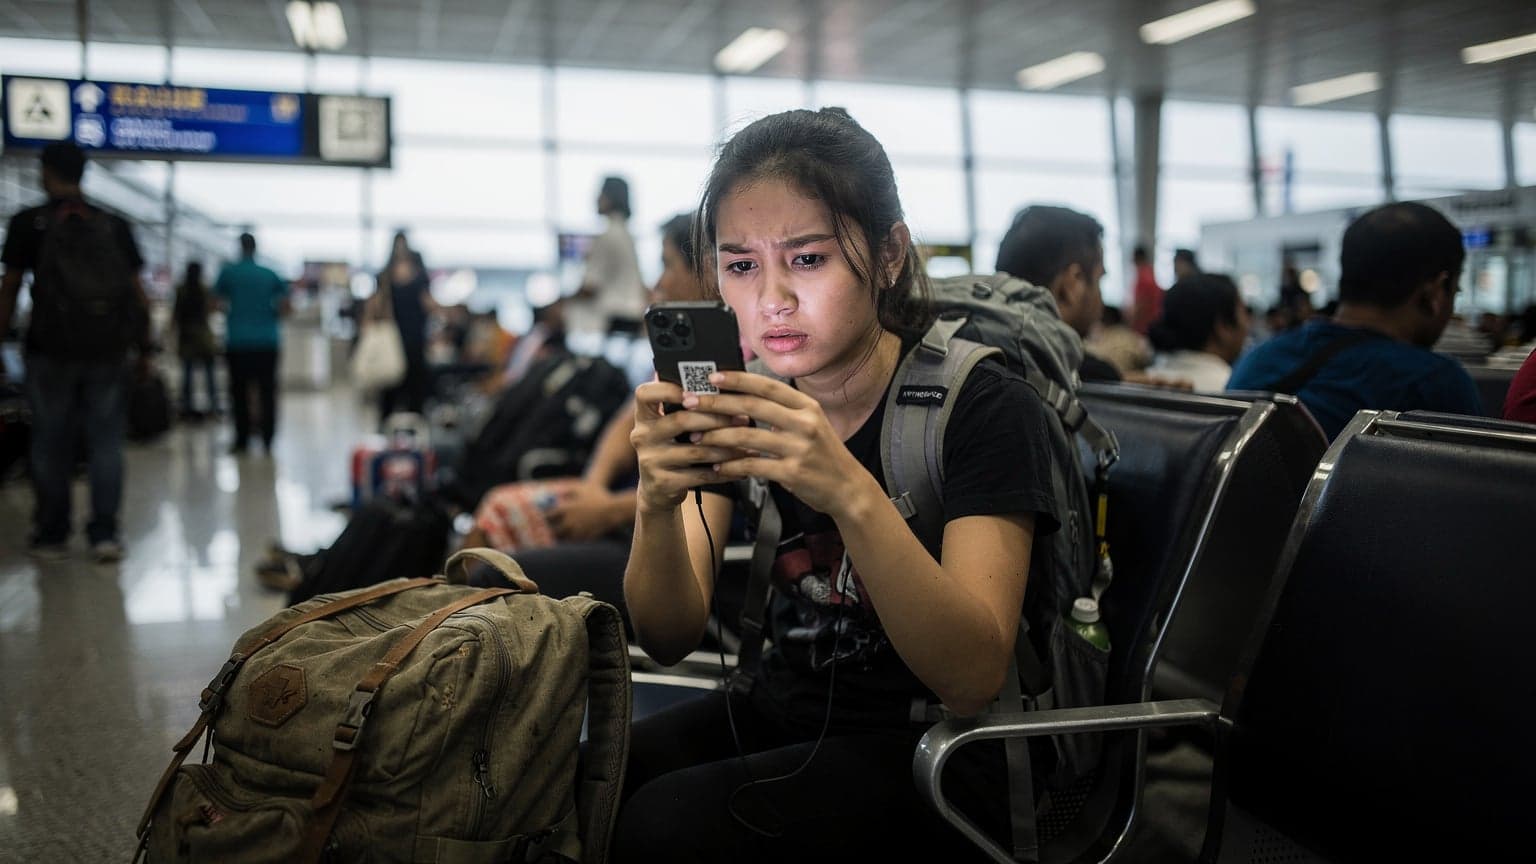
You've just landed in Medellín, Colombia, excited to grab a cheap bus to the city center and find your hostel in El Poblado. You pull out your phone, ready to scan the T-Mobile eSIM QR code you got before leaving, only to be met with a stubborn error message or, worse, just a blank stare from your phone. No 'T-Mobile' network popping up, no data signal, just the ominous 'No Service' or a spinning wheel. This isn't just an inconvenience, it's a budget killer if you suddenly need to rely on expensive airport Wi-Fi or, god forbid, T-Mobile's roaming rates.
I've been there, staring at my phone, trying to connect to a T-Mobile eSIM in a dusty bus station in Arequipa, Peru, after crossing the border from Bolivia. The QR code just wouldn't take. It felt like I'd just blown €280 on data for nothing, a budget backpacker's nightmare. The issues typically fall into a few categories:
- QR Code Won't Scan: Your phone's camera simply refuses to register the code, or it tries and then errors out.
- Activation Failed: The scan appears successful, but then your phone reports a generic activation failure, leaving your eSIM profile stuck in a pending state.
- 'No Service' After Activation: The eSIM seems to activate, but you still can't connect to a network, often showing 'No Service' or 'Searching'.
- Profile Not Showing: You've tried to add it, but the eSIM profile doesn't even appear in your cellular settings.
These aren't just minor glitches; they can mean the difference between finding your way to a €10 hostel bed or being forced into an €80 airport hotel because you can't access Google Maps. Believe me, I've tracked every euro, and these unexpected costs sting.
First Line of Defense: The Checklist Before You Panic
Before you start pulling your hair out or spending precious euros on an international call to T-Mobile, let's run through the basic, tactical checks. Many of these issues are surprisingly simple to fix.
Is Your Device eSIM Compatible and Unlocked?
First things first: not all phones are created equal. You need a device that actually supports eSIM. Most iPhones since the XS, many Samsung Galaxy models (S20 onwards), and Google Pixel phones (Pixel 3 onwards) are good to go. But double-check, especially if you're using an older model. More importantly, your phone must be unlocked. If you bought your phone directly from T-Mobile on a payment plan, it might be locked to their network. A locked phone won't accept any eSIM that isn't from T-Mobile.
Stable Wi-Fi Connection is Non-Negotiable
This is often overlooked. To download and activate an eSIM profile, your phone needs a stable internet connection. Trying to do this on a flaky connection in a remote village or a heavily congested airport Wi-Fi (looking at you, Heathrow Terminal 5) is a recipe for failure. Find a strong, reliable Wi-Fi signal. Sometimes, even the hostel's common room Wi-Fi is better than the airport's.
Basic Device Troubleshooting: Restart and Update
It sounds cliché, but a simple restart can work wonders. Turn your phone off completely, wait 30 seconds, then turn it back on. This refreshes the network connections and can clear out temporary software glitches. Also, make-sure your phone's operating system (iOS or Android) is up to date. Outdated software can cause compatibility issues with new eSIM profiles.
Manual Activation: When the QR Scanner Fails You
If the QR code scanner is giving you grief, don't throw in the towel. Most eSIM providers, including T-Mobile, offer a manual activation option. This usually involves entering a long code and a confirmation number.
Step-by-Step Manual eSIM Installation
Here's how you typically do it on an iPhone (Android steps are similar, just look for 'Network & Internet' or 'Connections' in settings):
- Go to Settings: Open the 'Settings' app on your iPhone.
- Navigate to Cellular: Tap on 'Cellular' (or 'Mobile Data').
- Add eSIM: Tap 'Add eSIM' or 'Add Data Plan'.
- Choose Manual: When prompted to scan a QR code, look for the option to 'Enter Details Manually' or 'Use QR Code from another device'.
- Enter SM-DP+ Address and Activation Code: You'll usually need two pieces of information: the SM-DP+ Address and an Activation Code. T-Mobile should provide these in the email or physical card that contained your QR code. Type these in carefully, making sure there are no typos (it's easy to mix up 0 and O, or 1 and l).
- Confirm and Activate: Follow the on-screen prompts to confirm and activate the eSIM. Your phone will then attempt to connect to the T-Mobile network.
This method bypasses any camera issues or QR code formatting problems. It's saved my bacon more times than I can count, especially with those crumpled printouts I've kept in my travel wallet for months.
Checking for Activation Errors After Manual Entry
Even with manual entry, errors can occur. If you get an error, note the exact message. It might point to a specific issue like an incorrect code or a network problem. Double-check your entry. One wrong character can ruin the whole process.
T-Mobile Support: Navigating the Maze from Abroad
Sometimes, despite all your best efforts, you just need to talk to a human. This is where T-Mobile support comes in, but calling from abroad can be a pain and, more importantly, a cost. My rule of thumb: if I can't fix it within 30 minutes, it's time to call. But strategically.
Contacting T-Mobile Without Breaking the Bank
You're in a foreign country, your T-Mobile line might not be working, and you don't want to burn through your emergency cash. Here's the play:
- Use Wi-Fi Calling: If you have access to Wi-Fi, enable Wi-Fi Calling on your device. This allows you to call T-Mobile's customer service number (+1-505-998-3793 for international roaming support) as if you were in the US, without incurring international calling charges.
- T-Mobile App Messaging: The T-Mobile app often has a messaging feature where you can chat with support. This is a great, free option if you have Wi-Fi.
- Social Media: Sometimes, a quick message to T-Mobile's support accounts on X (formerly Twitter) or Facebook can get a faster response than waiting on hold.
When you contact them, be prepared with your account information, the exact error message, and the steps you've already taken. This will speed up the troubleshooting process considerably.
What Information T-Mobile Will Need
To help you efficiently, T-Mobile support will likely ask for:
- Your T-Mobile phone number and account PIN.
- The specific error message you're seeing.
- The country you are currently in.
- The make and model of your device.
- The SM-DP+ Address and Activation Code you received.
Border Crossing Battles and eSIM Activation Timing
This is where things get really tactical for backpackers. I've learned the hard way that when and where you try to activate your eSIM can be the difference between smooth sailing and being stranded. Once, crossing from Laos into Cambodia via the dusty Chong Mek-Vang Tao border, my T-Mobile eSIM decided to play dead. Lesson learned: don't wait until you're literally at the border.
The Pre-Landing Activation Strategy
The best time to activate your T-Mobile eSIM is actually before you land in your destination country. While you're still in the airport with reliable Wi-Fi, or even better, at home before you leave. This gives you a buffer to troubleshoot any issues without the immediate pressure of needing directions or an Uber. Many eSIMs, including Cellesim's, allow you to install the profile without activating the data plan until you arrive, letting you pick a start date.
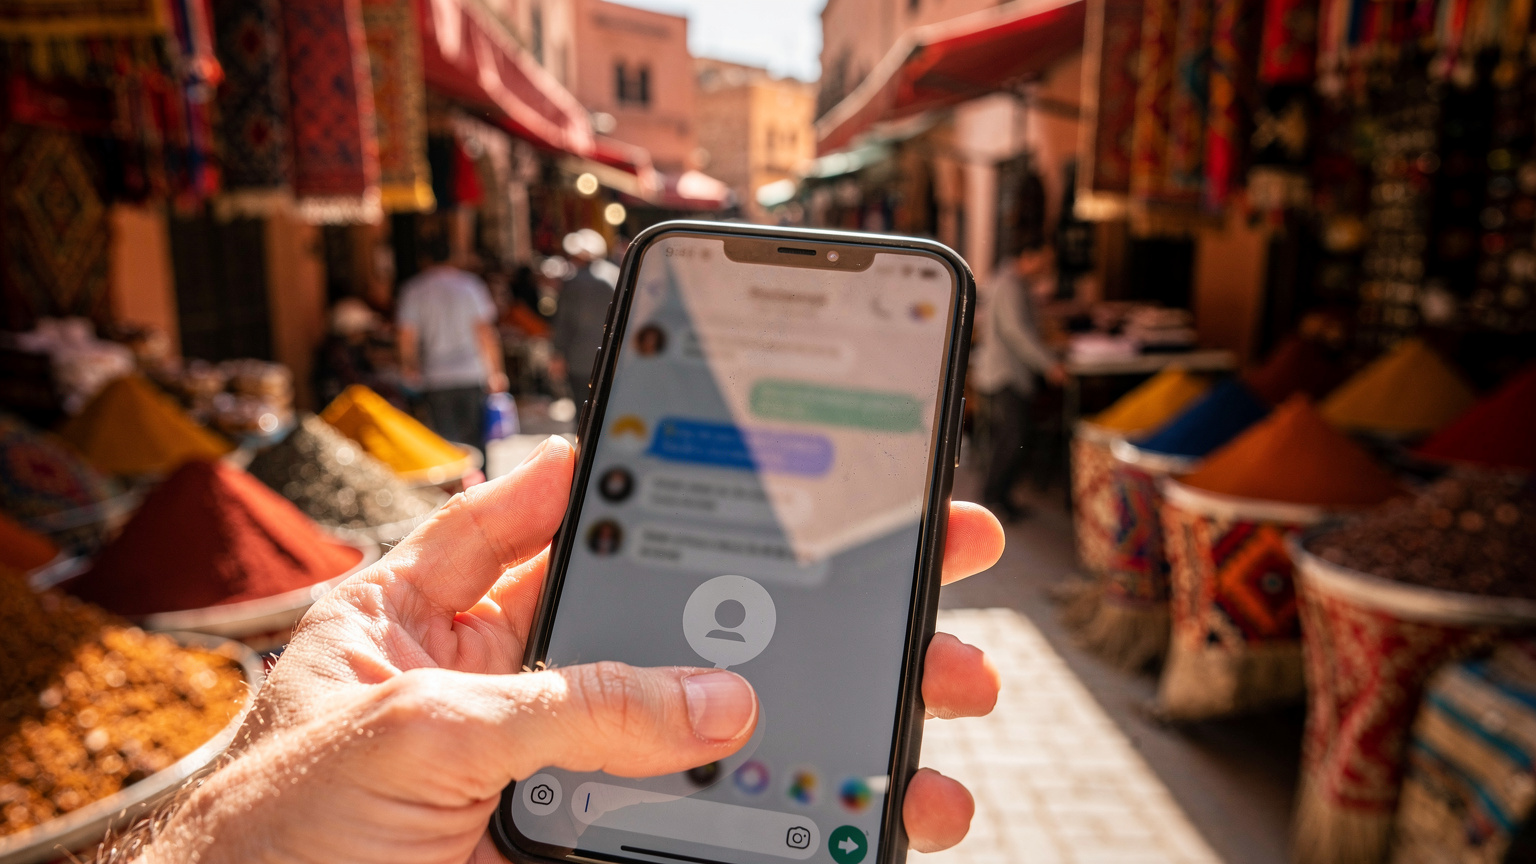
Dealing with Cross-Border Network Handoffs
Some T-Mobile plans, especially their international roaming options, are designed to seamlessly hand off between networks in different countries. However, if your eSIM activation failed, this handoff won't happen. When crossing borders, especially overland, sometimes your phone clings to the previous country's network for a bit, even if you have a new eSIM. Try manually selecting the network operator in your phone's settings (Settings > Cellular > Network Selection). Look for T-Mobile's roaming partners in the new country, which you can usually find on T-Mobile's international roaming page.
The Schengen Zone Edge Case
Traveling through the Schengen Zone (most of Europe, for those keeping score) with a T-Mobile eSIM can be tricky if you're not careful. While T-Mobile offers roaming in many European countries, if your eSIM specifically has issues, you might find yourself without service when hopping from, say, Germany to Austria. This is where a multi-country eSIM from Cellesim really shines, offering seamless connectivity across borders without needing to reactivate. For more on navigating data in Europe, check out this savvy traveler's guide.
The Backup Plan: Local SIMs vs. Secondary eSIMs
A smart backpacker always has a backup plan, especially for data. While I'm a huge proponent of eSIMs for their convenience, sometimes the cheapest local physical SIM can't be beaten, or you need another eSIM to get you out of a jam.
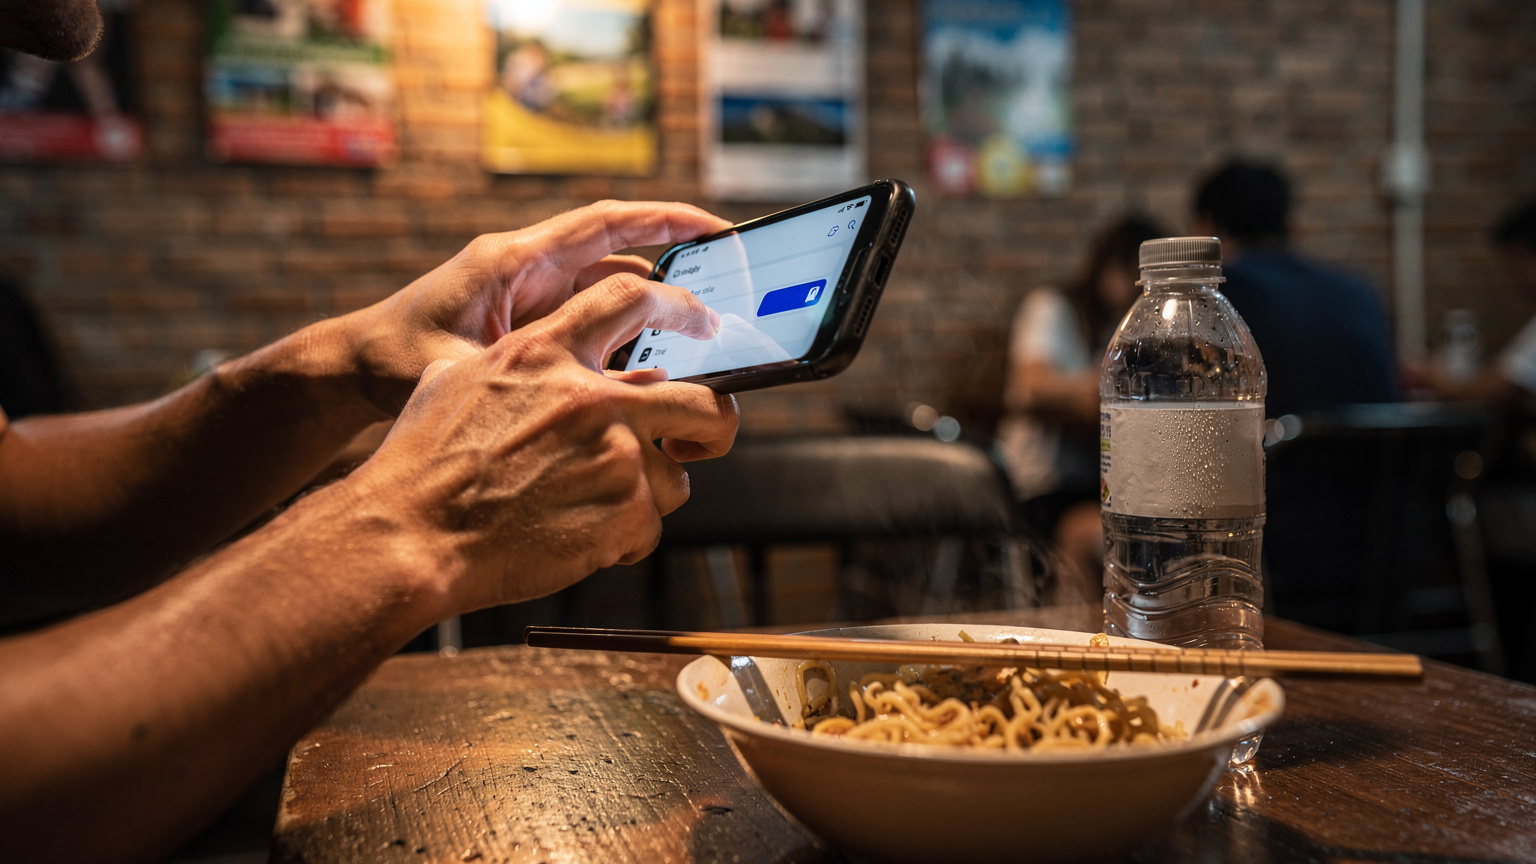
When a Local Physical SIM Card is Your Cheapest Bet
For sheer rock-bottom price, especially if you're staying in one country for an extended period (say, a month in Thailand), a local physical SIM card might still be the cheapest option. In Bangkok, for example, you can grab a 'Tourist SIM' from AIS or TrueMove H right at Suvarnabhumi Airport for around 300-500 THB (€8-€14) for 15-30 GB of data. That's hard to beat if you're staying put. The catch? You need to find a vendor, deal with activation, and swap out your primary SIM, often losing access to your home number. Plus, those booths at the airport sometimes have sketchy operating hours, and you don't want to be hunting for a phone shop in a foreign city at 1 AM.
| Feature | Cellesim Multi-Country eSIM | Local Physical SIM | T-Mobile eSIM (if working) |
|---|---|---|---|
| Cost (example: 10GB/30 days Europe) | €18-€25 | €15-€30 (single country) | Included in plan (roaming) or €30+ (add-on) |
| Convenience | Instant activation, no physical swap | Requires physical purchase & swap | Seamless if activated, but can fail |
| Multi-Country Support | Excellent, seamless transitions | None, country-specific | Good (if part of plan) |
| Activation Difficulty | Easy QR code/manual entry | Can require passport/ID registration | QR code issues common |
| Keep Home Number | Yes, use for calls/texts | No, requires dual-SIM phone | Yes |
| Emergency Backup | Excellent secondary option | Decent, but less immediate | No, if primary fails |
Why a Secondary eSIM is Often Superior for Troubleshooters
This is where Cellesim shines as a backup. If your T-Mobile eSIM isn't working, having a Cellesim USA eSIM or a regional plan ready to go means you can activate it within minutes, using its own QR code, and get back online. You don't need to find a store, fill out forms, or deal with language barriers. It's a lifesaver for situations like the T-Mobile QR code failure. I've personally used a secondary Cellesim eSIM to get online in moments of crisis, like when my primary data provider unexpectedly throttled me in Vietnam.
My Data Budget Breakdown: Why eSIMs Win
I track every euro, from the cost of a Bintang in Bali to a night bus from Split to Dubrovnik. When it comes to data, my goal is always maximum connectivity for minimum spend. Here's why eSIMs, despite the occasional T-Mobile QR code hiccup, generally win my budget vote.
The €280 Data Story: 8 Days, 4 Countries, Zero Stress
Remember that €280 I mentioned earlier? That was the total data cost for a recent 8-day whirlwind through the Baltics: Estonia, Latvia, Lithuania, and a quick hop into Poland. My average data consumption is around 2GB per day (maps, WhatsApp, hostel research, uploading short videos for my Substack). So, 8 days x 2GB/day = 16GB total. Instead of relying on a problematic T-Mobile eSIM or buying four separate local SIMs, I opted for a Cellesim regional Europe plan offering 20GB for €28. That's €1.75/GB. Compared to T-Mobile's International Day Pass, which is around €10/day for 512MB at high speed then throttled (so €80 for 4GB in 8 days, if you don't use much), it's a no-brainer. Even if you factor in the cost of a free eSIM trial to test connectivity, the savings are massive.
| Data Option | Cost per GB (Approx.) | Countries Covered | Flexibility |
|---|---|---|---|
| Cellesim Regional eSIM | €1.50 - €3.00 | Many (multi-country packs) | High, pay-as-you-go top-ups |
| T-Mobile Roaming (Day Pass) | €20 (for first 512MB, then throttled) | 100+ | Low, daily charge regardless of use |
| Local Physical SIM | €0.50 - €2.00 | Single country | Medium, depends on local carrier |
| T-Mobile International Add-on | €5 - €10 | Specific regions | Medium, fixed bundles |
Why eSIMs Beat Roaming Charges and Local Hassle
The math is simple. Roaming with T-Mobile, even with their 'Un-carrier' promises, can still hit your wallet hard if you exceed daily limits or if your plan doesn't include high-speed data in every country. A dedicated travel eSIM lets you:
- Control Costs: You buy exactly the data you need, for the region you're in. No surprise bills.
- Keep Your Home Number: Your T-Mobile line stays active for calls and texts (on Wi-Fi or for emergencies), while your eSIM handles data. This is clutch for 2FA codes.
- Seamless Multi-Country Travel: No more swapping SIMs at every border. My Cellesim plan for digital nomad life in Cape Town meant I was connected from the minute I landed.
Preventative Measures: Activate Before You Land
The best way to deal with a T-Mobile eSIM QR code not working is to prevent it from happening in the first place. A little foresight goes a long way, especially when you're on a tight schedule and budget.
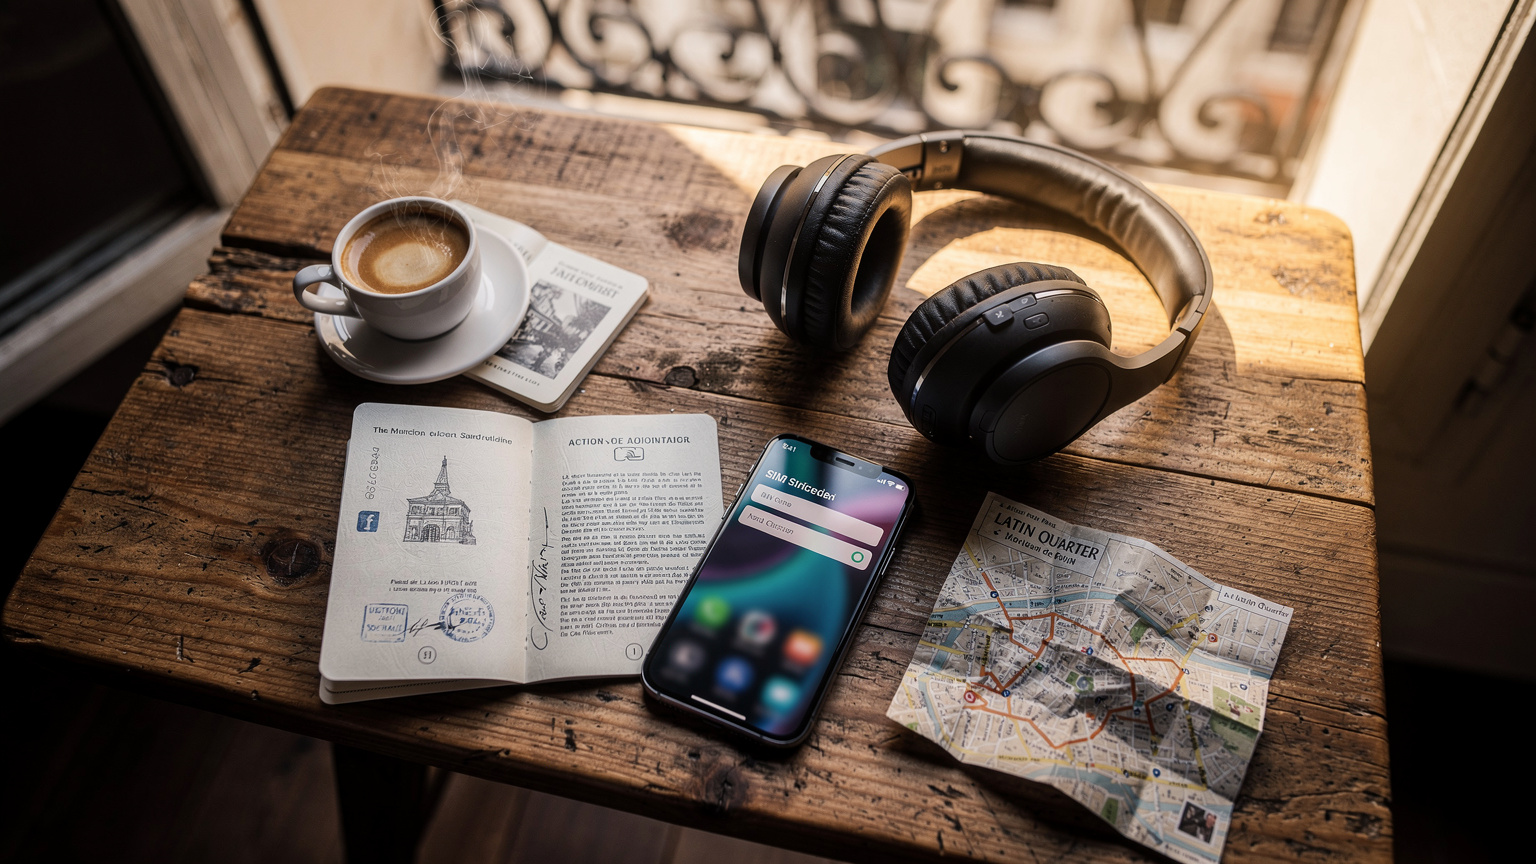
Download and Install While Still at Home
This is my golden rule. Purchase your Cellesim eSIM or get your T-Mobile eSIM QR code well in advance of your trip. Then, download and install the eSIM profile on your phone before you even leave your house. You'll have reliable Wi-Fi, time to troubleshoot, and immediate access to T-Mobile's US-based customer service if anything goes wrong. This also ensures you have a data connection the moment your plane touches down, which is essential for ordering that cheap taxi or finding the local bus. For example, my iPhone 17 eSIM setup guide walks through this exact process.
Double-Check T-Mobile International Roaming Settings
Even if your eSIM activates, sometimes T-Mobile's international roaming settings can be a culprit. Go into your cellular settings and ensure that 'Data Roaming' is enabled for your T-Mobile line. Also, check that your T-Mobile plan actually includes international data in your destination country. Some older plans might not, or they might have very limited data allowances.
Consider a Dedicated Travel eSIM as Primary
If T-Mobile eSIM issues are a recurring headache, or if you're traveling extensively, consider making a dedicated travel eSIM (like Cellesim) your primary data line while abroad. This completely bypasses any T-Mobile-specific activation issues and often provides better value and more reliable local network access. Your T-Mobile line can then be used solely for calls and texts, or kept on Wi-Fi only mode.
Final Thoughts: Don't Let Data Drama Ruin Your Trip
Getting stranded without data in a foreign country is more than just inconvenient; it can be genuinely stressful and expensive. I've seen travelers miss their night train from Budapest to Krakow because they couldn't access their e-ticket, all due to a data issue. Whether it's a T-Mobile eSIM QR code giving you grief or some other connectivity snag, being prepared is your best defense.
Always have a backup, understand the cheapest local options, and leverage the power of a dedicated travel eSIM like Cellesim. It's not about avoiding T-Mobile, it's about being smart with your money and ensuring you're always connected, no matter where your next adventure takes you. My goal isn't just to save a few euros, it's to guarantee smooth travels and zero data drama. Happy travels, and may your QR codes always scan on the first try!
Frequently Asked Questions
Why is my T-Mobile eSIM QR code not scanning?
Often, the issue is a poor internet connection during the initial setup, a damaged QR code image, or a dirty phone camera lens. Ensure strong Wi-Fi, try cleaning your camera, and make sure the QR code is displayed clearly on a screen or a flat, well-lit surface.
Can I manually activate my T-Mobile eSIM if the QR code fails?
Yes, T-Mobile typically provides a manual activation code (SM-DP+ Address and Activation Code) alongside the QR code. You can enter these details directly into your phone's cellular settings under the 'Add eSIM' or 'Add Data Plan' options.
What should I do if my T-Mobile eSIM activates but shows 'No Service'?
First, restart your phone. If that doesn't work, manually select a network operator in your phone's cellular settings. Check T-Mobile's website for their international roaming partners in your current country. Ensure 'Data Roaming' is enabled for your T-Mobile line.
Will contacting T-Mobile support from abroad cost me money?
If your T-Mobile line isn't working for calls, use Wi-Fi Calling to contact their international roaming support number (+1-505-998-3793) over Wi-Fi, which is usually free. Alternatively, use the T-Mobile app's messaging feature or social media channels for support.
Is it better to activate my T-Mobile eSIM before I leave home or after I land?
Activating your T-Mobile eSIM before you leave home, or while you're still in an airport with stable Wi-Fi, is always recommended. This allows you to troubleshoot any issues without the immediate pressure of needing connectivity in a foreign country.
Should I get a local physical SIM or a separate eSIM if my T-Mobile eSIM fails?
If your T-Mobile eSIM fails, a secondary travel eSIM from a provider like Cellesim is generally more convenient for immediate activation and multi-country travel. A local physical SIM can be cheaper for long stays in a single country, but requires more effort to acquire and activate.