Destination Guides

Telkomsel eSIM Indonesia: Tourist SIM or Digital Convenience for 2026?

Installation Guides (iOS/Android)TroubleshootingDevice Compatibility ListsAPN SettingsTech Education

Based in the academic city of Oxford, Emma Wright is the Education Lead for Cellesim. Emma specializes in demystifying technology. She writes easy-to-follow, step-by-step guides on how to install and activate eSIMs on iPhones, Samsungs, and Pixels. Her clear tutorials help travelers overcome technical anxiety, ensuring that setting up their internet connection is as easy as scanning a menu.

This article was created with AI assistance and reviewed by our editorial team for accuracy.

For 2026 travel in Indonesia, a Telkomsel eSIM generally offers more digital convenience and a smoother activation process compared to purchasing a physical tourist SIM, especially for short to medium stays, allowing travelers to manage their connectivity remotely and avoid airport queues.

Indonesia Connectivity: Why It Matters More Than You Think

I've been in and out of Indonesia for years, often setting up shop for months at a time, mostly in Bali and Java. Let me tell you, reliable internet isn't a luxury here, it's a lifeline. From coordinating scooter rentals on WhatsApp to finding the nearest Warung on Google Maps when you're utterly lost in Denpasar, staying connected is paramount. Forget the dreamy postcard images, what you really need is a data plan that works when you need it most, without a fuss.

My first few trips involved the usual airport scramble for a local SIM, followed by the inevitable frustration of trying to register it with my foreign passport. Those days are largely over for me, and they should be for you too. The digital nomad scene in places like Canggu thrives on seamless connectivity. You'll often find me at places like Dojo Bali, a co-working space where the Wi-Fi is consistently strong, or even just a decent coffee shop like Revolver Espresso, but even then, a solid mobile connection is essential for backup or when you're out and about.

The Reality of Getting Online in Indonesia

Indonesia's mobile network landscape is dominated by Telkomsel, known for its extensive coverage, particularly across the islands. However, getting that coverage into your phone used to be a physical ordeal. Now, with the rise of eSIM technology, the game has changed. But is Telkomsel's eSIM truly ready for prime time for tourists and long-stay visitors?

Why Your Old Habits Might Not Serve You Well

Many travelers still default to buying a physical SIM card upon arrival. It's what we know, what we've always done. But in 2026, with increasing digital infrastructure and stricter SIM registration rules, clinging to old habits can cost you time, money, and unnecessary stress. Think about it: a few minutes saved at the airport means more time on the beach, or heading straight to your Airbnb in Seminyak, where a decent one-bedroom apartment might set you back IDR 5,000,000 to IDR 8,000,000 (around $320-$510 USD) a month.

Physical Telkomsel SIM: The Old Guard's Hassles

The traditional way to get connected in Indonesia is to buy a physical Telkomsel SIM card. You'll find vendors everywhere: at the airport, in convenience stores like Indomaret and Alfamart, and dedicated Telkomsel shops. It seems straightforward, but there are catches.

The Airport Scramble and Its Hidden Costs

Walking out of Ngurah Rai International Airport (DPS) in Bali, you'll be bombarded with offers for tourist SIMs. They're usually bundled with data plans and sometimes seem like a good deal. The problem is, these airport kiosks often charge a premium, sometimes 20-30% more than what you'd pay in a local shop. Plus, you're tired, probably jet-lagged, and just want to get to your accommodation. The last thing you need is a lengthy registration process.

A traveler looks confused and frustrated, holding a physical SIM card and her phone, while standing in a busy airport arrivals hall in Bali, trying to register it.

The Infamous SIM Registration Process

Indonesia has a mandatory SIM registration policy for all users, including tourists. This requires linking your SIM to your passport number and sometimes your IMEI (International Mobile Equipment Identity). It's designed to combat illegal SIM usage, but it's a pain for travelers. I've seen countless friends struggle with this. Sometimes the system is slow, sometimes the vendor doesn't quite know how to handle foreign passports, and sometimes, even after successful registration, the SIM just doesn't activate immediately. For a long-stay nomad, a physical SIM needs to be registered for a longer period, sometimes requiring a visit to a Telkomsel Grapari (service center) if the initial vendor registration isn't robust enough. This is a common point of failure for new arrivals.

Device Unlocking and Dual SIM Considerations

If your phone is locked to your home carrier, a physical Telkomsel SIM won't work. This is a fundamental hurdle many first-time international travelers overlook. Make sure your device is unlocked before you leave, or you'll be stuck. For those with dual-SIM physical phones, you'll be sacrificing one of your slots for the local SIM, which might be fine if you're not juggling multiple numbers. But if you're like me and prefer to keep your primary number active for banking two-factor authentication, it's a compromise. You can learn more about unlocking your iPhone for eSIM if you're considering a more flexible approach.

The eSIM Advantage: What Makes It Smarter for Indonesia

Okay, let's talk about why eSIMs are usually my go-to for pretty much anywhere these days, and especially for Indonesia. It boils down to convenience and control, two things that are gold when you're navigating a new country.

No Physical Swapping or Losing Your Home SIM

This is huge. I've heard too many horror stories, and experienced a few myself, of tiny home SIM cards going missing when swapped out in a dimly lit airport bathroom or a bumpy Grab car. With an eSIM, your home SIM stays safe in your phone. You just activate the new digital profile. No fumbling with ejector tools, no tiny plastic cards to lose. It's just a few taps on your phone, and you're connected. It’s the kind of seamless experience you expect when you're trying to figure out which Gojek driver is yours.

Remote Activation: Before You Even Land

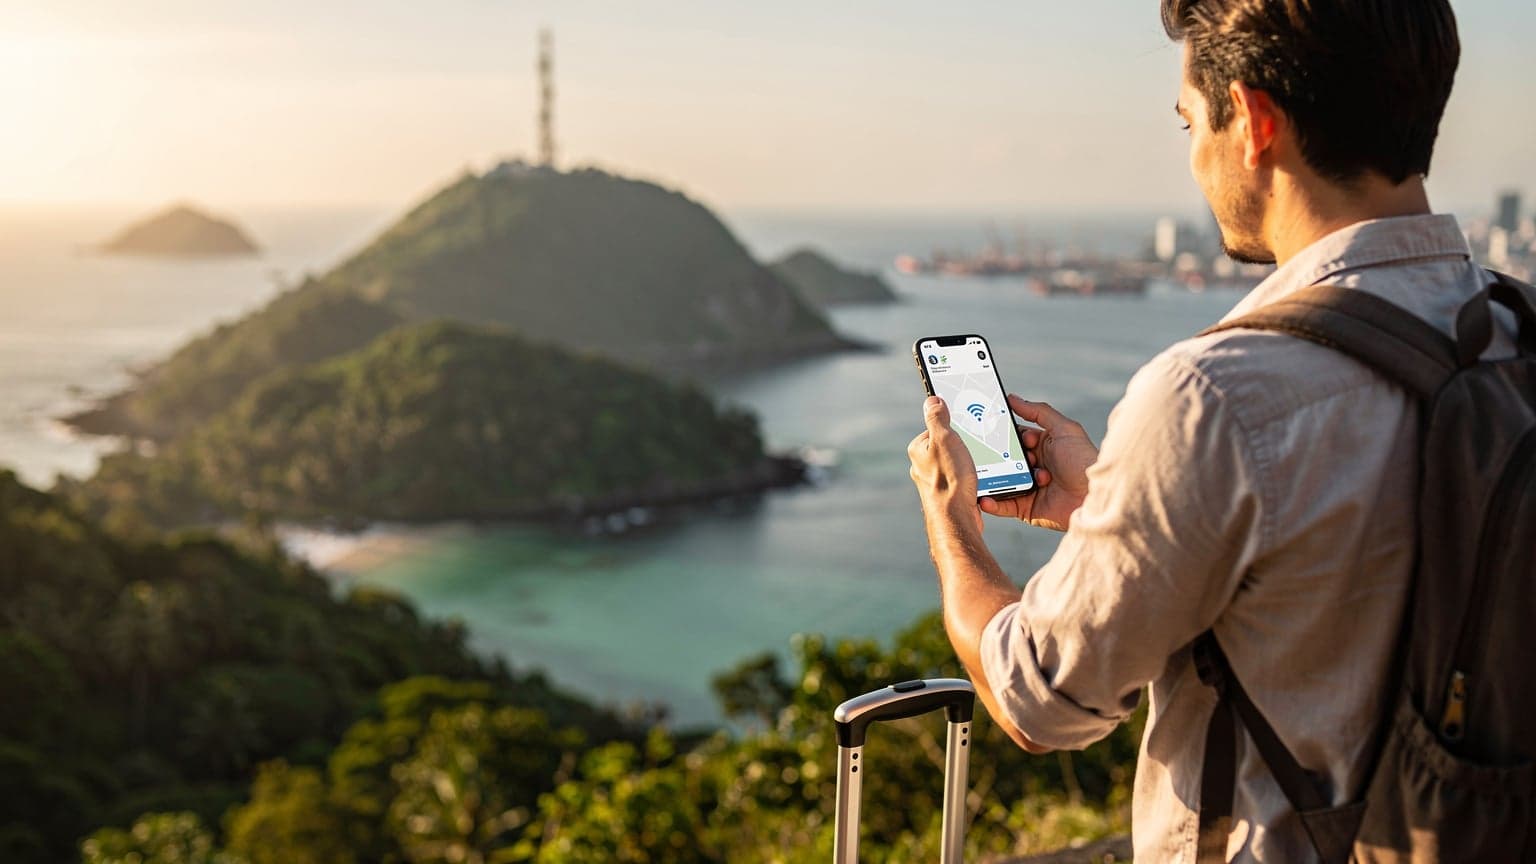
Imagine landing at Ngurah Rai and already having data. No queues, no haggling, no frustrating registration forms. That's the eSIM dream. You can purchase and activate your eSIM plan while still at home, or during a layover in Singapore. As soon as you land and turn off airplane mode, your phone connects. This is invaluable, especially if you have to arrange a pickup, check into a guesthouse that uses WhatsApp for communication, or just want to tell your family you've arrived safely.

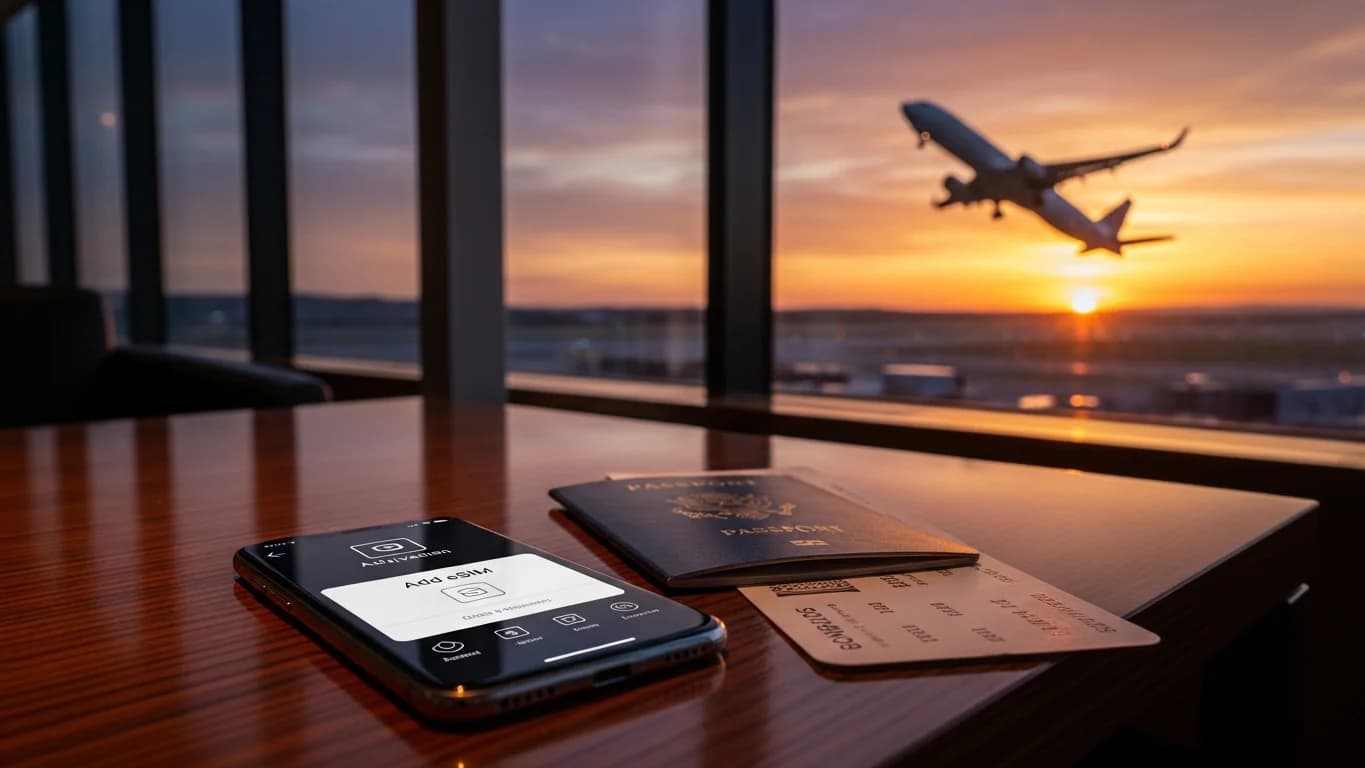
Close-up of a person's hands holding an iPhone, gesturing with a finger on the screen during the eSIM activation process, with blurred travel documents and a passport nearby.

Flexibility and Multi-Country Journeys

For those of us who bounce between countries, eSIMs are a godsend. I might be in Indonesia for a month, then hop over to Thailand, then Malaysia. Instead of buying a new physical SIM in each country, I can simply activate a new eSIM profile. This flexibility means I can easily switch between plans, compare prices, and keep my primary number active for important calls or SMS verification for apps. This is particularly useful if you're managing multiple regional plans, something traditional SIMs make a chore. For comparisons with other providers, you might want to look into Nomad eSIM alternatives.

Pro Tip

Always double-check if your phone is eSIM compatible before relying on this technology. Most newer iPhones, Samsung Galaxies, and Google Pixels support eSIM, but it's worth a quick check on your device manufacturer's website. An unlocked phone is also a must, as discussed in the iPhone eSIM Abroad guide.

Telkomsel eSIM Availability and How to Get It

This is where things get a little nuanced. Telkomsel, like many incumbent carriers, has been slower to adopt eSIMs for general tourist use compared to global eSIM providers. While Telkomsel does offer eSIMs for its local subscribers, direct tourist-focused eSIM options from Telkomsel itself have been limited or require a visit to a physical store for activation, which defeats some of the convenience.

Direct From Telkomsel: The Fine Print

As of late 2025, Telkomsel's direct eSIM offerings are primarily for domestic subscribers or require in-person registration at a Grapari store. For a tourist, this means you're back to the physical queue and passport verification, negating the primary benefits of an eSIM. Their official website might list eSIM options, but these are often not streamlined for international visitors needing instant connectivity.

The Global eSIM Provider Solution

This is where global eSIM providers, like Cellesim, come into play. These companies aggregate data plans from local carriers (often including Telkomsel's network) and offer them as easily downloadable eSIMs. This is the simplest way for a tourist to get Telkomsel network coverage via an eSIM in Indonesia. You purchase the plan online, scan a QR code, and you're good to go.

Here's how it generally works with a global eSIM provider for Indonesia:

  1. Choose your plan: Select a data package that suits your travel duration and data needs (e.g., 5GB for 15 days).
  2. Purchase online: Complete the transaction on the provider's website or app.
  3. Receive your eSIM: You'll typically get an email with a QR code or manual installation details.
  4. Install the eSIM: Scan the QR code with your phone's camera (usually in Settings > Mobile Data > Add eSIM).
  5. Activate: Follow the on-screen prompts. Often, the eSIM activates automatically upon connecting to the network in Indonesia.

This bypasses the physical SIM purchase, the airport queues, and the tedious registration process that Telkomsel's direct offerings often require for tourists.

Cost Comparison: Telkomsel Physical SIM vs. eSIM Options

Money talks, especially when you're traveling for an extended period, where monthly expenses for basic living in a place like Ubud can be around IDR 10,000,000 (about $640 USD) for rent, food, and transport. Let's break down the costs for Telkomsel's physical SIM versus what you'd typically pay for an eSIM.

Physical SIM Cards: Price Variations

A physical Telkomsel tourist SIM can range wildly in price depending on where you buy it. At Ngurah Rai airport, a 30-day, 25GB plan might set you back IDR 200,000 - 300,000 (approximately $13-$19 USD). If you venture into a local Telkomsel Grapari or a larger phone shop outside the tourist zones, you might find similar plans for IDR 150,000 - 200,000. Be wary of smaller kiosks that might overcharge or sell you an unregistered SIM that quickly stops working.

eSIM Plans from Global Providers

Global eSIM providers offer a range of plans, often tailored for shorter travel durations but with flexibility for longer stays. Here's a typical range:

  • 7-day, 3GB plan: ~$5-10 USD
  • 15-day, 5GB plan: ~$10-18 USD
  • 30-day, 10GB plan: ~$20-35 USD
  • 30-day, 20GB plan: ~$35-50 USD

While the per-gigabyte cost might sometimes seem slightly higher than a local physical SIM, the convenience factor often outweighs the difference. You're paying for instant activation, no registration hassle, and the ability to manage your connectivity from your phone without needing to find a physical store. For example, a 10GB plan for 30 days from a reliable eSIM provider like Cellesim typically falls in the $25-30 range, which is competitive when you factor in the peace of mind.

FeaturePhysical Telkomsel SIMGlobal eSIM Provider (e.g., Cellesim)
Purchase LocationAirport kiosks, Telkomsel stores, convenience storesOnline before travel, via app or website
Activation TimeMinutes to hours (can be delayed by registration issues)Instant upon landing, or pre-activated
Registration RequiredMandatory passport/IMEI registration (can be tricky for tourists)Often no separate registration needed; handled by provider
Physical HandlingSIM card swap, potential loss of home SIMNo physical card, home SIM remains in tray
Cost (example 10GB/30 days)IDR 150,000 - 250,000 (~$10-16 USD)~$25-35 USD
Network UsedTelkomsel's own networkOften Telkomsel or other major local carriers

Activation Procedures: A Step-by-Step Look

The activation process is where the true difference between a physical SIM and an eSIM becomes glaringly obvious. One is a manual, in-person affair, the other is a digital dance.

Activating a Physical Telkomsel SIM

If you're opting for the physical route, here's what you're in for:

  1. Purchase the SIM: Buy a Telkomsel SIM from an authorized vendor (airport, Grapari, official reseller).
  2. Provide Identification: Hand over your passport and often your device's IMEI number. The vendor will input these into their system.
  3. Wait for Registration: The vendor submits your details to the Ministry of Communication and Information Technology's database. This can take anywhere from a few minutes to an hour, sometimes more.
  4. Insert SIM: Once registered, insert the physical SIM card into your phone.
  5. Restart Phone: Power cycle your phone to allow it to connect to the Telkomsel network.
  6. Confirm Activation: Check for network signal and try to make a call or access data. If it doesn't work, you might need to troubleshoot APN settings, though this is less common with tourist SIMs from official vendors.

This entire process, especially at a busy airport, can easily eat up 30-60 minutes, and I've seen it take longer. It's time you could be using to get to your villa in Canggu or find that legendary Nasi Goreng.

Activating an eSIM for Indonesia

This is where the digital convenience shines. Assuming your phone is eSIM compatible and unlocked, the process is usually as follows:

  1. Purchase an eSIM plan: Buy your Indonesia eSIM plan from a trusted global provider like Cellesim.
  2. Receive QR Code: You'll get an email containing a QR code and possibly manual installation details.
  3. Access Phone Settings: Go to your phone's 'Settings' menu, then 'Mobile Data' or 'Cellular'.
  4. Add eSIM: Look for an option like 'Add eSIM' or 'Add Data Plan'.
  5. Scan QR Code: Use your phone's camera to scan the QR code provided. If scanning isn't possible, you can enter the details manually.
  6. Label your eSIM: Give your new plan a clear label, like 'Indonesia Travel' to easily distinguish it from your primary line.
  7. Set as Primary Data: Choose the eSIM as your primary data line for your trip. Keep your home line active for calls/texts if needed, but disable data roaming on it.
  8. Connect: Upon arrival in Indonesia, your phone should automatically connect to the local network covered by your eSIM provider.
A person at a street food stall in Ubud, Bali, holding a phone with an open Google Maps showing directions, while ordering from a local vendor.

Data Packages and Coverage: What to Expect

Telkomsel is undoubtedly the king of coverage in Indonesia. Its network reaches even some of the more remote islands, which is why global eSIM providers often partner with them. However, understanding the nuances of data packages is crucial.

Telkomsel's Network Strength

Telkomsel boasts the widest 4G/LTE coverage across Indonesia, including popular tourist spots like Bali, Lombok, and the Gili Islands, as well as major cities on Java like Jakarta and Yogyakarta. Even in less-traveled areas, you're more likely to find a Telkomsel signal than any other provider. Their 5G rollout is still in early stages, primarily in major urban centers, but 4G speeds are generally reliable for streaming, video calls, and essential apps.

Understanding Data Quotas

Both physical SIMs and eSIMs come with various data quotas. For a typical traveler:

  • Light usage (email, maps, messaging): 5-10GB for a 2-week trip is usually sufficient.
  • Moderate usage (some streaming, video calls, social media): 15-20GB for a month.
  • Heavy usage (digital nomad, constant video calls, large downloads): 30GB+ for a month. Remember, even with strong Wi-Fi at a co-working space like Outpost Ubud, a good mobile backup is essential, especially when you're relying on ride-sharing apps like Grab or Gojek.

Local Telkomsel physical SIMs sometimes come with 'local data' and 'all-network data' splits. Be careful with these, as 'local data' might only be usable in specific provinces, which can be frustrating if you're island hopping.

Local Apps and Services That Demand a Local Number

This is a critical point that often gets overlooked. While an eSIM provides data connectivity, some essential Indonesian services absolutely require a local phone number for registration or two-factor authentication. This is where you need to weigh your options carefully.

Ride-Sharing and Delivery Apps

Apps like Gojek and Grab are indispensable for getting around and ordering food in Indonesia. From a cheap scooter ride in Kuta to a late-night Nasi Padang delivery to your villa, these apps are lifesavers. While you can usually link them to a foreign credit card, they almost always require a local Indonesian phone number for initial registration and sometimes for driver communication. Without a local number, you'll be relying on taxis or cash-only operations, which are less convenient and often more expensive.

Banking and Financial Services

If you're planning a very long stay and opening a local bank account (which is tricky for non-residents anyway, given visa limitations), you'll definitely need an Indonesian number for SMS verification. Similarly, some local payment platforms or e-wallets might be tied to a local number. For short-term tourists, this is less of an issue, but for digital nomads like myself, who sometimes need to send local transfers, it's a consideration.

Other Services and Apps

  • WhatsApp: While you can use your existing WhatsApp number with an eSIM, having a local number makes it easier for local contacts (landlords, tour guides, drivers) to reach you without incurring international charges on their end.
  • Local WiFi hotspots: Some public Wi-Fi networks might require a local number for verification.
  • Emergency Services: While you can call emergency numbers from any active SIM, a local number might help responders identify your location more easily.

If having a local Indonesian number is absolutely crucial for your specific needs (e.g., long-term stay, intense local interaction), then a physical Telkomsel SIM might be a better fit, provided you're willing to go through the registration hassle. However, many global eSIMs now offer options to include a local number, or at least a temporary VoIP number, which can sometimes work for app registrations.

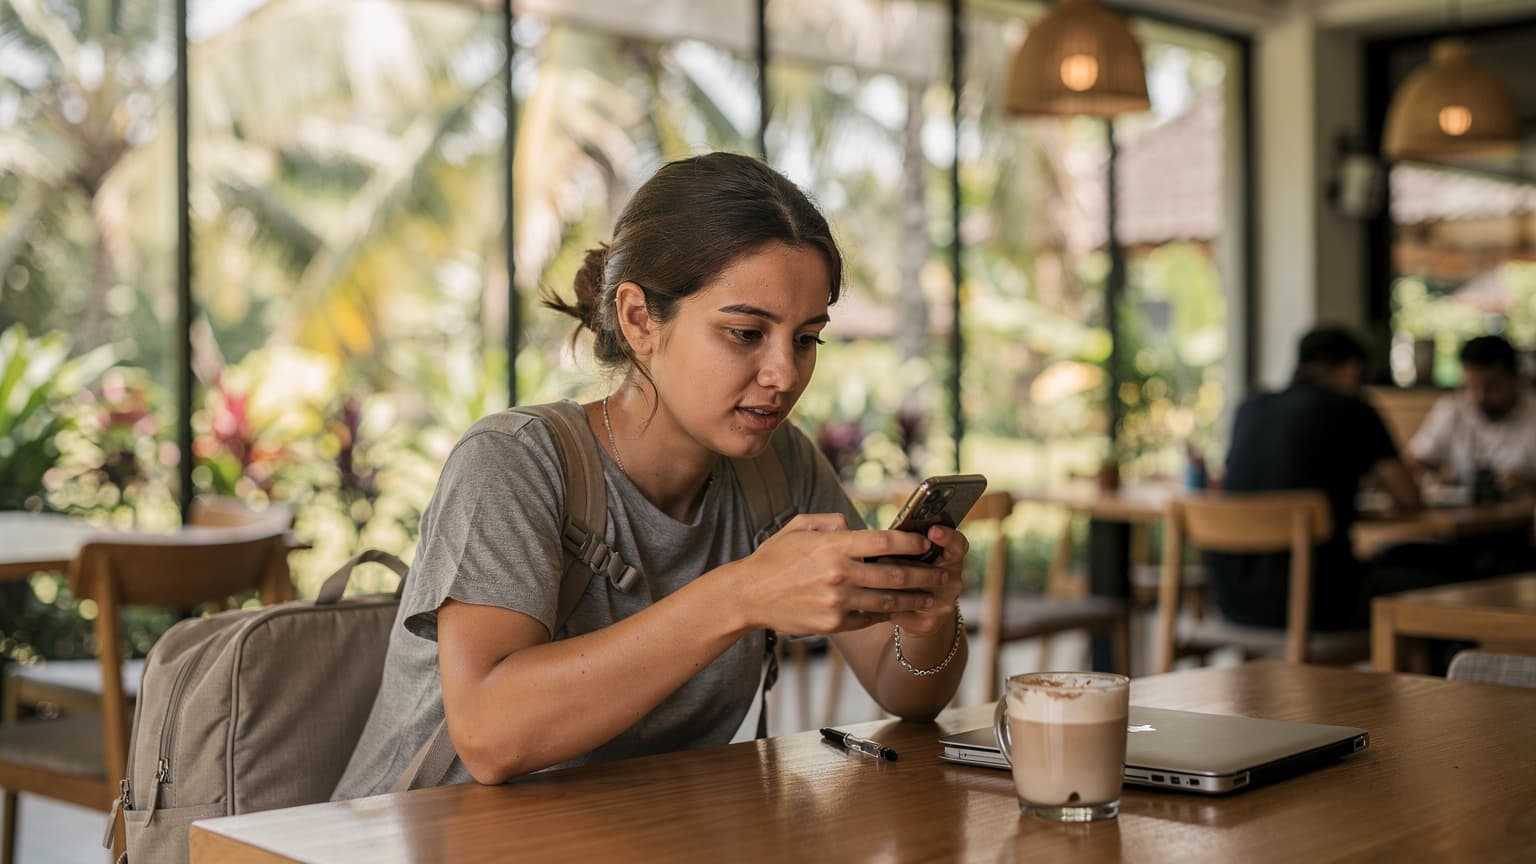
A digital nomad looking concerned at her phone while sitting at a table in a bustling cafe, struggling with a connectivity issue, with a cup of coffee and laptop nearby.

Troubleshooting Common Connectivity Issues

Even with the best planning, sometimes things go sideways. Knowing how to troubleshoot connectivity issues can save you a lot of grief. I've spent enough time staring blankly at my phone in frustration to have a few tricks up my sleeve.

For Physical SIM Cards

  • No Signal/No Service: First, ensure the SIM is correctly inserted. Power cycle your phone. If still no signal, check your phone's APN settings (Access Point Name). For Telkomsel, it's usually 'internet' or 'telkomsel'. You can find detailed guides online or ask a local at a Telkomsel Grapari.
  • SIM Not Registered: This is common. If your data stops working after a day or two, it often means the registration failed. You'll need to revisit the vendor or a Grapari with your passport.
  • Slow Data Speeds: This could be network congestion, especially in busy areas like central Jakarta. Try moving to a less crowded spot. Also, ensure your phone is set to use 4G/LTE (not just 3G) in your mobile network settings.

For eSIMs

  • No Network Connection: Ensure you've enabled the eSIM profile in your phone's settings and selected it for cellular data. Double-check that data roaming is turned OFF for your home SIM and ON for your eSIM (if required by the eSIM provider, though many don't require roaming to be on for the eSIM itself).
  • Incorrect APN Settings: While many eSIMs auto-configure, some might require manual APN entry. Your eSIM provider will usually send these details in the activation email.
  • Activation Failure: If the QR code scan didn't work, try manual entry. If still no luck, contact your eSIM Indonesia provider's support immediately. They can often re-send the eSIM or provide alternative solutions.

General Tips for Both

Always restart your phone as a first step. It sounds basic, but it fixes a surprising number of glitches. Also, make sure your phone's software is up to date. Outdated operating systems can sometimes cause compatibility issues.

Making the Switch to eSIM: A Checklist for Success

So, you're convinced the eSIM route is for you. Great! Here's a quick checklist to ensure a smooth transition and avoid any last-minute airport panic.

  • Check Device Compatibility: Is your phone eSIM compatible? Most modern iPhones (XS/XR and newer), Samsung Galaxy (S20 and newer), and Google Pixel (3a and newer) support it. Don't assume, verify.
  • Ensure Phone is Unlocked: Your phone absolutely must be unlocked from your home carrier to use any foreign SIM or eSIM. If it's not, contact your home carrier before you travel.
  • Research eSIM Providers: Look into reputable global eSIM providers that offer plans for Indonesia. Compare data allowances, validity periods, and prices. Cellesim, for example, offers various plans tailored for travelers.
  • Purchase and Install Before You Go: Buy and install your eSIM before you leave your home country or while you have reliable Wi-Fi. This avoids needing data to download the eSIM itself.
  • Understand Activation Steps: Read through the activation instructions from your chosen eSIM provider carefully. Know if you need to enable data roaming on the eSIM profile or manually enter APN settings.
  • Keep Home SIM Safe (and Off Data Roaming): If you plan to keep your home SIM in your phone, ensure its data roaming is turned OFF to avoid hefty charges. You can still use it for calls/texts if your plan allows.
  • Have a Backup Plan: Always have a screenshot of your eSIM QR code and activation details. If your phone has issues, you can usually activate the eSIM on another compatible device.

Final Verdict: eSIM or Physical SIM for Your Indonesia Trip?

For most travelers heading to Indonesia in 2026, especially those visiting popular areas like Bali, an eSIM from a global provider like Cellesim is the superior choice for connectivity. The sheer convenience of remote activation, avoiding airport queues, and keeping your home SIM safe outweighs the slightly lower per-gigabyte cost of a physical SIM.

When the eSIM Wins

The eSIM is your best bet if:

  • You prioritize convenience and instant connectivity upon landing.
  • You want to avoid the physical SIM registration process.
  • Your phone is eSIM compatible and unlocked.
  • You plan to travel to multiple countries and want seamless switching.
  • You don't critically need a local Indonesian phone number for app registrations (though many eSIM providers are starting to offer this as an add-on).

When a Physical SIM Might Still Be Better

There are niche cases where a physical SIM might still edge out an eSIM:

  • You're staying for an extremely long period (many months) and absolutely require a fully registered local number for sensitive local banking apps or other services that strictly verify local IDs.
  • Your phone is older and not eSIM compatible.
  • You are on a very tight budget and every Rupiah saved on data is critical, and you're willing to endure the airport hassle and registration process.

Ultimately, my advice, honed over years of navigating these exact choices, is to opt for an eSIM. It's less hassle, more flexible, and lets you focus on enjoying your time in Indonesia, whether you're working from a cafe in Canggu, exploring temples in Yogyakarta, or simply trying to find the best street food in Seminyak.

Frequently Asked Questions

Can I use Telkomsel's 5G network with an eSIM in Indonesia?

Telkomsel's 5G network is currently in its early stages of deployment, primarily available in select urban centers like parts of Jakarta and Bali. While an eSIM will connect you to the best available network, 5G coverage isn't widespread yet, so expect reliable 4G/LTE for most of your travels.

Do I need to register my eSIM with my passport in Indonesia?

Generally, no. When you purchase an eSIM from a global provider like Cellesim, the registration requirements are typically handled by the provider. This bypasses the need for you to personally register your eSIM with your passport and IMEI at an Indonesian service point.

Can I top up my eSIM data plan while in Indonesia?

Yes, most global eSIM providers allow you to top up your data plan directly through their app or website. This means you can add more data or extend your plan's validity without needing to visit a physical store or interact with local vendors.

Will my home phone number still work for calls and texts with an eSIM?

Yes, if your phone supports dual SIM (physical SIM + eSIM), you can keep your home physical SIM active for calls and texts while using the eSIM for data. Just remember to turn off data roaming for your home SIM to avoid unexpected charges.

What happens if my eSIM doesn't activate in Indonesia?

First, restart your phone. Then, check your phone's mobile data settings to ensure the eSIM profile is enabled and selected for data usage. If it still doesn't work, contact your eSIM provider's customer support. They can often troubleshoot remotely or re-issue the eSIM.

Can I use a Telkomsel physical SIM and an eSIM at the same time?

If your phone has dual SIM capabilities (one physical slot and eSIM support), yes, you can technically use both. However, it's generally recommended to stick to one for data to avoid confusion and potential conflicts. You could use the physical SIM for a local number and the eSIM for data.

See all eSIM FAQs →

Telkomsel eSIM Indonesia: Tourist SIM vs.