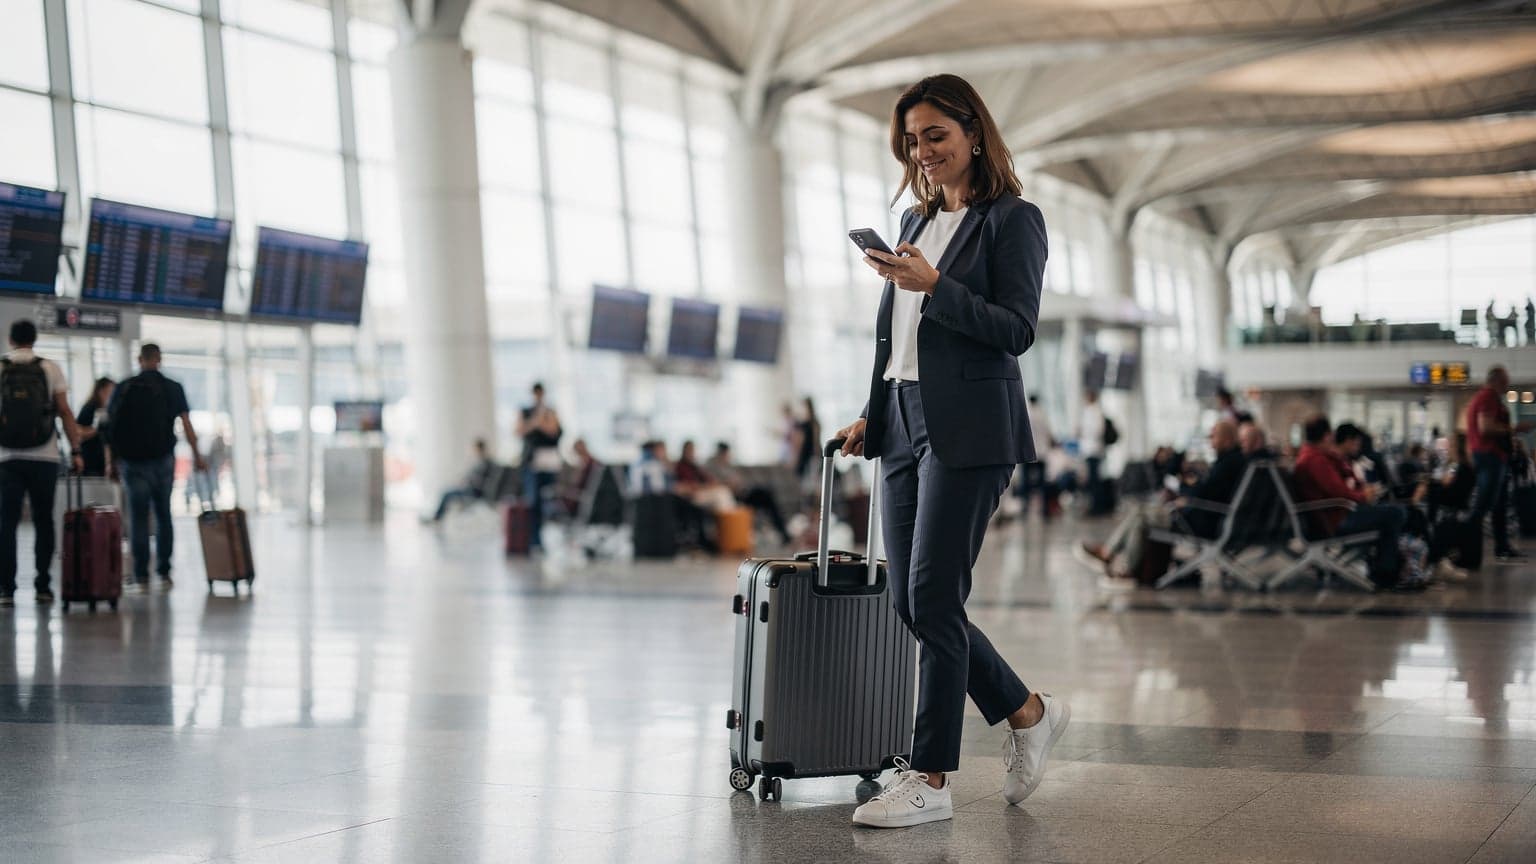
In today's interconnected world, staying online while traveling is no longer a luxury, but a necessity. From navigating new cities with maps to sharing travel moments with loved ones, reliable internet access is crucial. The traditional approach of buying local SIM cards at airports or relying on expensive roaming plans is quickly becoming outdated. Enter the eSIM: a digital SIM card that simplifies global connectivity.
This guide will walk you through the precise steps to purchase your eSIM online before you even pack your bags, ensuring you land with immediate, seamless internet access. Discover how Cellesim makes this process effortless, allowing you to focus on your travel experience, not your mobile plan.
- Why Buying Your eSIM Before You Travel is Essential
- Understanding eSIMs: A Quick Primer
- Step-by-Step Guide: How to Purchase Your Cellesim eSIM Online
- When to Activate Your eSIM for Seamless Arrival
- Comparing Connectivity Options for Your Trip
- Pro Tips for a Smooth eSIM Experience Abroad
- Frequently Asked Questions
Italy eSIM Plans from $4.50
Connect instantly in Italy without airport queues. Join 50,000+ happy customers with Cellesim.
Get Your Italy eSIMWhy Buying Your eSIM Before You Travel is Essential
The decision to purchase your eSIM ahead of your journey offers significant advantages, transforming your travel experience from the moment you land. Avoiding the scramble for local SIM cards at unfamiliar airports, which often involves long queues, language barriers, and uncertain pricing, becomes a thing of the past.
With an eSIM pre-loaded onto your device, you gain immediate access to the internet. This means you can order a ride-share, navigate to your accommodation, or contact family without hunting for Wi-Fi or incurring exorbitant roaming fees. This instant connectivity is particularly valuable for business travelers who need to stay productive, or for families needing to coordinate upon arrival. Furthermore, Cellesim offers competitive rates, often significantly lower than traditional roaming services, allowing you to manage your budget more effectively while maintaining high-speed data access across 200+ countries.
Pre-purchasing an eSIM ensures you're connected the moment your plane touches down, providing peace of mind and immediate access to essential travel services.
Understanding eSIMs: A Quick Primer
An eSIM, or embedded SIM, is a digital SIM card that allows you to activate a mobile plan from your network provider without needing a physical SIM card. It's built directly into your smartphone, tablet, or smartwatch, offering greater flexibility and convenience for travelers.
Unlike a traditional SIM that you insert and remove, an eSIM profile is downloaded and activated electronically. This means you can switch between different data plans or providers with ease, often from the comfort of your home. Cellesim leverages this technology to provide seamless, high-speed data connectivity across 200+ destinations worldwide, available in 24 languages. For an in-depth understanding of how this digital technology works, you might refer to resources like GSMA's official eSIM page.
Step-by-Step Guide: How to Purchase Your Cellesim eSIM Online
Buying a Cellesim eSIM online before your trip is a straightforward process designed for maximum convenience. Here’s how you can secure your connectivity in just a few simple steps:
1. Check Device Compatibility
Before anything else, confirm that your smartphone supports eSIM technology. Most modern smartphones released since 2018, including many iPhone, Samsung Galaxy, and Google Pixel models, are eSIM compatible. You can usually find this information in your phone's settings under "About Phone" or "SIM status." For a definitive check, use our eSIM checker or review our comprehensive list of eSIM compatible devices.
2. Choose Your Destination and Plan
Visit the Cellesim website and select your travel destination. Whether you're heading to Italy, Indonesia, or require a global eSIM plan covering multiple countries, Cellesim offers a range of options. Each destination page details available data packages, validity periods, and network coverage. Consider the length of your trip and your anticipated data usage to select the most suitable plan.
3. Select a Data Package
Cellesim offers various data packages, from light usage plans to extensive allowances for heavy streamers and remote workers. If you're unsure how much data you'll need, our smart data calculator can help you estimate your requirements based on common activities like browsing, social media, and video calls. This ensures you purchase enough data without overspending.
4. Complete the Purchase
Add your chosen eSIM plan to your cart and proceed to checkout. Cellesim offers secure payment methods. Follow the prompts to complete your transaction. You will receive a confirmation email shortly after your purchase.
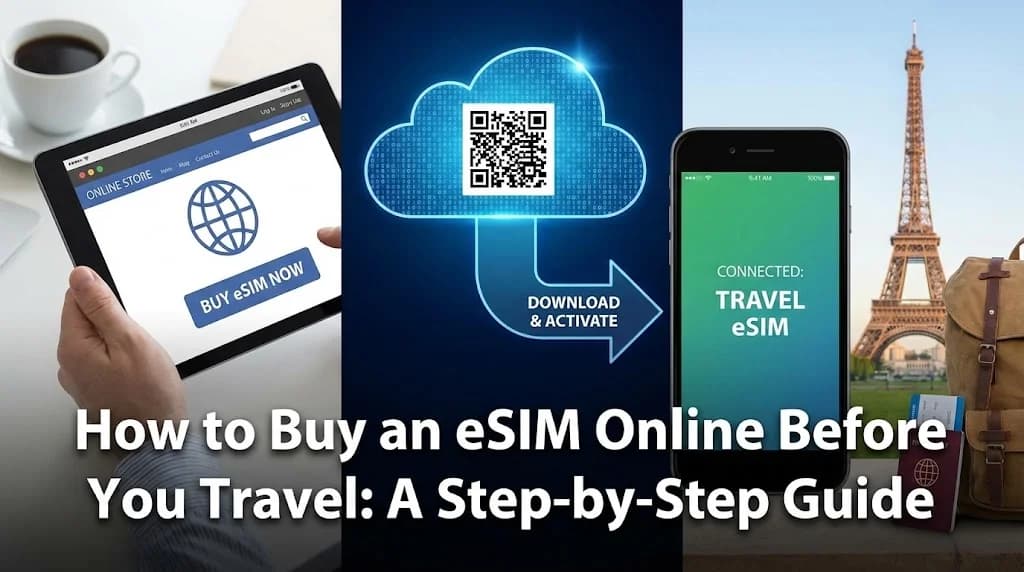
5. Receive and Install Your eSIM
Upon successful purchase, Cellesim will send an email containing your eSIM QR code and detailed installation instructions. This typically happens instantly. You can install the eSIM by scanning the QR code with your phone's camera settings, or by manually entering the provided details. For a complete walkthrough, consult our complete eSIM setup guide or our interactive setup guide.
When to Activate Your eSIM for Seamless Arrival
One of the key advantages of purchasing an eSIM before you travel is the flexibility it offers for activation. You have two primary options:
- Activate before departure: Many travelers prefer to activate their eSIM before leaving home. This allows you to resolve any potential technical issues in a familiar environment with reliable internet access. Ensure you have Wi-Fi connectivity for the initial installation.
- Activate upon landing: If your plan's validity period begins immediately upon activation, or if you prefer to use your existing local SIM until you're abroad, you can wait until you land. Once your flight touches down and you're ready to use data, simply switch to your Cellesim eSIM in your phone settings.
Comparing Connectivity Options for Your Trip
When preparing for international travel, understanding your connectivity choices is essential. Here's a comparison of eSIMs, local physical SIMs, and traditional roaming services:
| Option | Price (7 days) | Convenience | Speed | Setup |
|---|---|---|---|---|
| Cellesim eSIM | From $4.50 | Instant, digital delivery | Full 4G/5G | 2 min online |
| Local SIM Card | $15-30 | Airport queue, physical swap | Full 4G/5G | Store visit, registration |
| Carrier Roaming | $10-15/day | Automatic | Throttled, premium cost | Automatic (if enabled) |
As the table illustrates, Cellesim eSIMs offer a superior blend of cost-effectiveness, speed, and unparalleled convenience, especially when purchased before you travel. Unlike physical SIMs, there's no need to find a store, wait in lines, or worry about language barriers. Furthermore, eSIMs generally provide more transparent pricing and better data rates than most roaming packages, which can quickly become expensive. Learn more about the cost differences with our roaming savings calculator and this article on airport SIM cards versus eSIMs.
Explore All Cellesim eSIM Plans
Pro Tips for a Smooth eSIM Experience Abroad
Maximise your connectivity and avoid common pitfalls with these expert tips for using your Cellesim eSIM:
- Keep Your Primary Number Active: With dual SIM functionality, you can use your Cellesim eSIM for data while keeping your home number active for calls and texts. This is ideal for receiving verification codes or important communications.
- Monitor Data Usage: Regularly check your data consumption through your phone's settings or the Cellesim portal. This helps prevent unexpected data depletion. If you need to estimate your usage, our smart data calculator can assist.
- Understand Network Coverage: Before purchasing, review the network partners Cellesim uses in your destination. This ensures you'll have reliable service. Information on our network partners is available on our how our network works page.
- Troubleshooting: In the rare event of connectivity issues, restart your phone or check your APN settings. Cellesim provides comprehensive guides and 24/7 email support at [email protected] for assistance.
- Security: Always use secure networks and consider a VPN, especially when connecting to public Wi-Fi, to protect your personal data. The National Cyber Security Centre offers good advice for staying safe online while traveling.
Frequently Asked Questions
Is my phone compatible with an eSIM?
Most modern smartphones released since 2018, including newer iPhone, Samsung Galaxy, and Google Pixel models, support eSIM technology. You can easily check compatibility in your phone's settings or by using the Cellesim eSIM checker tool before purchase.
How do I install my Cellesim eSIM after purchase?
After buying your eSIM, you will receive a QR code via email. Simply go to your phone's settings (usually under 'Mobile Data' or 'SIM Card Manager'), choose to 'Add eSIM', and scan the QR code. Detailed step-by-step instructions are available in our complete eSIM setup guide.
Can I keep my existing phone number while using an eSIM?
Yes, absolutely. One of the main benefits of an eSIM is dual SIM functionality. You can continue to use your primary SIM for calls and texts from your home number while using the Cellesim eSIM for data services abroad, ensuring you stay connected without missing important calls.
When is the best time to buy my eSIM before travel?
It is recommended to buy your eSIM at least 1-2 days before your departure. This allows ample time to complete the purchase, receive the eSIM details, and install it on your device while you still have reliable internet access at home, ensuring a smooth start to your trip.
What if I run out of data while abroad?
If your data runs low, Cellesim offers options to easily top-up your existing eSIM plan or purchase a new one directly from our website. This process can be done quickly online, ensuring you maintain uninterrupted connectivity throughout your travels.
What kind of support does Cellesim offer?
Cellesim provides 24/7 customer support via email at [email protected]. Our team is ready to assist with any questions regarding compatibility, purchase, installation, or troubleshooting to ensure you have a hassle-free experience.
Ready for Seamless Connectivity on Your Next Trip?
Experience instant data from the moment you land. Cellesim offers reliable and affordable eSIM plans for 200+ countries.
Start Your Connected JourneyTrusted by 50,000+ travelers worldwide. 24/7 Email Support.