iPhone 17 eSIM Abroad: Quick Fixes for New Device Activation (2026)
Alright, fellow travelers and gadget lovers! You just got your hands on a shiny new iPhone 17 (congrats on being ahead of the curve!), packed your bags, and you're ready to fly off to some cool international spot. Connectivity these days is all about the eSIM. No more fiddling with tiny SIM trays or worrying about losing those little cards. But even with the latest tech, sometimes things go sideways, especially when you're trying to activate a brand-new phone in a foreign country.
This guide is here to be your go-to resource for making sure your iPhone 17's eSIM gets up and running smoothly, even if you're thousands of miles from home. We'll cover everything from simple setup advice to common problems and, most importantly, how to fix them. Let's get you online!
Understanding Your iPhone 17 and eSIM Technology
Before we jump into fixing things, it helps to know a bit about what makes your iPhone 17's eSIM so powerful and, sometimes, a little challenging. The iPhone 17, just like the models before it, uses only eSIM for cell service in many places. That means there's no slot for a physical SIM card. This design choice boosts security, leaves more room for internal parts, and gives you a ton of flexibility to manage different cell plans.
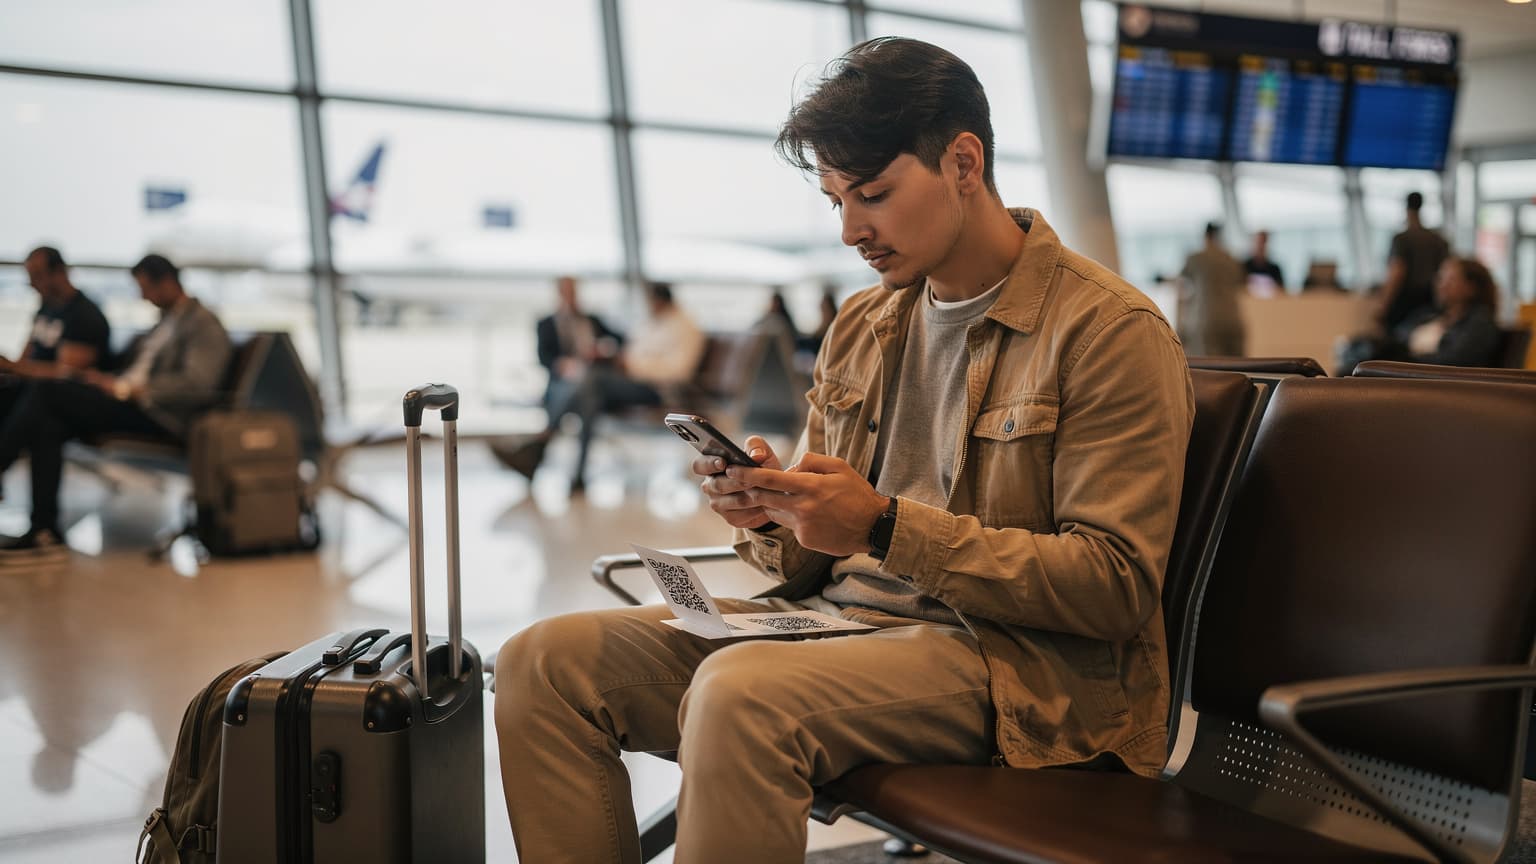
An eSIM (which stands for "embedded Subscriber Identity Module") is basically a digital SIM. It lets you sign up for a cell plan without needing a physical nano-SIM card. When you buy an eSIM plan, your carrier gives you a QR code or an activation code. Your iPhone then uses this to download and install the digital SIM profile, which then connects you to their network.
Why Activation Abroad Can Be Different
Activating a brand-new iPhone 17's eSIM for the first time while you're traveling adds a few unique twists:
- Roaming Rules: Your home carrier might have specific roaming limits or require you to manually activate new phones outside your home country.
- Local Network Issues: Even though the iPhone 17 supports tons of network bands, getting it to activate smoothly on a foreign network (even with an international eSIM) still needs a solid initial connection.
- Wi-Fi is Key: You often need a stable internet connection, usually Wi-Fi, to download the eSIM profile when you first activate it. Finding good Wi-Fi right after you land can sometimes be a pain.
- Time Zones: It's rare, but sometimes different time zones can mess with server communication.
Pre-Departure Checklist: Setting Up for Success
It's always better to prevent problems than to fix them. Following these steps before you travel will greatly reduce the chances of running into activation issues abroad.
1. Activate Your Primary eSIM (Home Carrier) Before You Go
If you plan to use your home carrier's eSIM for roaming, make sure it's fully activated and working before you even get on the plane. Try making a call or sending a text. This confirms your iPhone 17 is properly set up with your home network.
2. Purchase Your International eSIM in Advance
To get connected right when you arrive, buying an international eSIM like those from Cellesim before your trip is a smart move. Cellesim offers data plans for hundreds of destinations, so you can activate your plan as soon as you land. You can usually buy, install, and even activate the eSIM profile while you're still at home, setting it to "Turn On Upon Arrival" or similar options.
By having your Cellesim eSIM profile downloaded and ready, you won't need to hunt for Wi-Fi right after landing just to get online. You simply enable the Cellesim plan in your settings when you're ready to use it.
3. Ensure Your iPhone 17 is Unlocked
This is super important. If your iPhone 17 is locked to a specific carrier (for example, if you bought it on a payment plan directly from a network provider), it might not work with eSIMs from other carriers, including international travel eSIMs like Cellesim. Contact your home carrier to check if your device is unlocked or to request an unlock if needed. Most phones bought directly from Apple are unlocked by default.
4. Update iOS to the Latest Version
Always make sure your iPhone 17 has the latest iOS version. Apple often releases updates that improve network compatibility, eSIM management, and overall stability. A simple software update can often fix hidden connectivity problems.
Common Activation Issues and Quick Fixes
Even with perfect preparation, sometimes things still go wrong. Here's how to tackle the most common iPhone 17 eSIM activation problems when you're abroad.
Issue 1: "No Service" or "Searching" After eSIM Installation
You've installed your eSIM (either your home carrier's roaming profile or a Cellesim international plan), but your phone says "No Service" or is constantly "Searching."
Quick Fixes:
- Restart Your iPhone 17: The classic first step. A simple restart can often clear up temporary network glitches and make your phone reconnect to the local network.
- Check Cellular Data Settings:
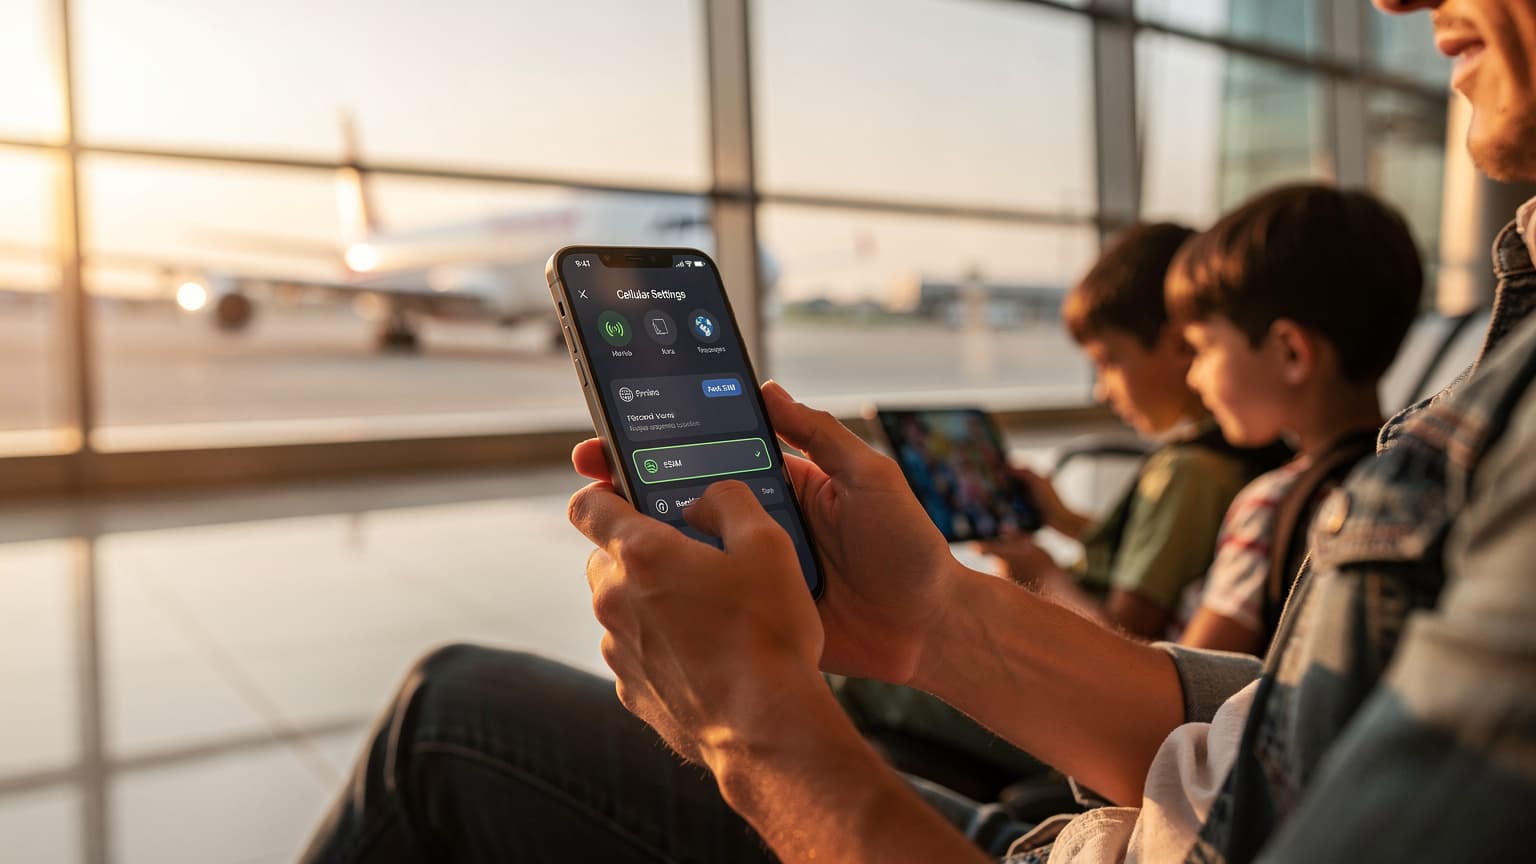
- Go to Settings > Cellular > Cellular Plans.
- Make sure the eSIM plan you want to use (like Cellesim or your home carrier's roaming plan) is turned ON.
- Confirm that Cellular Data is set to the correct eSIM plan for internet access.
- For international eSIMs, make sure Data Roaming is enabled for that specific plan (Settings > Cellular > Cellular Plans > [Your eSIM Plan] > Data Roaming). This is essential for Cellesim and other travel eSIMs to work overseas.
- Manual Network Selection:
- Go to Settings > Cellular > Cellular Plans > [Your eSIM Plan] > Network Selection.
- Turn off Automatic. Your iPhone will then look for available networks.
- Manually choose a compatible local network from the list. If one doesn't work, try another.
- Reset Network Settings: This can clear out any bad network configurations.
- Go to Settings > General > Transfer or Reset iPhone > Reset > Reset Network Settings.
- You'll need to re-enter any Wi-Fi passwords afterward.
Issue 2: eSIM Profile Fails to Download or Install
You're trying to add your eSIM using a QR code or by typing in the details, but the download fails, or you get an error message.
Quick Fixes:
- Stable Wi-Fi Connection: Make sure you have a strong, reliable Wi-Fi connection. Initial eSIM downloads need internet access. If the Wi-Fi is flaky, it can stop the process. Try connecting to a different Wi-Fi network if you can.
- Re-scan QR Code / Re-enter Details: Sometimes, a slight blur or glare can prevent a QR code from scanning correctly. Ensure good lighting and a steady hand. If you're typing in details, double-check for any typos.
- Check eSIM Provider's Status Page: Occasionally, the eSIM provider (like Cellesim) might be having temporary server issues. Check their website or social media for any service alerts.
- Contact Your eSIM Provider: If you keep trying and it still fails, there might be an issue with the eSIM profile itself. Get in touch with Cellesim support or your home carrier’s international roaming support. They can often re-send the QR code or give you other ways to activate it.
Issue 3: Incorrect APN Settings
Your eSIM is installed, and you have a signal, but you can't get online (even if calls and texts might work).
Quick Fixes:
- Verify APN (Access Point Name) Settings: iPhones usually set up APN settings automatically, but sometimes you need to do it manually, especially with certain international eSIMs.
- Go to Settings > Cellular > Cellular Plans > [Your eSIM Plan] > Cellular Data Network.
- Compare the APN settings there with what your eSIM carrier provided (for instance, Cellesim will list their required APN in their activation instructions).
- If the fields are empty or wrong, enter the correct APN information. You might only need to fill in the 'APN' field, leaving 'Username' and 'Password' blank unless specifically told otherwise.
- Reset APN Settings: Sometimes, just resetting them to the default can fix the problem. There's usually a "Reset Settings" option at the bottom of the Cellular Data Network page.
Issue 4: Primary eSIM (Home Carrier) Not Working for Roaming
You're relying on your home carrier's eSIM for roaming, but it's not connecting.
Quick Fixes:
- Confirm Roaming is Enabled:
- Go to Settings > Cellular > Cellular Plans > [Your Home Carrier eSIM].
- Make sure Data Roaming is turned ON.
- Check Roaming Plan Status: Contact your home carrier to confirm your international roaming plan is active and correctly set up on your new iPhone 17. There might be a delay in their system updating your device's roaming capabilities.
- Preferred Network Type: In rare cases, changing the preferred network type might help.
- Go to Settings > Cellular > Cellular Plans > [Your Home Carrier eSIM] > Voice & Data.
- Try selecting different options like "4G" or "5G Auto" to see if it makes a difference.
Advanced Troubleshooting and When to Seek Help
If you've tried all the quick fixes and are still stuck, it's time for more advanced steps or to ask for expert help.
1. Reinstall eSIM Profile (if QR is reusable)
If you think the eSIM profile itself might be messed up, and you have confirmed with your carrier (like Cellesim) that your original QR code or activation details are reusable for reinstallation, you can try deleting it and installing it again.
- Go to Settings > Cellular > Cellular Plans.
- Tap on the eSIM plan that's causing trouble and choose Remove eSIM. Then, re-add the eSIM using the original QR code or manual entry your carrier provided (like Cellesim), only if you have confirmed its reusability.
- Then, re-add the eSIM using the QR code or manual entry your carrier provided (like Cellesim). Make sure you have access to the original QR code or activation details.
2. Contact eSIM Provider Support
This is often the most effective step if you're still having problems. Cellesim, for example, has dedicated customer support that can walk you through specific issues with their eSIMs. Have your order number, phone model (iPhone 17), and a description of the problem ready. They can often diagnose problems remotely or offer other solutions.
3. Apple Support
If you suspect a hardware problem with your brand-new iPhone 17, or if all software troubleshooting fails, contacting Apple Support is your next best option. They can run diagnostics and advise you on potential device replacements if needed. Remember, your iPhone 17 is under warranty.
Final Thoughts: Stay Calm and Connected
Activating a new phone abroad can feel stressful, but with your iPhone 17 and a trustworthy international eSIM provider like Cellesim, you've got cutting-edge technology to keep you connected. Most issues are small and easily fixed using the steps above.
Always double-check your settings, ensure you have a stable internet connection for activation, and don't hesitate to reach out to customer support when you need to. Happy travels, and enjoy your new iPhone 17 with smooth global connectivity!