The Safari Data Dilemma: Cost vs. Coverage
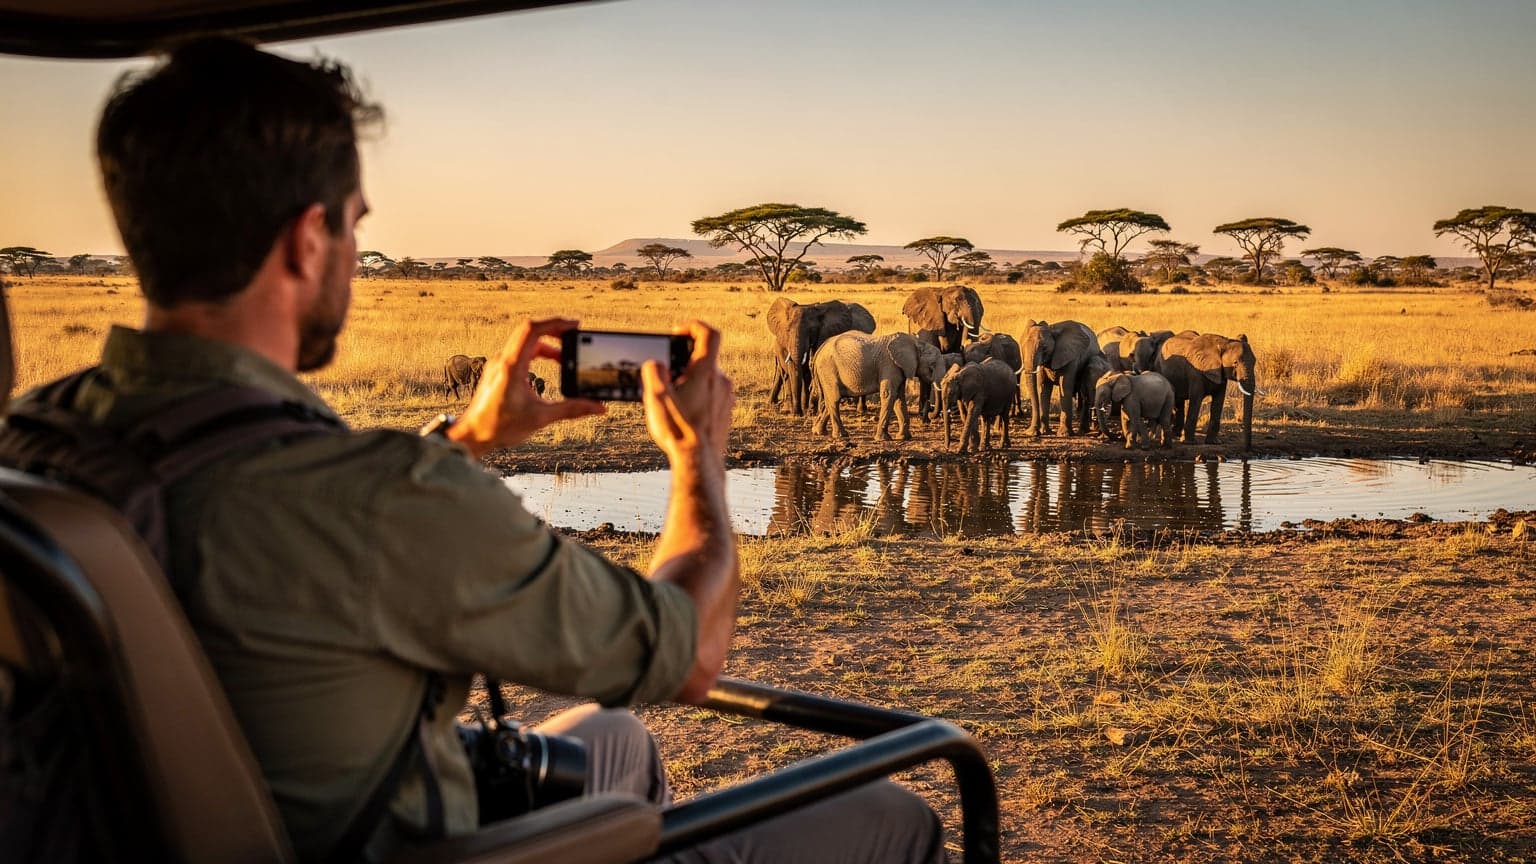
Let's be real: a safari isn't a cheap vacation. You've already spent a ton on flights, park fees, and that cool land cruiser with the pop-up roof. The last thing you want is to waste money on data or, even worse, be totally offline when you want to share that perfect leopard photo. For my 8-day Serengeti trip, I paid a total of €280 on data. That was for a multi-country eSIM that covered Tanzania, Kenya, and Uganda, meaning I stayed connected even deep inside the Ngorongoro Crater.
So, how do you get good internet without breaking the bank, especially when you're literally in the middle of nowhere? Lodge Wi-Fi is usually slow, expensive, and often only works in common areas. Roaming with your home provider? Forget it. You'll get bills that make your safari look like a bargain. I know a guy who got a €500 bill after a week because he forgot to turn off data roaming. Don't let that happen to you.
Why traditional methods fail in the wild
Trying to get data the old-fashioned way, like buying a local physical SIM card when you land, often doesn't work out on a safari. First, finding a vendor can be a mission, especially if you land at a small airport or get whisked straight to a remote lodge. Second, activating it can be a bureaucratic headache with passport registrations and long waits. Third, once you leave the main towns, cell service can get spotty, leaving you with a useless piece of plastic.
I once had a local SIM for a trip through rural Albania. It worked fine in Tirana, but the second I hit the mountains, it died. You definitely don't want that when you're trying to talk to your guide or check a map near the Tanzanian border.
Why an eSIM Is Your Best Bet for African Safaris
An eSIM, short for embedded SIM, is a digital SIM card. It lets you activate a cellular plan without needing a physical card. For remote travel, this is a game-changer. You buy it online, activate it with a QR code, and you're good to go. No tiny trays, no fiddly pins, no trying to explain yourself at a dusty shop in Arusha. Everything's done on your phone, before you even get on your flight.
For a safari, this means you can land, connect, and immediately message your safari operator, update family, or look up that cool bird you just saw. The convenience alone makes it worth it, letting you focus on the wildlife instead of worrying about your internet.
Instant activation, immediate connection
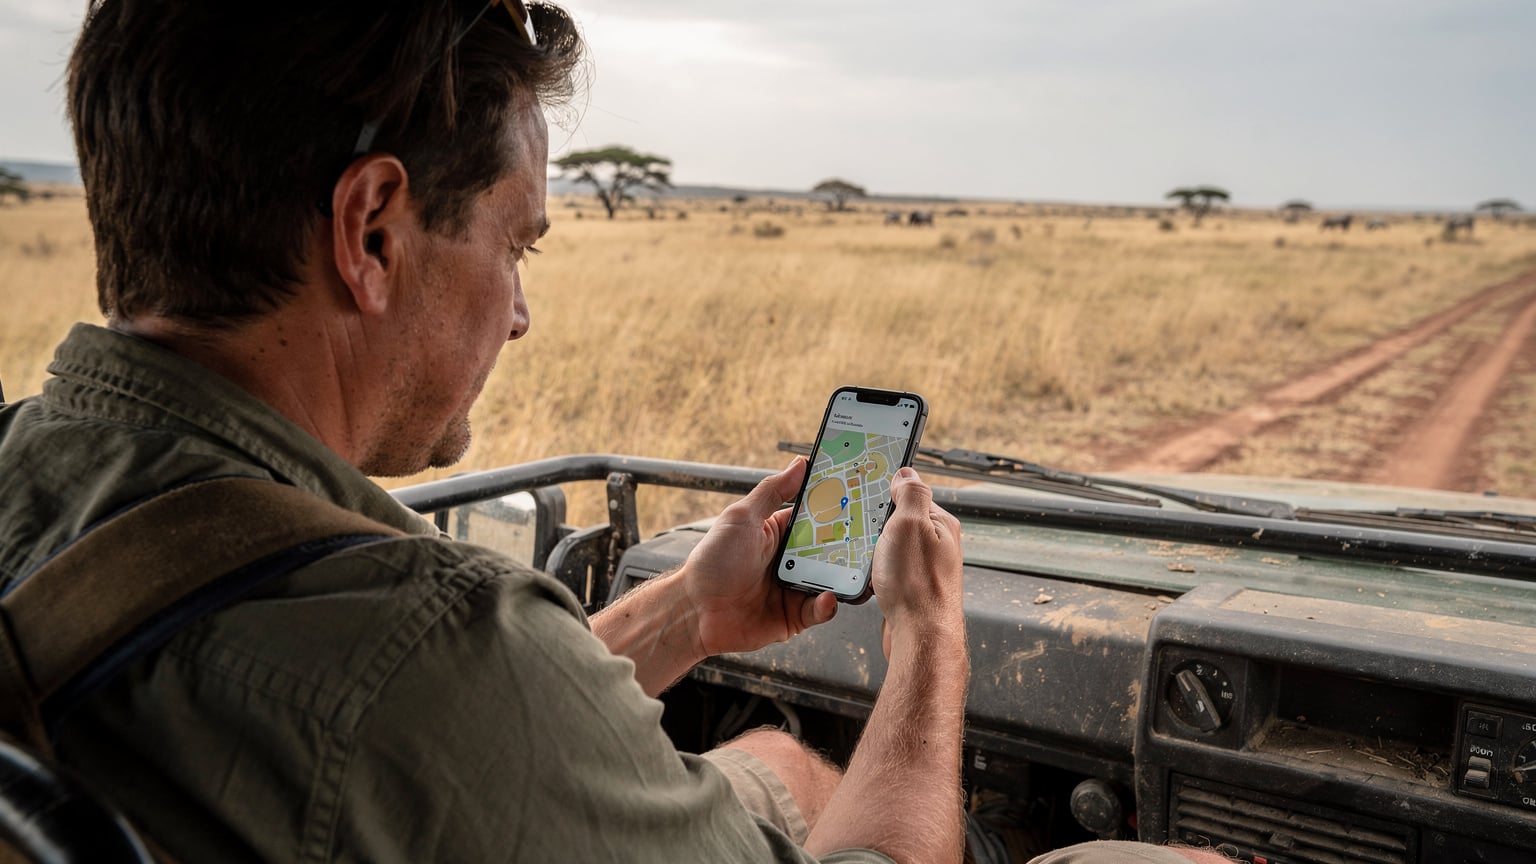
The best part about an eSIM is how fast it works. You buy a data package for your trip, get a QR code by email, scan it with your phone, and within minutes, you're online. This is huge when you arrive in a new country and need to get things done right away. Imagine landing at Kilimanjaro International Airport (JRO) and having data before you even clear customs, ready to message your lodge transfer or use Google Maps to find your way around (though, let's be honest, your safari guide will handle most of that).
It also means you avoid the hassle of trying to find a SIM card vendor after a long flight, often in unfamiliar places. I've wasted hours at foreign airports just trying to get a local SIM, only to find the shop closed or the lines never-ending. An eSIM completely bypasses all that.
Broader coverage, fewer headaches
Many eSIM providers, like Cellesim, partner with several local networks. This means if one network has a weak signal in a particular part of the Serengeti, your eSIM can switch to another available network. You get more consistent coverage, which is a huge benefit over a single local SIM tied to just one provider.
Think about it: when you're out on the plains, driving for hours between camps, you won't always be near a Vodacom or Airtel tower. An eSIM smartly finds the strongest signal, giving you a better chance of staying online. This flexibility is priceless in huge, remote areas like the Serengeti, where cell service can be hit or miss.
Cost-effective data management
While an eSIM might seem like a premium service, it often ends up being cheaper than roaming or dealing with unexpected costs from physical SIMs. You buy a set amount of data for a set time, so there are no surprises. You know exactly what you're paying upfront, which helps you budget your data effectively, a major concern for any backpacker trying to stick to their euros.
Plus, you can easily add more data to your plan if you use more than expected, all from your phone. No need to find a physical store. This level of control over your spending is essential for keeping that strict €40/day travel budget in check.
Calculating Your Data Needs for the Wilderness
Here's where we get down to brass tacks. How much data do you actually need for a safari? You won't be streaming Netflix in your tent. Your data use will likely be for essentials: WhatsApp, checking emails, light social media updates, and maps. From my experience, for a typical 8-day safari, a budget traveler can manage with surprisingly little, but you need to be smart.
My 8-day safari used about 1.5 GB of data. That's roughly 190 MB per day. This covered daily WhatsApp check-ins, uploading a few photos to Instagram (when I had signal), checking emails, and occasional map lookups. No video calls, no heavy streaming. If you plan on using more, you'll need a bigger plan.
| Activity | Estimated Data Usage (per hour) | Safari Impact |
|---|---|---|
| WhatsApp Messaging (Text) | ~1 MB | Very low, essential for communication. |
| WhatsApp Voice Call | ~5-10 MB | Moderate, use sparingly for check-ins. |
| Email (Text only) | ~5-10 MB | Low, important for logistics. |
| Social Media (Scrolling, light photo uploads) | ~50-100 MB | Moderate, for quick updates. Avoid video uploads. |
| Google Maps (Navigation) | ~20-50 MB | Low to moderate, crucial for orientation. Download offline maps. |
| Web Browsing (Light) | ~30-70 MB | Moderate, for quick research or news. |
| Video Streaming (SD) | ~300-700 MB | High, almost impossible with safari connectivity and not recommended. |
Calculating your daily data burn
To avoid running out of data mid-safari, it's smart to do a quick calculation. Estimate your daily usage and multiply by the number of days you'll be on safari. Add a buffer for anything unexpected.
- Identify core activities: WhatsApp messages, a few photo uploads, quick email checks.
- Estimate daily consumption: For these core activities, I budget about 200 MB per day.
- Multiply by trip duration: For an 8-day trip, that's 200 MB/day * 8 days = 1600 MB (1.6 GB).
- Add a buffer: I usually add 25-50% as a buffer. So, 1.6 GB + 0.4 GB = 2 GB.
This means a 2 GB or 3 GB plan for an 8-day safari is a safe bet for most budget travelers. If you use social media more or need to make regular voice calls, think about a 5 GB plan. Just don't overdo it; unused data is wasted money.
Pre-downloading maps and content
One of the smartest things you can do is pre-download offline maps for the areas you'll visit, especially for places like the Serengeti and Ngorongoro. Apps like Google Maps let you save large areas for offline use, which drastically cuts down on data used for navigation.
Similarly, download any important travel documents, e-books, or entertainment (music, podcasts) before you leave. Trying to stream in the bush is a bad idea. This way, your precious data can be saved for essential communication and sharing those amazing wildlife sightings.
eSIM Options for Tanzania and Beyond
When picking an eSIM for your safari, you'll generally find two types: country-specific plans and regional plans. For a safari in just one country, a Tanzania-specific eSIM will be the cheapest. But if your trip includes crossing borders into neighboring countries like Kenya or Uganda, a regional Africa eSIM is a must.
Cellesim offers good packages that often cover multiple countries, which is perfect for those big East African trips. Always check the specific country coverage and how long the plan is valid. A 30-day plan is usually enough for most safaris, but double-check it matches your trip length.
Cellesim: My go-to for East Africa
I've used Cellesim for many trips, from backpacking through Greece to figuring out China's internet, and they've always worked well. For my Serengeti trip, their East Africa regional plan was perfect. It covered Tanzania, Kenya, and Uganda, meaning I could cross borders without losing service. This is vital if your safari includes, say, a hot air balloon ride over the Mara River in Kenya after exploring the Serengeti.
Their pricing is clear, and activation is simple. I usually get a 5 GB plan for 30 days, which gives me plenty of extra data for unexpected use without costing too much. Always confirm the networks they partner with in Tanzania, which are typically Vodacom and Airtel, as they offer the best coverage in towns and major safari parks.
| eSIM Provider | Plan Example | Coverage (Tanzania) | Typical Price (5GB, 30 days) | Pros | Cons |
|---|---|---|---|---|---|
| Cellesim | East Africa Regional | Vodacom, Airtel | €25-€30 | Multi-country options, reliable network partners, easy top-up. | Might be slightly more expensive than a local SIM for single-country. |
| Airalo | Mwananchi (Tanzania) | Vodacom | €28-€35 | Good coverage within Tanzania, established brand. | Single carrier, regional plans sometimes pricier. |
| Nomad | Tanzania Plan | Airtel | €27-€32 | Competitive pricing, user-friendly app. | Single carrier, sometimes fewer top-up options. |
What to look for in an eSIM package
- Data Allowance: Make sure it matches your estimated needs (e.g., 2 GB, 5 GB, 10 GB).
- Validity Period: It needs to cover your entire trip, plus an extra day or two.
- Country Coverage: Get a single-country plan for Tanzania-only, or a regional one if you're crossing borders.
- Network Partners: Confirm they use big, reliable local carriers like Vodacom or Airtel.
- Top-up Options: Easy, in-app top-ups are vital for emergencies.
- Customer Support: 24/7 support can save you if something goes wrong.
Don't just pick the cheapest option. Read reviews, especially from other travelers who have used the eSIM in remote areas. Reliability is more important than saving a few euros when you're in the African bush.
Activating Your Cellesim for Your Safari
Activating your Cellesim eSIM is simple, but doing it correctly before you leave home is key. You don't want to be messing with settings at JRO airport. I always suggest activating it a day or two before your flight, somewhere with good Wi-Fi.
Step-by-step activation guide
This process is pretty much the same for most eSIM providers, but always check the specific instructions from Cellesim or your chosen provider.
- Purchase Your eSIM: Go to the Cellesim website and choose your plan for Tanzania or East Africa. Complete the purchase. You'll get an email with a QR code and detailed instructions.
- Connect to Wi-Fi: Make sure your phone is connected to stable Wi-Fi before you start activating. This is crucial for downloading the eSIM profile.
- Add Cellular Plan (iOS): Go to Settings > Cellular (or Mobile Data) > Add Cellular Plan. Choose 'Use QR Code' and scan the QR code from the email. Follow the on-screen prompts. Name your new plan something easy to remember, like 'Cellesim Tanzania'.
- Add Network (Android): Go to Settings > Network & Internet > SIMs > Add More (or 'Download a SIM'). Scan the QR code. Follow the instructions to activate the eSIM.
- Set Data Roaming: Once installed, make sure 'Data Roaming' is turned ON for your Cellesim eSIM line. This might seem odd if you usually turn it off, but for an eSIM from a global provider, it needs to be on to connect to local networks.
- Set Default Line (Optional but Recommended): Set your Cellesim eSIM as your default for mobile data. You can keep your primary SIM active for calls/texts if you want, but make sure data goes through the eSIM.
- Test Connectivity: After activating, try opening a website or sending a WhatsApp message to confirm it's working. If you have problems, contact Cellesim support while you're still on Wi-Fi. Doing this beforehand will save you trouble later.
Remember, your main SIM card can still be active for calls and texts (if you want to get them), but make sure your mobile data uses the eSIM. This dual-SIM feature is one of the biggest benefits of eSIMs, allowing you to separate your data costs from your home number.
Troubleshooting common activation issues
Sometimes things don't go perfectly. If your eSIM isn't connecting, check these things:
- Wi-Fi Connection: Did you install it on stable Wi-Fi? A bad connection can sometimes cause problems.
- Data Roaming: Is it definitely on for the eSIM line? This is the most common mistake.
- APN Settings: Rarely, you might need to manually enter APN settings. Cellesim's support documents will have these if needed.
- Reboot: The classic fix. Turn your phone off and on again. Sometimes that's all it takes.
- Network Selection: In very remote areas, you might need to manually pick a network from your phone's cellular settings, instead of letting it choose automatically.
If nothing else works, contact Cellesim's customer support. They're usually quick to reply and can help figure out the problem. It's much better to do this before you're out of reliable signal range in the middle of the Serengeti.
Border Crossing and Multi-Country Safaris
Many safari itineraries involve crossing borders, especially between Tanzania and Kenya, or going into Rwanda or Uganda for gorilla trekking. This is where a regional eSIM really shines. If you had a country-specific physical SIM, you'd have to buy a new one in each country, adding significant cost and hassle.
With a regional eSIM, your data connectivity switches smoothly as you cross from one covered country to another. No need to swap SIMs, no new registration, just continuous internet access. This smooth transition is invaluable for talking to guides, checking border requirements, or simply staying in touch.
The seamless switch: Tanzania to Kenya
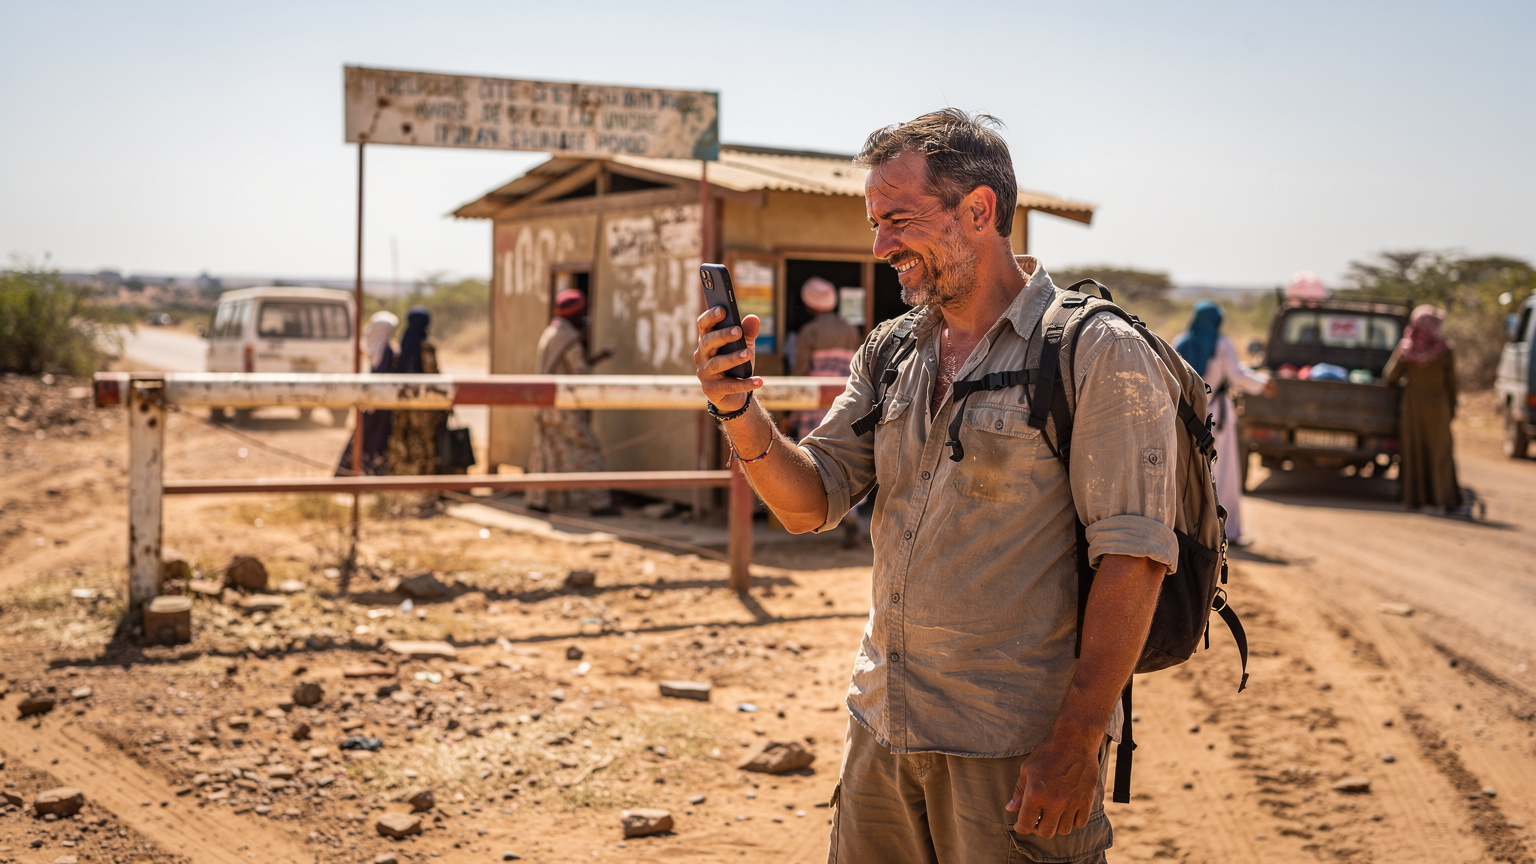
Imagine the typical route from the Serengeti to the Maasai Mara. You'll drive across the border, often a dusty, informal-looking crossing point. With a Cellesim East Africa eSIM, as soon as your phone finds a network signal on the Kenyan side, you're connected. No interruptions, no panicking about finding a Safaricom shop in the middle of nowhere.
This convenience is especially important at border points like Isebania/Sirari (Tanzania-Kenya) or Mutukula (Tanzania-Uganda). While your safari operator handles the visa and paperwork, your eSIM handles your internet, letting you focus on the crossing logistics, which can sometimes be a bit chaotic.
eSIMs vs. physical SIMs for multi-country trips
Let's look at the costs for a multi-country trip, say Tanzania and Kenya for 15 days, needing 5 GB of data per country.
| Option | Cost (Tanzania) | Cost (Kenya) | Total Estimated Cost | Convenience Factor |
|---|---|---|---|---|
| Cellesim Regional eSIM (East Africa) | Included | Included | €40-€50 (for 10 GB, 30 days) | Seamless, single purchase, instant activation. |
| Local Physical SIMs (Tanzania + Kenya) | €10-€15 (5 GB) + activation fee | €10-€15 (5 GB) + activation fee | €30-€40 + 2x activation hassle | Requires two separate purchases, registrations, and potential network issues. |
While buying two local SIMs might seem slightly cheaper at first, the hidden costs of time, stress, and potential internet gaps at borders often make the regional eSIM the smarter, more economical choice for budget travelers who value their peace of mind. Plus, those activation fees for local SIMs can really add up.
Local SIM Card Alternatives: The Ground Truth
To be fair, there are cheaper local SIM alternatives. If you're really trying to save money and your trip is only in one country, a physical local SIM card can sometimes give you more data for less. But there are catches. In Tanzania, the main local providers are Vodacom, Airtel, Halotel, and Tigo.
Where to buy and what to expect
You can usually buy a local SIM at big airports (like JRO or Julius Nyerere International Airport in Dar es Salaam), official carrier stores in cities (Arusha, Stone Town), or even small kiosks in towns. Expect to pay about TZS 5,000 to TZS 10,000 for the SIM card itself, plus the cost of a data bundle. A 5 GB bundle for 30 days might cost around TZS 15,000-25,000 (€6-€10).
- Vodacom: Widest coverage, especially in rural and safari areas. Most popular.
- Airtel: Good coverage, competitive data bundles.
- Tigo: Decent coverage, often good for mobile money services.
- Halotel: Growing network, often offers very cheap data, but coverage can be spottier in remote areas.
The catch? You'll need your passport to register, and the process can take anywhere from 15 minutes to an hour, depending on how efficient the vendor is and how their system works. I've personally spent 45 minutes trying to activate a SIM in Dar es Salaam, only for it to not work properly for another hour. That's valuable safari time you're losing.
The hidden costs of local SIMs
Beyond the direct price, consider:
- Time: The time you spend finding a vendor, waiting in line, and activating the SIM. This could be hours.
- Language Barrier: Not all vendors speak English, especially in smaller towns. Explaining what you need can be tricky.
- Connectivity Gaps: If you buy a SIM from one provider, you're stuck with their network. If they have a dead spot in the Serengeti, you're out of luck. An eSIM, with multi-carrier support, often helps avoid this.
- Expiry: Some local bundles expire quickly or have complicated rollover rules. Read the fine print carefully.
For a short, multi-country safari where your time is precious, spending a few extra euros on an eSIM is almost always worth it. If you're on a multi-month, super-low-budget overland trip, jumping between local SIMs might make sense, but for a 1-2 week safari, it's not the smart move.
Conserving Data in the Bush
Even with an eSIM, data in the African bush is limited, and signal strength can vary. Being smart about data conservation is key to staying connected for your whole trip without constantly buying more. Think like a survivalist, but for your data plan.
Essential tips for data efficiency
Every kilobyte matters when you're relying on a distant cell tower. Here's my tried-and-true routine:
- Download Offline Maps: I've said it before, but it's worth repeating. Before you leave a Wi-Fi zone, download Google Maps or Maps.me maps for all the areas you'll be visiting. This saves a huge amount of data.
- Disable Background App Refresh: Go into your phone settings and turn off background refresh for any apps you don't absolutely need. Apps constantly download new data even when you're not using them.
- Restrict Auto-Updates: Make sure app updates and system software updates are set to Wi-Fi only. A big update could use up all your data in minutes.
- Limit Streaming: Absolutely no video or music streaming on cellular data. Download content ahead of time.
- Use Wi-Fi when Available: Even if lodge Wi-Fi is slow, use it for big downloads or uploads (like backing up photos) when you can.
- Turn Off Auto-Download for Media: In WhatsApp and other messaging apps, disable auto-download for photos and videos. Only download what you actually want to see.
- Low Data Mode: Many smartphones have a 'Low Data Mode' or 'Data Saver' option in cellular settings. Turn it on.
Monitoring your usage
Keep a close eye on how much data you're using. Both your phone's settings and the Cellesim app will show you your usage. Check it daily against your budget. If you notice you're using data faster than planned, change your habits right away. You can always top up if needed, but preventing overuse is cheaper.
For example, if you budgeted 200 MB per day and by day three you've used 1 GB, you're in trouble. Change your habits, or be ready to buy a top-up. This active monitoring keeps you in control of your spending, which is the foundation of any budget backpacking strategy.Common Pitfalls and How to Avoid Them
Even with the best planning, travel can throw you curveballs. Knowing about common data problems on a safari can save you stress and money, helping you focus on the amazing wildlife instead of internet troubles.
Running out of data unexpectedly
This is the biggest mistake a budget traveler can make. The solution is twofold: carefully plan your data needs (as discussed above) and actively monitor your usage. Set reminders to check your data, and always have a little extra. Cellesim makes topping up easy, but you need some signal to do it, so don't wait until you're completely cut off.
Another common mistake is forgetting that some apps, even when closed, might still be syncing in the background. Double-check your settings to ensure only essential apps can use background data. I once had a cloud backup service use 500 MB in a few hours because I forgot to restrict it to Wi-Fi only. I learned my lesson.
Poor signal in remote areas
Let's be realistic: you're going to the Serengeti, not central London. There will be areas with no signal, no matter if you have an eSIM or a local SIM. This is part of the experience. Embrace it. Your guides will have satellite phones for emergencies, so you won't be totally cut off.
However, an eSIM with multiple network partners will generally give you the best chance of finding a signal when one is available. If you find yourself in a dead zone, try moving to a slightly different spot, or wait until you get to the next lodge. Sometimes, even a few meters can make a difference. And remember, Cellesim's FAQ section covers common signal issues.
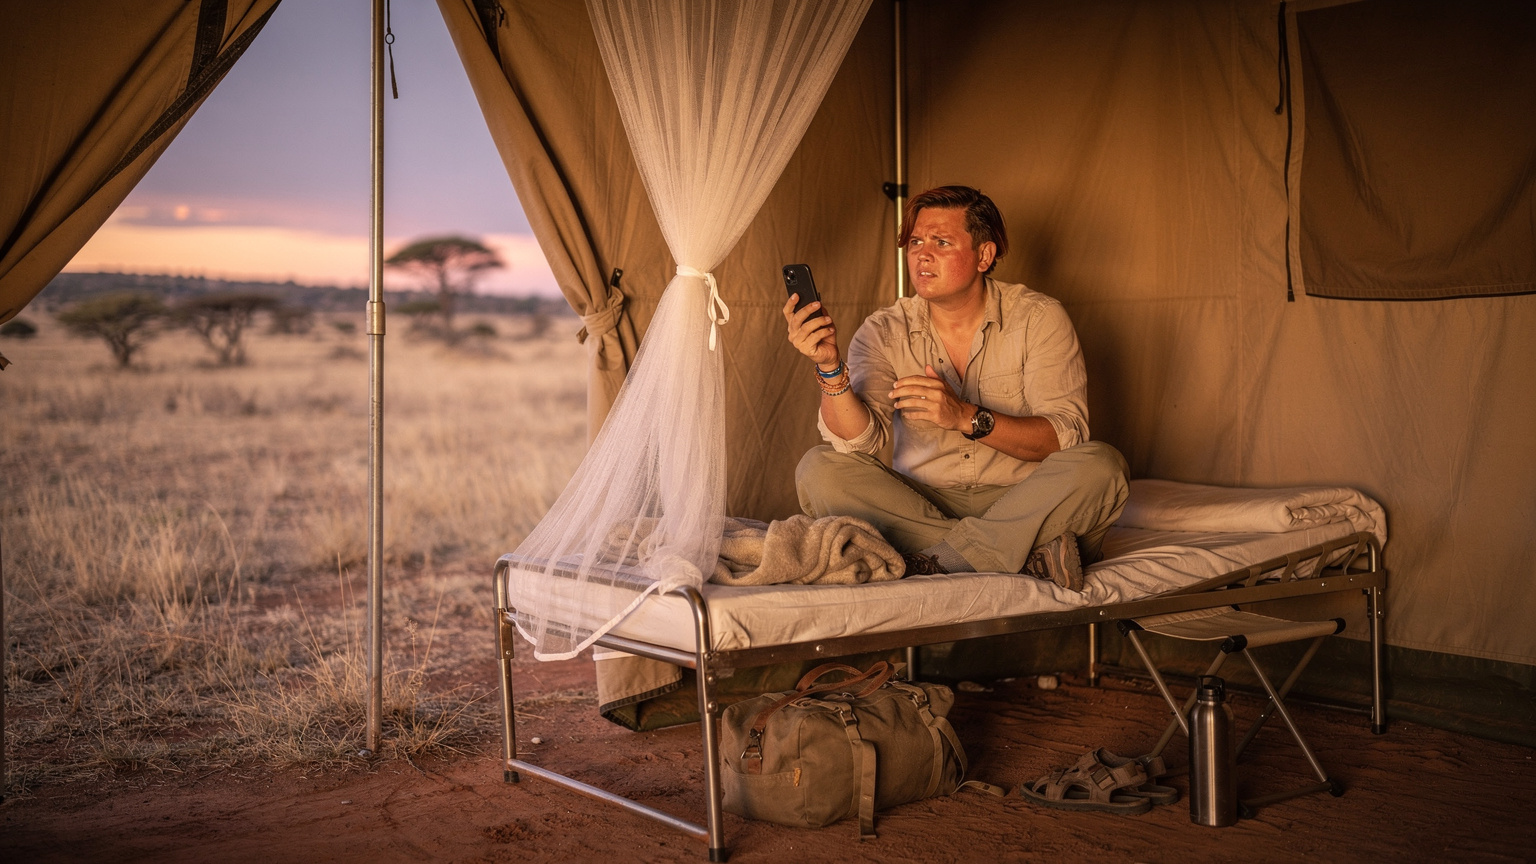
eSIM incompatibility issues
While most newer smartphones support eSIMs, especially iPhones and Android flagships, it's really important to check if your device is compatible before you buy one. If your phone is an older model or was bought in certain regions (like some Chinese models, or older US iPhone models that still had physical SIM trays), it might not support eSIMs. Don't assume. Check your phone manufacturer's specs.
A quick search for "[Your Phone Model] eSIM compatibility" will tell you. If your phone isn't compatible, then a physical local SIM is your only option, and you'll need to prepare for the extra effort. It's better to know this before you're standing in line at Kilimanjaro airport.
Final Thoughts on Staying Connected on Safari
A safari in the Serengeti is an amazing adventure, and staying connected, even just for peace of mind or a quick update, shouldn't add to your stress. For budget backpackers, an eSIM is a smart move. It offers a mix of affordability, convenience, and reliable coverage that old-school methods just can't match in the African bush.
My 8-day trip, where data only cost me €280, showed that with good planning and the right tool, you can enjoy incredible wildlife experiences and still stay connected to the outside world. If you're crossing borders, prioritize a regional eSIM. Calculate your data needs carefully, and always keep an eye on your usage. With Cellesim, you can focus on finding the Big Five, knowing your digital connection is solid.
So pack your bags, charge your phone, install that eSIM, and get ready for an unforgettable 2026 safari. The wild is waiting, and you'll be ready to share every amazing moment.
Frequently Asked Questions
Will an eSIM work deep inside the Serengeti National Park?
While no data solution guarantees 100% coverage everywhere, an eSIM from a provider like Cellesim that partners with multiple local networks (e.g., Vodacom, Airtel) offers the best chance. You'll likely have intermittent 3G/4G coverage in many parts of the park, especially near main roads and lodges, but expect dead zones.
How much data do I realistically need for a 10-day safari?
For essential communication (WhatsApp, light email), map lookups, and occasional social media updates, 3-5 GB for 10 days should be sufficient if you pre-download maps and avoid streaming. A budget of 300-500 MB per day is a reasonable estimate for moderate use.
Can I use my regular phone number for calls and texts while using an eSIM for data?
Yes, this is one of the main advantages of eSIMs. You can keep your primary physical SIM active for calls and texts to your home number, while routing all your mobile data through the eSIM. Just ensure you set the eSIM as your default data line in your phone's settings.
Is it cheaper to buy a local physical SIM card in Tanzania than an eSIM?
Potentially, for a single-country, long-stay trip, a local SIM might offer slightly more data for less money. However, factor in the time and hassle of purchasing, registering with your passport, and potential language barriers. For multi-country trips or shorter safaris where time is precious, an eSIM is generally more cost-effective and convenient.
What if my safari itinerary includes multiple countries like Tanzania and Kenya?
For multi-country safaris, a regional eSIM (e.g., Cellesim's East Africa plan) is highly recommended. It provides seamless data connectivity across all covered countries, eliminating the need to buy and activate new physical SIMs at each border crossing, saving you time and stress.
What should I do if my eSIM isn't connecting after activation?
First, ensure 'Data Roaming' is turned ON for your eSIM line in your phone's settings. Check for a stable Wi-Fi connection if you're trying to re-download the profile. Reboot your phone. If issues persist, contact your eSIM provider's customer support while you still have Wi-Fi access.