

 eSIM Destination
Indonesia eSIM
Indonesia: compare travel eSIMs for maps, messages, and mobile data.
Indonesia: mobile networks
4 carriers supported
- Indosat5G
- Telkomsel5G
- Smartfren4G
- XL Axis4G
Highest generation per operator is displayed; some plans may use a fallback band based on local conditions.
Free VPN with your eSIM
Every active Cellesim eSIM comes with a free VPN. Browse securely on public Wi-Fi and reach the apps you rely on from anywhere, at no extra cost and with no separate signup.
Indonesia: choose an eSIM for your trip
Choose how much data you need and for how long. Before you buy, check that your phone is compatible and that the plan covers where you're going. Indonesia: plans start from $3.42. 4.5/5 · Based on 271 reviews Compare the plans below, including details on activation, hotspot use, and top-ups.
- Compare price and how much data you get
- Check networks and coverage
- Contact support if you need help
Frequently Asked Questions
No! This is the single biggest advantage of our eSIM. The Indonesian government requires tourists using local SIM cards to register their phone's IMEI at the airport to avoid being blocked after 90 days. Cellesim eSIMs are roaming-based, which classifies you as a "tourist" and makes you 100% exempt from this entire bureaucratic process. You can buy online and connect instantly without any registration or fear of your phone being blocked.
Yes, in all key tourist areas. This is the most important question. Our eSIM connects to premium networks that provide strong 4G/LTE coverage not just in Jakarta and Bali (Canggu, Ubud, Seminyak), but also in Lombok, the Gili Islands, and in the main towns/ports for Komodo (Labuan Bajo). Note: You will lose signal on a boat in the open ocean (e.g., on a Komodo boat trip) or in the deep jungle, but you will be connected in all the towns and main tourist spots.
Planning the trip? See our Bali eSIM plans, install in one tap before you fly, and land online. Free VPN included.
Yes, 100%. Buying a physical "Telkomsel" or "XL" SIM at Bali (DPS) or Jakarta (CGK) airport requires you to find the kiosk, wait in very long queues, and go through the mandatory IMEI and passport registration process. Our eSIM is 100% digital, requires no ID or IMEI registration, and can be installed before you fly. You will be connected the moment you land, ready to use Gojek/Grab.
Planning the trip? See our Bali eSIM plans, install in one tap before you fly, and land online. Free VPN included.
To give you the best coverage in this vast archipelago, our eSIM connects to Indonesia’s premium Tier-1 networks, typically Telkomsel or XL Axiata. Telkomsel is widely regarded as the #1 provider with the most extensive coverage, ensuring you stay connected in Bali and on the remote islands where other networks fail.
Planning the trip? See our Indonesia eSIM plans, install in one tap before you fly, and land online. Free VPN included.
Yes, absolutely. Gojek and Grab are the essential "super-apps" in Indonesia for everything (ride-hailing, food delivery, payments). Our eSIM provides high-speed, low-latency data, which is crucial for ordering a ride from the airport, tracking your driver in real-time, and making clear WhatsApp video calls.
Yes. "Bali Wi-Fi" is famous for being unstable, slow, and dropping out during storms or power cuts. If you are a digital nomad in Canggu or Ubud, a Cellesim eSIM is your essential lifeline/backup, providing a stable 4G connection so you can keep working when your villa's Wi-Fi fails.
This specific plan is valid only within Indonesia. This is a critical point. If you are on a multi-country Southeast Asia trip, your connection will stop at the border. For this, we highly recommend our Asia Regional eSIM to stay connected seamlessly in all countries.
Scan it at home before your flight. This ensures you get immediate data the moment you land at Ngurah Rai (Bali) or Jakarta Airport without searching for free WiFi.
Connect to any hotel or cafe WiFi in Bali or Jakarta and contact our 24/7 support via WhatsApp or Email immediately.
Look up your phone’s exact model number with the manufacturer to see if it’s listed as compatible, and make sure your phone is not carrier-locked. Seeing an EID number or an “Add eSIM” option in your settings is a good sign, but some phones have regional restrictions. If you’re not sure, please contact our support team before you buy.
About Indonesia eSIM
Indonesia eSIM — Data plans
$3.42. Compare data allowance, validity and the total package price in the plan list. Check coverage, hotspot support and any fair-use limits before buying.
Install with Wi-Fi before departure. Check when your selected plan starts; installation and activation are not always the same. Network speed varies by location, device and plan.
eSIM Indonesia: Instant 5G Internet for Bali, Ubud, Canggu & Jakarta
Stay connected in the tropical paradise of Indonesia, with plans starting from just $3.42. Choose from 14 limited and 16 unlimited data plans.
🏙️ Bali
🧭 Related eSIM destinations: eSIM Thailand · eSIM Philippines · eSIM Laos · eSIM Asia
Welcome to Indonesia! With a Cellesim Indonesia eSIM, you get instant high-speed internet the moment you land, whether at Bali (DPS) or Jakarta (CGK) airport.
Skip the Airport SIM Queues & Unreliable Villa Wi-Fi
Don't waste the first hour of your Bali holiday waiting in a SIM card queue or dealing with complex registration. An eSIM activates instantly with a QR code, giving you secure, high-speed 4G/5G data that's often faster and more reliable than your villa's Wi-Fi.
From Ubud's Yoga Retreats to Canggu's Surf
Whether you're finding your zen at a yoga retreat in Ubud, working as a digital nomad from a café in Canggu, exploring the temples, island hopping to the Gili Islands and Lombok, or navigating the bustling capital of Jakarta, a reliable connection is essential. Use it for Gojek, Grab, Google Maps, and sharing every stunning sunset.
Need Unlimited Data for Your Island Hopping Adventure?
For backpackers on a long journey, digital nomads, or those who want to stream without worrying about Wi-Fi, we offer 16 different Unlimited Data eSIM plans for Indonesia.
Focus on the rice terraces and reefs, not your data allowance. Choose the perfect "unlimited internet for Bali" plan.
Indonesia eSIM reviews from real travelers
Based on 271 reviews
- Sam·Jun 18, 2026
setup was good yes
- Emily I.·Jun 9, 2026
The sim was awesome. Would buy again. Super!
- Emily J.·May 25, 2026
setup was fine. i tried it without any issues.
Easy setup
Charlotte M.·May 11, 2026Used this for data on my recent vacation. The connection was much better than hotel wifi. Setup was extremely quick and straightforward.
Flawless! Would buy
Anonymous·May 5, 2026Flawless! Would buy again. I used it without any issues.
Good speed
Anon424·May 2, 2026Good speed.
Excelent Cellesim
Elena74·Jul 2, 2026·roExcelent Cellesim. Recomand
- Sofia S.·Jul 1, 2026·it
Funziona. Nessun problema. Tutto ok. Veloce.
- Luca R.·Jun 29, 2026·it
Nessun problema. Eccellente. (ID
Muito bom
Carlos·Jun 27, 2026·pt-BRMuito bom. Internet rápida ...
- marta·Jun 26, 2026·es
Lo recomiendo. Muy bien. Sin problemas. Perfecto. 👌
- Pham·Jun 23, 2026·vi
hoạt động hoàn hảo qr code. rất tốt
Indonesia eSIM guides:what travellers ask before they go
Coverage, install steps, real connection speeds, and the small stuff that ruins a trip if you skip it. Curated for Indonesia.
 Destination Guides
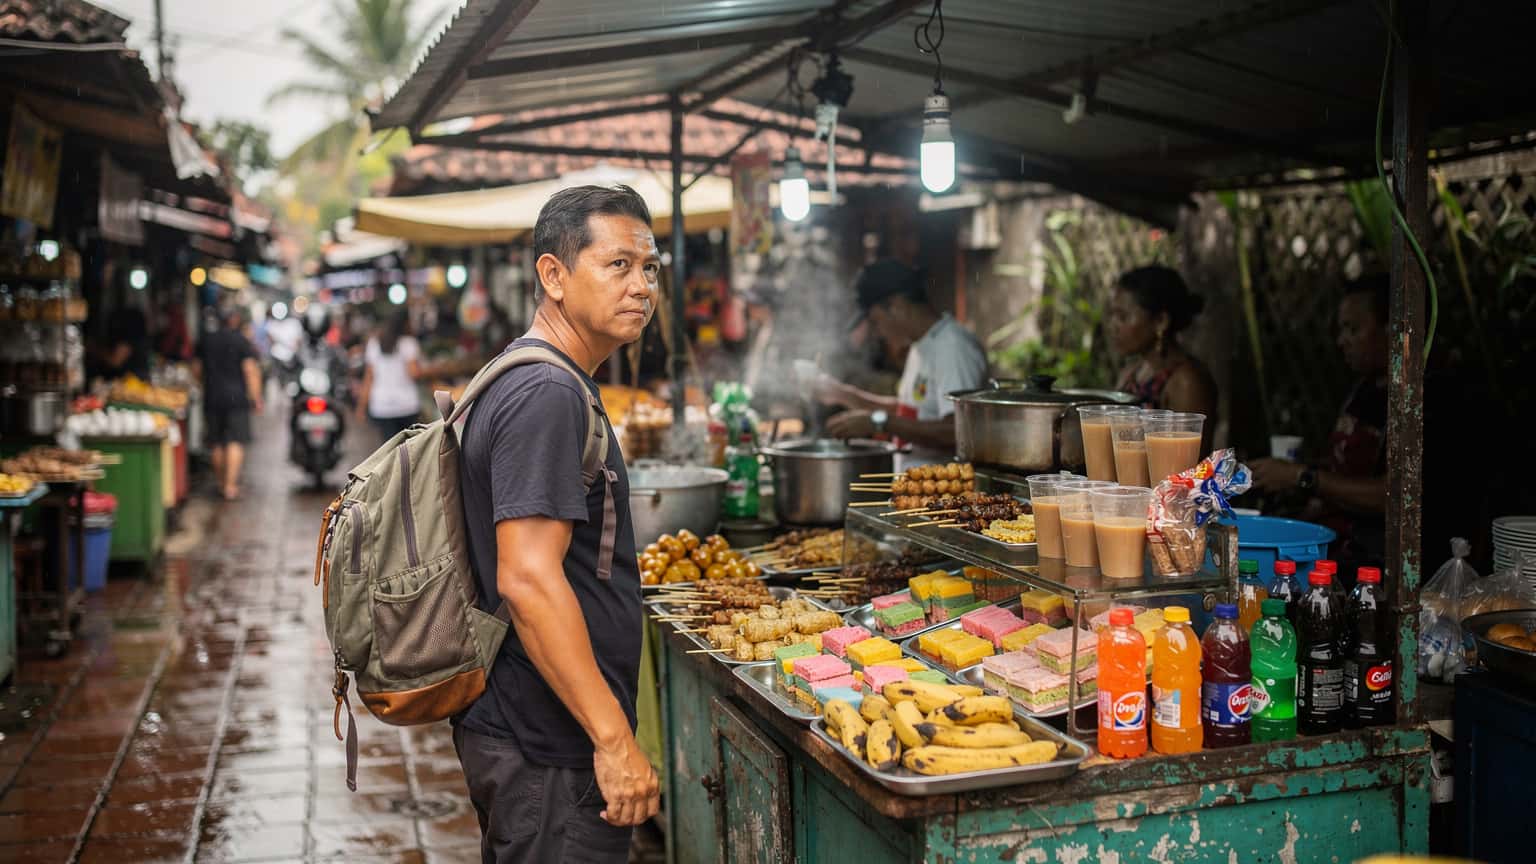
Bali & Indonesia eSIM 2026: Telkomsel Tourist vs Instant Setup
Heading to Bali or Jakarta and need reliable data? This guide dissects your options: the on-arrival Telkomsel Tourist SIM with its registration hurdles, or the instant-setup Cellesim eSIM you can activate before you even leave Heathrow. We break down speeds, coverage, and activation steps so your summer break connectivity is sorted.
Read the guide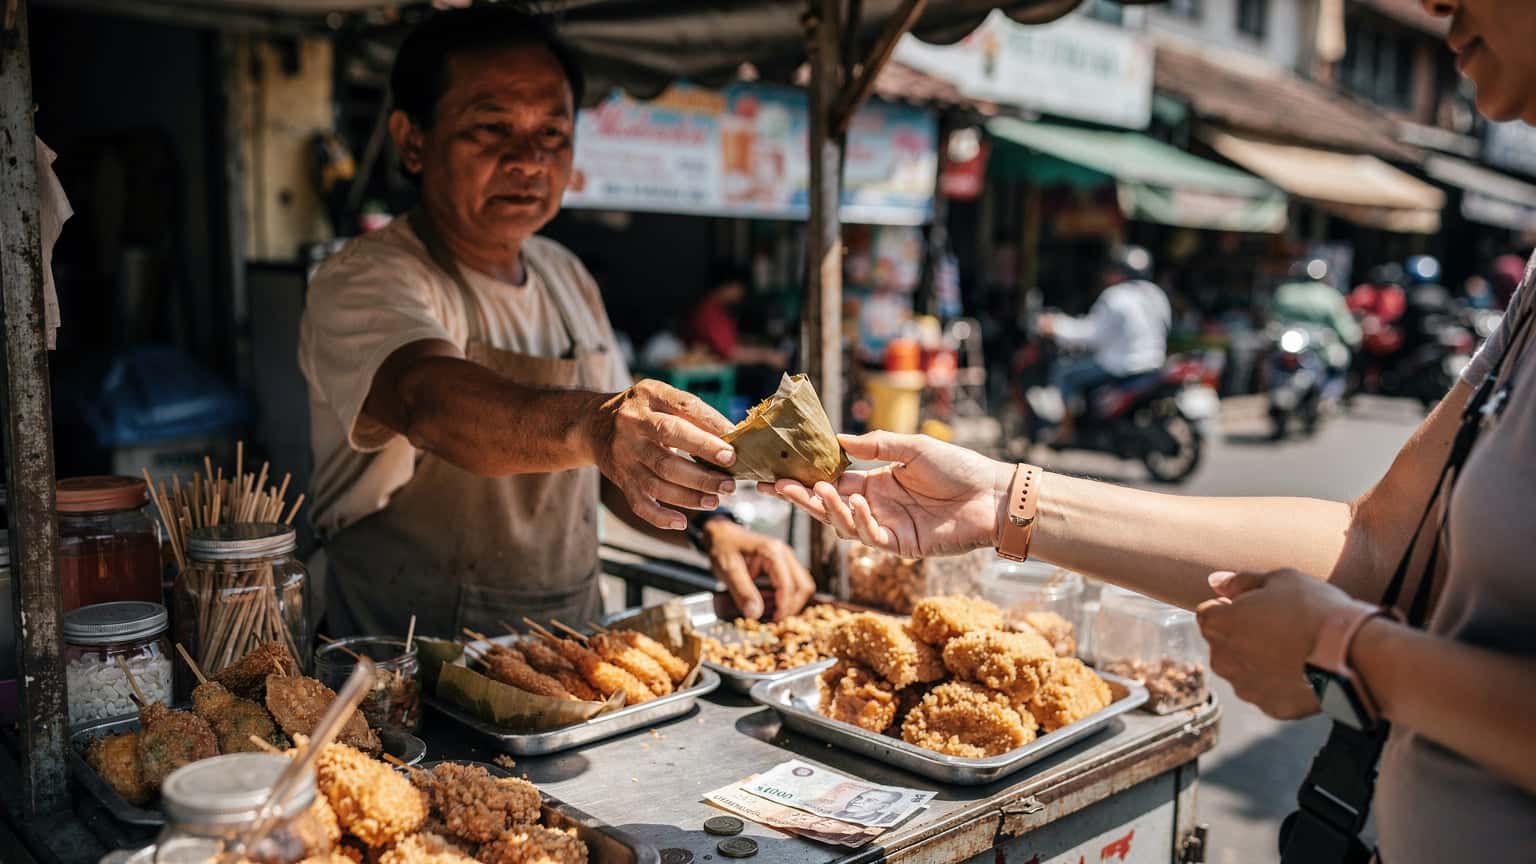 Travel Tips
Telkomsel vs Cellesim: Which eSIM is Better for Indonesia in 2026?
Indonesia is a dream, but getting connected can be a nightmare if you pick the wrong data plan. I've been there, stuck in queues after a red-eye flight, just trying to get online. This time, let's break down Telkomsel's tourist eSIM versus Cellesim's instant option for 2026. We're talking real money, real time, and avoiding those dreaded airport kiosks.
Read the guide Destination Guides
Telkomsel Tourist Data vs. Instant eSIM for Bali & Indonesia (2026)
Planning a trip to Bali or Jakarta this summer break? The choice between wrestling with local SIM card registration for Telkomsel Tourist Data or opting for an instant, pre-activated eSIM can make or break your initial connectivity experience. This guide walks you through the practicalities of both, helping you get connected the moment you land at Ngurah Rai.
Read the guide Travel Tips
Telkomsel Tourist eSIM: The €18 Hack for Indonesia Data in 2026
Landing in Denpasar or Jakarta, the last thing you want is a data headache or, worse, an expensive surprise. Forget the airport kiosks trying to upsell you. This is how you get Telkomsel data as a tourist for a fraction of the cost, starting from just €18, and what to watch out for.
Read the guide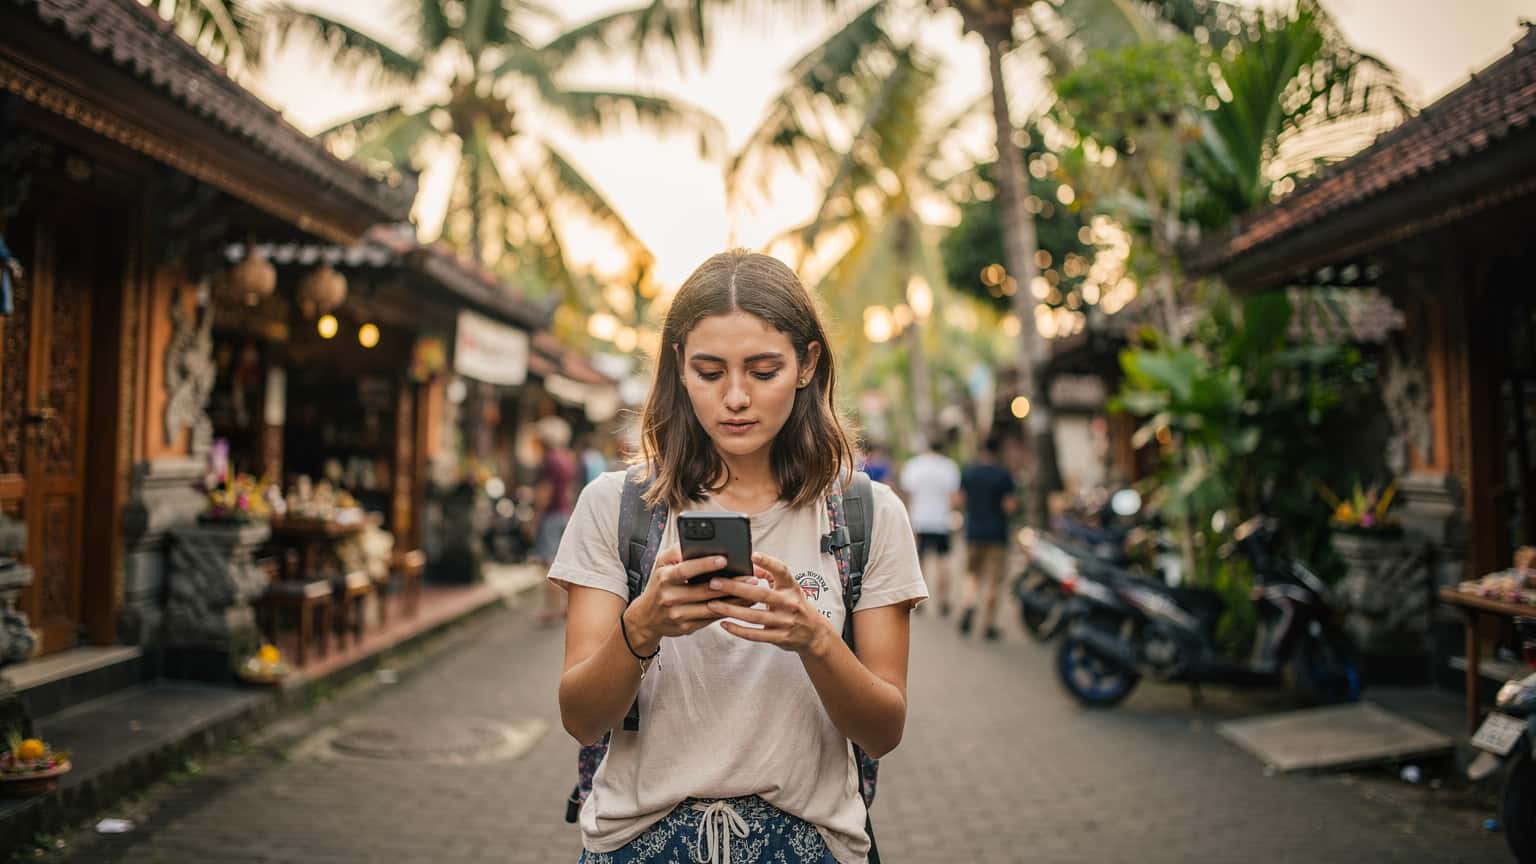 Travel Tips
Telkomsel eSIM for Tourists: Eligibility and Indonesia Data
Check Telkomsel’s foreign-customer eSIM requirements, the separate tourist SIM process and Indonesia travel data options before buying.
Read the guide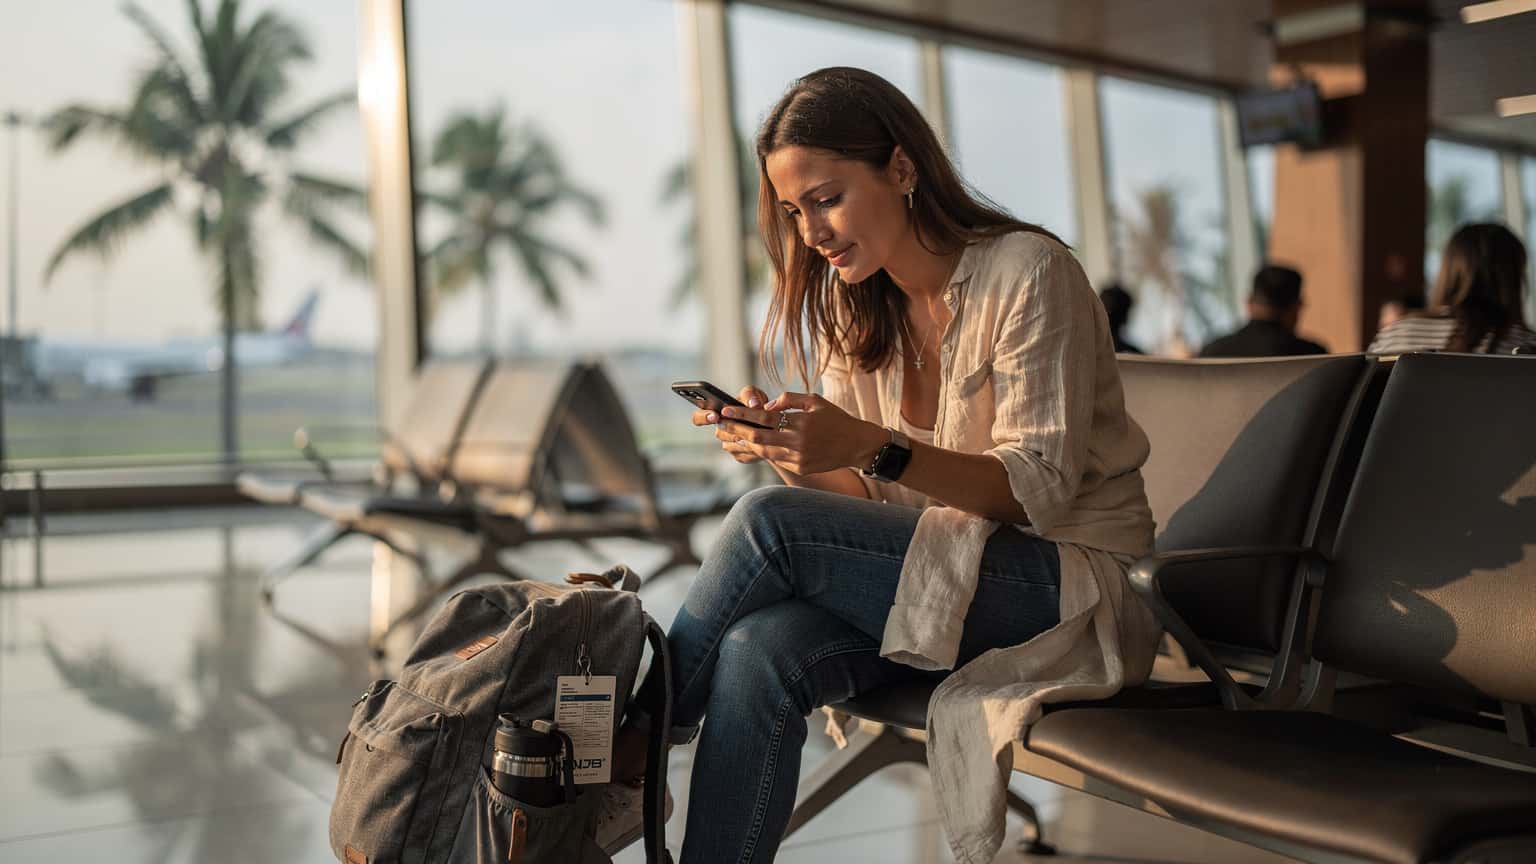 Destination Guides
Telkomsel eSIM Indonesia: Why Tourists Choose Digital in 2026
Indonesia, a sprawling archipelago, offers breathtaking landscapes and vibrant cultures. But for travelers, staying connected can sometimes feel like navigating a maze. This guide unpacks Telkomsel eSIM, comparing its benefits against traditional SIMs for tourists and long-stay visitors.
Read the guide Savings & Comparisons
Telkomsel eSIM 2026: Tourist SIM vs. Cellesim for Indonesia Data, No Rip-Offs
Navigating connectivity in Indonesia can be tricky, especially when you're fresh off a long-haul flight. Is it worth the queue for a physical Telkomsel SIM at Ngurah Rai, or is a Cellesim eSIM the smoother path to staying online from Bali to Jakarta? Let's unpack the real-world differences.
Read the guide Savings & Comparisons
Cellesim vs. Telkomsel eSIM 2026: Indonesia Data, No Rip-Offs
Heading to Indonesia? Don't get caught out by dodgy Wi-Fi or overpriced local SIMs. This frank comparison breaks down Cellesim versus Telkomsel eSIMs, showing you how to get reliable data without burning a hole in your rupiah budget. We're talking real costs, real coverage, and zero tourist traps.
Read the guide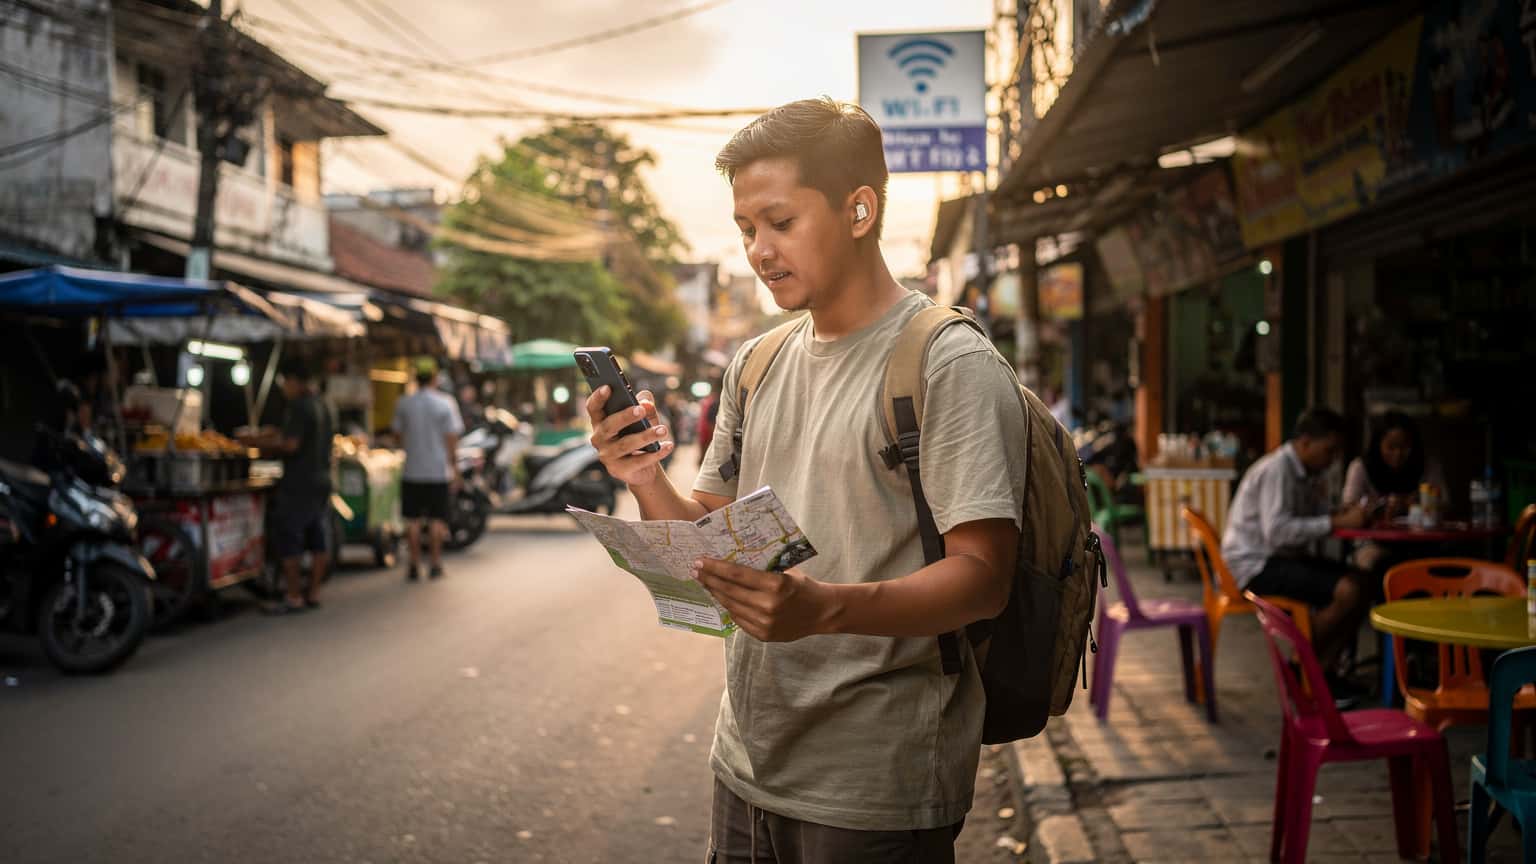 Destination Guides
Telkomsel eSIM 2026: Navigating Indonesia's Data Scene on a Budget
Indonesia's connectivity can be a maze, especially with Telkomsel being the dominant player. This guide cuts through the noise, detailing how to get Telkomsel eSIM, what plans make sense for tourists, and how it stacks up against other options for affordable data across the archipelago.
Read the guide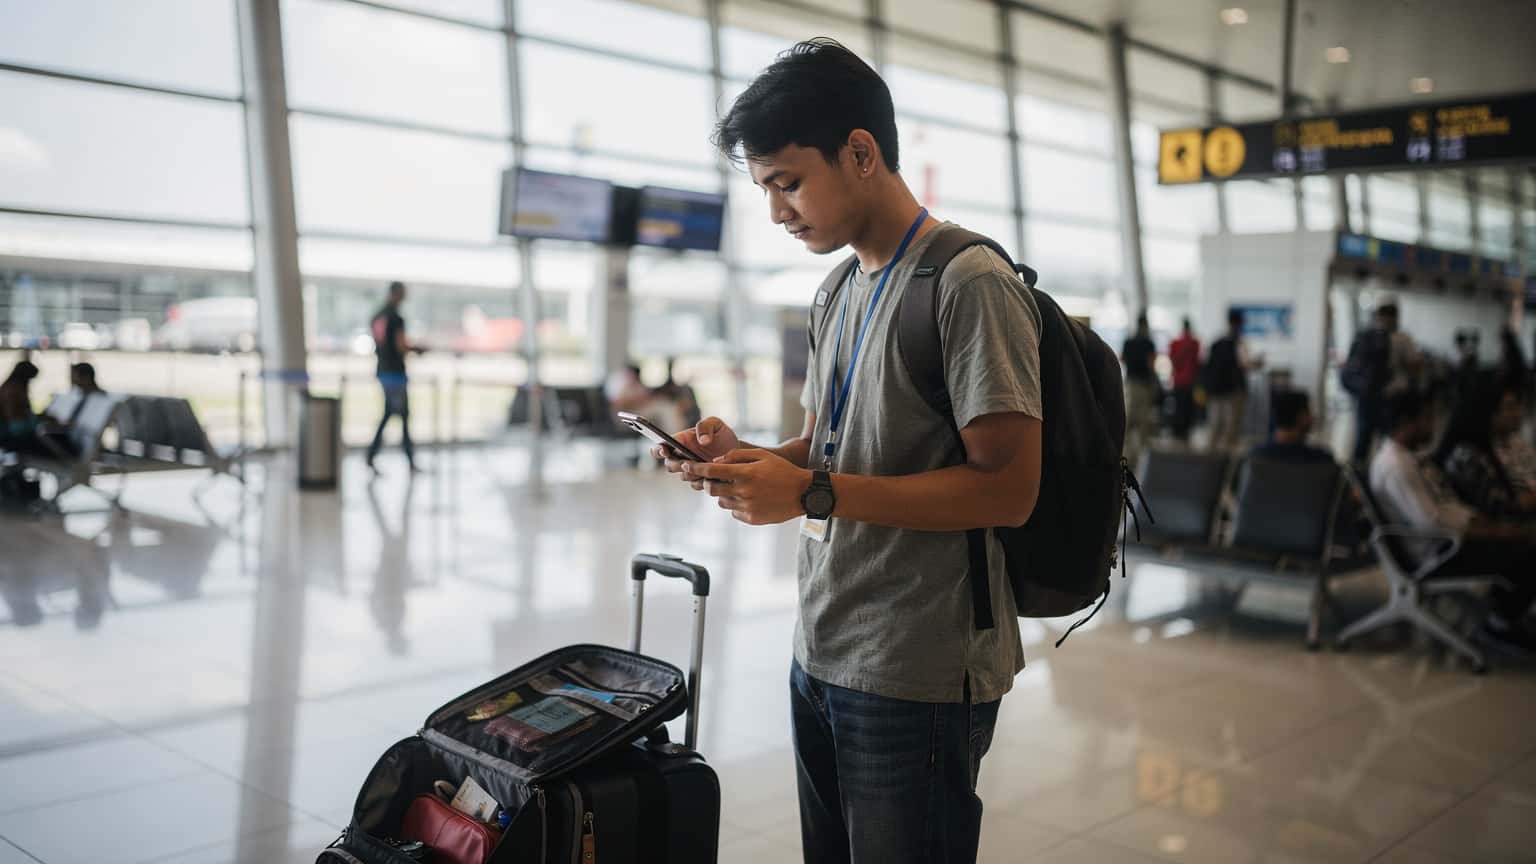 Destination Guides
Telkomsel eSIM Indonesia: Tourist SIM or Digital Convenience for 2026?
Indonesia's connectivity options can feel like a maze. Should you grab a physical Telkomsel tourist SIM at Ngurah Rai, or is an eSIM the smarter move for staying connected? Let's break down the real-world differences, from activation headaches to data packages, so you don't get stuck without Google Maps on your next Bali adventure.
Read the guide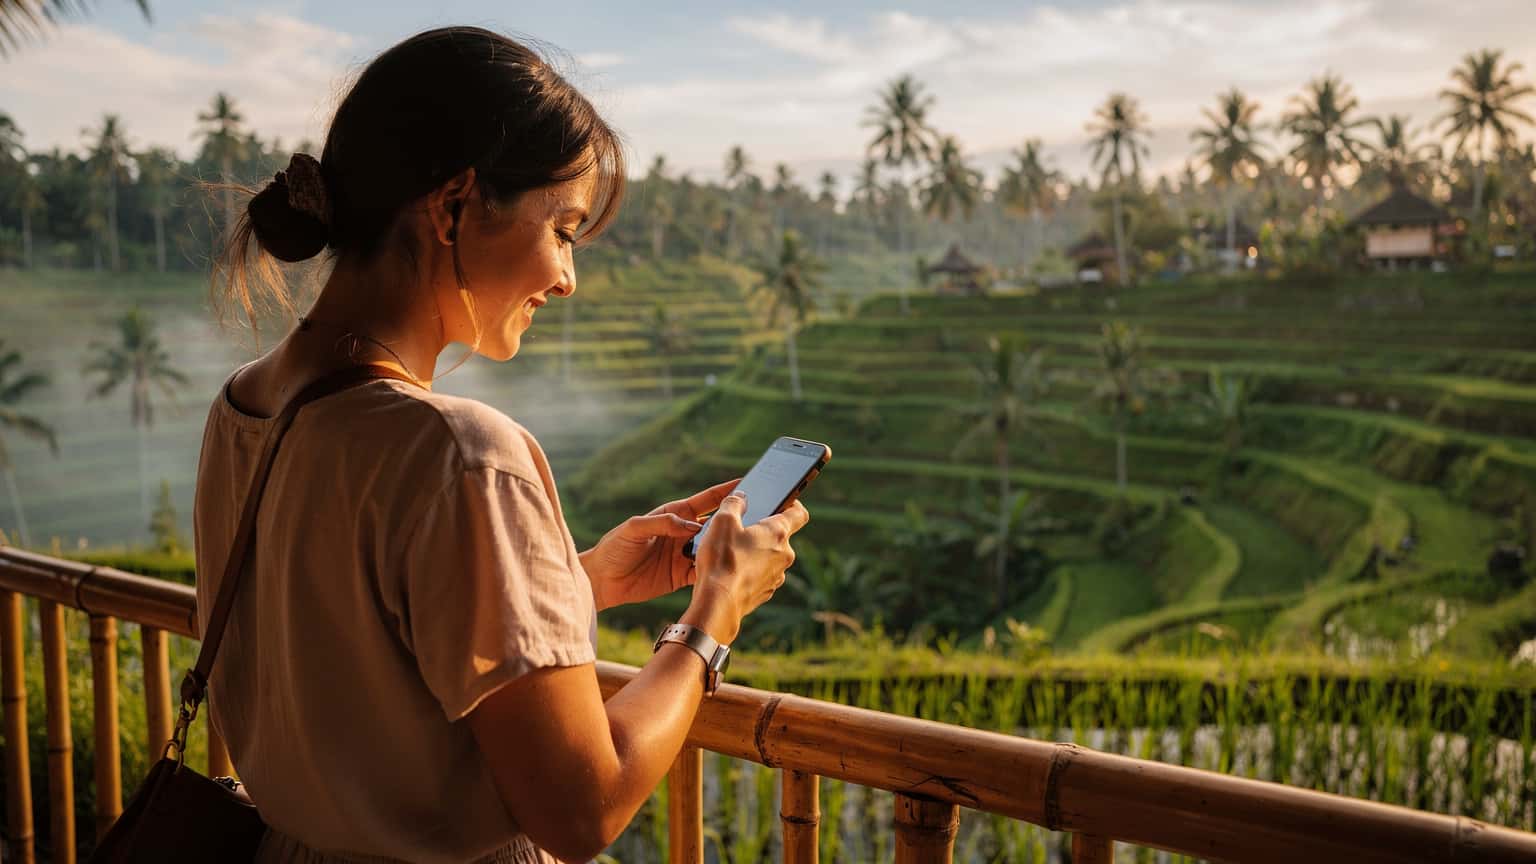 Destination Guides
Telkomsel Tourist eSIM vs Instant Setup: Best Bali & Indonesia Data 2026
Indonesia's vast archipelago, from Bali's rice paddies to Jakarta's urban sprawl, demands reliable mobile data. For travelers, the choice often boils down to Telkomsel's tourist eSIM, acquired on arrival, or a convenient online eSIM. This deep dive compares coverage, speeds, activation friction, and the pragmatic realities of connecting in 2026.
Read the guide Destination Guides
Bali eSIM 2026: Bypass Tourist Traps for Seamless Data (Ubud, Canggu, Seminyak)
Navigating Bali's data landscape can be a minefield. From the bustling streets of Seminyak to the rice paddies of Ubud, staying connected is crucial. This guide cuts through the noise, detailing the best eSIM options, real-world coverage in popular spots, and what to expect from 4G and 5G speeds, helping you avoid common connectivity pitfalls.
Read the guide
Indonesia: Popular cities
City-specific connectivity guides


Nearby Countries
Check coverage for every stop on your trip.


