Why an eSIM is Your Best Bet for USA Travel
Let's be real: nobody wants to land in a new country and immediately hunt for Wi-Fi or pay outrageous roaming fees. I've been there, doing the frantic hostel Wi-Fi scramble, searching for an unlocked phone, and dealing with questionable bus station internet in places like Phnom Penh. It's not fun, and it definitely eats into your travel fund. For anyone visiting the USA in 2026, an eSIM isn't just a nice-to-have, it's a smart move that saves you money and stress.
Picture this: You step off the plane at LAX or JFK. You need an Uber, Google Maps to find your hostel in Bushwick or Koreatown, and maybe a quick message to family back home. If you're relying on a physical SIM, you're either buying an overpriced one at the airport or trying to find a T-Mobile or AT&T store in a new city, which wastes precious travel time. I've personally seen airport SIM prices in places like Bogotá that were double what I'd pay just a few blocks away. An eSIM, on the other hand, is ready to go the moment your plane touches down, assuming you've set it up beforehand. No fuss, no language barriers, no overpaying.
Beyond the immediate convenience, eSIMs often come with better data packages than what your home provider offers for international roaming. My own carrier, for example, charges €10 per MB for international roaming - a price that would quickly empty my bank account. With a provider like Cellesim, you can grab a solid USA data package for under $20. That's a tiny fraction of what most major carriers charge for comparable international roaming. It's about spending smart, not just having a signal.
The Cost Comparison: eSIM vs. Roaming vs. Physical SIM
When you're trying to travel a country on €40 a day, every dollar matters. Here's a quick look at the typical costs:
- International Roaming: You could pay $10-20 PER DAY for a limited data plan, or face insane per-MB rates if you don't sign up for a package. This is a budget killer, plain and simple.
- Physical Local SIM: Often the cheapest option per GB, but you're looking at $20-40 for a month-long plan. Then there's the hassle of finding a store, activating it, and potentially needing an unlocked phone. Plus, you'll lose your primary SIM for calls and texts unless you have a dual-SIM phone.
- eSIM: Typically, you can find a 7-day, 5GB plan for about $15-25. No physical card swap, no store visits, and instant activation. It's the sweet spot for most tourists.
The upfront cost for an eSIM feels minor when you consider the peace of mind and the time you save by not dealing with connectivity headaches. When you're on a tight travel schedule, time truly is money.
Flexibility and Control Over Your Data
Another huge benefit of eSIMs is their flexibility. You can buy exactly the data you need, precisely when you need it. Heading to New York for a week and only need 5GB? Grab a 7-day, 5GB plan. Decide to extend your California trip to two weeks? Top up with more data or even switch providers if you spot a better deal. There are no long-term contracts, no commitments, and no wasted data. This level of control is incredibly useful for backpackers whose plans often change on the fly.
How Much Data Do You Really Need, Show Me the Math
This is where many travelers make mistakes, either buying too much data and wasting money, or too little and needing expensive top-ups. I keep an eye on my data usage just like I track my hostel costs. My general rule for budget travel is less streaming, more offline maps, and smart use of Wi-Fi.
Let's look at some numbers for a typical USA trip:
- GPS/Navigation (Google Maps, Apple Maps): About 5-10 MB for every hour you're actively using it. If you use it 3 hours a day, that's roughly 30 MB daily.
- Messaging (WhatsApp, iMessage, Messenger): Very little, maybe 1-5 MB per day for basic texting. More if you're sending lots of photos or videos.
- Social Media (Instagram, TikTok, Facebook): This is the real data hog. Expect 100-300 MB per hour. Scrolling for an hour a day? That's 100-300 MB daily.
- Email/Light Browsing: 10-20 MB per hour.
- Video Streaming (YouTube, Netflix): A huge 1-3 GB per hour. Seriously, avoid this on mobile data unless it's an emergency.
Calculating Your Daily Data Needs
For an average backpacker who isn't live-streaming constantly, here's a rough daily estimate:
| Activity | Estimated Data Use (per hour) | Typical Daily Use (hours) | Daily Data Consumption |
|---|---|---|---|
| Navigation | 10 MB | 3 | 30 MB |
| Messaging | 5 MB (total) | N/A | 5 MB |
| Social Media | 200 MB | 1 | 200 MB |
| Light Browsing/Email | 20 MB | 0.5 | 10 MB |
| Total Daily Estimate | ~245 MB |
So, roughly 250 MB per day. For a 10-day trip, that's about 2.5 GB. For a 20-day trip, 5 GB. My advice for most tourists is to aim for a 5-10 GB plan for a 7-14 day trip. This gives you some wiggle room without overspending. If you're a heavy user, constantly uploading photos or making video calls, you might double that. But honestly, save the heavy streaming for free hostel Wi-Fi.
How My Friend Jax Taylor Burns Through Data
My friend, Jax Taylor, Cellesim's Events Editor, is a different story. He's usually at Coachella or Burning Man, live-streaming everything. He's the type who needs high-bandwidth eSIM solutions in challenging environments. For someone like Jax, 5GB might last a single day. He's probably looking at plans with 20GB+ or even unlimited options, especially when dealing with crowded festival networks. But for the rest of us, that's usually overkill.
eSIM Providers for the USA: The Lowdown on Prices and Coverage
The USA has three major mobile networks: AT&T, T-Mobile, and Verizon. Most tourist eSIM providers will use one or more of these. Keep in mind that coverage can vary, especially once you're outside big cities. If you're road-tripping through national parks, expect some dead zones no matter who your provider is. That's just how it is in the vast American landscape. (It's definitely not like the dense network coverage in, say, Vatican City, where you can practically get 5G inside a broom closet.)
Here's a look at some popular eSIM options for the USA in 2026. Prices are estimates and can change, so always check the latest details:
| eSIM Provider | Network Partner(s) | Typical Plan (Data/Duration) | Estimated Price | Notes |
|---|---|---|---|---|
| Cellesim | AT&T, T-Mobile, Verizon | 5 GB / 7 days | $15-18 | Reliable, good customer support, easy top-ups. |
| Airalo | AT&T, T-Mobile | 5 GB / 7 days | $16-20 | Popular option, often good intro deals. |
| Holafly | AT&T, T-Mobile | Unlimited Data / 5 days | $19-25 | Unlimited data is tempting, but check speed throttling policies. No hotspot. |
| Nomad | T-Mobile, AT&T | 3 GB / 7 days | $13-16 | Similar to Airalo, good for lighter users. |
When choosing, think about your actual data needs and how long you'll be in the USA. Don't fall for "unlimited" plans if they severely throttle your speed after a few GB, making them useless for anything beyond basic messages. Always read the fine print.
The Cheapest Local SIM Alternative, For Fairness
Okay, for the absolute most budget-conscious travelers, I have to acknowledge one thing. If you have an unlocked phone, a local physical SIM can sometimes be cheaper per GB than an eSIM. This is especially true for longer trips (3+ weeks) or if you really need a local US phone number for calls and texts. Most tourist eSIMs are data-only, which is an important distinction.
The best options for cheap local SIMs are often MVNOs (Mobile Virtual Network Operators) like Mint Mobile, Tello, or Visible. These companies use the major networks but offer lower prices because they don't own their own infrastructure. For example, Mint Mobile, which runs on T-Mobile's network, often has introductory deals like 5GB for $15-20 per month. Visible (on Verizon's network) offers an unlimited plan for around $25-30 per month. The catch? You usually have to buy them online and have them shipped to a US address, or track down a specific retail partner. This means you won't have data the moment you land. Plus, activation can be a bit more complicated, sometimes requiring a US address for billing or specific ID verification.
I once spent an hour in a T-Mobile store in Los Angeles trying to get a local SIM for a friend who insisted on it. Between the paperwork, the plan explanations, and the activation, a good chunk of our day was gone. For a shorter trip, the time an eSIM saves is definitely worth any small price difference.
The T-Mobile Free Trial: Is It Worth It?
T-Mobile offers a free eSIM trial for 30 days with unlimited data for eligible devices. This sounds amazing for budget travelers, right? And it can be, but there are catches. It's mainly designed for US residents to test out T-Mobile's network. While some international tourists have managed to activate it, it's not officially for them, and policies could change. Don't rely on it as your primary plan, but it could be a fantastic backup or a way to get free data for part of your trip if you can get it working. Always have a paid eSIM ready to go, just in case.
Activating Your USA eSIM Before You Land
This is where eSIMs really shine. You can purchase and activate your plan before you even leave home. No more waiting, no more airport lines. Here’s a simple step-by-step guide:
- Buy Your eSIM Plan: Head to a trusted provider's website, like Cellesim. Look through the USA plans and pick one that fits your data needs and trip length. Pay with your credit card or preferred payment method.
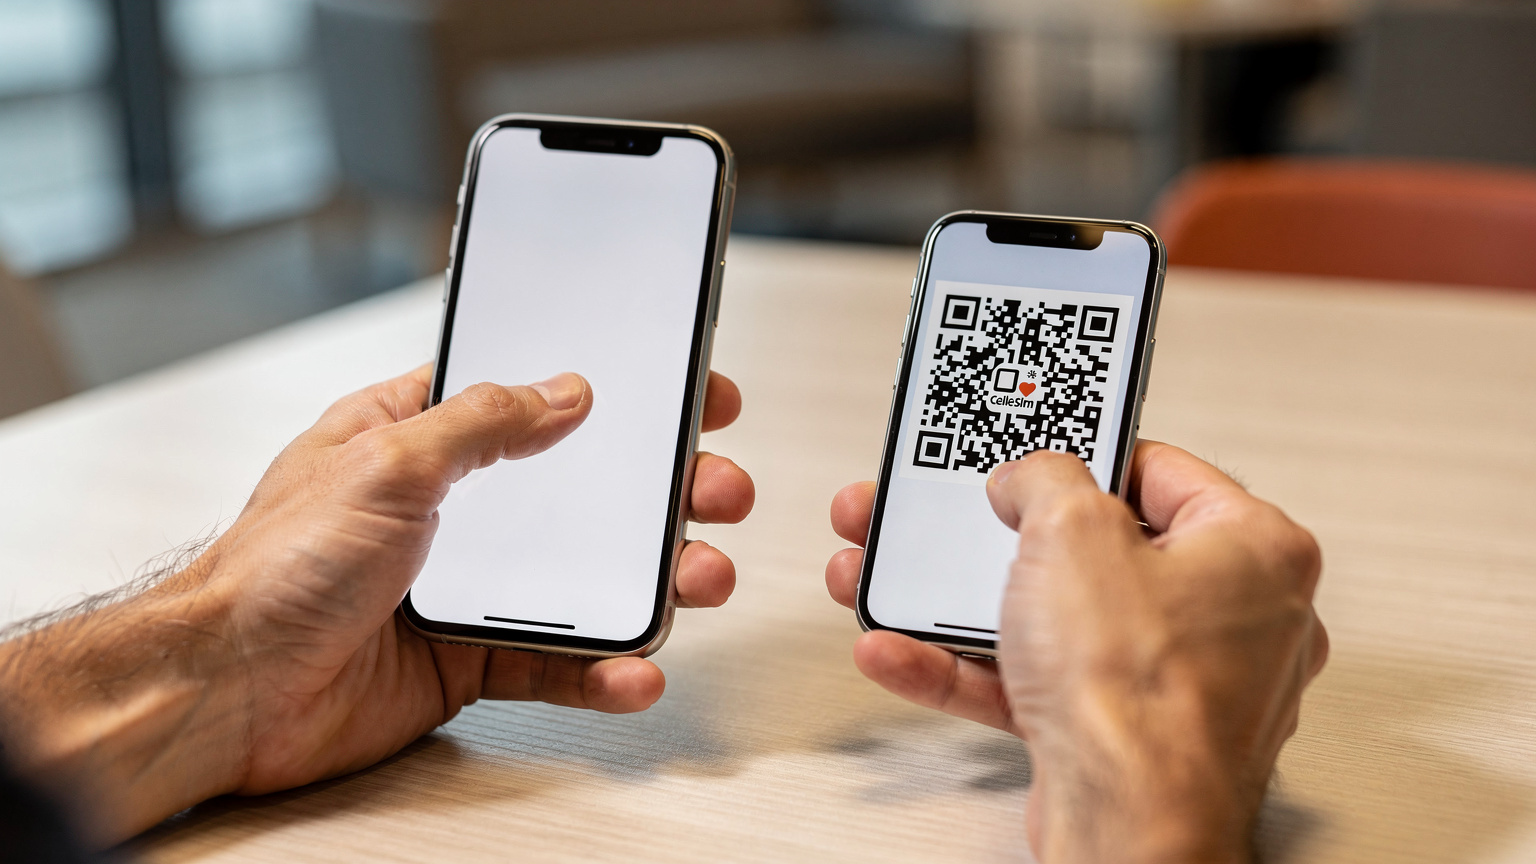
- Get Your QR Code/Activation Details: After buying, you'll usually get an email with a QR code or manual activation instructions. Make sure you have another device (like a laptop or a friend's phone) to display this QR code, or print it out.
- Add eSIM to Your Phone:
- For iPhones (iOS): Go to Settings > Cellular (or Mobile Data) > Add eSIM. Choose 'Use QR Code' and scan the code. Follow the steps on your screen. Give your eSIM a clear name (e.g., 'USA Travel').
- For Android (e.g., Samsung Galaxy, Google Pixel): Go to Settings > Network & internet > SIMs > Add eSIM (or the '+' icon). Select 'Download a SIM instead' or 'Scan QR code'. Scan the code and follow the prompts.
- Set Up Data Roaming and Preferred SIM: Once it's added, you'll usually be asked to choose which SIM to use for data, calls, and texts. For your USA eSIM, set it as your main option for mobile data. Make sure data roaming is turned OFF for your home SIM (physical or eSIM) to avoid unexpected charges.
- Arrive and Connect: When you land in the USA, your phone should automatically connect to the local network. If it doesn't, try restarting your phone or checking your network settings to confirm the USA eSIM is selected for data.
It really is that easy. I've done this countless times, from setting up a Middle East multi-country eSIM for a trip through Jordan and Egypt to getting connected in Mexico City. The process is pretty much the same across different providers and devices.
What if I Can't Scan the QR Code?
Sometimes you might not have a second screen, or the QR code just isn't scanning right. Most providers offer manual activation codes. When you're adding an eSIM, look for an option like 'Enter Details Manually'. You'll then type in the specific SM-DP+ Address and Activation Code given by your eSIM carrier. It's a bit more tedious, but it works.

Border Crossing with an eSIM: What You Need to Know
Border crossings are always a bit tricky, especially with phone connectivity. While an eSIM makes things much simpler, there are a few specific situations to keep in mind, especially if you plan to cross into Canada or Mexico from the USA.
Most USA-specific eSIMs are, well, specific to the USA. They won't work once you physically cross into another country. This is different from multi-country or regional eSIMs, which are built for smooth transitions. If your trip includes Vancouver after Seattle, or Tijuana after San Diego, you'll need a separate eSIM for Canada or Mexico, or a North America regional eSIM that covers all three.
I remember a friend who bought a USA-only eSIM for a trip that included a quick hop to Niagara Falls, Canada. He quickly found himself without data, desperately searching for Wi-Fi in a Canadian coffee shop. It's a common mistake. Plan ahead. If you know you'll be crossing borders, look for a North America regional eSIM from providers like Cellesim, or buy individual eSIMs for each country. Always check the coverage map for your chosen eSIM plan before you buy.
Dual-SIM Functionality: The Traveler's Secret Weapon
This is where modern phones really shine. Most newer smartphones support dual SIM, meaning you can have your home physical SIM (or eSIM) active at the same time as your travel eSIM. This is incredibly useful:
- Keep Your Home Number: You can still get calls and texts on your main number without racking up data roaming charges. Just be sure data roaming for your home SIM is OFF.
- Local Data, Home Calls: Use your travel eSIM for all your data needs, while still being reachable on your main number for important calls or two-factor authentication codes.
- Easy Switching: You can easily switch between your home and travel SIMs for data if you need to.
This setup is perfect for managing costs and staying connected without missing important messages. It's how I personally handle my connectivity, even when I'm chasing music festivals like Coachella, where network congestion can be a real problem.
Troubleshooting Common eSIM Issues on the Road
Even with the best planning, sometimes things go wrong. Here are a few common problems and my go-to solutions:
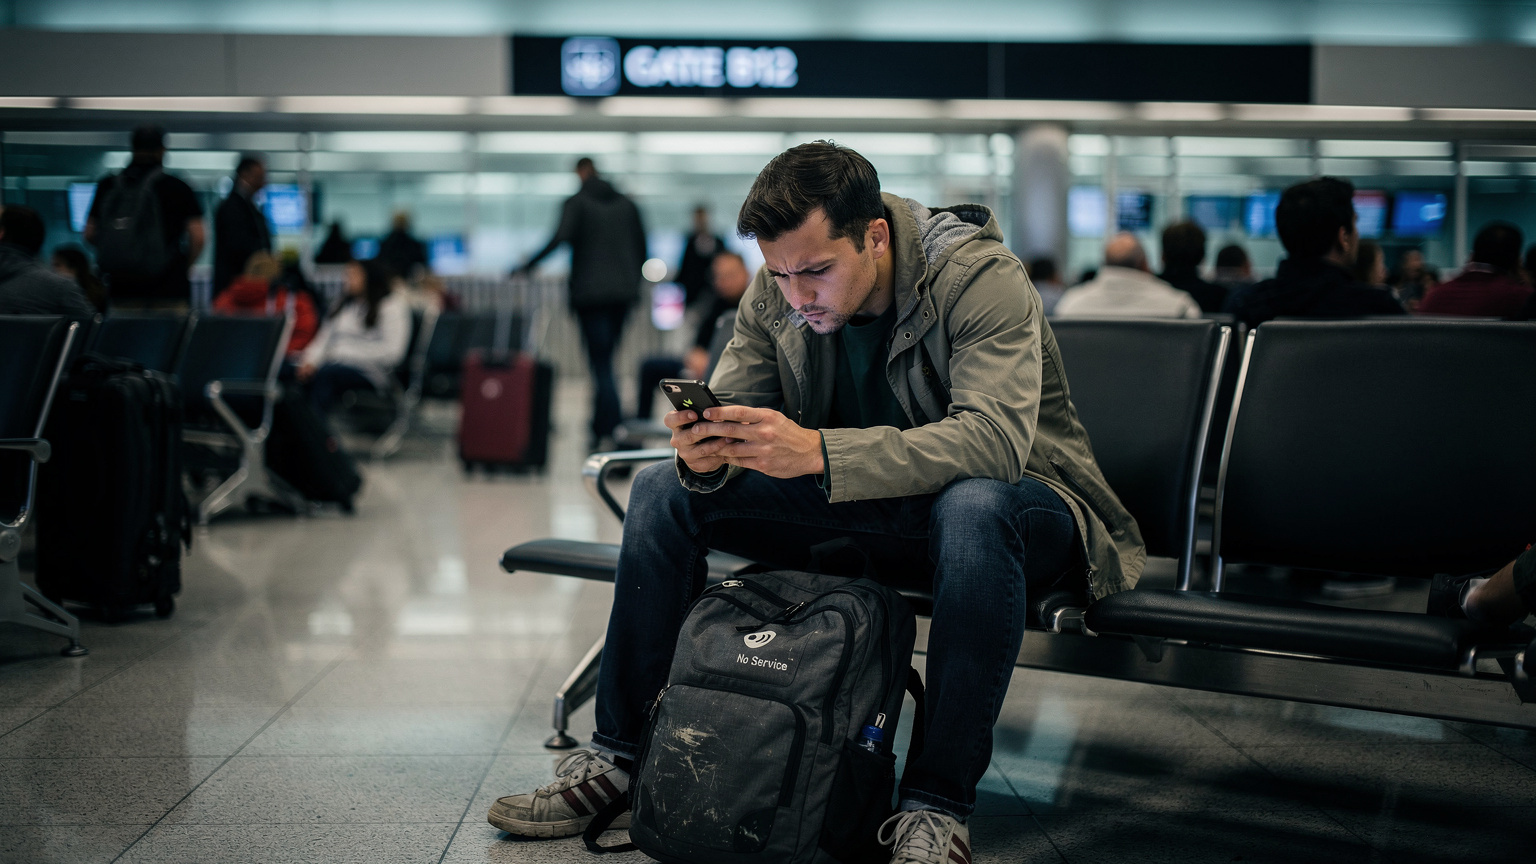
- No Service After Landing:
- Restart Your Phone: The classic fix. Sometimes your phone just needs a fresh start to find the new network.
- Check Data Roaming: Make sure data roaming is turned ON for your eSIM profile. This often feels counterintuitive, but it's necessary for many eSIMs as they "roam" on local networks.
- Select Network Manually: Go to Settings > Cellular > Network Selection (or similar). Turn off automatic and manually pick AT&T, T-Mobile, or Verizon.
- Check APN Settings: This is rarely needed for Cellesim, but some providers require specific APN settings. Your eSIM provider's support page will have these if you need them.
- Slow Data Speeds:
- Public Wi-Fi Overload: Are you in a busy area with lots of people using public Wi-Fi? That can definitely slow things down.
- Network Congestion: Major cities, especially during peak times or at big events, can have overloaded networks. This is where understanding network priority, as Jax Taylor often points out, becomes important.
- Data Throttling: If you're on an "unlimited" plan, you might have hit your fair usage limit.
- eSIM Not Activating:
- Internet Connection Required: You need an existing internet connection (Wi-Fi) to download and activate an eSIM. Do this before you leave home or use airport Wi-Fi.
- Incorrect QR Code/Manual Entry: Double-check the QR code or manual details. Even one wrong character can stop activation.
- Device Compatibility: Make sure your phone is eSIM compatible and unlocked.
If all else fails, reach out to your eSIM provider's customer support. They're usually quick to respond and can help figure out specific problems.
Maximizing Your Data on a Budget: Tips and Tricks
Even with a budget-friendly eSIM, you want to get the most out of your data plan. Here are my tried-and-true strategies:
- Download Offline Maps: Before you head out each day, download maps of the areas you'll be exploring on Google Maps. This saves a ton of data for navigation.
- Use Hostel/Café Wi-Fi: Whenever you're at your hostel, a coffee shop, or a restaurant, connect to their Wi-Fi. This is the perfect time to upload photos, download podcasts or shows, and do any heavy browsing.
- Restrict Background App Refresh: Many apps refresh data in the background without you even knowing, silently eating up your allowance. Go into your phone's settings and turn off background refresh for any apps you don't absolutely need running constantly.
- Turn Off Auto-Play Videos: On social media apps like Facebook or Instagram, disable auto-play for videos. Those short clips add up quickly.
- Monitor Data Usage: Regularly check your phone's data usage settings (Settings > Cellular/Mobile Data) to see which apps are using the most data. This helps you adjust your habits.
- Use Data Saver Modes: Many browsers (like Chrome) and apps have data saver modes that compress data. Turn them on!
I learned these tricks the hard way, often blowing through my data in the first week of a month-long trip. Now, I can make a 5GB plan last much longer, freeing up euros for more important things, like a better hostel or an extra street food meal.
Essential Apps for the Budget Traveler in the USA
Your phone is your most powerful travel tool. Here are a few must-have apps:
- Google Maps: Essential for navigation, public transit directions, and finding nearby places.
- WhatsApp/iMessage: For free communication with friends and family back home over data.
- Uber/Lyft: For ride-sharing, especially handy in cities where public transport isn't 24/7 or when you're lugging heavy bags.
- Hostelworld/Booking.com: For finding last-minute accommodation deals.
- Yelp/Google Reviews: For finding affordable restaurants and local attractions.
- Transit App (e.g., Citymapper): For figuring out public transportation in big cities like NYC, Chicago, or Boston.
Final Thoughts on Staying Connected in the USA
Seriously, don't be that tourist paying $50 for 1GB of data. In 2026, an eSIM for your USA trip is the smart, strategic choice. It saves you money, time, and the headache of dealing with physical SIM cards. By understanding how much data you need, picking the right provider, and activating before you even land, you'll be set for a smooth, connected experience all across the States.
My own experience? For an 8-day trip to the USA, I spent about $18 on a 5GB eSIM. That's about €16.50, leaving me plenty of cash for a slice of New York pizza (or three). Travel smart, stay connected, and have an amazing trip.
Frequently Asked Questions
What is the cheapest way to get data in the USA as a tourist?
For most tourists, an eSIM from a provider like Cellesim is the cheapest and most convenient option, with plans starting around $15-20 for 5-7 days. A local physical SIM from an MVNO like Mint Mobile might be slightly cheaper per GB for longer trips, but involves more hassle.
Can I use my home SIM and a USA eSIM at the same time?
Yes, if your phone supports dual SIM (most newer smartphones do), you can keep your home SIM active for calls and texts while using a USA eSIM for mobile data. Just ensure data roaming is turned off for your home SIM to avoid charges.
Do I need an unlocked phone to use an eSIM in the USA?
Yes, your phone must be unlocked by your home carrier to use any third-party eSIM. Most phones purchased outright or after completing a contract are unlocked, but it's crucial to confirm this before your trip.
How much data do I need for a 10-day trip to the USA?
For a typical 10-day tourist trip, with moderate social media use and reliance on offline maps and Wi-Fi, 5GB of data should be sufficient. If you plan on heavy video streaming or frequent video calls, consider a 10GB plan.
Can I activate my USA eSIM before I arrive in the country?
Absolutely, and it's highly recommended. You can purchase and activate your eSIM plan from home over Wi-Fi, ensuring you have instant data connectivity the moment your plane lands in the USA, saving you time and stress.
What if my eSIM doesn't work after I land in the USA?
First, try restarting your phone. Then, check that data roaming is enabled for your eSIM profile in your phone settings. If issues persist, manually select a network (AT&T, T-Mobile, or Verizon) or contact your eSIM provider's customer support for assistance.