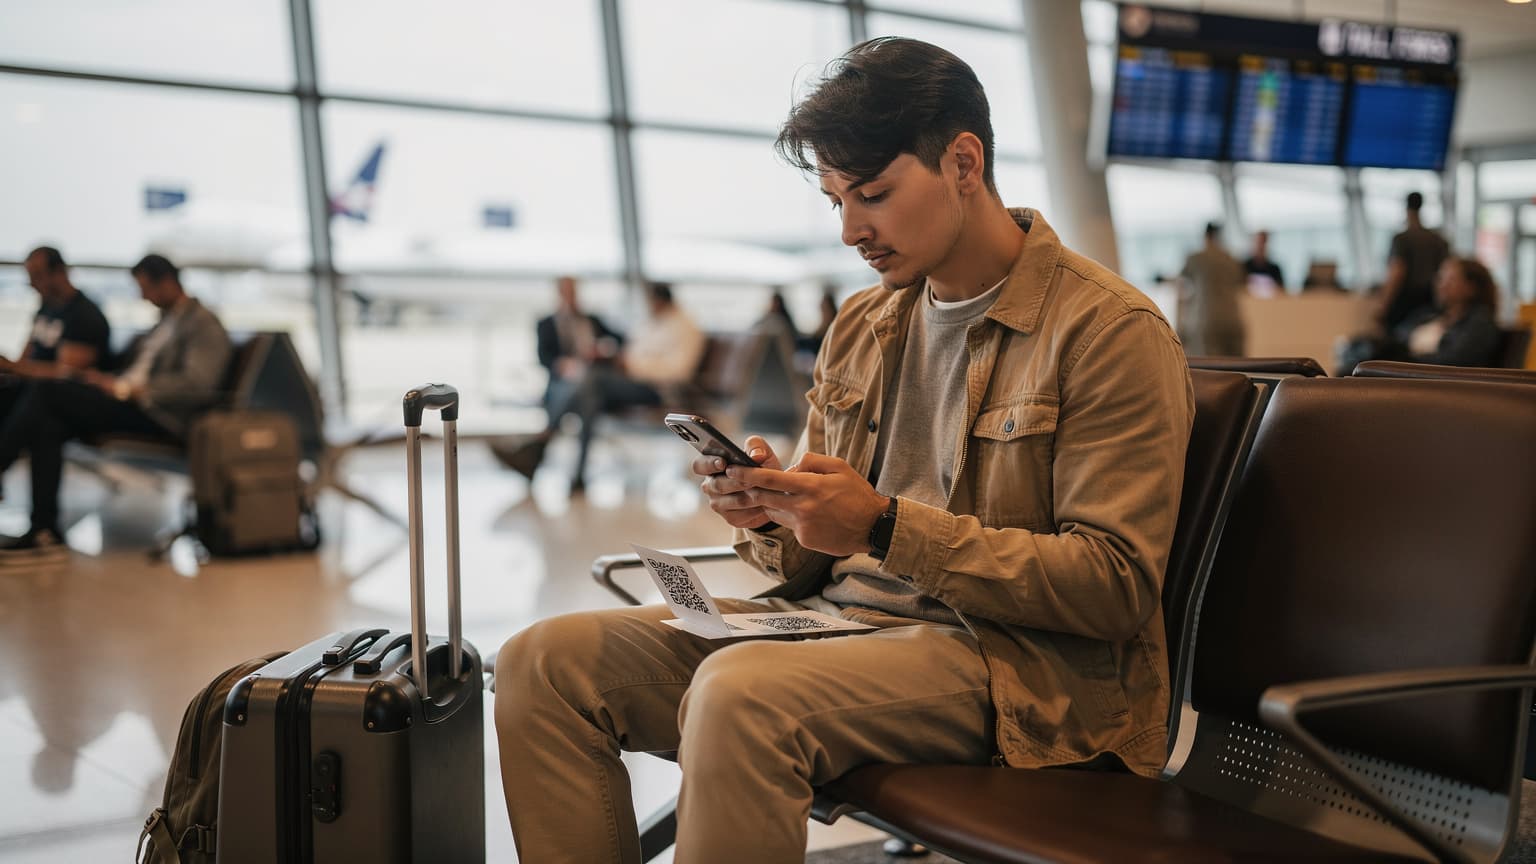
To get an eSIM working on your iPhone, just head to Settings > Cellular (or Mobile Data) > Add eSIM. From there, you can choose to 'Transfer From Nearby iPhone' if you're upgrading, or 'Use QR Code' for a new plan. If those don't work, you can always type in the details yourself. It usually takes less than five minutes. Once it's set up, you'll manage your new phone line right from your Cellular settings.
eSIM Support: Which iPhone Models Are Compatible?
Before diving into activation, let's confirm your iPhone can actually use an eSIM. There's nothing worse than buying a data plan only to find your device isn't compatible. Generally, if you have an iPhone XR or anything newer, you're good to go. Apple started adding eSIM tech with the iPhone XS, XS Max, and XR models back in 2018, and it's been standard on every new iPhone since, right up to the latest iPhone 17 and beyond. It's a huge convenience for anyone who travels or needs multiple phone lines.
Just a heads-up: if you bought your iPhone in mainland China, Hong Kong, or Macao, it probably uses two physical SIM cards and doesn't support eSIMs. This is a crucial detail, especially if you're buying a used phone or one from an international seller. If you're not sure, always double-check your model number in Settings > General > About > Model Number. For more specifics, I've put together this quick table:
| iPhone Model | eSIM Support | Dual eSIM (No Physical SIM Slot) | Region Exceptions |
|---|---|---|---|
| iPhone XS, XS Max, XR | Yes | No | Mainland China, Hong Kong, Macao (Dual physical SIM only) |
| iPhone 11 series | Yes | No | Mainland China, Hong Kong, Macao (Dual physical SIM only) |
| iPhone 12 series | Yes | No | Mainland China, Hong Kong, Macao (Dual physical SIM only) |
| iPhone 13 series | Yes | No | Mainland China, Hong Kong, Macao (Dual physical SIM only) |
| iPhone 14 series | Yes | US models are dual eSIM only | Mainland China, Hong Kong, Macao (Dual physical SIM only) |
| iPhone 15 series | Yes | US models are dual eSIM only | Mainland China, Hong Kong, Macao (Dual physical SIM only) |
| iPhone 16 series (2025) | Yes | US models are dual eSIM only | Mainland China, Hong Kong, Macao (Dual physical SIM only) |
| iPhone 17 series (2026) | Yes | US models are dual eSIM only | Mainland China, Hong Kong, Macao (Dual physical SIM only) |
If you're still unsure about your particular model, a quick Google search for "iPhone [your model number] eSIM support" should clear things up. Seriously, it's better to spend a few minutes checking now than to waste money on a plan you can't use.
Checking Your Current eSIM Status on iPhone
Before you buy a travel eSIM, it's smart to confirm your phone is ready for it. You can easily check your iPhone's eSIM capability by going to: Settings > Cellular > Add eSIM. If you see that option, your phone is good to go. If not, your device either doesn't support eSIMs, or it's a regional version without the feature. This is especially important if you need a local number for certain apps, like some banking apps in Brazil or India's Aadhaar authentication, which sometimes won't accept international numbers.
Why Activate an eSIM for Travel: The Real Deal
Listen, I've been traveling for four years, moving countries every 1-3 months. I've seen it all, from shady airport SIM vendors to international roaming bills that made my jaw drop. eSIMs aren't just a trendy gadget; they're a true game-changer for any traveler, especially digital nomads like me. They make travel so much easier.
First, no more fiddling with tiny SIM trays or losing physical SIM cards. That alone is a huge win. I can't count the times I've nearly dropped my home SIM down a drain in a dimly lit hostel bathroom. Second, you can buy and activate a plan from anywhere, often before your plane even lands. That means you're connected the moment you arrive, which is a lifesaver when you need to call a Grab from Bangkok's Suvarnabhumi Airport or check into your Airbnb in Lisbon's Alfama district. I still remember my first trip to Indonesia before eSIMs were common, hunting for a Telkomsel store in Ubud after a 20-hour flight. Never again. If you want to know more about the basics, check out What Is an eSIM? The Complete 2026 Guide to How It Works, Pros, & Cons.
The convenience also extends to managing multiple phone numbers. I keep my US number on my physical SIM for banking and two-factor authentication, while my eSIM handles local data in places like Portugal. This is essential for things like getting an NIF (tax number) in Portugal, where local authorities prefer a local number, or finding an apartment in Lisbon, where a typical T2 in Santos goes for about €1200-€1500 a month. Without local data, you're constantly scrambling for Wi-Fi.
The Cost Savings Over Traditional Roaming
Let's be real: carrier roaming plans, like Verizon's or AT&T's 'International Day Pass,' are a rip-off if you're staying longer than a weekend. At $10-$15 a day, that adds up to $300-$450 a month, which completely blows my usual monthly budget of $1500-$2000 (excluding rent, depending on the city). With an eSIM, I can get 10-20GB of data for a month for as little as $20-$30. The savings are massive.
I regularly run speed tests comparing these options. While Verizon and AT&T sometimes connect to premium local networks, Cellesim's eSIMs often provide comparable, or even faster, speeds on other carriers. For instance, in Lisbon, Cellesim's connection on NOS or Vodafone often beats my AT&T roaming, especially for uploads, which is crucial when I'm sending big video files from a co-working space like Second Home Lisboa in Cais do Sodré. If you're curious about specific providers, you might find my comparison of TIM eSIM Italy vs Cellesim: Which Tourist Data Plan Wins for Families in 2026? helpful.
Flexibility for Multi-Country Trips
This is where eSIMs truly shine. Hopping from Spain to France to Italy? No problem. You can buy regional eSIMs or even global plans. I've used a single Cellesim global plan that covered me across 15 countries in Europe, switching networks without a hitch. It saves me the headache of finding a new local SIM every time I cross a border, which is a huge waste of time. Imagine: every border crossing means finding a kiosk, dealing with language barriers, registering, and hoping you don't get scammed. An eSIM eliminates all of that.
Preparing for eSIM Activation: A Pre-Flight Checklist
Alright, before you even think about scanning a QR code, a few quick checks will save you a ton of stress. I've learned these lessons the hard way, usually at 2 AM in a new time zone with a dying phone battery.
- Check iPhone Compatibility: As we discussed, make sure your iPhone supports eSIM. This is non-negotiable.
- Ensure Stable Wi-Fi Connection: You absolutely need a reliable internet connection to download and activate the eSIM profile. Do not try this on spotty airport Wi-Fi unless you're ready for frustration. I always do this from my apartment or a dependable cafe like 'True Coffee' near the Phrom Phong BTS station in Bangkok, which has excellent speeds and consistent uptime.
- Unlock Your iPhone: If your iPhone is locked to a specific carrier (like AT&T or Verizon), it won't work with an eSIM from another provider. Contact your carrier to unlock it before you travel. This can take a few days, so plan ahead.
- Review eSIM Provider Instructions: Every eSIM provider is a little different. Cellesim gives clear instructions, but some smaller providers might have specific quirks. Read them carefully before you start.
- Charge Your iPhone: This sounds obvious, but you don't want your phone dying halfway through activation. A full charge means peace of mind.
- Disable VPN (Temporarily): Sometimes, a VPN can mess with the activation process by routing your connection through a different region. Turn it off just for activation, then turn it back on.
- Take a Screenshot of QR Code/Activation Details: If you're using a QR code, take a screenshot or print it out. If you're doing manual entry, copy-paste the details into a note. This is your backup if your internet cuts out or you can't access your email.
Step-by-Step: How to Activate an eSIM on iPhone Using a QR Code
This is the most common and easiest way to activate an eSIM. Most providers, including Cellesim, will send you a QR code after you buy a plan. You'll find it in your email confirmation, on their website dashboard, or sometimes right in their app. Just make sure you can display the QR code on a separate device, or print it out, because you can't scan a QR code from the same phone you're trying to activate it on. (Unless you're using an iPhone 16 or 17 with their advanced split-screen features, but even then, it's still a bit clunky for this particular task).
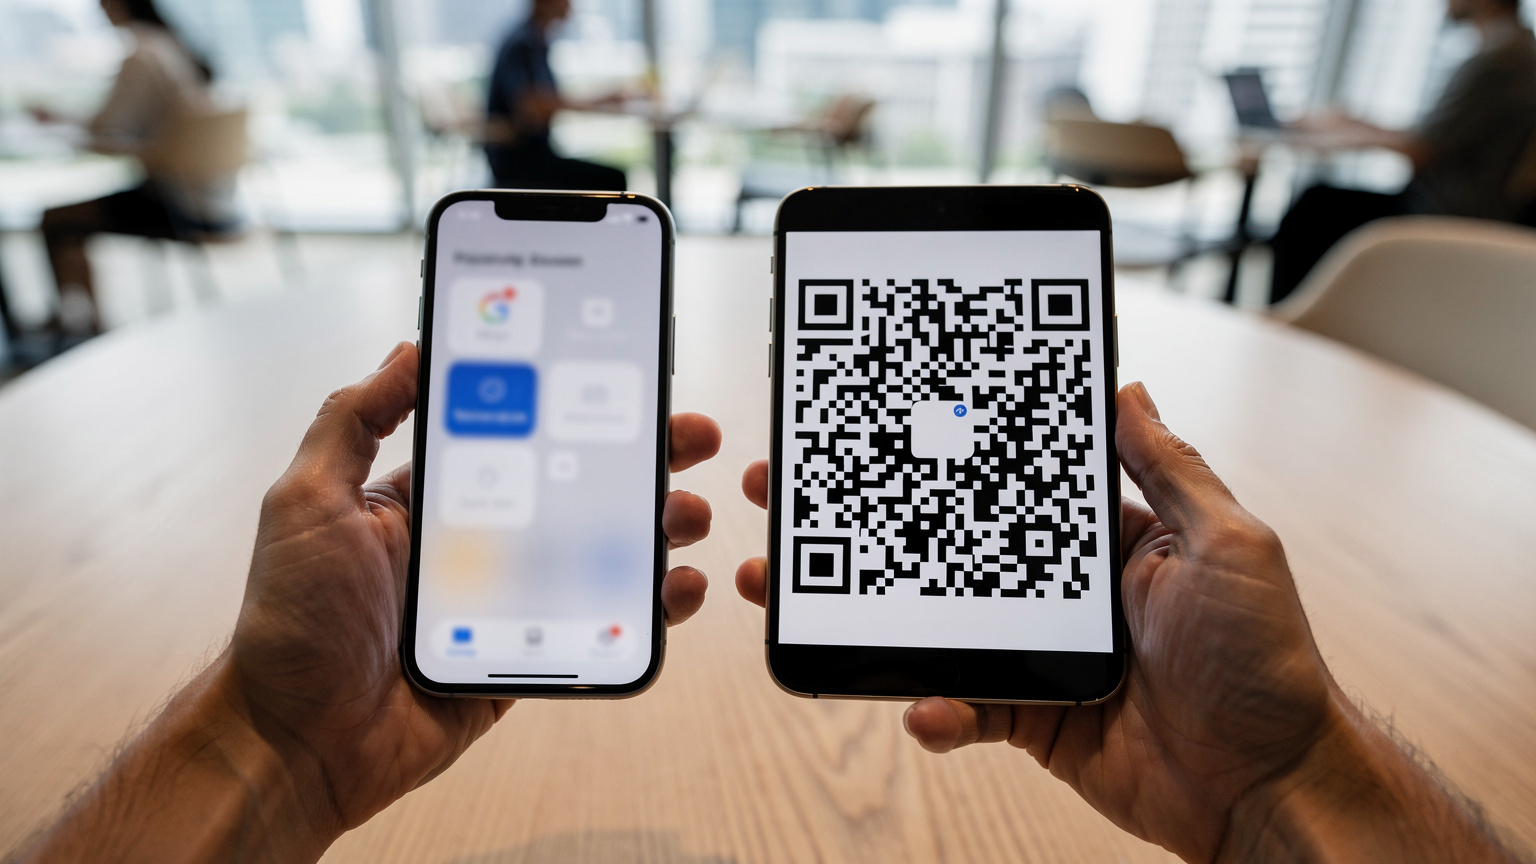
Here's how to do it:
- Open Settings: Tap the 'Settings' app icon on your iPhone's home screen.
- Navigate to Cellular: Scroll down and tap 'Cellular' (or 'Mobile Data' in some regions).
- Add eSIM: Tap 'Add eSIM'. You'll see two options: 'Transfer From Nearby iPhone' (for moving an existing physical SIM to eSIM on a new iPhone) or 'Use QR Code'. Choose 'Use QR Code'.
- Scan the QR Code: Your iPhone's camera will open. Point it at the QR code your eSIM carrier provided. Make sure the QR code is well-lit and fully visible within the camera's frame.
- Confirm & Activate: Once scanned, your iPhone will detect the new cellular plan. You'll be asked to confirm adding the plan. Tap 'Continue' or 'Add Cellular Plan'.
- Label Your eSIM: This step is important for managing multiple plans. You'll be prompted to label your new eSIM. Maybe call it 'Travel Data', 'Italy eSIM', or 'Cellesim'. This helps you tell it apart from your main line.
- Set Default Line: Choose which line you want to be your 'Default Line' for calls, messages, and data. For travel, I usually set my eSIM as the default for 'Cellular Data' and keep my home physical SIM as the default for 'Calls & Messages' (so friends and family can still reach me, though I primarily use WhatsApp).
- Enable Data Roaming (If Required): For most travel eSIMs, you'll need to enable data roaming. Go back to 'Cellular Plans', tap on your new eSIM, and make sure 'Data Roaming' is toggled ON. Don't worry, with a dedicated travel eSIM, this won't mean extra charges; it simply allows the eSIM to connect to local partner networks.
That's it. Your eSIM should now be active and connected. You'll see the carrier name in your status bar, and you should be able to access the internet. If you hit any snags, jump to the Common eSIM Activation Problems and How to Fix Them section below.
Manual eSIM Activation on iPhone: When QR Codes Fail
Sometimes, QR codes are a hassle. Maybe your second device's screen is cracked, or the lighting is bad, or you just prefer old-school methods. Whatever the reason, you can always manually enter the eSIM details. This usually involves an SM-DP+ Address and an Activation Code, sometimes called a Confirmation Code.

Here's the manual entry process:
- Open Settings: Tap 'Settings' on your iPhone.
- Navigate to Cellular: Tap 'Cellular' (or 'Mobile Data').
- Add eSIM: Tap 'Add eSIM'.
- Choose 'Enter Details Manually': Instead of scanning, tap the 'Enter Details Manually' option, usually at the bottom of the screen.
- Enter SM-DP+ Address: You'll see fields for 'SM-DP+ Address' and 'Activation Code'. Carefully type or paste the 'SM-DP+ Address' provided by your eSIM carrier into the first field. This is typically a long string of characters and numbers.
- Enter Activation Code: Input the 'Activation Code' (also known as 'Confirmation Code') into the second field. This one is usually shorter.
- Optional: Confirmation Code: Some carriers might provide an additional, optional 'Confirmation Code'. If you have one, enter it. Otherwise, you can leave it blank.
- Next Steps: Tap 'Next' or 'Continue'. Your iPhone will try to connect and download the eSIM profile.
- Follow On-Screen Prompts: Just like with the QR code method, you'll be asked to confirm adding the plan, label it, and set your preferred default lines.
This method demands total accuracy. One typo in the SM-DP+ Address and it won't work. Copy-pasting is your best friend here if you can access the details on another device or email. I’ve definitely found myself doing this more often than I’d like to admit while sitting in a food court at Terminal 21 in Bangkok, trying to connect to their spotty Wi-Fi.
Managing Your eSIM After Activation: iPhone Settings
Once your eSIM is active, your iPhone gives you strong control over how it works alongside your primary SIM (if you have one). Knowing these settings is key to avoiding accidental roaming charges or missed calls.
Switching Between Data Plans
This is vital for managing costs and making sure you're using the right data. Go to Settings > Cellular > Cellular Data. Here, you'll see your available plans. Tap on your eSIM ('Travel Data' or whatever you named it) to make it your primary data source. Your iPhone will automatically use this line for internet access.
Designating Lines for Calls and Texts
You can specify which line is used for calls, messages, or even for specific contacts. In Settings > Cellular, you'll find options for 'Default Voice Line' and 'Cellular Data'.
- Default Voice Line: I usually keep this on my primary SIM (my US number) so I don't miss calls from banks or family.
- Cellular Data: This should be set to your travel eSIM.
- Allow Cellular Data Switching: This setting (under Cellular Data) lets your iPhone automatically switch to your other line if your primary data line loses service. For most travel, I keep this OFF to prevent accidental roaming charges on my home SIM.
You can also assign a preferred line for specific contacts. In the Contacts app, open a contact, tap 'Preferred Cellular Plan', and choose which line to use for calls and texts to that person. This is incredibly useful for local contacts you meet, like an Airbnb host, who you might want to call using your local eSIM number.
Deleting or Disabling an eSIM
When your trip is over, you can easily remove or temporarily disable an eSIM. To disable it, go to Settings > Cellular, tap on the eSIM you want to manage, and toggle 'Turn On This Line' OFF. This keeps the profile on your phone but stops it from being active.
To delete it completely, tap 'Remove Cellular Plan' on the same screen. Confirm your choice. Keep in mind that once deleted, you'll need a new QR code or manual details to reactivate it, so only do this if you're sure you won't need that specific plan again. I typically only delete old eSIMs once I know I won't be returning to that country for a while, just to keep my settings tidy.
Activating Before You Land or At the Airport: My Take
This is a constant debate among my fellow nomads. My answer is almost always: activate before you land, if at all possible. There are too many unknowns at an airport.
Activating Before Landing: Pros & Cons
- Pros: You get immediate connectivity when you arrive. No scrambling for Wi-Fi passwords at the airport. You can instantly order a ride, check maps, or message your host. Less stress after a long flight.
- Cons: The plan's validity period starts right away. If you activate a 7-day plan two days before you fly, you lose two days of use.
My strategy: For a short trip (under a week), I activate it shortly before departure, maybe an hour or two. For longer trips, I activate it mid-flight if the plane has Wi-Fi (though it's rarely stable enough, let's be honest), or right after landing, using the airport's free Wi-Fi as a backup. For a truly smooth experience with eSIM Indonesia, getting it activated before you even clear immigration is a lifesaver, especially if your Grab driver is waiting.

Activating at the Airport: Pros & Cons
- Pros: You don't lose any validity days. You can ask airport staff for help (though they usually aren't experts in third-party eSIMs).
- Cons: Airport Wi-Fi can be notoriously slow, unreliable, or require registration that needs an active phone number anyway (the irony). You're often tired, possibly jet-lagged, and in a hurry. This is when mistakes happen.
In my experience, losing a day or two of validity is a small price for the peace of mind that comes with having data the moment you step off the plane. It's especially important in places where local apps are essential, like India, where you need a local number for everything from public transport to ordering food. I prefer to be connected the moment my feet touch the ground, especially if I'm trying to navigate a new city like Kuala Lumpur, where a decent studio in Bukit Bintang can rent for about 1,800-2,500 MYR a month.
Common eSIM Activation Problems and How to Fix Them
Even with careful planning, things can go wrong. Don't panic. Most eSIM activation issues are pretty easy to fix. I've put together a list of the most common problems I've run into and how to solve them.
QR Code Not Scanning
- Poor Lighting: Make sure the QR code is well-lit and not reflecting any glare.
- Fuzzy QR Code: If you're scanning from a screen, ensure the image is sharp. Zoom in a bit if needed. If it's printed, confirm it's not blurry.
- Distance/Angle: Hold your iPhone steady, about 6-12 inches from the QR code. Try moving it around to different angles.
- Use Manual Entry: If nothing else works, go for the manual activation method.
"Unable to Add Cellular Plan" Error
- No Internet Connection: This is the most frequent issue. Double-check your Wi-Fi connection. Try connecting to a different Wi-Fi network if one is available.
- iPhone Not Unlocked: If your iPhone is still tied to your home carrier, it won't accept a new eSIM. Contact your carrier to unlock it.
- Already Activated: It's possible the eSIM profile was already downloaded to your phone, or you tried to activate it on another device. Check your 'Cellular Plans' for an existing new plan.
- Expired QR Code: Some QR codes have a limited activation window. If it's been a long time since you bought it, contact your provider for a new one.
No Service After Activation
- Data Roaming Off: This is a big one. Go to Settings > Cellular > [Your eSIM Name] and make sure 'Data Roaming' is toggled ON.
- APN Settings: While rarely needed for Cellesim, some providers require manual APN (Access Point Name) settings. These details will be in your provider's instructions. Go to Settings > Cellular > [Your eSIM Name] > Cellular Data Network and enter the APN details.
- Network Selection: Sometimes, your iPhone tries to connect to a weak or incompatible network. Go to Settings > Cellular > [Your eSIM Name] > Network Selection, toggle 'Automatic' OFF, and manually select a network from the list. Choose the one your eSIM provider recommends.
- Restart iPhone: The classic tech support trick. A simple restart can often fix temporary network glitches.
- Check Account Status: Log into your eSIM provider's portal to confirm your plan is active and hasn't run out of data or expired.
If you're still stuck, don't hesitate to contact your eSIM provider's customer support. They usually have dedicated teams for activation problems. For more general troubleshooting, you can always check Apple's official FAQ page on eSIMs, which has some useful generic steps.
The Best eSIM for Your Next Trip: What to Look For
Choosing the right eSIM is just as important as knowing how to activate it. With so many choices out there, it's easy to feel overwhelmed. Here's what I prioritize when picking a plan, based on years of both frustrating and fantastic experiences.
Coverage and Network Partners
This is absolutely critical. What good is cheap data if you can't get a signal? Look for eSIMs that partner with major, reliable local carriers. For example, in Indonesia, Cellesim uses Telkomsel and XL Axiata, which are generally the strongest networks, even in more remote spots like the Nusa Islands. That's why I compared Telkomsel vs Cellesim: Which eSIM Saves You More in Indonesia 2026?, because direct local plans sometimes don't cover you as thoroughly as a dedicated eSIM provider.
Always check the coverage map for your specific destination. Most reputable eSIM providers will have this information on their website. If you're planning to trek through Norway's fjords, for instance, you'll want to ensure your eSIM offers solid coverage there, as detailed in iPhone 17 eSIM for Norway's Fjords: Seamless Trekking Data 2026.
Data Allocation and Validity Period
Match the plan to how you use data. Are you constantly streaming and video calling? Then 20-30GB for a month might be perfect. Do you just need to check maps and WhatsApp? 5GB might be enough. Also, pay close attention to how long the plan is valid. A 30-day plan isn't useful if you're traveling for 45 days, unless you plan to buy a second one.
| Usage Profile | Recommended Data (per month) | Typical Cost (USD) | Best For |
|---|---|---|---|
| Light User | 1-5 GB | $5 - $15 | Emergencies, light navigation, messaging, short trips |
| Moderate User | 5-15 GB | $15 - $30 | Social media, email, video calls, working remotely occasionally |
| Heavy User/Nomad | 15-50+ GB | $30 - $70+ | Constant video conferencing, large file uploads, streaming, tethering |
Pricing and Transparency
This is a given. Compare prices across different providers for similar data and validity packages. Be wary of hidden fees or auto-renewals. Cellesim is generally transparent, but some providers can be sneaky. Also, consider the exchange rate if you're paying in a different currency. I’ve seen some 'discount codes' for other providers that ended up being more expensive than a straightforward Cellesim plan, as I found out in Holafly Discount Codes 2026: Are They Worth It, or Is There a Cheaper eSIM?
Customer Support
When you're stranded in a foreign country with no data, good customer support is priceless. Look for providers with 24/7 support, ideally via chat or email, so you don't have to make expensive international calls. Check reviews to see how responsive and helpful their support team is. This is not the place to cut corners.
Top-Up Options
What if you run out of data midway through your trip? Can you easily add more data to your current plan, or do you have to buy a whole new eSIM? Flexible top-up options are a massive bonus. This happened to me in Medellín, Colombia, when I underestimated how much data I'd use uploading videos from the 'Impact Hub' co-working space in El Poblado. Being able to quickly add more data saved my day.
Frequently Asked Questions
Can I activate an eSIM on my iPhone without Wi-Fi?
No, you need a stable internet connection, usually Wi-Fi, to download the eSIM profile to your iPhone. This is a critical part of the activation process. Make sure you're connected before trying to add an eSIM, whether by QR code or manual entry.
Will activating an eSIM delete my physical SIM card data?
No, activating an eSIM does not delete or change your physical SIM card. Your iPhone can store multiple eSIM profiles in addition to a physical SIM. You can switch between them, keeping your primary number active while using the eSIM for travel data.
Can I use two eSIMs at the same time on my iPhone?
Yes, iPhones from the XS/XR series onwards support Dual SIM functionality, meaning you can use one physical SIM and one eSIM simultaneously. US models from iPhone 14 onwards support two active eSIMs without a physical SIM slot, letting you have multiple active lines.
What should I do if my eSIM says 'No Service' after activation?
First, check that 'Data Roaming' is turned on for your eSIM in Settings > Cellular > [Your eSIM Name]. If that doesn't work, try restarting your iPhone. You might also need to manually select a network under Settings > Cellular > [Your eSIM Name] > Network Selection, choosing a partner network listed by your eSIM provider.
How do I know if my iPhone is eSIM compatible?
Most iPhones from the XR, XS, and XS Max models (2018) onwards are eSIM compatible, except for models sold in mainland China, Hong Kong, and Macao, which usually have dual physical SIMs. You can check by going to Settings > Cellular > Add eSIM. If this option appears, your phone supports eSIM.
Can I activate an eSIM before I travel?
Yes, you can activate an eSIM before traveling, which is often recommended for instant connectivity when you arrive. Just be aware that the plan's validity period usually starts immediately upon activation, so consider your departure date to get the most out of your usage days.
Is it better to use a QR code or manual entry for eSIM activation?
Using a QR code is generally faster and less likely to have errors, as it removes the need for manual typing. Manual entry is a good backup if you can't scan the QR code due to technical problems or not having a second screen, but it requires careful input of the SM-DP+ Address and Activation Code.