
To find your eSIM number on an iPhone, navigate to Settings > Cellular > your eSIM plan, then tap “eSIM” or “Cellular Plan Label” to reveal the ICCID. For Android, go to Settings > Network & Internet > Mobile Network > Advanced > Carrier details to locate the ICCID or EID. This unique identifier is crucial for managing your digital SIM, especially when dealing with carrier support or porting numbers.
Why Your eSIM Number Matters More Than You Think
Look, I've spent €280 on data alone during an 8-day sprint through the Balkans, and that was with a local physical SIM that I thought was 'cheap'. That’s when I started obsessing over every byte and every euro. Knowing your eSIM number isn't just a techy detail, it's a fundamental part of managing your connectivity, especially when you're trying to keep costs down and avoid getting stranded without data at a dusty border crossing. Imagine trying to activate a new data package or debug a connection issue with customer support, and they ask for your eSIM's ICCID. If you don’t know where to find it, you're toast. I learned this the hard way trying to get online in Albania with a SIM that suddenly stopped working after I crossed from Montenegro. Having the ICCID handy meant I could troubleshoot directly with the carrier, rather than spending another hour trying to find a street vendor selling SIMs.
For budget travelers, every moment spent troubleshooting is a euro lost, whether it's the cost of an extra night in a hostel because you missed a bus ticket deadline or the price of an overpriced coffee just to use some dodgy Wi-Fi. Your eSIM number, specifically the ICCID (Integrated Circuit Card Identifier) or EID (Embedded Identity Document), is like the serial number for your digital SIM. It's unique, it identifies your subscription, and it’s what carriers use to provision, activate, and manage your service. Without it, you’re often stuck in limbo. Think of it as your digital passport for data, something you absolutely need to know how to access.
The Difference Between ICCID and EID
Alright, let's clear up some jargon. You'll hear two main terms: ICCID and EID. An ICCID is what you're usually looking for. It's a 19 or 20-digit number that identifies your actual eSIM profile, similar to the number on a physical SIM card. It's tied to the specific data plan you've activated. The EID, on the other hand, is a longer, 32-digit number that uniquely identifies the eSIM chip embedded in your device itself. You usually only need the EID when you're initially activating an eSIM profile on a brand-new device, or if you're trying to transfer an eSIM to another phone that hasn't had an eSIM before. Most of the time, when a carrier asks for your 'eSIM number,' they mean the ICCID.
iPhone eSIM Number Location: The iOS 18 Breakdown
Apple makes things relatively straightforward, but they like to hide things just enough to make you dig. With iOS 18, the path remains largely consistent, which is a blessing for us who just want our data to work. This is how I find mine when I'm hopping off a night bus in Krakow, needing to check my next hostel booking.
Step-by-Step: Finding ICCID on iPhone
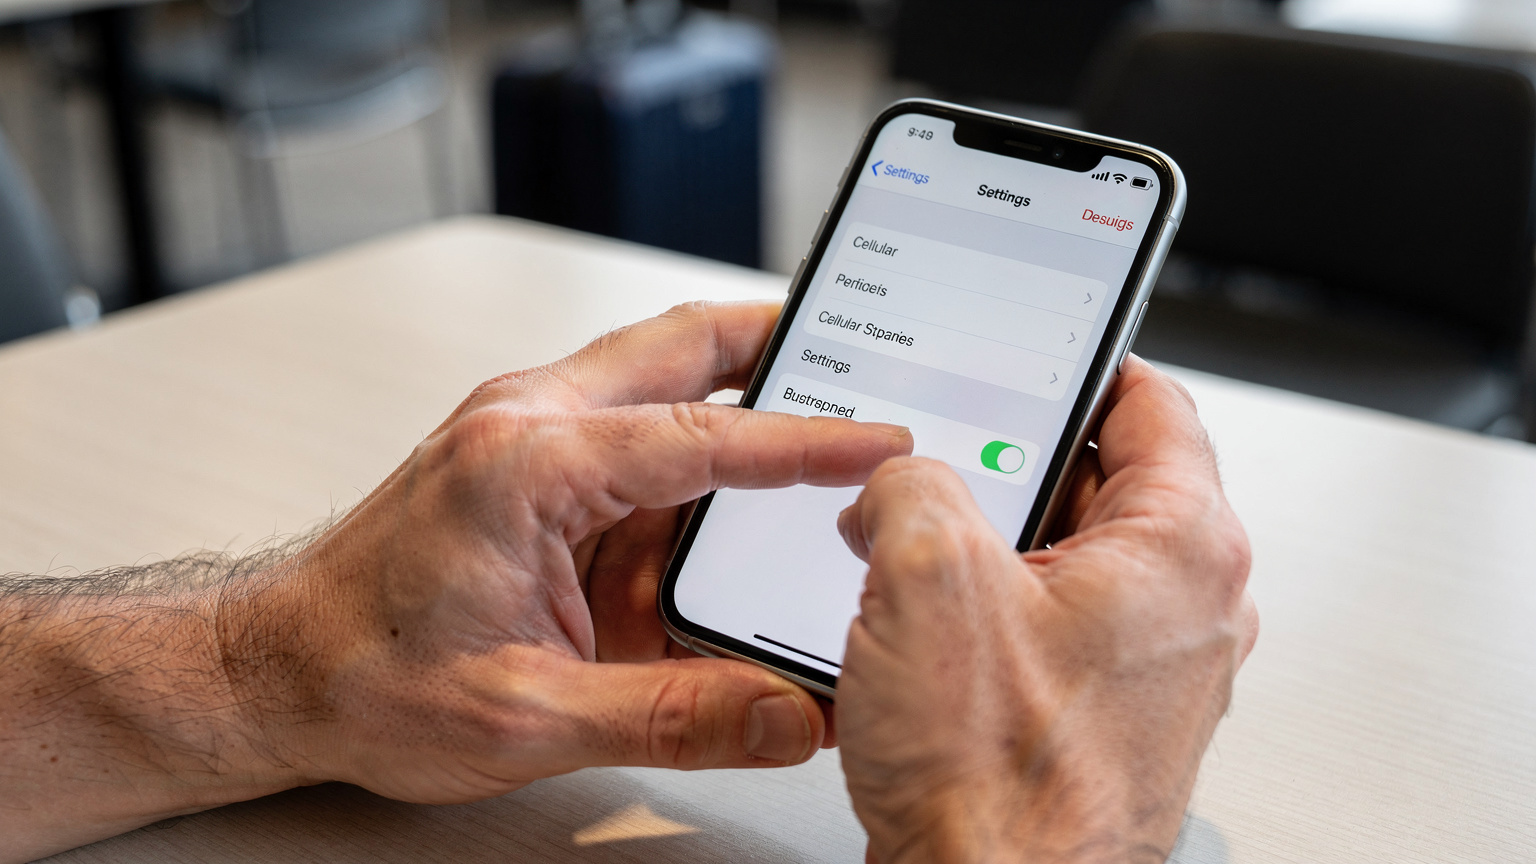
- Open Settings: Tap the grey 'Settings' icon on your home screen. It's usually there, looking like a gear.
- Navigate to Cellular/Mobile Data: Scroll down and tap 'Cellular' or 'Mobile Data,' depending on your region's terminology.
- Select Your eSIM Plan: You'll see a list of your cellular plans. Your active eSIM will likely be labeled with something like 'Travel eSIM' or the carrier's name. Tap on it.
- Find the eSIM Details: On the next screen, you might see 'eSIM' or 'Cellular Plan Label.' Tap this. Your ICCID will be listed there. Sometimes, if you scroll down, you'll also see the EID, but the ICCID is the money number.
- Copy if Needed: You can usually long-press the number to copy it to your clipboard, which is super handy if you need to paste it into a customer support chat.
It's worth noting that if you have multiple eSIMs, you'll need to select the specific one you're interested in from the 'Cellular Plans' list. I usually name my eSIMs by country or trip duration, like 'Thailand 15-day' or 'EU Roam 30GB,' which makes finding the right one a lot easier. (Trust me, trying to remember which 'Secondary' plan is which when you're jetlagged is a nightmare.)
Finding EID on iPhone
The EID is rarely needed for day-to-day use, but if you're doing a device swap or serious troubleshooting, you might need it. You can usually find it under Settings > General > About, then scroll down until you see the EID number. It's a longer string of numbers, so don't confuse it with your IMEI.
Android eSIM Number: Where to Find It on Various Devices
Android is a bit more of a wild west, depending on whether you're rocking a Samsung Galaxy, a Google Pixel, or some other brand. The exact menu names can vary, but the general path is similar across most modern Android devices. I’ve had to do this on a Samsung Galaxy A52 and a Pixel 6, and the steps are mostly interchangeable.
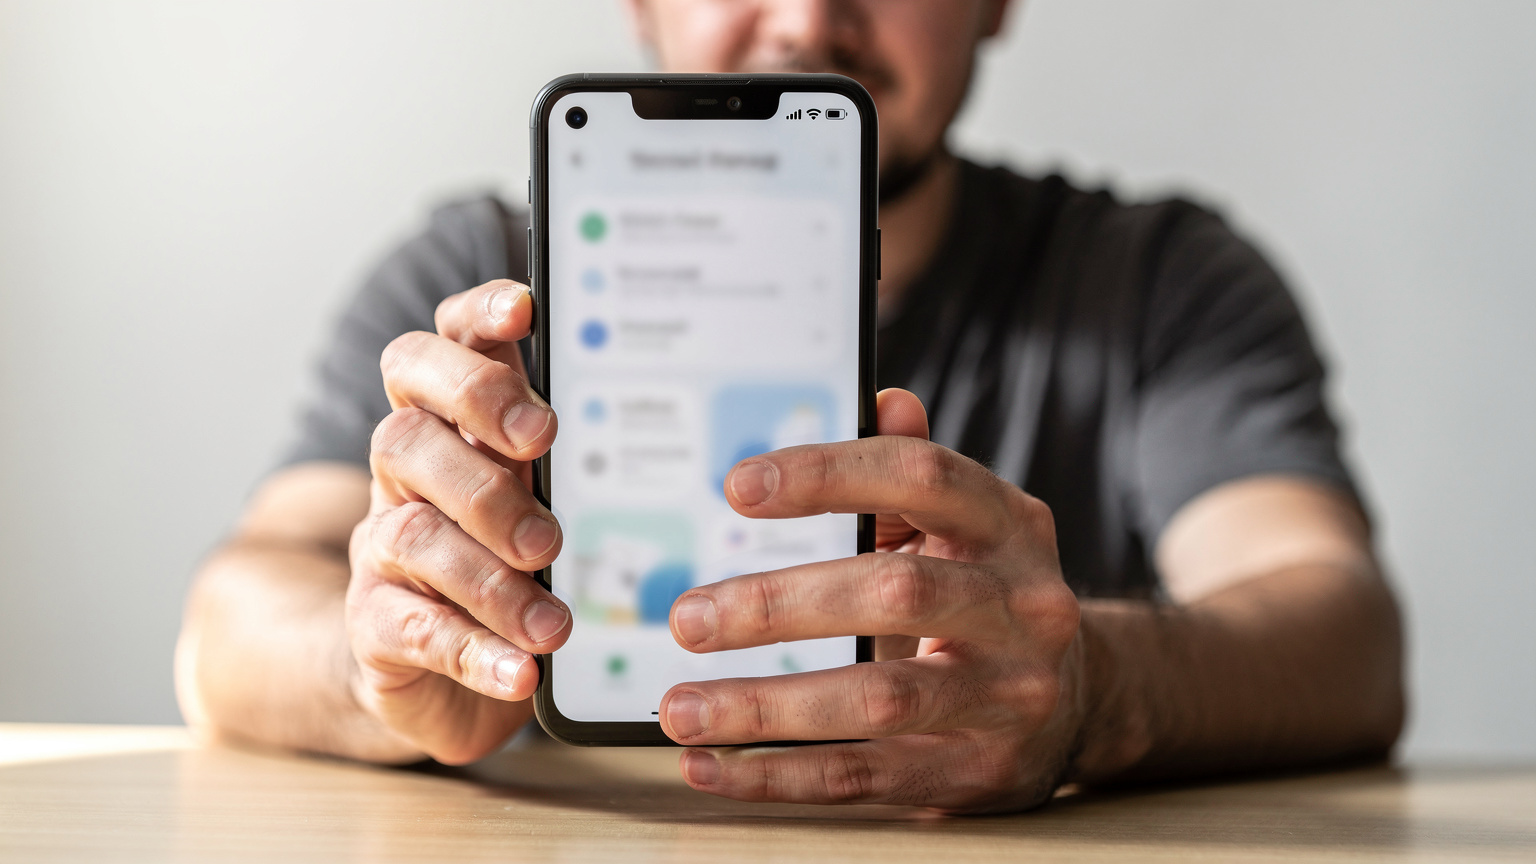
Step-by-Step: Finding ICCID on Android (Pixel and Samsung)
- Open Settings: Find the 'Settings' app, usually represented by a gear icon.
- Go to Network & Internet / Connections: Tap 'Network & Internet' on Pixel devices, or 'Connections' on Samsung Galaxy.
- Select Mobile Network / SIM Card Manager: On Pixel, tap 'Mobile Network.' On Samsung, tap 'SIM Card Manager.'
- Choose Your eSIM: Look for your active eSIM profile. It might be labeled 'eSIM,' 'Download SIM,' or the carrier's name. Tap on it.
- Find Carrier Details / More Settings: This is where it gets a bit fuzzy. You might need to tap 'Advanced,' 'Carrier details,' or 'More settings' to reveal the ICCID. For some devices, the ICCID is directly visible on the eSIM profile page. The EID is often found here too.
- Record the Number: Jot it down or copy it to your clipboard.
If you're really stuck, try using the search bar within the Settings app and type 'eSIM' or 'ICCID.' Most modern Android versions have a robust search function that can get you where you need to go faster than digging through menus.
Variations Across Android Brands
While the steps above cover most major Android phones, expect slight variations. For instance, some Xiaomi or OnePlus devices might bury the SIM card settings deeper under a 'Dual SIM & Cellular Network' menu. Always prioritize looking for anything related to 'SIM,' 'eSIM,' or 'Mobile Network' within your settings. If you’re using a very niche brand, a quick Google search for “[Your Phone Model] find eSIM ICCID” usually yields specific instructions. Just be wary of outdated guides. (I once followed a guide for an old Huawei that sent me down a rabbit hole for 20 minutes in a hot bus station in Laos, only to find the menu was completely different.)
Understanding eSIM Identifiers: ICCID and EID
Let's get a bit deeper into why these numbers exist. They’re more than just random digits; they're vital for the global cellular network to identify and manage your subscription. Think of the ICCID as the unique serial number for the specific data plan you bought for your USA travel eSIM 2026, and the EID as the unique serial number for the physical chip in your phone that *holds* that data plan.
| Identifier | What it is | When you need it | Analogy |
|---|---|---|---|
| ICCID (Integrated Circuit Card Identifier) | 19 or 20-digit number that identifies a specific eSIM profile/subscription. | Contacting carrier support, troubleshooting data issues, porting a number, topping up a specific plan. | Your passport number (for a specific trip). |
| EID (Embedded Identity Document) | 32-digit number that identifies the physical eSIM chip embedded in your device. | Initial eSIM activation on a new device, transferring an eSIM to a new phone (rarely needed by user). | Your device's unique hardware ID. |
Knowing which one is which stops you from giving the wrong information to a support agent, which can lead to even more frustration and wasted time. I always have both written down in a secure, encrypted note on my phone, just in case. When you're trying to save money, avoiding these small missteps adds up.
Troubleshooting Common eSIM Number Issues
So, you're trying to find your eSIM number, and it's not where it's supposed to be. Been there. It’s usually a simple fix, but when you’re relying on that data to navigate a new city, 'simple' feels like a mountain. Here's what usually goes wrong and how to fix it.
eSIM Not Showing Up in Settings?
This is the most common hiccup. If your eSIM profile isn't visible in your phone's cellular settings, it usually means one of two things:
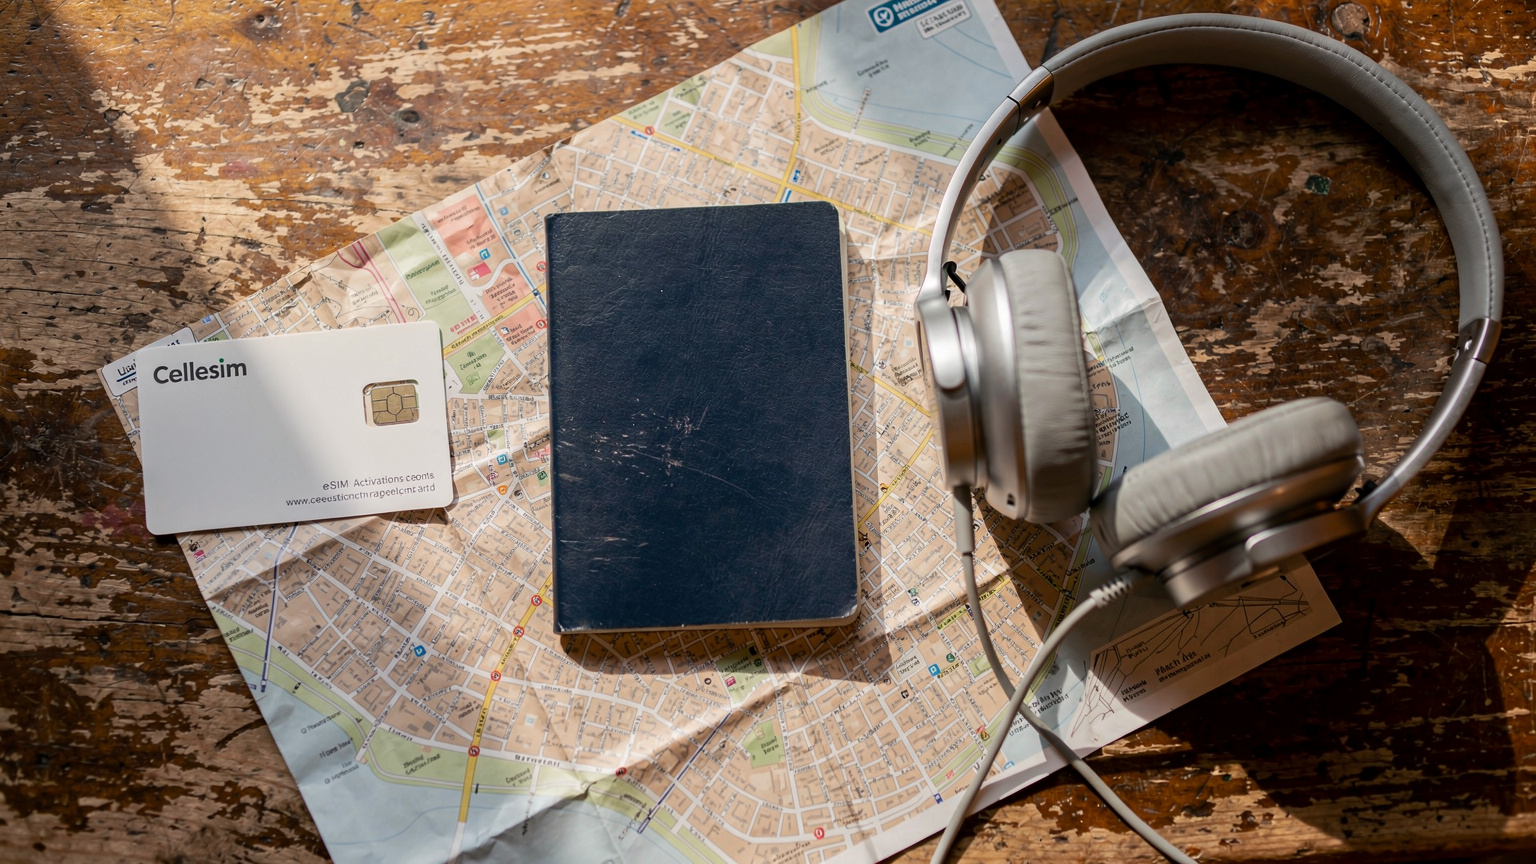
- It wasn't successfully installed: Did you complete the activation process fully, including scanning the QR code or entering the manual activation code? Sometimes, a weak Wi-Fi connection during activation can mess things up. Try reactivating it if you have the original QR code or activation details. If you're using a Cellesim plan, check your account for the QR code or manual details.
- It's disabled: On both iPhone and Android, you can toggle eSIMs on or off. Make sure it's enabled. On iPhone, go to Settings > Cellular > [Your eSIM Plan] and ensure 'Turn On This Line' is toggled on. On Android, it's usually under Network & Internet > Mobile Network > [Your eSIM] and make sure it's set to 'On' or 'Enabled.'
If all else fails, a quick restart of your phone can often resolve temporary glitches. I've seen my phone lose its mind after crossing a border from Switzerland into Italy, and a reboot brought everything back online.
When to Contact Customer Support
If you've tried all the above and still can't find your eSIM number or activate your service, it's time to reach out for help. Make sure you have:
- Your device model and operating system version.
- The name of your eSIM provider (e.g., Cellesim, Holafly, Airalo).
- Any order numbers or purchase confirmations for your eSIM.
- The EID of your device (if you can find it).
When you contact them, be clear and concise. State exactly what you've tried. Most reputable eSIM providers have excellent FAQ sections and support staff who can guide you. Don't be shy about asking for help, especially when your data connectivity is on the line.
When to Use Your eSIM Number: Real-World Scenarios
Knowing where your eSIM number is isn't just for emergencies. It comes in handy in a few common travel situations, helping you save time and hassle. I've had to pull out my ICCID more times than I care to admit.
- When troubleshooting network issues: If your data suddenly drops out in the middle of nowhere, like it did for me in rural Georgia (the country, not the state), customer support will often ask for the ICCID to identify your specific plan and diagnose the problem.
- For topping up data: Some carriers or eSIM providers, especially local ones, might require the ICCID to ensure you're topping up the correct data plan. This is more common with physical SIMs in developing countries, but it occasionally pops up with eSIMs too.
- Porting your number: If you're trying to keep your existing phone number but switch it to an eSIM (say, from a physical SIM or another eSIM), the new carrier will almost certainly ask for your old plan's ICCID. This is key for things like relocating to Ecuador and needing a local number.
- Device upgrades or swaps: While less common with eSIMs than physical SIMs, if you're transferring an eSIM profile to a new device, having the EID (and sometimes ICCID) handy makes the process smoother.
The Budget Traveler’s Choice: eSIM Versus Local SIMs
Alright, let’s talk brass tacks. I’m a firm believer in the eSIM for sheer convenience, especially for multi-country trips like my recent European stint where I burned through 30GB in 20 days, costing me about €45 for unlimited data across 30 countries via Cellesim. That’s €2.25/day, which is fantastic value. But for fairness, you should always know the cheapest local SIM alternative. In places like Vietnam, a local physical Viettel SIM for 150,000 VND (around €6) gives you unlimited data for a month. That’s hard to beat if you’re staying in one country for a long time.
| Feature | eSIM (e.g., Cellesim) | Local Physical SIM | Verdict for Backpackers |
|---|---|---|---|
| Cost (Typical 10GB/15 Days) | €10-€25 (varies by region) | €5-€15 (highly country-dependent) | eSIM wins for multi-country, Local SIM wins for single-country deep dives. |
| Convenience | Activate before arrival, no physical swap, manage multiple plans. | Find store, present passport, swap tiny card, often queue. | eSIM, hands down. Time is money, especially crossing borders. |
| Border Crossings | Seamless transition between countries with regional plans. | Requires new SIM in each country or expensive roaming. | eSIM for the win. No more fumbling with tiny cards on a night train. |
| Device Compatibility | Newer iPhones (XR+), most Pixels, newer Samsung Galaxy, etc. | All unlocked phones with a SIM slot. | Check your phone's eSIM compatibility, but most modern phones are covered. |
My strategy? I use a regional eSIM like Cellesim for multi-country hops across Europe or Southeast Asia. For example, during my recent month-long trip through Italy, Slovenia, and Croatia, I spent about €35 on a 50GB Cellesim regional plan. That's 50GB / 30 days = 1.67GB per day. My actual usage was closer to 1GB/day for maps, social media, and hostel bookings, so I had plenty of buffer. If I'm hunkering down in one place for a month or more, like when I stayed in Medellín, Colombia, I’ll grab a local Claro or Tigo SIM. It cost me 30,000 COP (around €7) for a month of unlimited social media and 10GB general data. The key is to run the numbers yourself. Don't be swayed by marketing. Calculate GB consumed per day times days in country, and compare the total cost. Every euro counts.
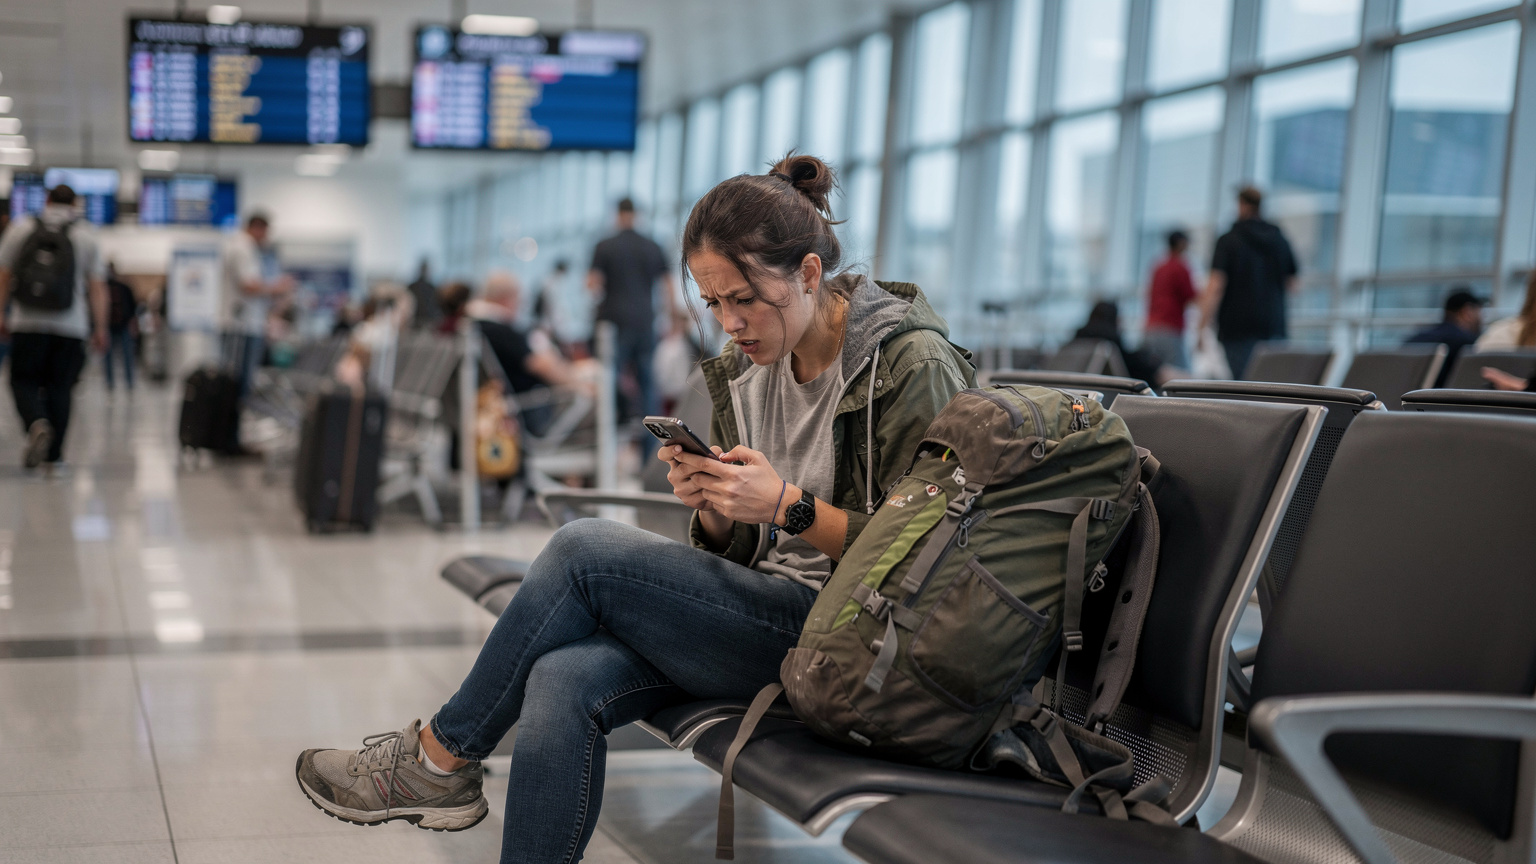
Border Crossing Edge Cases
This is where eSIMs really shine for the budget traveler. Remember the time I was trying to cross from Vietnam into Cambodia by bus? The border guard wanted my phone, and if I had to swap out a physical SIM right there, it would have been a mess. With an eSIM, my home SIM was still in the tray, and my travel data was digital. No fuss. This is also super helpful for countries with strict SIM registration laws, like India or Turkey, where getting a local SIM can involve paperwork, fingerprint scans, and waiting periods. With an eSIM for immediate connection abroad, you can often bypass these initial hurdles and get online instantly.
Think about the overland bus from San Pedro de Atacama, Chile, to Salta, Argentina. You're in the middle of the desert, and your data options are non-existent until you reach a town. Having a multi-country eSIM activated before you even leave means you're connected the moment you hit a cell tower on the other side. This is crucial for navigating, finding a hostel, or even just letting loved ones know you made it safely. You don't want to be stuck trying to find a T-Mobile eSIM QR code with no Wi-Fi. It's a lifesaver for scenarios like these, especially when you're counting every centavo and every minute.
eSIM Management: Best Practices for the Savvy Traveler
Okay, so you know how to find your eSIM number. Great. Now, let’s talk about how to manage your eSIMs like a pro. This means more than just knowing where the numbers are. It's about smart usage, careful tracking, and preventing any costly surprises.
Label Your eSIMs Clearly
As mentioned, give your eSIM plans descriptive names. Instead of 'Secondary' or 'Travel,' try 'Spain 10GB Cellesim' or 'Brazil Local SIM.' This is particularly useful if you're like me and have multiple eSIMs active or stored on your device. When you're frantically trying to switch to the correct data plan to book a Grab ride in Kuala Lumpur, a clear label saves precious seconds (and potentially, money on a more expensive taxi).
Always keep a screenshot of your eSIM QR code or a text file with your manual activation details in a secure cloud storage (like Google Drive or Apple Notes) or email it to yourself. If you ever accidentally delete an eSIM profile, you'll need these to reinstall it without buying a new one. I keep mine in an encrypted folder on my phone, separate from my photos.
Monitor Your Data Usage
This is non-negotiable for budget travelers. Both iPhone and Android have built-in data usage trackers. Check them regularly. On iPhone, go to Settings > Cellular and scroll down to 'Cellular Data' usage. On Android, it's usually Settings > Network & Internet > Mobile Network > Data warning & limit. Set data limits and warnings to avoid overages, especially if you're on a limited plan. A few extra gigabytes can cost you another night in a hostel.
For example, if I'm on a 10GB plan for 15 days, I know I need to average about 660MB per day. If I hit 1GB on day one, I know to scale back. This kind of careful tracking prevents those nasty surprises when you realize you've burned through your data halfway through your trip. It's the difference between a smooth journey and frantically searching for Wi-Fi in a foreign language.
Disable Unused eSIMs
If you have an eSIM that's expired or you're not currently using, disable it in your settings. This prevents your phone from trying to connect to it or displaying unnecessary notifications. On iPhone, go to Settings > Cellular > [Expired eSIM] and toggle off 'Turn On This Line.' On Android, it's similar: Settings > Network & Internet > Mobile Network > [Expired eSIM] and disable it. Keeping your phone's network settings clean simplifies management and helps avoid accidental usage charges on an old plan.
Consider a Secondary Device for Local SIMs
If you're truly dedicated to maximizing savings, consider carrying a cheap, unlocked secondary phone for local physical SIMs in countries where they are significantly cheaper. This way, your primary phone can run your multi-country eSIM, and your budget phone handles the hyper-local, super-cheap data. It's an extra gadget to carry, but it can save you serious cash over a long trip, especially in regions where local SIMs are dirt cheap and eSIMs are still relatively pricey. I've seen travelers do this with an old iPhone SE or a basic Android burner phone. It’s not for everyone, but if every euro counts, it's an option.
Frequently Asked Questions
What is an eSIM number?
An eSIM number, typically the ICCID (Integrated Circuit Card Identifier), is a unique 19 or 20-digit serial number that identifies your digital SIM profile. It's essential for your carrier to manage your data plan and service, similar to the number on a physical SIM card.
Why do I need to know my eSIM number?
You need your eSIM number for several reasons, including troubleshooting network issues with customer support, verifying your plan when topping up data, or if you ever need to port your phone number to a new carrier or transfer your eSIM profile to a different device.
Is the ICCID the same as the EID?
No, they are different. The ICCID identifies your specific eSIM profile (data plan), while the EID (Embedded Identity Document) is a longer, 32-digit number that identifies the physical eSIM chip embedded in your device. You'll usually need the ICCID for most carrier interactions.
Can I find my eSIM number if I don't have active service?
Yes, your eSIM number (ICCID) is stored on your device regardless of whether the plan is active or not. As long as the eSIM profile is installed on your phone, you should be able to locate it through your device's cellular or network settings, even if there's no active data connection.
What if my eSIM profile isn't showing up in my phone's settings?
If your eSIM isn't visible, first ensure it was successfully installed. If you have the QR code or manual details, try reactivating. Also, check that the eSIM line isn't accidentally disabled in your phone's cellular settings. A device restart can sometimes resolve minor glitches. If issues persist, contact your eSIM provider's support with your order details.
Can I use the same eSIM number on multiple devices?
No, an eSIM profile, identified by its ICCID, is typically tied to a single device at a time. While some carriers allow eSIM transfers, you cannot actively use the same eSIM data plan simultaneously on two different phones. You would need a separate eSIM plan for each device.