The Budget Backpacker's Data Dilemma: eSIM vs. Local SIM
Let's get real about money. On my last 8-day dash through the Balkans, I shelled out €280 just for data. That's €35 a day, which, for a budget backpacker like me, eats up a huge chunk of my €40 daily budget. I was using a local physical SIM, jumping from one country to the next. Every border meant a new SIM hunt, a new activation, and almost always, a few hours of being completely offline. It's a total pain when you're trying to find the cheapest hostel in Tirana or confirm the night bus to Skopje.
To be fair, if you're staying put in one country for more than a week, a local physical SIM from a big carrier like Vodafone or Orange in Europe, or Claro in Latin America, will usually give you the absolute cheapest price per gigabyte. You can often snag 10-20GB for €10-€15. But remember, you'll need to find a store, show your passport, and often deal with language barriers. For a spontaneous trip, especially one that takes you through several countries, that time spent is just wasted money.
The Hidden Costs of Physical SIMs
It's not just the price of the SIM card itself. Think about that taxi ride from the airport into town just to find a phone shop, or the inflated prices at airport kiosks. I once paid €30 for a physical SIM at Athens Airport that would have cost only €10 in the city center. That's a €20 premium just for the convenience. An eSIM completely avoids all that. You buy it online, activate it from your couch, and you're ready to go.
The Border Bureaucracy Nightmare
Remember that time I tried to cross from Serbia into Bosnia with a Serbian SIM? The data roaming charges were ridiculous, and trying to buy a local Bosnian SIM at the border crossing near Rača was a non-starter; there were no shops for miles. I had to wait until I got to Bijeljina to finally get connected. With an eSIM, you can often buy a regional plan that covers multiple countries, meaning zero downtime at borders. For multi-country itineraries, this is a game-changer.
Why eSIM is Your Go-To for Spontaneous Trips
So, you just snagged an amazing flight deal to Mallorca for next week, or maybe a cheap hostel in Lisbon suddenly had an opening. Fantastic! But now you need data. This is exactly where the eSIM shines for travelers who plan things last-minute and want to save money.
Speed of Activation: From Zero to Connected in Minutes
With an eSIM, you don't have to wait for anything to be shipped, and you don't need to go anywhere physically. You buy a plan online, get a QR code or activation details by email, and with a few taps on your phone, you're all set. I've activated an iPhone eSIM abroad literally minutes before boarding a flight. It's truly that fast.
Avoiding Airport SIM Scams and Queues
Any experienced traveler knows the airport SIM card racket: overpriced, often with limited data, and queues that eat into your precious travel time. I've seen tourists pay double the regular price at Charles de Gaulle for a tiny 5GB. With an eSIM, you completely bypass all that. Your connection is ready before you even step off the plane, letting you immediately call your hostel, check maps, or brag to your friends.
| Feature | eSIM (Cellesim) | Local Physical SIM | Traditional Roaming |
|---|---|---|---|
| Activation Time | Minutes, instant via QR | Hours, requires shop visit | Instant, but costly |
| Cost per GB | Competitive, often cheaper than roaming | Lowest (if staying put) | Highest, easily €10-€20/day |
| Multi-Country Use | Seamless, regional plans available | Requires new SIM per country | Seamless, but still high cost |
| Convenience | Excellent, manage from app | Low, physical purchase & swap | High, but wallet-draining |
| Setup Difficulty | Easy (scan QR) | Medium (language barrier, paperwork) | None (automatic) |
Picking the Right eSIM Plan: It's All About the Euros
Choosing an eSIM isn't just about getting connected, it's about making sure you get the most data for your money. This is where Cellesim really shines, especially for those last-minute decisions.
Understanding Data Packages and Validity
Most eSIM providers, including Cellesim, offer plans based on how much data you get (like 5GB, 10GB, 20GB) and how long it lasts (like 7 days, 15 days, 30 days). For a quick summer trip, you'll probably want a shorter validity period with a moderate amount of data. For example, a 7-day, 5GB plan for Europe might run you around €12-€15. Compare that to your home carrier's roaming rates, which could easily be €5-€10 per day for similar data. The savings are clear.
Country-Specific vs. Regional Plans
If your spontaneous trip is to just one place, like Italy, a country-specific eSIM will often be the cheapest option. However, if your last-minute plans involve hopping between Spain, Portugal, and France, a regional Europe-wide eSIM plan is definitely your best bet. It might cost a couple of euros more upfront, but it saves you the headache and potential downtime of switching plans at every border. I always pick regional plans when I'm hitting up multiple spots, like my recent summer road trip across several European countries.
Comparing Cellesim with Competitors
While I'm a bit partial to Cellesim because it's so easy to use and their prices are straightforward, it's always smart to compare. For example, in a recent comparison between Cellesim and Nomad, Cellesim often came out on top for single-user plans. This was usually thanks to slightly better per-gigabyte pricing on smaller packages, which are perfect for quick trips. Always check the current prices, though, as they do change.
Activating Your Cellesim eSIM: A Step-by-Step Breakdown
The best part about Cellesim is how simple it is. You don't need to be some kind of tech genius to get connected. Here's exactly how it works, whether you're using an iPhone, Samsung, or Pixel.
Pre-Flight Prep: The Smart Move
I always recommend setting up your eSIM before you even leave home. Do it from your home Wi-Fi. This way, if there are any small issues, you can sort them out with a stable internet connection and without the pressure of being in a foreign airport. Plus, you can instantly pull up Google Maps or WhatsApp the second you land.
- Purchase Your eSIM Plan: Go to the Cellesim website or app and choose your destination (or region) and data plan. Finish the purchase. You'll get an email with your eSIM QR code and details for manual installation.
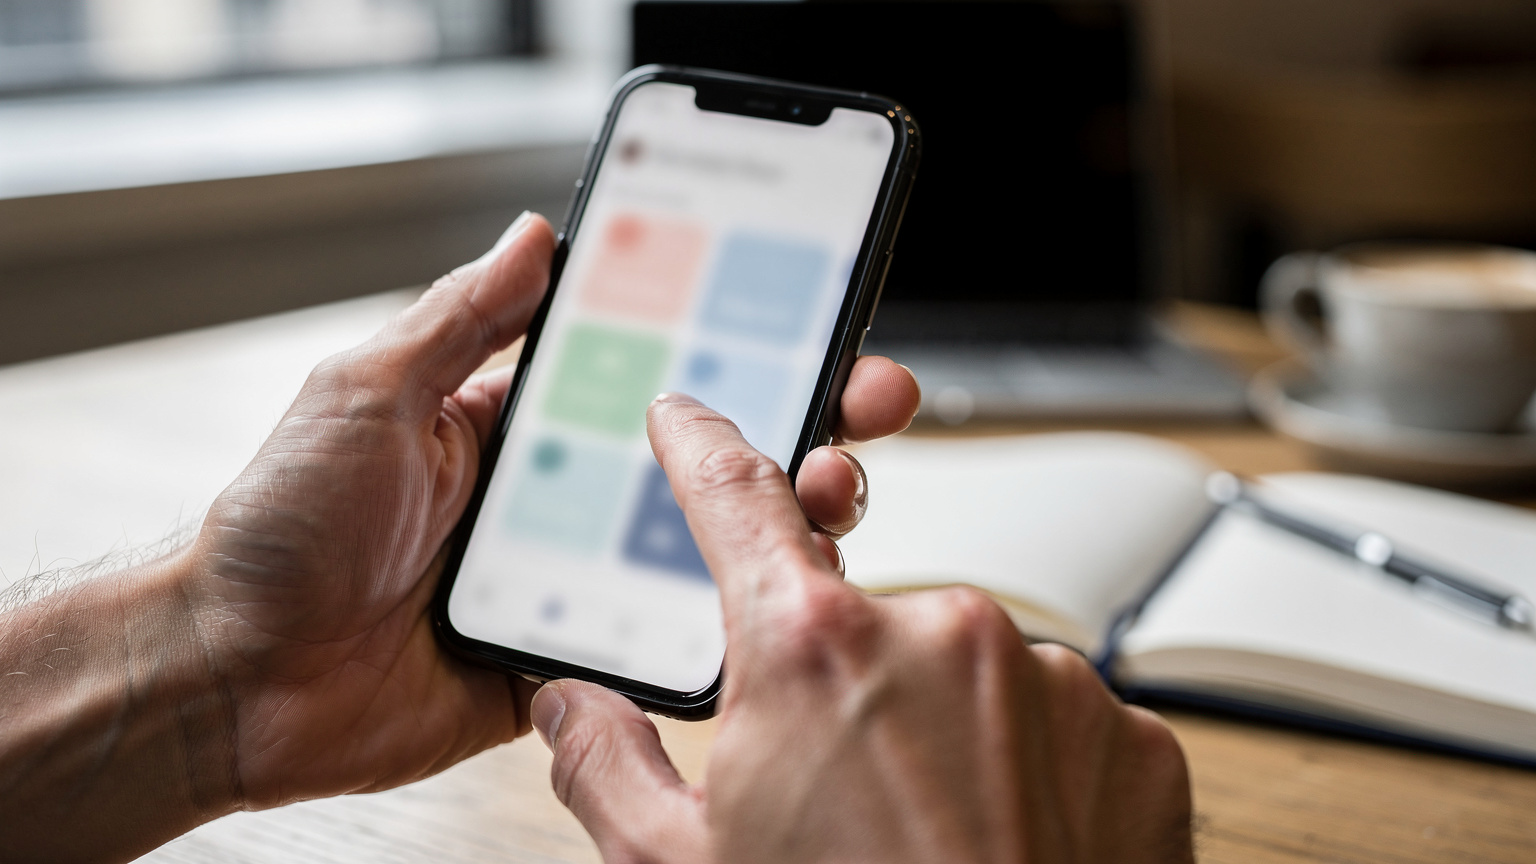
- Open Settings on Your Smartphone: Find your phone's settings. For iPhones, it's Settings > Cellular (or Mobile Data) > Add eSIM. For Android phones (Samsung, Pixel), you'll typically go to Settings > Network & internet > SIMs > Add eSIM.
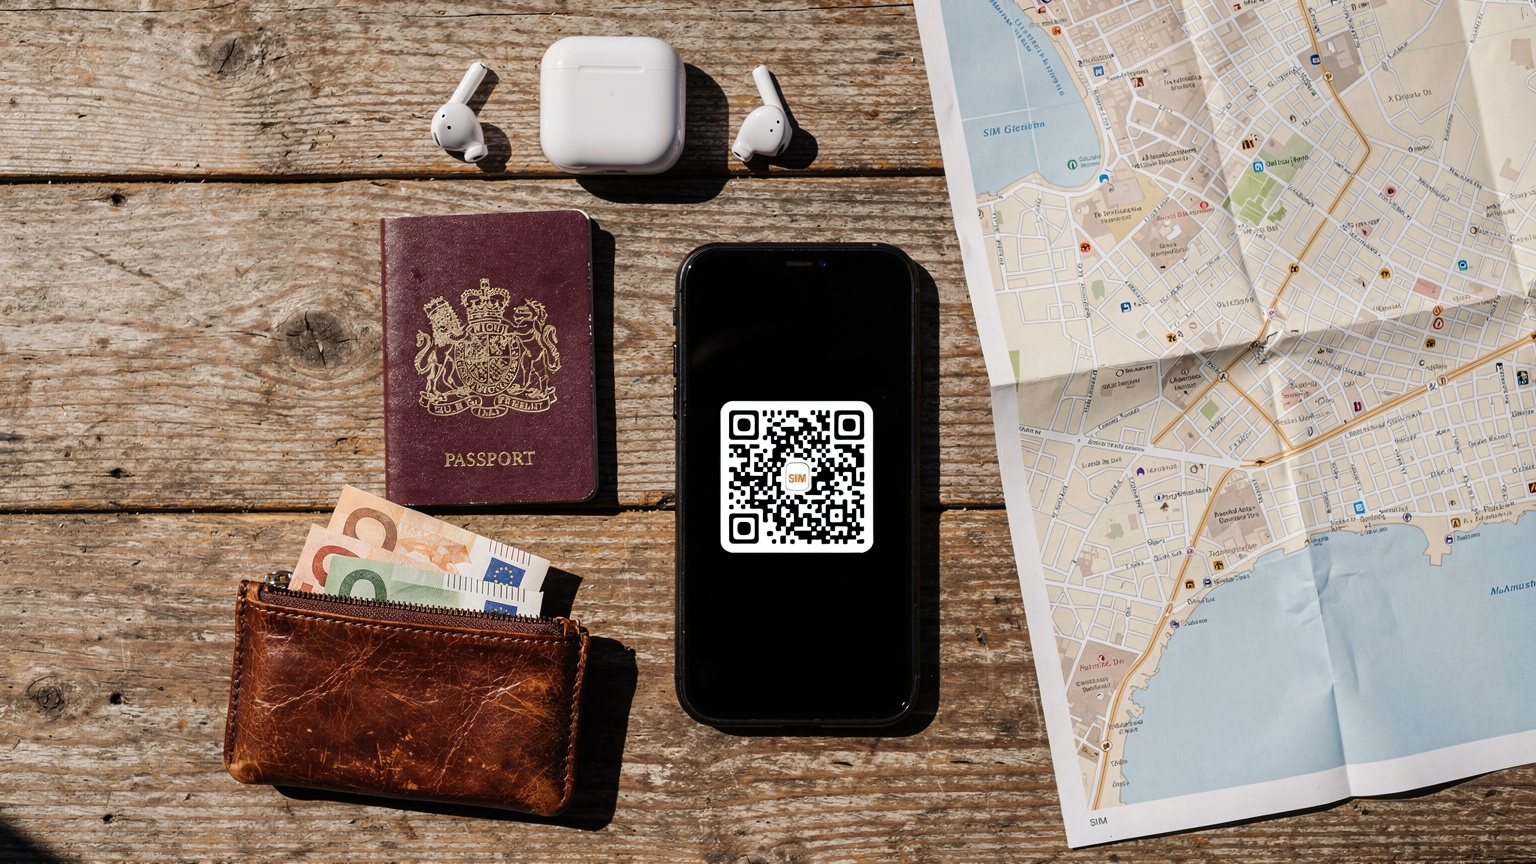
- Scan the QR Code: Most phones will ask you to scan a QR code. Use your phone's camera to scan the QR code from the email (or from another device if you're installing it on the same phone). If scanning isn't an option, you can usually type in the activation details manually.
- Configure eSIM Settings: Once scanned, your phone will walk you through naming your eSIM (something like "Spain Data" or "Travel eSIM") and setting it as your default for mobile data while you're abroad. It's crucial to make sure your Data Roaming is turned ON for the eSIM profile you just installed. Keep your primary SIM's data roaming OFF to avoid any accidental charges.
- Test Your Connection: Before you even leave, turn off your Wi-Fi and see if you can access the internet using your new eSIM. A quick search or sending a message should confirm it's working.
Post-Landing Activation: When You're Really Last-Minute
Sometimes, things just happen, and you end up buying your eSIM while waiting for your luggage. It's still possible, but you'll need airport Wi-Fi to get the QR code or activation details. Once you have those, the steps are the same as above. Just be sure the airport Wi-Fi is good enough to download the profile.
Understanding APN Settings
Occasionally, an eSIM might not connect right away. The problem is often incorrect APN (Access Point Name) settings. Cellesim usually sets this up automatically, but if you're having trouble, check the Cellesim support page for your specific plan's APN details. You can find APN settings in your phone's cellular settings for the new eSIM. For instance, if you're struggling with a T-Mobile eSIM QR code and can't get online, checking the APN is often the first step to fix it.
Real-World Data Consumption: What You Actually Need
How much data do you *really* need for a spontaneous summer trip? It depends on what you do with your phone, but for a budget traveler, every gigabyte matters. Let's break down typical usage.
My Personal Data Budget
On an 8-day trip, I plan for about 1GB of data per day. That works out to 8GB total. This covers:
- Navigation (Google Maps, Citymapper): Around 200-300MB per day.
- Messaging (WhatsApp, Telegram): About 100MB per day.
- Social Media (Instagram, light browsing): Roughly 300-400MB per day.
- Email & quick searches: Around 100MB per day.
- Occasional video call or streaming: This is where you can burn through data fast. A 10-minute video call can use 100MB. Streaming a Netflix episode? Forget about it on mobile data; save that for hostel Wi-Fi.
So, for an 8-day trip, I'd look for an 8GB or 10GB plan. If I find a 5GB plan that's much cheaper, I'll grab it and just be more careful to use Wi-Fi whenever possible.
Tips for Conserving Data
Every penny saved on data means another euro for a street food snack. Here's how I make my data last:
- Download Offline Maps: Before you leave, download the Google Maps area for where you're going. This saves tons of data.
- Use Hostel/Cafe Wi-Fi: Whenever you hit up a hostel like Generator Hostels or a local cafe, hop on their Wi-Fi for data-heavy tasks like uploading photos, video calls, or streaming.
- Disable Background App Refresh: Go into your phone settings and turn off background refresh for apps that eat a lot of data, like Instagram or Facebook.
- Adjust Video Quality: If you absolutely have to watch a video, set the quality to standard definition.
Border Crossings and eSIMs: Staying Connected on the Move
This is really where eSIMs beat physical SIMs, especially for adventurous, budget-conscious travelers. No more frantic SIM swaps or hunting for kiosks every time you cross into a new country.
Seamless Transition Between Countries
If you've bought a regional eSIM (like a Europe-wide plan), your data connection should switch over smoothly as you cross borders. I've taken the FlixBus from Berlin to Prague, and my Cellesim EU plan just kept working perfectly. No drops, no reconnecting, just continuous WhatsApp messages to my friends asking where to meet for a cheap Pilsner.
Navigating Non-Schengen Borders
Crossing into countries outside the Schengen Area (if you're on an EU plan) or different data regions needs a bit more planning. For instance, if your Europe eSIM doesn't cover the UK, you'll need a separate plan for London. The great thing is you can activate this new plan while your old one is still active, then just switch profiles in your phone's settings. This is super helpful for places like the Western Balkans, where each country might need its own specific plan, or you might need an eSIM for USA if you're flying directly there after Europe. Always double-check your plan's coverage area carefully.
"I remember trying to get a local SIM in Montenegro, and the only place open was a tiny shop with a grumpy vendor who only took cash. I missed my bus because of it. Never again. eSIM means I'm connected from the moment my feet hit the ground, no matter how remote the border."
Troubleshooting Common eSIM Snags
Even with the best plans, sometimes things don't go perfectly. Here are the common issues I've run into and how to fix them.
"No Service" or Limited Connectivity
- Check Data Roaming: Make sure data roaming is turned on for your eSIM profile. This is the most common mistake.
- APN Settings: Double-check the APN settings. These usually configure automatically, but sometimes you need to enter them manually. Cellesim support can give you the correct ones.
- Network Selection: Try manually choosing a network operator in your phone's settings (Settings > Cellular/Mobile Data > Network Selection, then turn off automatic). Some eSIMs work better with specific local carriers.
- Restart Your Phone: The classic tech fix. Often, a simple restart can clear up minor network glitches.
Installation Issues
If your QR code isn't scanning, or manual input isn't working:
- Good Lighting: Make sure the QR code is well-lit and not blurry.
- Screen Cleanliness: Ensure your phone's camera lens is clean.
- Internet Connection: You need an active internet connection (Wi-Fi or your primary SIM) to download the eSIM profile in the first place.
- Device Compatibility: Not all phones support eSIM. Double-check if your device is compatible. Cellesim has a full list on their FAQ page.
Maximising Your eSIM Value: More Bang for Your Buck
You've got your eSIM, and you're connected. Now, how do you make sure you're getting every last bit of value out of it?
Combining eSIMs for Ultimate Flexibility
Many modern phones can handle multiple eSIMs or a mix of a physical SIM and an eSIM. This is incredibly useful. You can keep your home physical SIM active (but with data roaming off) just for receiving calls and texts, and then use your Cellesim eSIM for all your data needs abroad. This means you won't miss any important messages from home while still saving money on data.
Using Data for Calls and Messaging
Forget expensive international calls. With your eSIM data, you can use VoIP apps like WhatsApp, Google Meet, or FaceTime for all your communication. This saves a huge amount of money. I haven't paid for an international phone call in years, all thanks to these apps and reliable data.
Sharing Your Connection (Tethering)
Most Cellesim plans let you tether (use your phone as a Wi-Fi hotspot). This is fantastic if you're traveling with a tablet or laptop and don't want to rely on unreliable hostel Wi-Fi. Just keep an eye on your data usage, as tethering can burn through your allowance pretty quickly. I've often shared my connection with travel buddies who were stuck with expensive roaming, splitting the cost of my eSIM to save us all some euros.
When a Physical SIM Still Makes Sense
Even though I love eSIMs, there are still a few specific situations where a local physical SIM might be a better choice.
Long-Term Stays in a Single Country
If you're staying in one country for a long time, say more than a month, a local physical SIM often offers better long-term value, especially for bigger data packages or unlimited plans. You might also get a local phone number that's easier for local businesses to call. For example, if you're moving to Ecuador, a physical SIM might be necessary for certain residency paperwork.
Older Phones and Compatibility
Not all phones support eSIM technology. Older models, or some budget smartphones, still only use physical SIMs. Always check your device's compatibility before planning to use an eSIM. If your phone is older, a local physical SIM is your only option, so remember to factor in the time it will take to get one.
Local Number Requirements
Some specific situations, like setting up a local bank account or certain government services, might explicitly ask for a local physical phone number linked to a local ID. For general travel, this is rarely an issue, but for longer, more integrated stays, it's something to think about.
| Scenario | eSIM Advantage | Physical SIM Advantage | Consideration |
|---|---|---|---|
| Last-Minute Trip | Instant activation, no queues | N/A | Time is money, eSIM wins |
| Multi-Country Travel | Seamless regional coverage | Lowest cost if staying put | Avoid border SIM hunts |
| Long-Term Single Country | Good, but might not be cheapest | Often cheapest per GB, local number | Depends on length & specific needs |
| Older Phone | N/A | Only option | Check compatibility first |
| Budget Traveler | Avoids roaming, competitive rates | Lowest per GB for long stays | Weigh convenience vs. absolute lowest cost |
Final Thoughts: Stay Connected, Stay Savvy
For us budget backpackers and spontaneous travelers, every euro saved is a euro you can spend on another adventure. Last-minute summer trips are awesome, but don't let data problems ruin them. The simplicity, speed, and great pricing of a Cellesim eSIM make it a must-have in my travel bag. No more waiting, no more scams, just pure, reliable connectivity from the moment you land. So go ahead, book that flight, pack your bag, and get connected instantly.
Frequently Asked Questions
Can I use an eSIM on any smartphone?
No, not all smartphones support eSIM technology. Generally, newer flagship models from Apple (iPhone XS and later), Samsung (Galaxy S20 and later), and Google Pixel (Pixel 3 and later) are eSIM compatible. Always check your specific device's specifications before purchasing an eSIM.
Is eSIM activation difficult for a non-tech-savvy person?
Not at all. eSIM activation is designed to be user-friendly. Most providers, including Cellesim, offer a simple QR code scan process. If you can scan a menu QR code, you can activate an eSIM. There are also clear, step-by-step guides available for different phone models.
What happens if I run out of eSIM data during my trip?
If you deplete your data allowance, you can usually top up your eSIM plan directly through the Cellesim app or website. This typically involves purchasing an additional data package, which activates instantly. You won't lose your connection permanently, just temporarily until you buy more data.
Can I keep my home SIM active while using an eSIM abroad?
Yes, absolutely. Most modern smartphones support dual SIM functionality (one physical SIM and one or more eSIMs). You can keep your home SIM active for calls and texts, but critically, you should turn off its data roaming to avoid exorbitant charges. Use your eSIM for all your mobile data needs while traveling.
Are eSIMs more expensive than local physical SIM cards?
For short, multi-country trips or last-minute travel, eSIMs are almost always more cost-effective than traditional roaming and often comparable to, or cheaper than, airport-bought physical SIMs. For very long, single-country stays, a local physical SIM purchased in the city center might offer slightly better per-gigabyte rates, but it comes with the hassle of acquisition.
What should I do if my eSIM isn't connecting after activation?
First, restart your phone. If that doesn't work, ensure 'Data Roaming' is enabled for your eSIM profile in your phone's settings. Next, check the APN settings against the provider's instructions, and if necessary, try manually selecting a network operator. Cellesim's support team can also provide immediate assistance.