My Data Needs and the Bali Blunder
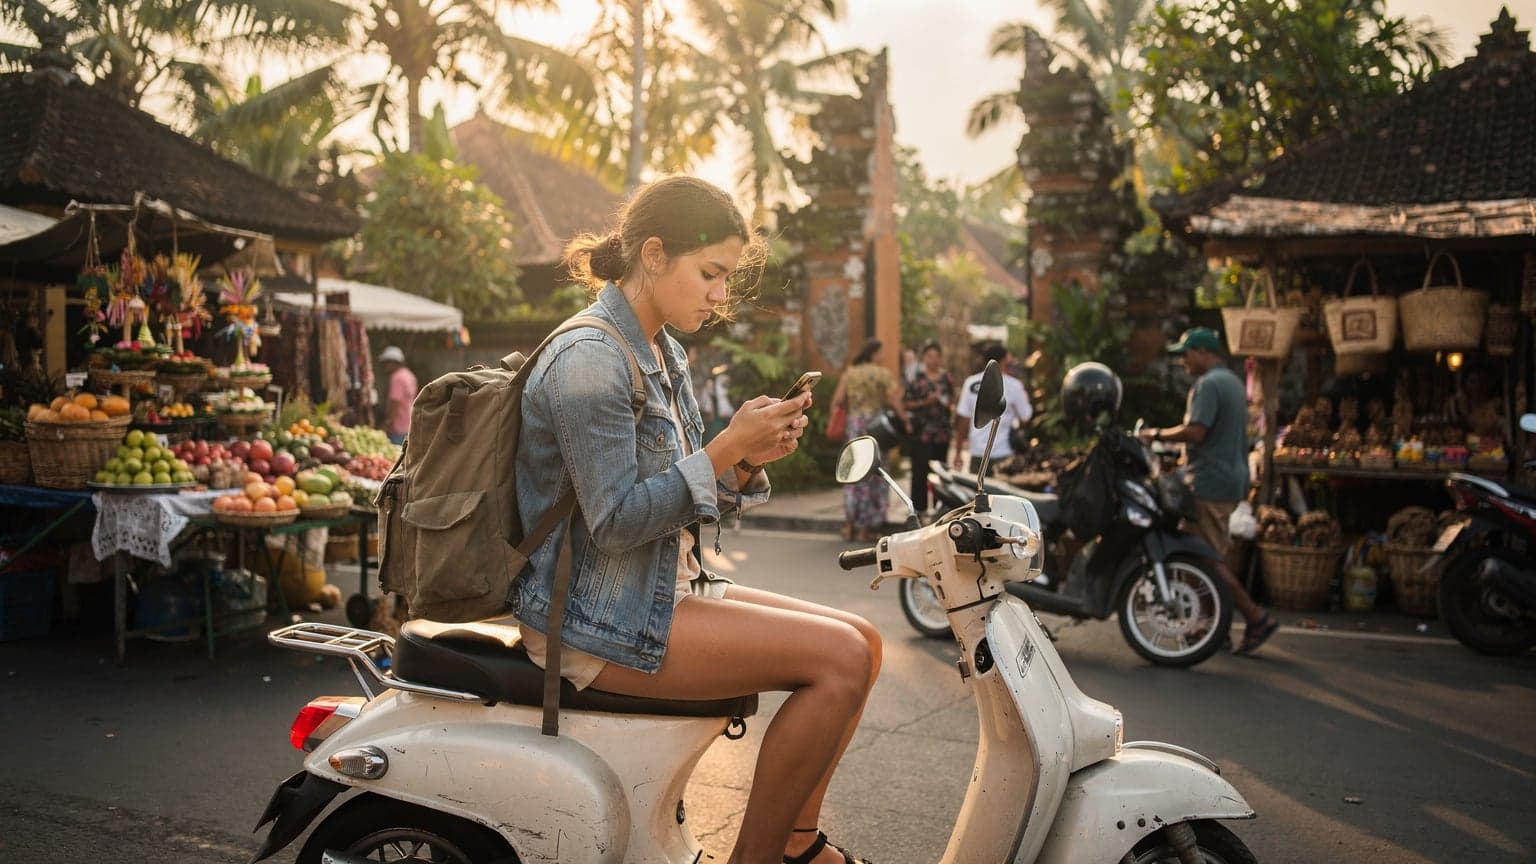
Let's talk numbers. On a typical travel day, I'm burning about 2GB of data. That's a mix of Google Maps for navigating Kuta's tangled streets, WhatsApp calls back home, uploading a few photos to my Substack, and maybe streaming some Netflix on a particularly long bus ride from Denpasar to Padangbai. My initial plan was a 30-day trip, so 2GB/day x 30 days = 60GB total. That's a lot, but I figured I'd rely on hostel WiFi where possible. What I didn't account for was how unreliable hostel WiFi can be, especially in places like my favourite, Puri Garden Hostel in Canggu, where the signal rarely reached my dorm bed.
My first eSIM, bought from a popular European provider, offered 10GB for €25. Sounded great, right? It wasn't. I blew through that 10GB in five days. Then came the top-ups. Each 5GB top-up cost €18, and I bought five of them in rapid succession over the next two weeks. Add it up: €25 + (5 x €18) = €115 for 35GB in just over two weeks. That's already way off my budget. The real kicker? The exchange rate my bank gave me for those top-ups was terrible, plus foreign transaction fees. It effectively tacked on another 5-7%.
I was so focused on the initial price that I completely overlooked the cost of recharging. This is where most budget travelers get caught. My €280 data spend was a mix of this expensive eSIM and later, out of desperation, buying a local physical SIM card (more on that later) which also had its own hidden costs. The lesson? Always look at the top-up rates and consider a larger, longer-term package if you're a heavy data user like me.
eSIM Options from France Before You Fly
When you're still in France, planning your trip, you've got a few solid eSIM options. These are convenient because you can set them up before you even leave, meaning you land in Denpasar with data ready to go. No scrambling at the airport, which is a blessing after a long-haul flight.
For travelers heading to Bali, Java, or elsewhere in Indonesia, Cellesim offers competitive packages. For example, you can get a 30-day, 20GB plan for around €35-€45, depending on current promotions. This would have covered me for 10 days of my typical 2GB/day usage, or about half my monthly needs if I was conservative. Crucially, Cellesim's packages are clear about their data allowances and coverage. They use local networks like Telkomsel and XL Axiata, which are the two biggest players in Indonesia, giving you solid reception even in more remote areas like the Gili Islands (though don't expect miracles in the really deep jungle).
Other popular eSIM providers also have Indonesia options. Holafly, for instance, offers unlimited data plans, but they often come with speed caps after a certain daily usage. I've heard too many stories of people hitting those caps and finding their 'unlimited' data slows to a crawl, making it useless for anything beyond WhatsApp messages. Always read the fine print on 'unlimited' plans, especially if you're planning to upload videos or stream. If you're considering Holafly, make sure you know what you're getting into, and always check for potential hidden costs. I previously wrote about Holafly Discount Codes 2026: Are They Worth It, or Is There a Cheaper eSIM?, which might shed some more light on that.
I recommend checking out specific eSIM for Indonesia offerings before you depart. Make sure you're getting coverage for the whole country, not just Bali, if you plan to explore beyond the tourist hotspots. For example, if you're planning to travel to Yogyakarta or spend time exploring Sumatra, you'll need reliable connectivity across the archipelago.
The Physical SIM Alternative and Border Tricks
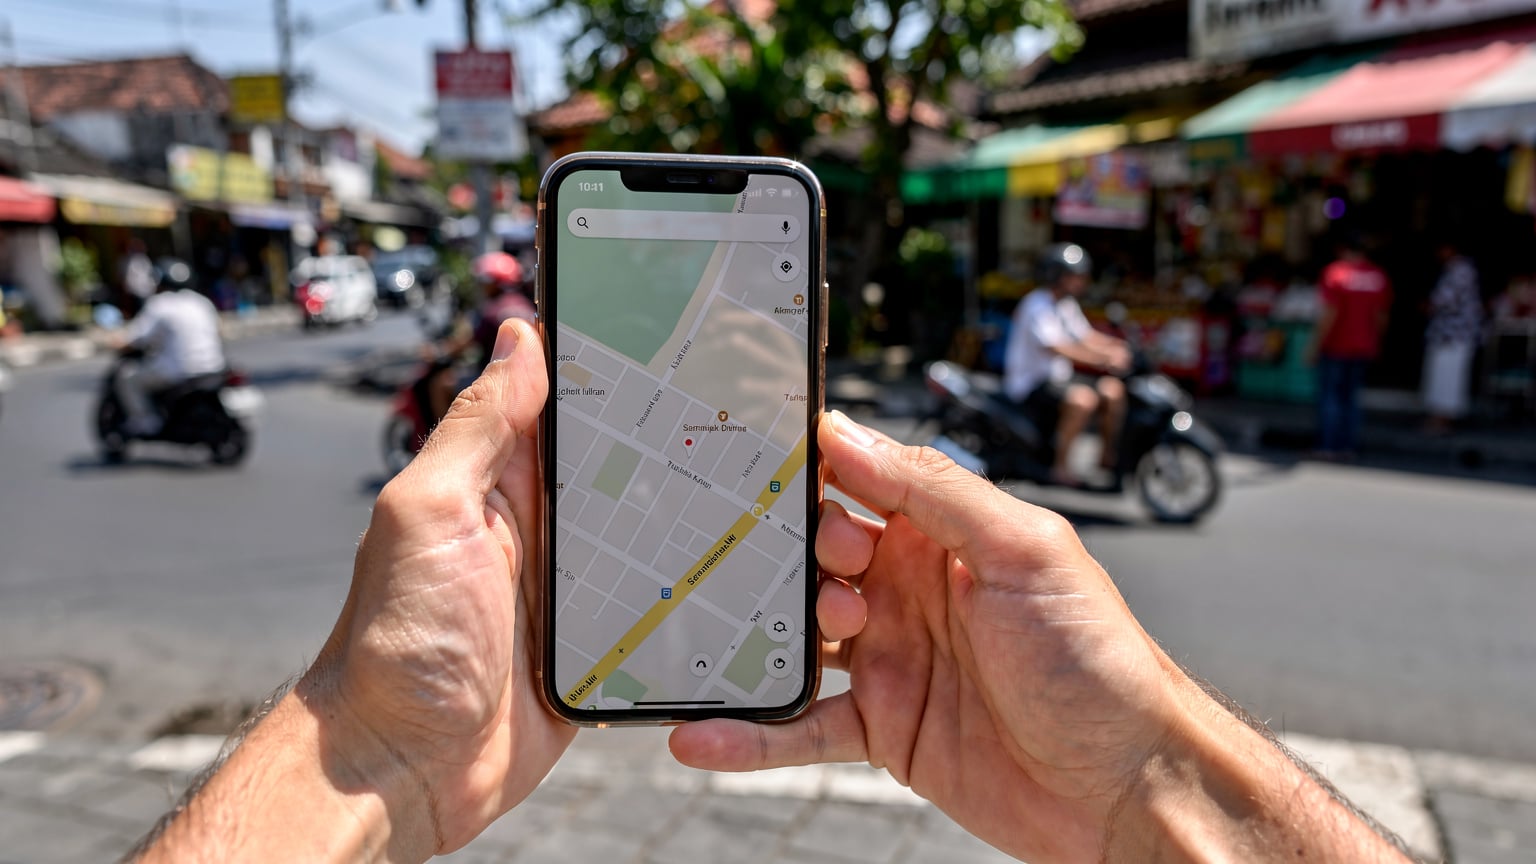
After my initial eSIM debacle, I decided to go local. The cheapest local physical SIM alternative in Indonesia is usually Telkomsel. You can buy one at the airport in Denpasar, but it's often inflated. A much better bet is to head to a Telkomsel Grapari store in a city like Denpasar, Ubud, or even a smaller town. At a Grapari, I bought a 35GB Telkomsel SIM for 150,000 IDR (roughly €9 at the time). That's a massive saving compared to my eSIM top-ups. The catch? It took me about an hour to get it set up, involving queuing, showing my passport, and waiting for activation. And if you're not fluent in Bahasa Indonesia, it can be a bit of a hurdle. Also, some local SIMs require a local phone number for registration, which can be tricky if you're relying on your home number for two-factor authentication (something I've explored in eSIM OTP: Why Travel eSIMs Struggle with Two-Factor Codes in 2024).
For border crossings, a pre-purchased eSIM is king. Imagine arriving in Jakarta after a long flight from Paris, then immediately hopping on a ferry to Sumatra, or maybe a bus across the border into Malaysia (though that's a different eSIM). You don't want to be hunting for a SIM card shop. I once crossed from Laos into Cambodia via the Veun Kham border and spent an hour trying to find an open phone shop in the tiny border town, only to be charged double. An eSIM installed from France means you get off the plane or bus, and your data just works. No fuss, no language barrier, no inflated prices from opportunistic vendors.
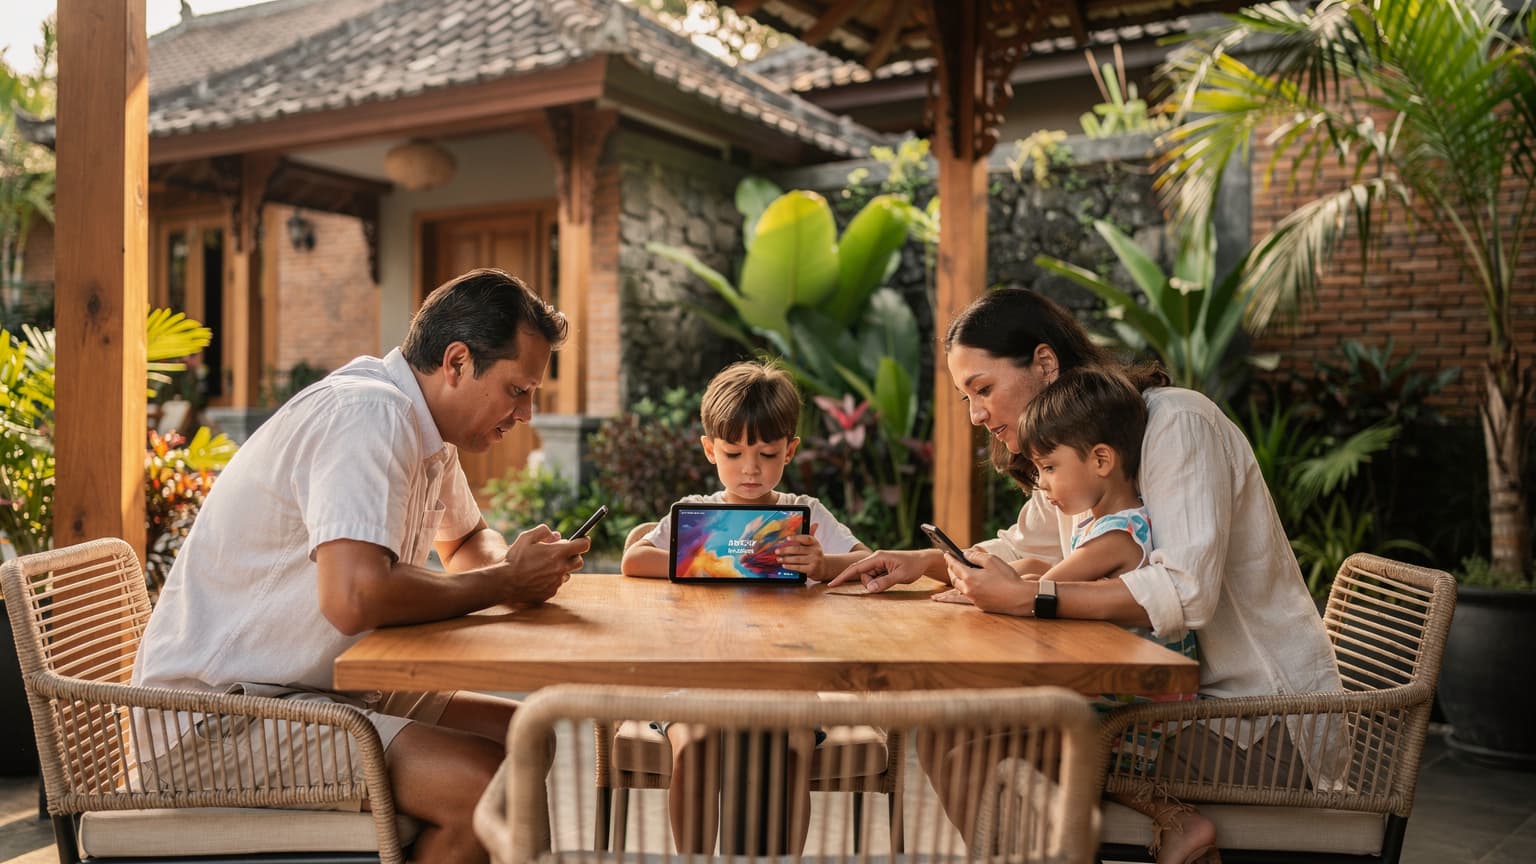
If you're a family traveling from France to Bali, a pre-activated eSIM can also save a lot of headaches, especially if you're juggling kids and luggage. I'd recommend reading a recent piece on Indonesia from France: Best Family eSIM for Bali & Beyond 2024 for more specific advice on family plans.
Making the Right Choice for Your Budget
So, what's the verdict? For me, the sweet spot is a good quality eSIM purchased before leaving France, with a generous initial data allowance and transparent, reasonably priced top-ups. This balances convenience with cost-effectiveness. The key is to project your data usage accurately. If you're like me and need around 2GB a day, look for an eSIM that offers at least 30-40GB for a month-long trip. If you're a digital nomad, you might need even more, and there are specific Indonesia eSIM from France: Best Data for Nomads in 2024 guides for that.
Here's a quick comparison of what I'd consider a smart choice versus my initial blunder:
| Category | My Bali Blunder (High Cost) | Smart Choice (Budget-Friendly) |
|---|---|---|
| Initial eSIM Purchase | 10GB for €25 | 30GB for €40 |
| Top-up Cost (5GB) | €18 per 5GB | €10 per 5GB (hypothetical, based on better providers) |
| Total Data Needed (30 days) | 60GB (at 2GB/day) | 60GB (at 2GB/day) |
| Estimated Total Cost | €25 (initial) + 10 x €18 (top-ups) = €205 | €40 (initial) + 6 x €10 (top-ups) = €100 |
| Local SIM (fallback) | 150,000 IDR (€9) for 35GB, after initial eSIM ran out | Not needed if eSIM is sufficient, or a cheaper option for specific long stays |
| Overall Lesson | Prioritized initial low price, ignored top-up costs and actual usage. | Calculated total data needs, compared comprehensive costs, considered convenience vs. local hassle. |
That's over €100 in savings, which means another week in a decent hostel, or a PADI open water course. It really adds up. The goal here isn't just to get connected, but to do it efficiently and without feeling like you're being constantly fleeced. When you're budgeting every euro for your trip, every saving counts. For me, that meant learning to install and activate an eSIM the right way, making sure I understood the data packages, and not falling for seemingly cheap introductory offers that sting you on the back end. Emma Wright, eSIM Setup Specialist & Education Lead for Cellesim, often emphasizes the importance of understanding device compatibility and APN settings for a smooth setup. It's not just about the price, but about the whole experience, making sure your connection is as reliable as the cheapest hostel in town. For general questions about eSIMs, you can always check our Cellesim FAQ page.
Frequently Asked Questions
What is the cheapest way to get data in Indonesia if I'm coming from France?
The cheapest way is often a local physical SIM card like Telkomsel, purchased from an official Grapari store in Indonesia. However, this requires time and potentially navigating a language barrier. A pre-purchased eSIM from a provider like Cellesim offers a balance of convenience and competitive pricing if you calculate your total data needs carefully to avoid expensive top-ups.
How much data do I really need for a month in Indonesia as a backpacker?
Based on typical usage (maps, messaging, social media, light streaming), budget backpackers often use 1.5GB to 2.5GB per day. For a month-long trip (30 days), this translates to approximately 45GB to 75GB of data. Always consider unreliable hostel Wi-Fi when calculating your needs.
Can I use my French phone number for calls and texts with an Indonesian eSIM?
Yes, with an eSIM, your original French SIM card remains active for calls and texts on your primary number. The eSIM provides data only. This setup allows you to receive important calls or SMS (like 2FA codes) while using local data rates for internet access.
Are airport eSIMs or physical SIMs in Indonesia more expensive?
Generally, both eSIMs and physical SIM cards purchased directly at Indonesian airports tend to be more expensive than those bought from official stores in cities or pre-purchased online from reputable eSIM providers. Airport vendors often have higher overheads and target convenience-seeking travelers.
What are the best local networks for eSIMs in Indonesia?
The two primary and most reliable mobile networks in Indonesia are Telkomsel and XL Axiata. When choosing an eSIM, check which local network it partners with to ensure you get the best possible coverage and speed across Bali and other Indonesian islands.
How do I activate an eSIM on my iPhone or Android device for Indonesia?
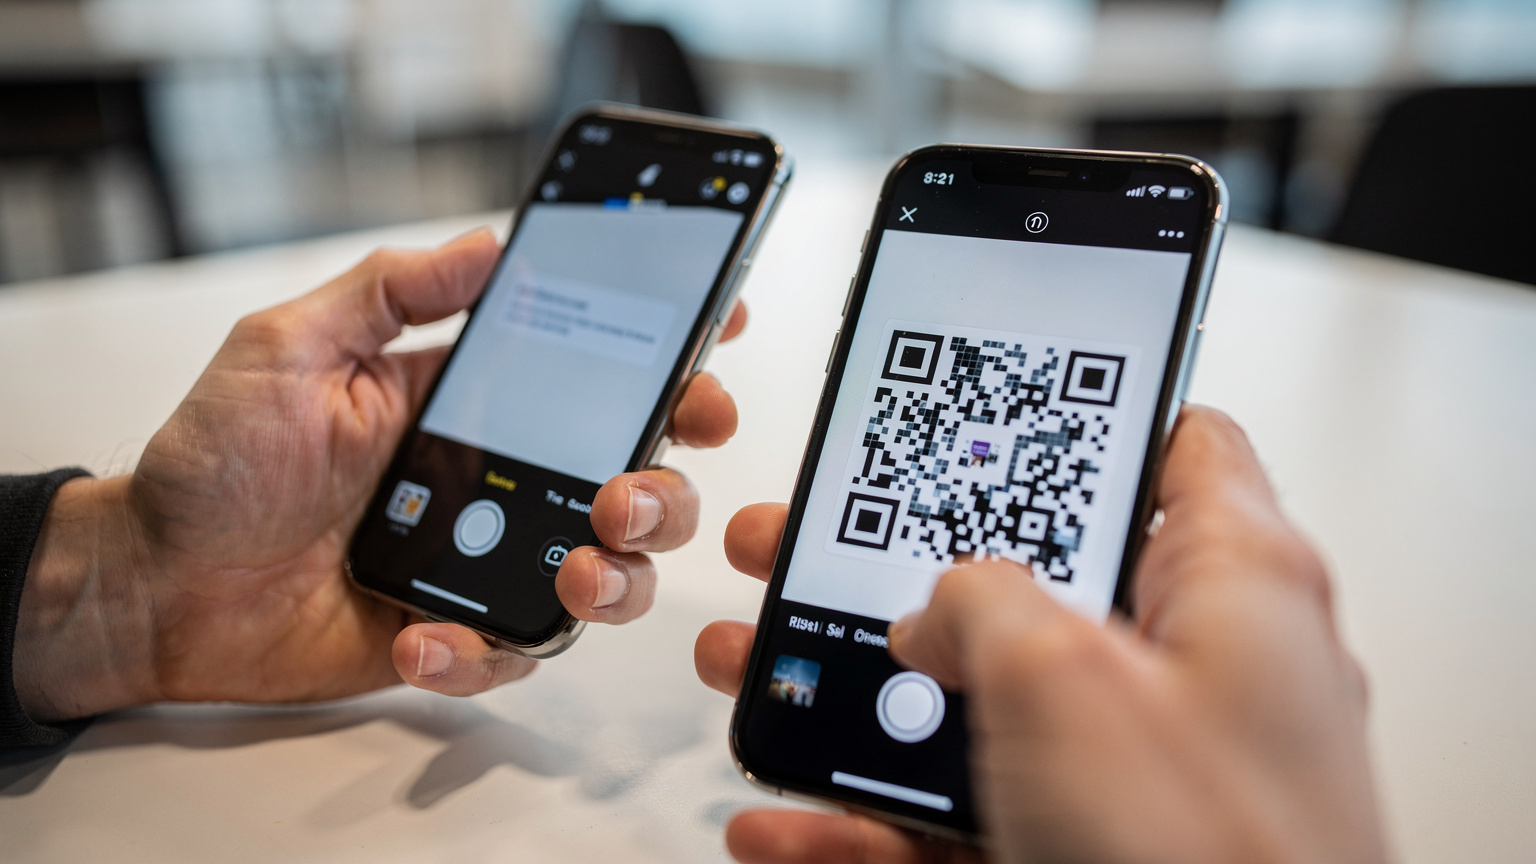
Activating an eSIM is typically straightforward. After purchasing, you'll receive a QR code via email. Go to your phone's settings (Settings > Mobile Data > Add eSIM on iPhone, or Settings > Network & Internet > SIMs > Download a SIM instead on Android), scan the QR code, and follow the on-screen prompts. Ensure you enable data roaming for the eSIM profile once activated.