Pairing your post-Prime Day flight and accommodation deals with a cost-effective travel eSIM like Cellesim can lead to significant overall savings compared to traditional roaming, often cutting communication costs by 70-90% and eliminating the hassle of local SIM card hunting.
Prime Day Deal-Hunting and the Connectivity Trap
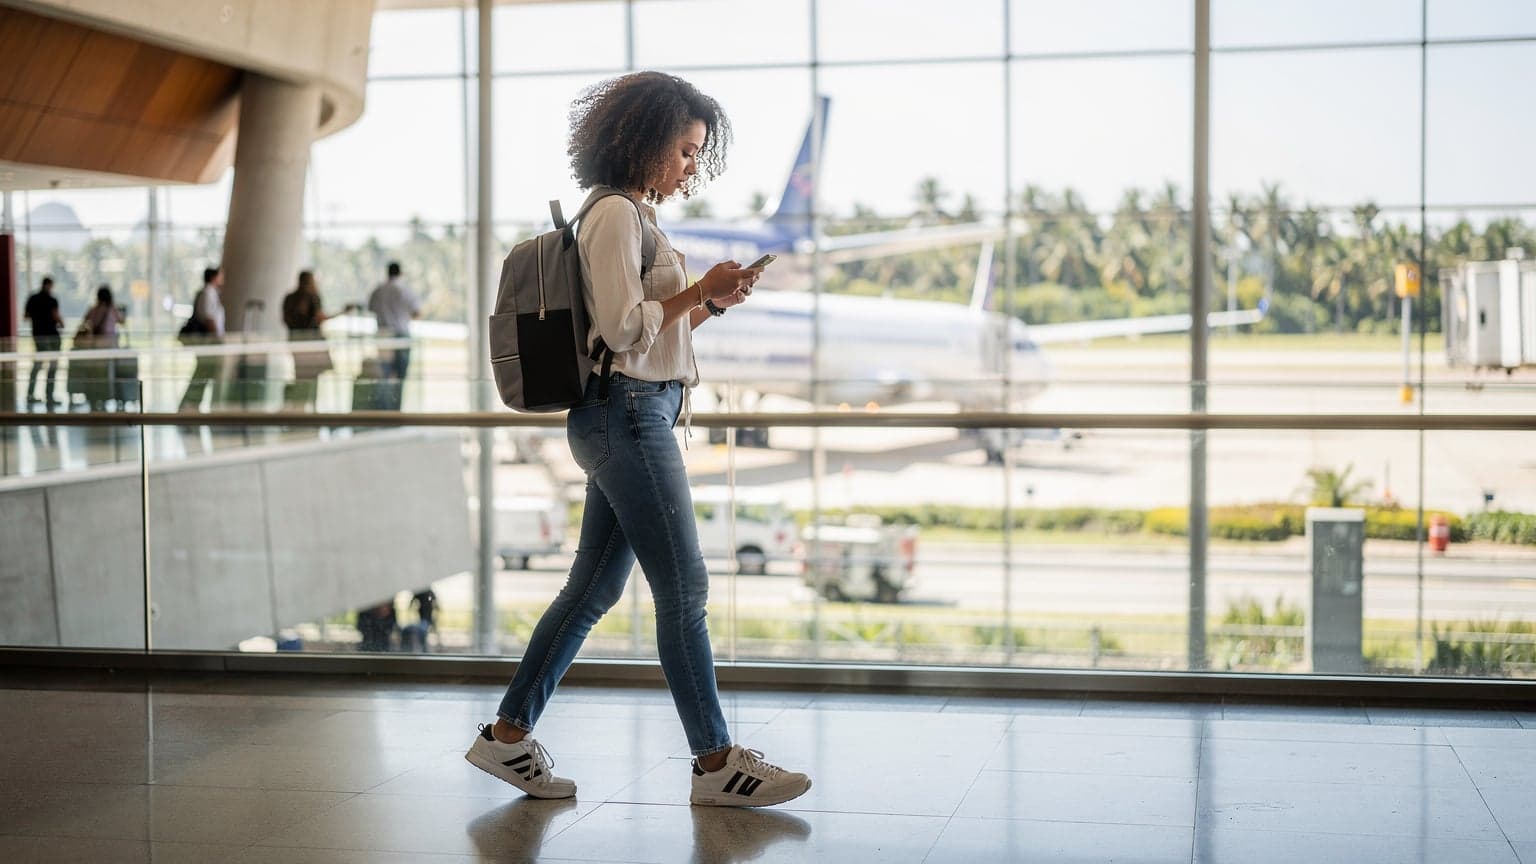
You did it. You snagged that flight to Lisbon for a ridiculous price, or maybe a week in Bali at a resort that usually costs double. Post-Prime Day sales are great for locking in those big-ticket items, but I’ve watched too many friends blow all those hard-earned savings on terrible data plans the moment they land. It’s like buying a discount car and then filling it with premium gas that costs more than the car itself.
For four years now, I’ve been living out of a backpack, hopping from Buenos Aires to Berlin, from Chiang Mai to Cape Town. The one constant headache, besides finding a decent laundromat, used to be phone connectivity. I've tried it all, from dodgy airport kiosks selling overpriced local SIMs to the sheer panic of an empty data bar in a foreign city. Trust me, nothing ruins the joy of a cheap flight faster than a $300 phone bill.
This isn't just about saving money, though that's a huge part of it. It’s about minimizing friction. When you’re trying to navigate an unfamiliar city, find your Airbnb, or just tell your mom you landed, the last thing you need is a connectivity crisis. That’s where eSIMs come in, and frankly, they’ve been a game-changer for how I plan my trips, especially after locking in some sweet flight deals.
The Post-Prime Day Traveler's Dilemma
You’ve seen the alerts: "Flights to Europe from $400!" "50% off hotels in Southeast Asia!" These deals are designed to get you excited, to book now and think later. But 'later' often means scrambling for a local SIM, dealing with language barriers, or worse, succumbing to your home carrier's exorbitant roaming charges. I remember being in India and needing a local SIM just to activate my Aadhaar-linked payment apps, which was a whole bureaucratic nightmare. Many local services, especially banking apps in countries like Brazil, require a local number for verification, which can be a real pain if you're only planning a short trip or don't want to carry a second physical SIM. An iPhone eSIM abroad can easily become your primary data line while keeping your home number active for those necessary local app verifications.
Why Traditional Roaming is a Rip-Off
Let's be blunt: traditional roaming is a scam. It's built on convenience, but at an insane premium. Your home carrier partners with foreign networks, and you pay a massive surcharge for the privilege. It’s a legacy system that preys on travelers who haven't yet discovered better options. I've seen friends pay $10/day for a few hundred megabytes, which is laughable when you consider a proper local SIM or eSIM often offers gigabytes for the same price, spread over a week or more. It’s a classic example of paying for inertia.
Why Your Post-Prime Day Trip Needs an eSIM, Not Roaming
This isn't just about saving money, though we'll get into that. It's about taking control of your connectivity. After a long flight, the last thing you want is to be stuck without maps, ride-share apps, or the ability to tell your host you’re running late. eSIMs solve this by giving you data the moment you land, sometimes even before you take off.
Instant Activation: No More Airport Scrambling
Remember the days of landing, finding an ATM for local currency, then trying to locate a phone store, navigating language barriers, and finally, getting a physical SIM card? Those days are over. With an eSIM, you buy your plan online, scan a QR code, and you're good to go. I usually activate mine on the plane, right before descent. By the time the wheels touch down, I’m already connected. This is especially useful for those tight connections or when you arrive at an odd hour and everything is closed.
Dual-SIM Freedom: Keep Your Home Number Active
Most modern phones, especially iPhones, support dual SIM functionality, meaning you can have your home number active for calls and texts (like that dreaded two-factor authentication for your banking app) while using your eSIM for data. This is crucial. I can’t tell you how many times I’ve seen nomads change their physical SIM only to realize they can’t log into their email or banking app because the verification code is being sent to their inactive home number. Don't fall for that trap. For a deep dive into how this works on Apple devices, check out iPhone eSIM Abroad: Travel Smarter, Skip the Roaming Fees in 2026.
Flexibility and Control Over Your Data
eSIMs offer incredible flexibility. You can buy plans for specific countries, regions, or even global plans. If your plans change, it's easy to switch providers or top up. No contracts, no commitments, just data when you need it. This is a far cry from being locked into a roaming package with your home carrier, or having to commit to a multi-month plan with a local provider when you’re only there for a few weeks.
Crunching the Numbers: eSIM vs. Roaming in Real Terms
Let's talk money, because that's why we're here. Those Prime Day deals are great, but the savings can evaporate if you're not smart about your connectivity. I've done the math, and I've lived the experience. The difference is staggering.
A Tale of Two Travelers: Italy Edition
Imagine you've just booked a killer flight to Rome for two weeks. You're staying in Trastevere, maybe found an Airbnb for around €800-€1000 for the month, which is a good anchor for cost of living. You'll be hitting the Roman Forum, the Colosseum, and probably getting lost a lot (it's part of the charm, right?).
| Scenario | Cost for 14 Days (approx.) | Details |
|---|---|---|
| Traditional Roaming (US Carrier) | $140 - $280 | Typically $10-20/day for limited data, then throttled or charged per MB. Costs add up fast. |
| Local Physical SIM (Italy) | €30 - €50 ($32 - $54) | Initial purchase + plan activation. Requires finding a store (e.g., Vodafone IT, TIM), ID, sometimes activation fee. Hassle factor high. |
| Cellesim eSIM (Italy) | $15 - $30 | 5GB for 15 days or 10GB for 30 days. Instant activation, no physical SIM. Pure convenience and savings. |
As you can see, the eSIM option is not just cheaper than roaming, it's often more convenient and competitive than even buying a local SIM. Think about what you could do with an extra $100-$200. That's a lot of gelato, or maybe an extra night's stay in a charming boutique hotel.
Regional Plans: The Ultimate Cost Saver for Multi-Country Trips
If your post-Prime Day deal involves a multi-country hop, say a Summer Festival Circuit 2026 across Europe, regional eSIMs are your best friend. Instead of buying a new SIM in each country, a single European eSIM covers dozens of nations. This means uninterrupted data from Spain to Germany, without fumbling for new cards or dealing with new activation processes. I’ve used these plans extensively when chasing festivals like Lollapalooza across South America, jumping between Chile and Argentina. It’s a lifesaver.
Picking the Right eSIM Plan for Your Post-Prime Day Adventure
Choosing an eSIM isn't a one-size-fits-all situation. Your usage, destination, and trip duration all play a role. Here’s how I break it down for my own travels and what I advise my WhatsApp groups.
Understanding Your Data Needs
Are you a heavy streamer, or do you just need maps and WhatsApp? Be realistic. Most nomads I know use about 15-20GB a month, mostly because we're constantly researching, video calling, and navigating. If you're just going for a week-long vacation, 5-10GB is usually plenty. Cellesim offers a range of options, from small data packages for short trips to larger bundles for long-term stays.
| Usage Type | Recommended Data | Typical Activities |
|---|---|---|
| Light User | 1-3 GB | Maps, messaging, email, light browsing. |
| Moderate User | 5-10 GB | Social media, occasional video calls, music streaming, ride-share apps. |
| Heavy User / Nomad | 15-30+ GB | Video conferencing, extensive streaming, large file transfers, tethering. |
Country-Specific vs. Regional vs. Global Plans
This is where the flexibility really shines. If your Prime Day deal sent you to a single country, a country-specific eSIM for Indonesia or Spain will give you the best value. If you’re touring multiple spots in Europe, a regional plan is more efficient. For the truly adventurous, a global plan offers connectivity in over 190 countries, perfect for spontaneous border crossings or extended, unpredictable trips.
Validity Periods and Top-Ups
Pay attention to how long the data plan is valid. A 30-day plan makes sense for a month-long stint, but a 7-day plan could be more economical for a quick getaway. The best eSIM providers, like Cellesim, make it easy to top up your data if you run out, usually through their app. This avoids the panic of trying to find Wi-Fi in a pinch.
Activating Your Cellesim eSIM, The Easy Way
I’ve walked countless friends through this process, and once you do it, you’ll wonder why you ever bothered with physical SIMs. It’s genuinely straightforward.
Step-by-Step Activation for Apple Devices
Most of us nomads are on iPhones these days, so this is the process I know best. For a more detailed guide, especially if you're dealing with T-Mobile, check out T-Mobile eSIM Activation with QR Code: The Nomad's 2026 Guide to Seamless Data.
- Purchase Your eSIM Plan: Go to the Cellesim website or app and choose the plan that suits your destination and data needs. Complete the purchase.
- Receive QR Code/Activation Details: Cellesim will send you an email with a QR code or manual activation details. I recommend printing this or saving it to another device, just in case your primary phone is already offline.
- Go to Settings: On your iPhone, navigate to Settings > Cellular (or Mobile Data) > Add eSIM.
- Scan QR Code: Choose the option to 'Use QR Code' and scan the code from the email or another screen. If you're doing manual activation, enter the provided details.
- Label Your eSIM: Your phone will prompt you to label your new eSIM (e.g., 'Travel Data', 'Italy eSIM'). Do this. It makes managing your lines much easier.
- Set Default Line for Data: In Cellular settings, set your new eSIM as your 'Default Voice Line' if you want to make calls with it, and crucially, set it as your 'Cellular Data' line. Keep 'Allow Cellular Data Switching' off to avoid accidental roaming charges on your home line.
- Verify Connectivity: Once activated, you should see the signal bars for your eSIM. Try loading a webpage or sending a message.
Android eSIM Setup: A Quick Overview
The process is similar for Android devices, though menu names might vary slightly by manufacturer (Samsung, Google Pixel, etc.).
- Purchase Your eSIM Plan: Same as above, get your Cellesim plan.
- Receive QR Code/Activation Details: You'll get your QR code via email.
- Go to Settings: On your Android phone, go to Settings > Network & internet > SIMs (or Mobile Network > Advanced).
- Add eSIM/Download a SIM: Look for an option like 'Add eSIM' or 'Download a SIM'.
- Scan QR Code: Scan the QR code or enter activation details manually.
- Enable and Set as Default: Once added, enable the eSIM and set it as your preferred network for mobile data.
Real-World Connectivity: What I Learned on the Road
Theory is one thing, but actual boots-on-the-ground experience is another. I've spent years navigating the nuances of connectivity in different countries. Here are some key takeaways.
Wi-Fi Isn’t Always Reliable, Even in Hip Cafés
Everyone talks about relying on Wi-Fi, but that's a gamble. Sure, the Selina co-working space in Medellín has rock-solid fiber, and the Starbucks in Lisbon's Cais do Sodré is usually decent, but smaller cafes or even some hotels can have abysmal connections. I’ve wasted too much time trying to upload files only to find the