eSIM Versus Physical SIM: The Real Cost Breakdown
Let's get down to specifics. When you're looking for data in Indonesia, you have two main choices: a physical SIM card from a local provider like Telkomsel, or an eSIM. For years, I was a die-hard fan of local SIMs. They were cheap, reliable, and you could always haggle a bit. But things have changed. With eSIMs, you completely sidestep the airport hustlers, the confusing registration process, and the constant worry of losing your home SIM card.
To be fair, the cheapest physical SIM from Telkomsel in Indonesia will cost you around 50,000 IDR (about €3) for a basic plan. However, this usually comes with very limited data and forces you into a top-up almost immediately. By the time you get enough data to be truly useful (say, 10GB for a week or two), you're looking at 150,000 IDR to 250,000 IDR (€9-€15). And that's if you're lucky enough to find a legitimate Telkomsel Grapari (official store) and avoid a reseller trying to slap on a "tourist premium." I've seen these "premiums" push prices up to 400,000 IDR (€24) at Ngurah Rai Airport (Denpasar) for a plan that an eSIM offers for less.
An eSIM for Indonesia, especially one backed by Telkomsel, typically starts at €18-€25 for 7-15 days with 5GB-10GB of data. The best part? You handle all of this before you even leave home. No fumbling with SIM trays, no language barriers, no shady resellers. For a budget traveler, that's not just convenient, it's peace of mind that's worth every rupiah.
| Feature | Cellesim Telkomsel eSIM (Example) | Physical Telkomsel SIM (Airport Kiosk) | Physical Telkomsel SIM (Official Store) |
|---|---|---|---|
| Price (approx. 7-10 days, 5-10GB) | €18 - €25 | €24 - €35+ | €9 - €15 (plus travel time) |
| Activation Time | Minutes, pre-arrival | 15-30 minutes (waiting, registration) | 10-20 minutes (store visit, registration) |
| Hassle Factor | Low, digital | High (queues, upselling, registration forms) | Medium (finding store, potential language barrier) |
| Fraud Risk | Very Low (reputable provider) | Medium (unregulated resellers) | Very Low |
| Device Compatibility | eSIM-compatible phones | Any unlocked phone | Any unlocked phone |
Why Telkomsel is Your Best Bet for Indonesia
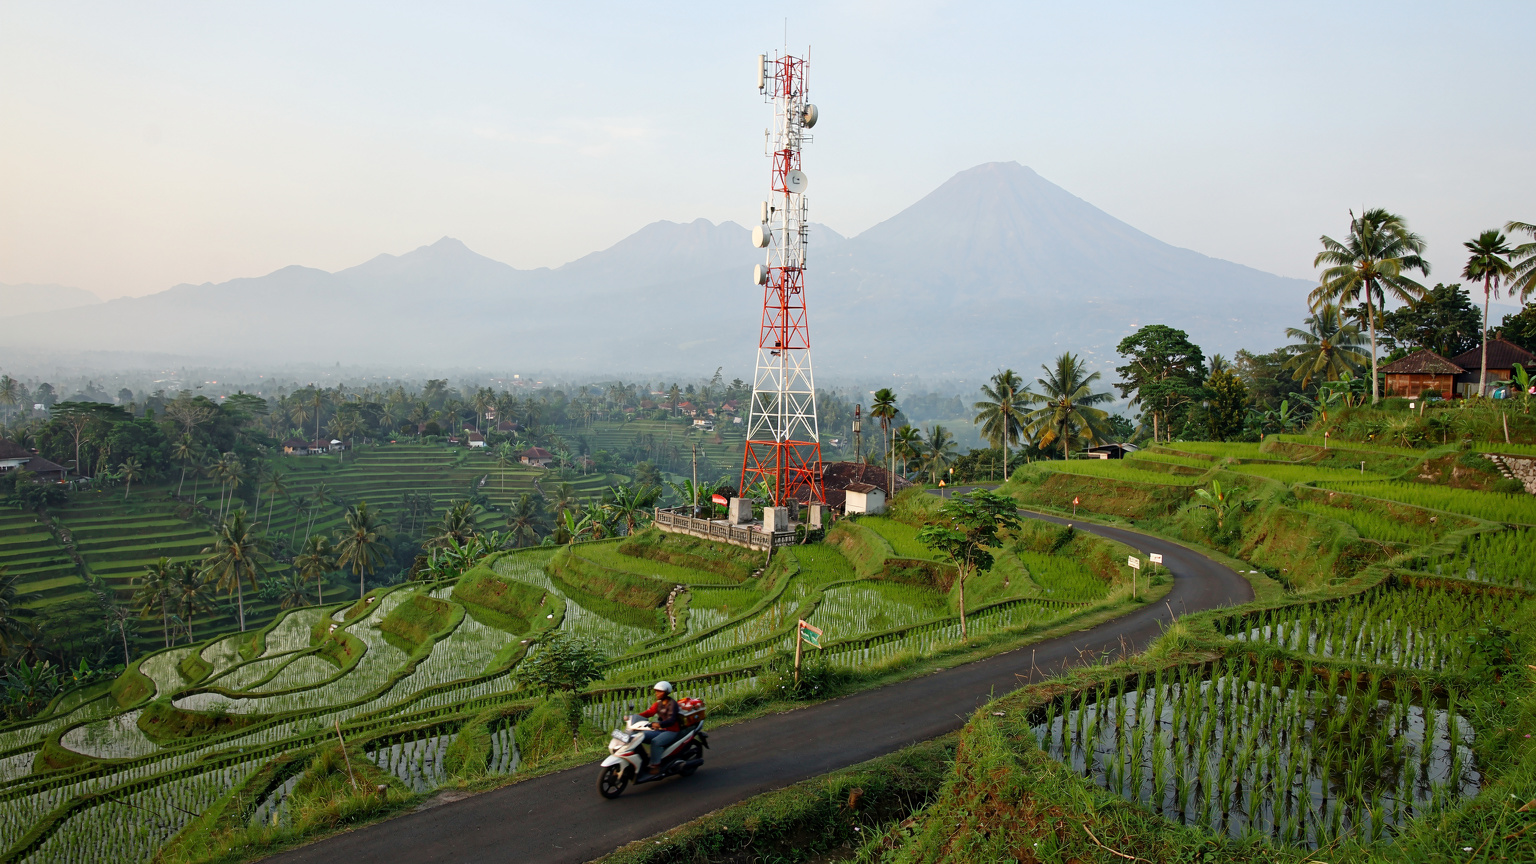
Indonesia is huge, with thousands of islands. Good connectivity isn't a given everywhere. Telkomsel is, without a doubt, the absolute best for coverage across the entire country, from the busy streets of Jakarta to tiny villages in Flores. I've tried other carriers, like XL Axiata and Indosat Ooredoo, but they simply can't match Telkomsel's reach, especially once you leave the major cities or popular spots like Bali and Lombok.
If your trip takes you anywhere off the beaten path, or if you're hitting up a festival like the Bali Spirit Festival (where large crowds can really slow down networks), Telkomsel is your only real choice to ensure you stay connected. Imagine needing to find your hostel in Kuta or check bus times for the Perama shuttle, and suddenly your data cuts out. It's a traveler's nightmare. This is especially important when you're relying on eSIM GPS for navigation, where a consistent signal is crucial.
Their 4G LTE network is widespread, and they're rolling out 5G in some urban areas. Honestly, for most travelers, 4G is more than enough for maps, social media, and video calls. I've consistently found Telkomsel's speeds to be good, even during busy times. You can always run a speed test on your eSIM if you want to check, but I've rarely had anything to complain about with Telkomsel.
Choosing Your Telkomsel eSIM Package: What You Actually Need
This is where many travelers spend too much. Most people truly don't need unlimited data. Seriously. Think about your daily use. Are you going to be streaming Netflix for hours? Probably not, you'll be out exploring. Are you constantly uploading high-res videos to Instagram? Maybe, but even then, a 10GB plan for a two-week trip is usually plenty.
Here's a quick guide based on my own travel habits:
- Light User (checking maps, WhatsApp, emails): 3-5GB for 7-10 days. This will cost you around €18-€20.
- Moderate User (light browsing, social media, occasional video calls): 5-10GB for 15 days. Expect to pay €20-€28.
- Heavy User (lots of video calls, frequent social media, some streaming): 10-20GB for 20-30 days. This will cost you €30-€45.
Always do the math. If you're backpacking for 30 days and figure you'll use about 500MB a day (which is quite a lot for a traveler), you'll need 15GB total. Look for a plan that covers that, or a bit more. Don't fall for the trap of buying a huge, expensive package just because it feels "safe." You can always top up if you need to, although with eSIMs, it's often simpler to just buy another small package.
Cellesim offers several Telkomsel eSIM plans for Indonesia, with different durations and data amounts. Compare them carefully against what you think you'll need. Remember, these are data-only plans, so you won't get a local Indonesian phone number. For most tourists, that's fine, as WhatsApp is the go-to app for everything from calling Grab drivers to booking guesthouses. If you absolutely need a local number for some specific reason, a physical SIM is your only option, but honestly, I've gotten by just fine without one for months in Southeast Asia.
How to Activate Your Telkomsel eSIM: Step by Step
This is where eSIMs truly shine. The process is fast and easy, usually taking less than five minutes. Do this before you leave your home country, or at least before you land in Indonesia, while you still have a strong Wi-Fi connection.
- Purchase Your eSIM: Go to the Cellesim website and choose your desired Telkomsel Indonesia plan. Pay securely online.
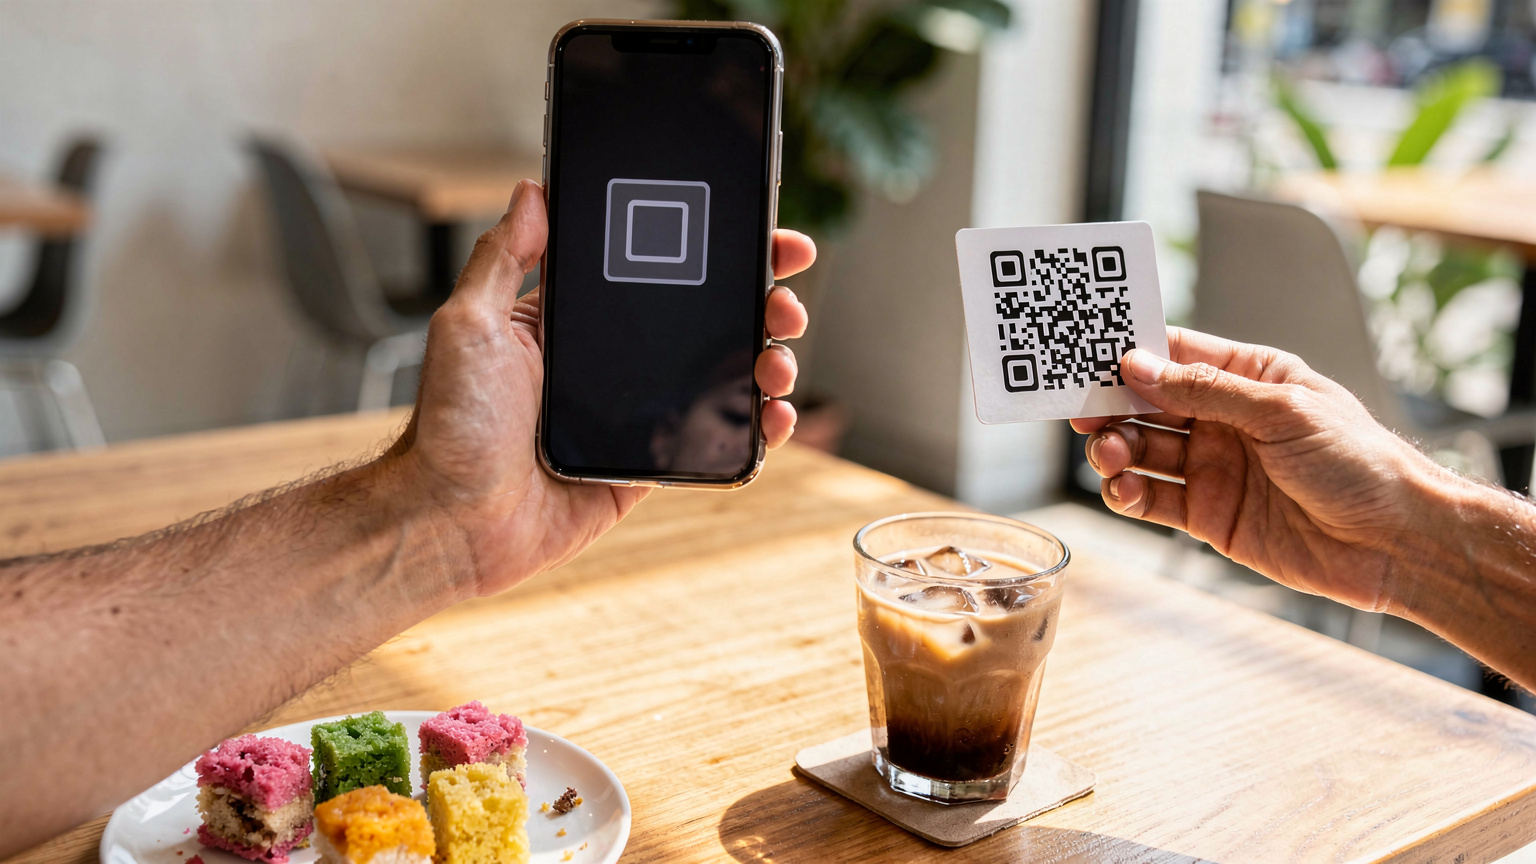
- Receive QR Code: You'll immediately get an email with a QR code and clear instructions. Make sure your phone supports eSIMs (most newer smartphones do, but check your model if you're not sure).
- Scan the QR Code: On your iPhone, go to Settings > Cellular > Add eSIM. On Android, it's usually Settings > Network & Internet > SIMs > Add eSIM. Then, scan the QR code.
- Label Your eSIM: Your phone will ask you to name the new eSIM. Give it a clear name like "Telkomsel Indonesia" or "Bali Data." This helps you keep track, especially if you have several eSIMs.
- Set as Primary for Data: Make sure your new Telkomsel eSIM is set as the primary line for cellular data. Keep your home SIM active for calls and texts if you need them, but make sure data roaming is OFF on your home SIM to avoid huge charges.
- Enable Data Roaming (for eSIM only): This might seem odd, but for eSIMs from Cellesim, you often need to enable 'Data Roaming' in your phone settings for that specific eSIM. Don't worry, this is how the eSIM connects to local networks and won't cost you extra.
- Test It Out: Once you land, or even before if you have a multi-country eSIM, turn off Wi-Fi and try to load a webpage or send a message. If it works, you're all set.
This whole process helps you skip the queues, the paperwork, and the frustration of a bad data connection when you desperately need Google Maps to find your Airbnb in Canggu. It's a game-changer for arriving in a new country.
Border Crossing and Recharging Your eSIM: Tactics for Long-Term Travelers
For those of us who spend months hopping between countries, border crossings can be a real headache for data. I once crossed from Laos into Cambodia and completely forgot to get a new SIM, ending up disconnected for a day in a remote area. Not fun. The great thing about eSIMs, especially multi-country or regional ones, is that they can often activate in a new country the moment you cross the border, or even just before.
If you're planning a trip that includes Indonesia and then, say, Malaysia or Singapore, think about getting a regional Asia-Pacific eSIM instead of just one for Indonesia. This gives you continuous data without needing to buy a new eSIM for each country. It might cost a bit more per GB, but the convenience and uninterrupted connection are priceless when you're navigating new bus stations or trying to find your way through a crowded festival like Roskilde or Sziget (even though those are in Europe, the idea is the same).
For longer stays in Indonesia, you might eventually need to recharge your data. With Cellesim, this is usually as simple as buying another plan. Unlike local physical SIMs that sometimes require you to top up at specific kiosks or use local payment methods, eSIM recharges are done online with your usual credit card. This saves you from hunting for a convenience store that offers top-ups or dealing with potentially confusing vouchers.
"I remember trying to top up a local SIM in a tiny village in Vietnam, explaining 'data' to a bewildered shop owner. Never again. eSIMs mean I handle all my data needs from my phone, no matter where I am. It's a lifesaver when you're in the middle of nowhere and your maps stop working."
I always make sure to have at least a day's worth of data left before I plan to cross a border or before my current plan expires. This buffer prevents those frantic moments of no signal. It's a small but smart move that makes a big difference when you're traveling on a tight schedule or budget.
Common Pitfalls and How to Avoid Them
Even with an eSIM, there are still a few traps you need to watch out for. I've seen travelers fall for these countless times, and they always end up costing more than they should.
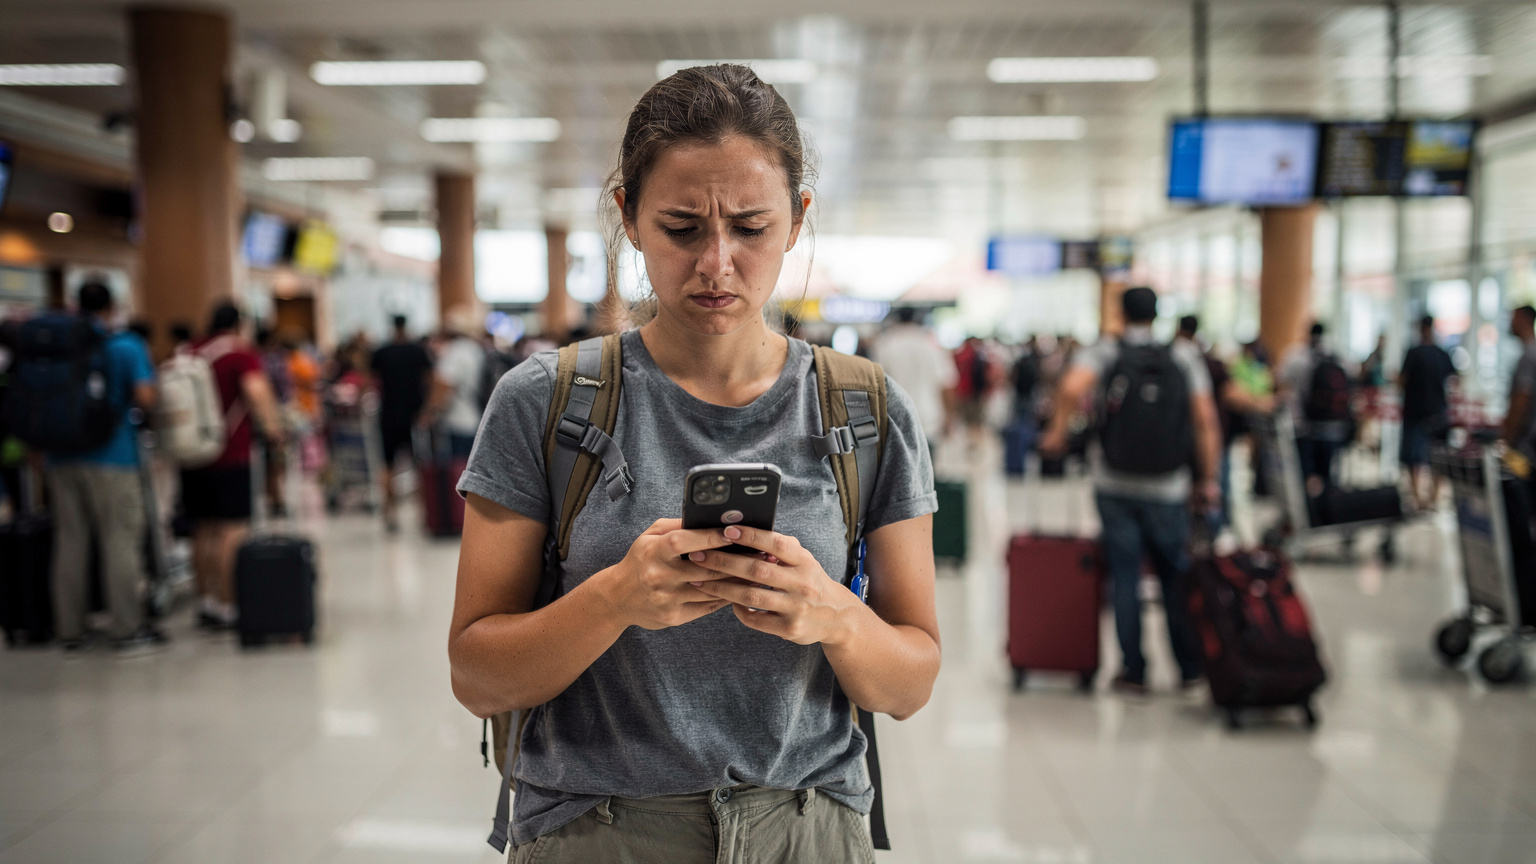
- The "Free" Airport Wi-Fi Trap: Don't count on it. While most airports offer Wi-Fi, it's often slow, unreliable, and requires multiple logins. It's a pain, especially if you're trying to activate your eSIM. Get your eSIM sorted before you land, or at least have a small backup plan.
- Not Turning Off Data Roaming on Your Home SIM: This is a classic mistake. You activate your Telkomsel eSIM, but forget to disable data roaming for your physical home SIM. Your phone then connects to whichever network it finds, and suddenly you're getting charged hundreds of euros by your home provider. Always, always, double-check your phone settings.
- Buying from Unofficial Resellers: If you decide on a physical SIM, avoid anyone at the airport claiming to be an "official" reseller outside of a clearly marked Grapari (Telkomsel's official store). These people often sell overpriced, unregistered, or soon-to-expire SIMs. Stick to official channels if you choose a physical SIM.
- Ignoring Device Compatibility: Not all phones support eSIMs. Older models, or some region-locked devices, might not. Verify your phone's eSIM compatibility before buying one. There's nothing worse than purchasing an eSIM and realizing your phone can't use it.
- Assuming All "Indonesia" eSIMs are Telkomsel: Some eSIM providers might offer general "Indonesia" plans that actually connect to smaller, less reliable networks like Indosat. Always check the carrier details. For Indonesia, Telkomsel is the gold standard for coverage, as we've discussed.
These are simple checks, but they save you headaches, time, and most importantly, money. A little preparation goes a long way, especially when you're managing your budget down to the last Rupiah.
The Bottom Line on Telkomsel eSIMs
If you're heading to Indonesia, a Telkomsel eSIM is the smartest, most budget-friendly way to stay connected. You can get a reliable data plan for about €18-€25 for a week or two, completely bypassing the expensive airport prices and the hassle of registering a physical SIM card. This means you'll have internet from the moment you land, whether you're navigating Jakarta's traffic or trying to find that perfect sunset spot in Gili Trawangan. The convenience of buying and activating your data before you even leave home is priceless, saving you valuable travel time and energy.
Always check that your phone is eSIM compatible, choose a plan that truly fits your data needs (don't buy more than you'll use), and remember to turn off data roaming on your home SIM. By following these easy steps, you can enjoy Indonesia without worrying about your connection, leaving more time and money to explore hidden waterfalls or try more delicious nasi goreng.
Frequently Asked Questions
How much does a Telkomsel tourist eSIM cost for Indonesia?
A Telkomsel tourist eSIM usually costs between €18 and €25 for a 7 to 15-day plan that includes 5GB to 10GB of data. The exact price can vary a little depending on the provider and the specific package you choose, but these figures are a good guide.
Is Telkomsel the best network for tourists in Indonesia?
Yes, Telkomsel is widely considered the best network for tourists in Indonesia because of its extensive 4G LTE coverage across the entire archipelago. While other carriers are available, Telkomsel provides the most reliable connection, especially when you're outside of big cities and main tourist areas.
Can I get a Telkomsel eSIM at the airport in Indonesia?
While you might find vendors at Indonesian airports selling physical SIMs, official Telkomsel eSIMs are typically purchased online from trusted providers like Cellesim before you start your trip. This helps you avoid airport queues, potential scams, and ensures your eSIM is active before you arrive.
How do I activate a Telkomsel tourist eSIM?
To activate your Telkomsel tourist eSIM, you first buy a plan online and receive a QR code via email. Then, you scan this QR code using your phone's cellular settings (on an iPhone, go to Settings > Cellular > Add eSIM). After that, name your eSIM, set it as your primary for data, and enable data roaming for that specific eSIM.
What data allowance do I need for a typical trip to Indonesia?
For a standard trip of 7-10 days, 5GB to 10GB of data is usually enough for most tourists. This covers things like navigation, social media, messaging, and even some video calls. If you're a heavy user or staying longer, you might want to opt for 10GB-20GB.
Do I need a local Indonesian phone number with a Telkomsel eSIM?
Most Telkomsel tourist eSIMs are data-only, meaning they don't come with a local Indonesian phone number. For most travelers, this isn't a problem, as communication in Indonesia heavily relies on apps like WhatsApp, which work perfectly well with data-only plans.