Road Trip Realities: Family Connectivity Challenges
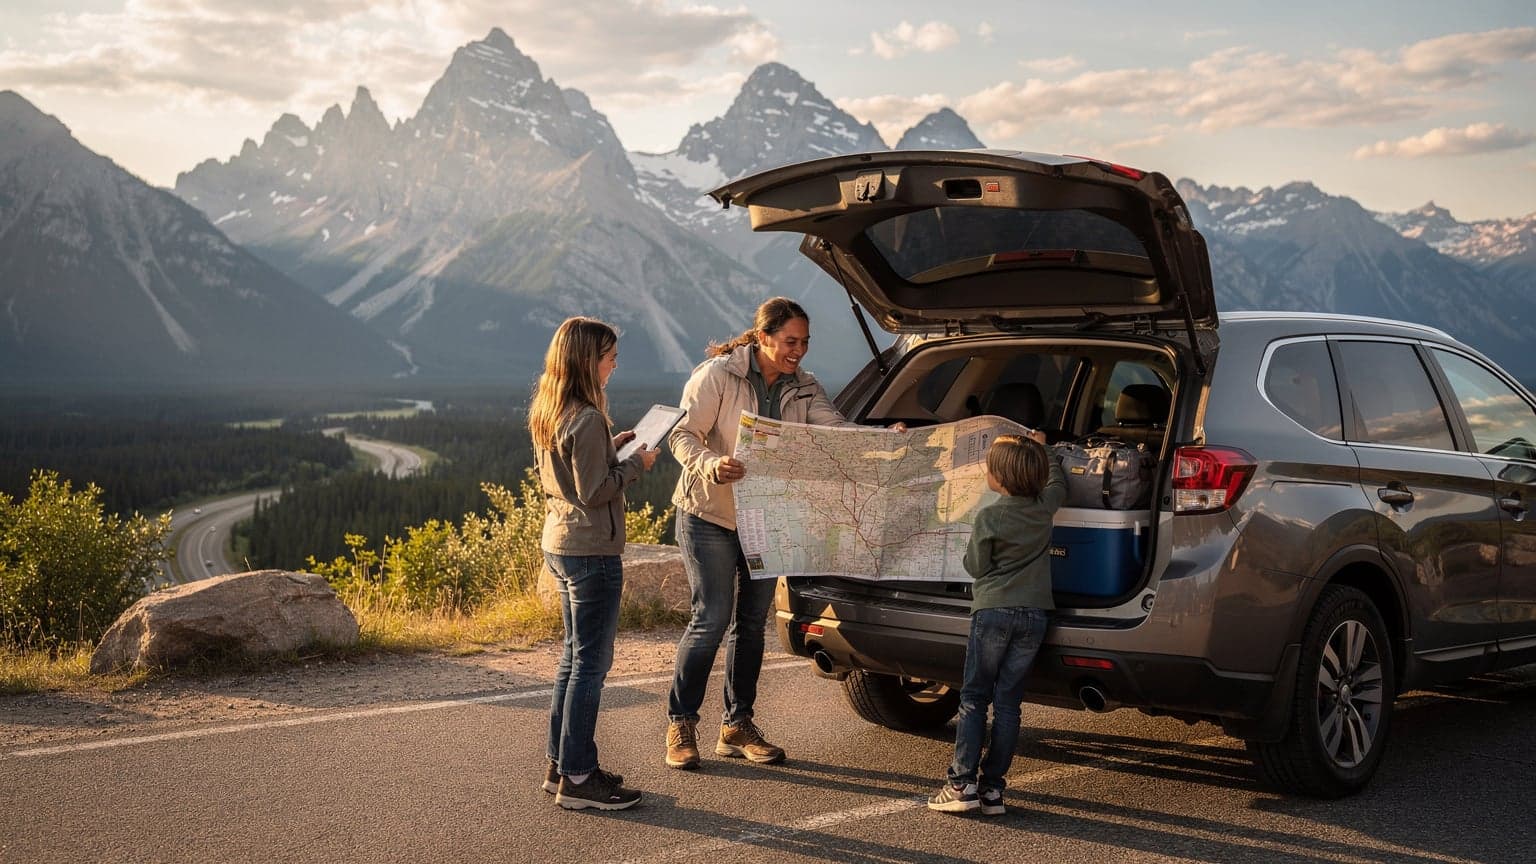
Ah, the family road trip. Open road, wind in your hair, the promise of adventure just around the bend. Sounds idyllic, right? Then you remember you have two pre-teens in the back seat, each glued to their own device, and that tranquil image quickly gets replaced by "Are we there yet?" and the dreaded "Mom, dad, the Wi-Fi's out!"
As a seasoned family travel planner who's hauled my kids, aged 4-12, through 30 countries (and lived to tell the tale, mostly), I've learned that staying connected isn't just a luxury. It's truly essential for parental sanity. Trying to navigate unfamiliar routes in a rental car while simultaneously hotspotting data for two iPads streaming Disney+ is not my idea of a relaxing holiday. We've all been there: squinting at a fading signal bar as the kids' devices die, the silence quickly replaced by a chorus of complaints. Managing those moments, especially when you're deep in a national park wilderness or approaching a busy border crossing, can turn an exciting adventure into a stressful ordeal.
The Struggle is Real: Keeping Kids Connected and Content
Let's be honest, those devices are a lifeline. They're not just for entertainment, although a healthy dose of Bluey or Minecraft can certainly buy you a peaceful hour or two. They're also for educational apps, audiobooks, and even checking facts about the wildlife you just spotted (Google Lens is a lifesaver for identifying that weird bird). The challenge, though, is providing that connectivity reliably and affordably, especially when you're moving between states, provinces, and even countries.
I always make sure to pre-load apps before the flight or the long drive begins. Things like Google Maps (downloaded for offline use, naturally), Libby for audiobooks, and a few favorite games that don't need constant internet access. But for anything live, like FaceTime with grandparents or streaming, you need a robust data plan. Trying to rely on patchy hotel Wi-Fi or those tiny, expensive data allowances from your home carrier is a recipe for disaster. I've had to fork out $40 for a hotel kid's menu before, but I refuse to pay extortionate roaming fees for my kids' screen time. That's where an eSIM truly shines.

The eSIM Advantage for Cross-Border Adventures
When you're planning a trip that involves traversing different regions or, even more complexly, international borders, the traditional SIM card model quickly becomes a headache. Swapping out tiny pieces of plastic, dealing with local currency top-ups, or explaining data packages in a foreign language (even if it's just Canadian English versus American English, the plans can be vastly different) is not what I want to be doing when I've got two hungry kids asking if the Canadian side has better poutine.
An eSIM, or embedded SIM, streamlines this entire process. Instead of a physical card, the 'SIM' is built directly into your phone. You simply download a profile, and just like that, you're connected. For a multi-country road trip, this is nothing short of revolutionary. No more fumbling with ejector pins at a gas station in Montana before crossing into Alberta.
Seamless Transitions from Yellowstone to Banff
Imagine driving from the geysers of Yellowstone National Park, through Glacier National Park, and then across the border into the majestic Canadian Rockies, heading for Banff. With a traditional SIM, you'd be looking at either exorbitant roaming charges from your US carrier or trying to find a local Canadian SIM card upon arrival. Neither is ideal, especially when you're focused on the stunning scenery and keeping the kids from bickering.
With a Cellesim North America plan, your data just works. As you cross the invisible line, your phone automatically switches to the partnered Canadian network, keeping your maps, streaming services, and communication apps seamlessly connected. No interruption, no frantic searching for Wi-Fi, no unexpected bills. It truly simplifies the logistics of cross-border travel, allowing you to focus on the adventure.
Cost Savings Over Traditional Roaming
Let's talk about the bottom line, because travel with a family is expensive enough without adding shocking phone bills. Traditional roaming charges from your home carrier (be it from the US or UK) can quickly add up, turning casual browsing or a quick video call into a budget-buster. I've heard horror stories from my parents-of-travelers Facebook group about bills running into hundreds of dollars just for a week's holiday.
eSIMs, especially those tailored for multi-country regions like North America, offer significantly better value. You purchase a data package upfront, so you know exactly what you're paying. No surprises, no hidden fees. It's like pre-paying for your gas, but for your data. This transparency is a huge relief for any family budgeter, allowing you to allocate funds to more important things, like extra ice cream stops or entrance fees to another national park.
| Feature | Traditional Roaming (Home Carrier) | Local SIM Card (Each Country) | Cellesim eSIM (North America) |
|---|---|---|---|
| Activation Process | Automatic, but often expensive | Purchase & install new SIM in each country | Download & activate digitally before travel |
| Cost Efficiency | Very high, per-MB/day rates | Moderate, requires research & local purchase | Low to moderate, transparent upfront cost |
| Cross-Border Handover | Seamless, but costly | Requires swapping SIMs or buying new one | Automatic & seamless across supported networks |
| Network Coverage | Dependent on home carrier's partners | Best local coverage, but only for one country | Utilises multiple top local networks for broad coverage |
| Device Compatibility | All compatible phones | Unlocked phones with physical SIM slot | eSIM-compatible phones (most modern smartphones) |
| Data Sharing / Hotspot | Often restricted or extra cost | Varies by local plan | Generally allowed, check plan specifics |
Planning Your Data for the Whole Crew
This is where my inner spreadsheet-lover truly shines. When you're dealing with a family of digital natives, 'enough data' is a moving target. It's not just about your own navigation and social media updates, it's about the collective data appetite of everyone in the car. And let's be honest, those kids' devices are the true data guzzlers.
My rule of thumb: always overestimate. A little extra data is far less stressful than running out mid-journey, especially when you're relying on it for directions in an unfamiliar area. And speaking of directions, don't forget that even with downloaded offline maps, real-time traffic updates and searching for that emergency ice cream parlor still require data.
How Much Data Do Two Kids Streaming Disney+ Really Need?
Ah, the million-dollar question. Or rather, the multi-gigabyte question. Streaming video, especially in HD, is the biggest data hog there is. If you have two kids simultaneously watching Disney+, Netflix, or YouTube Kids, you're looking at significant consumption. Here's a rough breakdown:
- Standard Definition (SD) streaming: Roughly 0.7 GB per hour.
- High Definition (HD) streaming: Roughly 3 GB per hour.
- Ultra HD (4K) streaming: A whopping 7 GB per hour.
Now, multiply that by two kids and a few hours each day of driving, and suddenly 20 GB for a week looks rather paltry. For a two-week road trip with two avid streamers, I'd honestly budget for at least 50-70 GB, maybe more if they're also doing things like gaming online (hello, Nintendo Switch Online) or constantly video calling friends. My top tip is to encourage them to download shows and movies onto their devices before you leave home or whenever you have strong, free Wi-Fi, but a good eSIM plan provides the safety net for those unexpected streaming emergencies.
Hotspotting and Device Management
One of the beauties of a good eSIM plan is the ability to easily hotspot data to multiple devices. This means one robust eSIM on your primary phone can serve as the Wi-Fi hub for the entire family. My kids' iPads and even my husband's work laptop can connect, drawing from the central data pool. This is far more efficient than trying to manage individual data plans for each device.
However, with great power comes great responsibility (and potential for data depletion). I highly recommend using the built-in data usage monitoring tools on your phone (Settings > Cellular/Mobile Data on iPhone, or similar on Android) to keep an eye on consumption. You can even set data limits or warnings for individual apps. This is crucial for staying within your chosen eSIM package and avoiding any last-minute top-ups.
National Park Connectivity: Myth vs. Reality
The allure of a national park is its untouched wilderness, its raw beauty. But that often means a distinct lack of modern amenities, including reliable cellular service. While some parks have made strides in improving connectivity, many vast areas remain cellular 'dead zones'. This can be charming for a digital detox, but utterly terrifying when you're trying to find your way back to the campsite after a long hike or need to check weather updates.
This is where pre-planning is key, and an eSIM, even when offline, can play a role. While it won't magically create a signal where none exists, a solid plan from a major carrier (which Cellesim partners with) will give you the best possible chance of finding service at visitor centers, park entrances, and along major routes.

Where You Can Expect to Find Signal (and Where You Won't)
Generally, you can expect some level of connectivity around visitor centers, park headquarters, and sometimes even in lodges or designated Wi-Fi zones within the national parks. However, once you venture onto hiking trails, into deep canyons (like parts of the Grand Canyon), or along remote scenic drives, signal often disappears entirely. This is particularly true in parks like Zion, Yosemite, or Glacier, where the topography itself blocks signals. Even in parks with better overall coverage, like the Great Smoky Mountains, there will be significant dead spots.
Before heading into these areas, always download offline maps (Google Maps, Maps.me, or Gaia GPS are excellent for this) and any essential information, like park guides or emergency contact numbers. Your eSIM won't help you without a signal, but having it active means you'll instantly connect the moment you hit a coverage area, saving precious time when you need to upload photos or check messages. For more on navigating varied European networks, you might find eSIM Europe vs. Local SIMs: My 2026 Reality Check for Multi-Country Travel insightful, as similar principles apply to North American landscapes.
Emergency Preparedness Beyond Connectivity
While an eSIM enhances your connectivity, it's crucial to remember that relying solely on your phone for emergencies in remote national parks is risky. Always have a physical map, a compass, and know basic first aid. Inform park rangers or a trusted person about your itinerary. Consider a satellite messenger device for true off-grid communication in extreme wilderness. Your phone's eSIM is a fantastic tool for day-to-day navigation and communication, but it's part of a broader safety strategy, not the sole solution.
Canada Border Hopping Made Easy with eSIM
Crossing the US-Canada border is a rite of passage for many North American road-trippers. Whether you're heading to Vancouver from Seattle, exploring the Niagara region from Buffalo, or venturing from Maine to the Maritime Provinces, an eSIM simplifies the transition immensely. The last thing you want is a data blackout just as you're trying to pull up your digital ArriveCAN receipt (if still required) or confirm your hotel booking in Montreal.
With a Cellesim plan for North America, the border becomes less of a technological hurdle and more of a mere formality. Your device simply detects the change in country and connects to its partnered network, usually one of the major Canadian carriers like Bell, Rogers, or Telus. It's a subtle switch that happens in the background, keeping you connected without any effort on your part.
What to Expect at the Border: Digital vs. Physical
Border crossings, especially with kids, can be unpredictable. You might encounter queues, particularly at popular crossings like Blaine, Washington (Peace Arch) or Detroit, Michigan (Ambassador Bridge). Having reliable data means you can check estimated wait times via apps like Border Wait Times (CBP BWT) or Google Maps, adjust your route, and keep the kids entertained with their favorite shows while you inch forward.
While physical documents like passports are still paramount, having your digital confirmations readily accessible on your phone, without needing to scramble for Wi-Fi, is a huge advantage. This includes hotel reservations, car rental details, or any proof of onward travel. An active eSIM ensures these are always just a tap away.
Staying Connected on Cruise Ships and Ferries
If your road trip involves a segment on a ferry (say, across the Great Lakes or to Vancouver Island) or even a short cruise, connectivity changes again. Most ferries will have patchy or non-existent cellular service once you're a few miles offshore. Cruise ships, notoriously, rely on expensive satellite Wi-Fi packages. While your eSIM won't magically give you land-based data in the middle of Lake Superior, it will ensure you're connected right up until you lose signal, and immediately reconnected the moment you approach land again. This is invaluable for final checks before boarding or immediate communication upon disembarking.
Parental Controls and Screen Time Management on eSIM
As much as I advocate for keeping kids connected for peace of mind, I'm also a firm believer in managing screen time. The battle against device addiction is real, even on holiday. The good news is that most parental control features, whether built into iOS/Android or through third-party apps, work independently of how your phone gets its internet connection. An eSIM merely provides the pipe; the controls manage the flow.
You can set daily time limits for specific apps, block certain websites, or even schedule 'downtime' when only essential apps (like phone calls) are available. This is particularly useful for encouraging kids to look out the window and appreciate the stunning landscapes of a national park, rather than being glued to their screens for the entire drive. It's about finding that balance between entertainment and engagement with the world around them.
Using iOS ScreenTime and Android Digital Wellbeing
Both Apple's iOS ScreenTime and Google's Digital Wellbeing offer robust tools for managing device usage. These features are baked into the operating system, meaning they'll function perfectly whether your phone is on Wi-Fi, using your home carrier's physical SIM, or connected via an eSIM. You can:
- Set App Limits: Restrict how long specific apps, like TikTok or Roblox, can be used per day.
- Schedule Downtime: Block access to most apps during specific hours, great for bedtime or dinner.
- Content & Privacy Restrictions: Prevent access to inappropriate content, in-app purchases, or even certain settings.
- Family Sharing: Manage all family members' devices from your own, creating a unified approach to screen time.
These tools are invaluable for maintaining some semblance of routine and control, even when you're thousands of miles from home. Having a reliable data connection via an eSIM simply ensures that when you *do* allow screen time, it's a smooth experience, preventing frustration from buffering videos or dropped connections.
Geofencing and Location Tracking for Peace of Mind
Another benefit of constant connectivity, especially on a road trip, is the ability to use location tracking and geofencing apps. While I encourage independence, knowing my kids' general whereabouts, especially in a bustling theme park or a large campsite, offers immense peace of mind. Apps like Apple's Find My or Google's Family Link allow you to see where family members are (with their permission, of course) and even set up alerts when they enter or leave predefined areas.
This is particularly useful when you're exploring vast areas like Disneyland or Universal Studios, or even just letting the kids wander a bit further in a safe campsite. The eSIM provides the necessary data backbone for these features to work reliably, ensuring that the location updates are accurate and timely. This level of connectivity within crowded venues or remote locations is exactly why an eSIM is a sensible choice for families. For similar challenges in European festivals, my colleague Sophie often advises on multi-country eSIMs for seamless fall adventures, which speaks to the same core need for reliable, widespread coverage.
Choosing the Right eSIM Plan for Your Family
Selecting an eSIM plan isn't a one-size-fits-all situation, especially for a family road trip that spans two countries and potentially remote areas. You need to consider data volume, validity period, and most importantly, the coverage in the specific regions you plan to visit. It's like picking the right car for the journey, you wouldn't take a sports car off-roading, would you?
My advice is to map out your itinerary and then check the coverage maps for the major US and Canadian carriers that Cellesim partners with. Look for plans that explicitly cover both the United States and Canada, often labeled as 'North America' or 'Regional' plans. This ensures that seamless border crossing experience we've been talking about.
Data Volume and Validity Periods
For a family road trip, I generally recommend looking for data plans in the 20 GB to 100 GB range, depending on the length of your trip and your family's data habits. A two-week trip with two streaming kids would lean towards the higher end of that spectrum. Remember, it's always better to have a bit of a buffer.
Validity periods are also key. Don't choose a 7-day plan for a 14-day trip, that's just asking for trouble. Cellesim offers plans with varying validities, from 7 days to 30 days or even longer, allowing you to match the eSIM plan perfectly to your trip duration. This flexibility means you're not paying for data you don't need, or worse, running out prematurely.
Comparing Cellesim Plans for North America
Cellesim offers several plans that are ideal for US and Canada travel. Here's a quick comparison of what you might look for:
| Plan Type | Data Allowance | Validity | Ideal For |
|---|---|---|---|
| North America Lite | 10 GB | 15 Days | Solo travelers, light browsing, short trips |
| North America Explorer | 30 GB | 30 Days | Couples, moderate streaming, longer trips |
| North America Family Pack | 60 GB | 30 Days | Families with multiple devices, heavy streaming, long road trips |
| North America Unlimited* | Unlimited* | 30 Days | Data-hungry families, remote work, extended stays (fair usage policy applies) |
*Note: 'Unlimited' plans often come with a Fair Usage Policy, meaning speeds may be throttled after a certain high threshold (e.g., 50 GB or 100 GB) to prevent network abuse. Always read the fine print!
Activating Your Cellesim for North America
Activating an eSIM is surprisingly straightforward, which is a huge relief when you're juggling travel plans, kids' snacks, and departure times. The best part is you can do it all from home, well before you even set foot in the airport or start the engine for your road trip. No more hunting for local SIM cards at airport kiosks after a long flight, trying to figure out which vendor offers the best deal with a tired toddler clinging to your leg. (Trust me, I've done that, and it's not fun.)
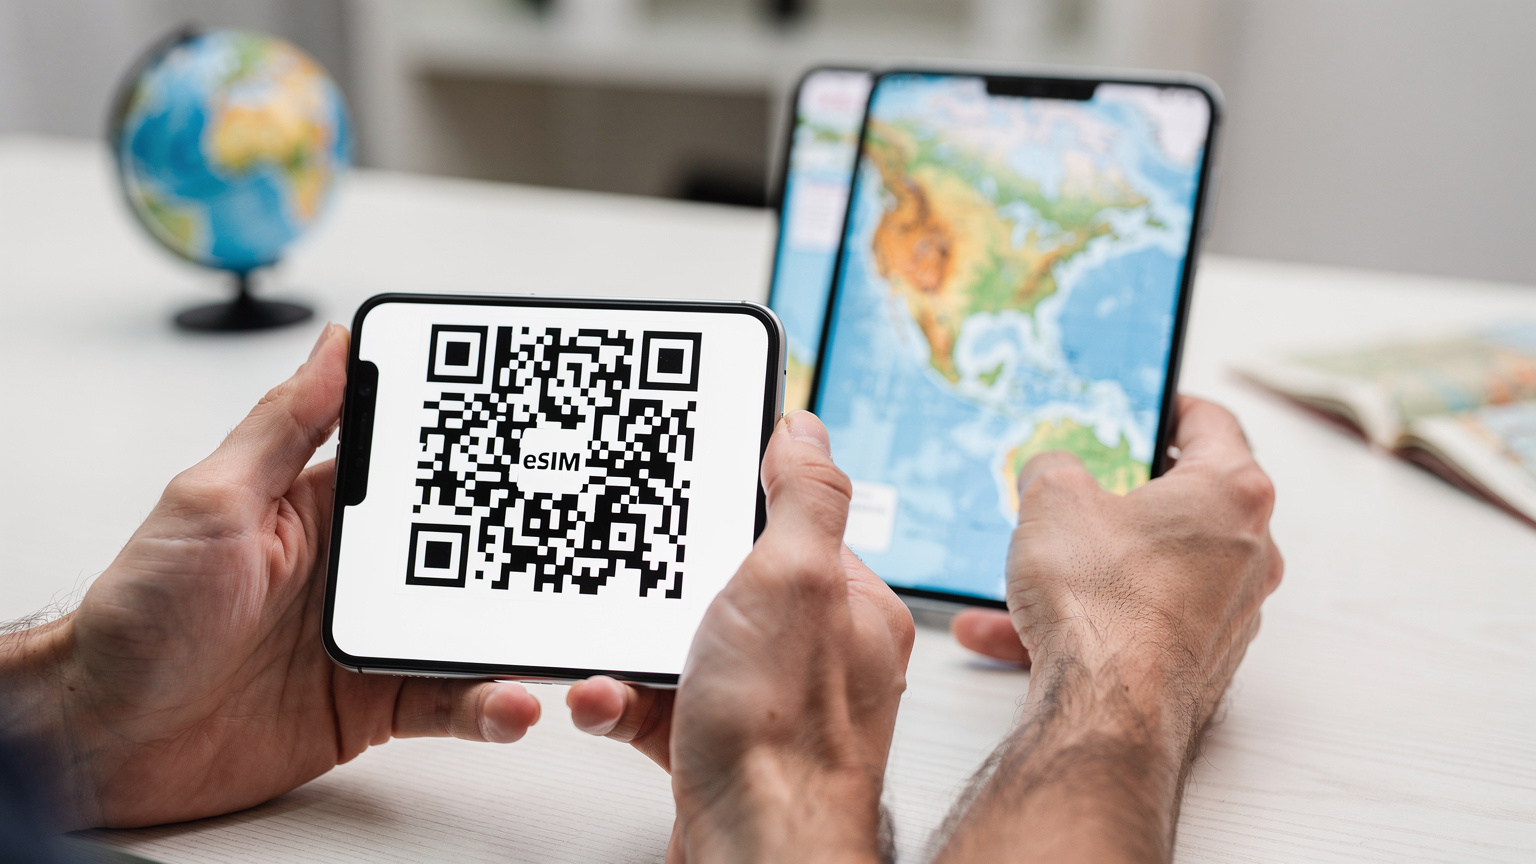
Cellesim's activation process is designed to be quick and user-friendly, typically involving a QR code scan. This means you can have your data plan ready to go, active, and tested before you even leave your driveway.
Step-by-Step eSIM Installation on Your iPhone or Android
Here’s a general guide for activating your Cellesim eSIM, suitable for most modern smartphones. Remember, exact menu names might vary slightly between iOS and Android versions.
- Purchase Your eSIM Plan: Visit the Cellesim website (Cellesim.com) and select your desired North America plan. Complete the purchase and you'll receive an email with your QR code and activation instructions.
- Prepare Your Device: Ensure your phone is eSIM compatible and unlocked. Connect to a stable Wi-Fi network before starting the installation.
- Scan the QR Code (iOS): Go to Settings > Cellular > Add eSIM. Choose 'Use QR Code' and scan the code from your Cellesim email on another screen (or print it out). Follow the prompts to label your new eSIM (e.g., 'Travel Data' or 'Cellesim US/CA').
- Scan the QR Code (Android): Go to Settings > Network & internet > SIMs > + Add more (or similar, depending on manufacturer). Select 'Download a SIM instead' or 'Use a 2-step verification code' and scan your QR code. Label the eSIM appropriately.
- Set Data Preferences: Once installed, your phone will ask which line to use for data. Select your new Cellesim eSIM. You can usually keep your home SIM active for calls/texts (if you receive any critical ones), but ensure data roaming is OFF for your home SIM to avoid charges.
- Test Your Connection: Disable Wi-Fi and try browsing the internet. If you're still at home, the eSIM won't fully connect to a foreign network yet, but you'll see it listed as an active plan. It will automatically connect once you arrive in the US or Canada.
It’s really that simple. Within minutes, you'll have a secondary data plan ready for your journey, leaving one less thing to worry about when you're trying to pack everyone's swimming costumes and hiking boots.
Managing Multiple eSIMs and Your Primary Line
Many modern phones allow you to store multiple eSIM profiles. This is incredibly handy. I often have my home UK SIM (physical or eSIM) active, plus a travel eSIM for the region I'm visiting. This allows me to receive important calls or texts on my home number (useful for two-factor authentication) while using the Cellesim eSIM for all my data needs.
Here's how to manage it:
- Label Your eSIMs Clearly: During installation, name your eSIMs something descriptive, like 'Home UK' and 'Cellesim NA'.
- Set Default Voice Line: In your phone's settings, specify which line you want to use for outgoing calls. You can usually set this to your home number.
- Set Default Data Line: Crucially, set your Cellesim eSIM as your default for cellular data. This is what prevents your home carrier from racking up roaming charges.
- Toggle Data Roaming: Make absolutely sure that data roaming is turned OFF for your home SIM while you're abroad. This is the golden rule!
- Switching Lines: If you need to make a call on your travel eSIM's number (though most Cellesim plans are data-only), or temporarily switch data back to your home SIM (not recommended abroad), you can do so in your phone's cellular settings.
This dual-SIM functionality, whether physical + eSIM or eSIM + eSIM, is one of the greatest advancements for international travelers. It offers the best of both worlds: staying reachable on your primary number while enjoying affordable, local data.
Troubleshooting Common eSIM Issues on the Road
Even with the best planning, sometimes technology throws a curveball. It's rare, but occasionally, an eSIM might not connect immediately, or you might experience slower-than-expected speeds. Don't panic! Most issues are easily resolved with a few simple steps. I've encountered my fair share of connectivity hiccups in my travels, from the bustling streets of Rome to the remote highlands of Scotland, so I've got a few tricks up my sleeve. For troubleshooting tips on Cosmote eSIM Greece, you'll find similar diagnostic approaches apply.
First Aid for Non-Connecting eSIMs
If your Cellesim eSIM isn't connecting to the network when you arrive in the US or Canada, try these steps:
- Toggle Airplane Mode: Turn Airplane Mode on for 30 seconds, then turn it off. This often forces your phone to re-scan for available networks.
- Check Data Roaming: For your Cellesim eSIM, ensure Data Roaming is turned ON in your phone's cellular settings. (Remember, this is different from your home SIM, where it should be OFF).
- Verify APN Settings: Sometimes, the Access Point Name (APN) settings need to be manually adjusted. Cellesim will provide these in your activation email. On iOS, go to Settings > Cellular > Cellesim eSIM > Cellular Data Network. On Android, go to Settings > Network & internet > SIMs > Cellesim eSIM > Access Point Names. Enter the correct APN.
- Restart Your Phone: The classic IT solution, but often effective. A full restart can refresh network connections.
- Manual Network Selection: If still no luck, try manually selecting a network. Go to Settings > Cellular > Cellesim eSIM > Network Selection and turn off 'Automatic'. Wait for available networks to populate and try connecting to one of the major partner networks (e.g., T-Mobile or AT&T in the US, Bell or Rogers in Canada).
Contacting Support and When to Do It
If you've tried all the troubleshooting steps and your eSIM still isn't working, it's time to contact Cellesim support. They are usually available 24/7 via chat or email and can often diagnose and resolve issues remotely. Have your order number and the device model handy to speed up the process. Don't waste precious holiday time struggling alone, they're there to help! For a comparison of eSIM services, you might want to look at T-Mobile eSIM Free Trial vs. Cellesim: A Technical Showdown for Global Data in 2026.
Beyond the Road Trip: eSIM for Future Travels
Once you've experienced the sheer convenience of an eSIM for a complex US/Canada road trip, you'll wonder how you ever traveled without one. It truly transforms the way you approach international connectivity, making future adventures even smoother. I can't imagine going back to the old way of buying local SIMs or dreading my roaming bill, especially when I'm trying to manage a family on the go.
The beauty of eSIM technology is its versatility. It's not just for North American adventures. Whether you're planning a last-minute European getaway or a spontaneous trip to Asia, a Cellesim eSIM can be activated in minutes, providing reliable data wherever you roam. It becomes an indispensable tool in your travel planning arsenal, giving you one less thing to stress about.
A Digital Travel Companion for Every Journey
Think of your eSIM as a digital travel companion. It stores multiple profiles, meaning you can have a North America plan, a Europe plan, and an Asia plan all on the same device, ready to be activated with a few taps. This makes it incredibly easy to switch between regions for multi-leg journeys or even spontaneous weekend trips. My own phone often has 3-4 eSIMs stored, ready for my next adventure, whether it's tracking down a remote festival or just visiting family across the continent.
This means less time worrying about connectivity and more time enjoying the moments that truly matter, like watching your kids' faces light up as they see a grizzly bear for the first time in Yellowstone, or tasting authentic poutine just over the Canadian border. That's the kind of experience an eSIM truly enables for family travelers.
Frequently Asked Questions
Will an eSIM work in remote US National Parks where cellular service is usually poor?
While an eSIM connects you to local networks, it cannot create a signal where none exists. In remote national park areas, cellular service can be limited. However, an eSIM from a major provider like Cellesim partners with top US carriers (Verizon, AT&T, T-Mobile), giving you the best possible chance of finding a signal in visitor centers, along main roads, and in populated areas within parks. Always download offline maps and essential info before venturing into known dead zones.
Can I hotspot data from my eSIM to my kids' devices for streaming?
Yes, Cellesim eSIMs generally support personal hotspot functionality. This means you can use your phone with an active eSIM to provide internet access to your children's tablets or other devices, allowing them to stream Disney+, play online games, or browse, drawing from your eSIM's data allowance. It's an excellent way to manage connectivity for the whole family from a single plan.
How much data should I get for a two-week US/Canada road trip with kids?
For a two-week road trip with two children who stream video (even in SD) and use other data-intensive apps, I recommend a data plan of at least 50-70 GB. HD streaming can consume 3 GB per hour per device, so a larger plan like Cellesim's 60 GB or Unlimited North America option would provide more peace of mind and prevent unexpected top-ups.
Do parental control features like ScreenTime work with an eSIM?
Absolutely. Parental control features like Apple's iOS ScreenTime and Android's Digital Wellbeing are built into your phone's operating system and function independently of how your device connects to the internet. An eSIM simply provides the data connection, allowing these controls to manage app usage, content restrictions, and screen time limits effectively, whether on Wi-Fi or cellular data.
What happens to my home UK/US phone number when I activate a Cellesim eSIM?
When you activate a Cellesim eSIM, your existing physical SIM or primary eSIM remains active. Your phone essentially becomes a dual-SIM device. You can keep your home number active for calls and texts (remember to turn off data roaming for this line!) while setting the Cellesim eSIM as your primary line for all data usage, ensuring you avoid expensive roaming charges for internet access.
Is an eSIM better than buying a local SIM card in Canada or the US?
For a cross-border US/Canada road trip, an eSIM is generally superior to buying separate local SIM cards. An eSIM allows you to activate a single plan that covers both countries seamlessly, avoiding the hassle of swapping physical SIMs at the border, researching local plans, or dealing with foreign currency transactions. It offers continuous connectivity and often better value for multi-country travel.
See also: Michigan eSIM