The AT&T eSIM Roaming Reality, What It Costs
I've seen enough phone bills to know that international roaming can drain your wallet faster than you can say 'data overage.' AT&T, like most big US carriers, offers international plans. Their main one is usually the International Day Pass. It costs a flat fee per day, currently around $10, and it automatically kicks in if you use your phone for talk, text, or data in an eligible country. If you have a second line on the same account, it gets a discount, about $5 a day. They cap it at 10 days per billing cycle, meaning you'll pay a maximum of $100 per month for the first line and $50 for the second.
That sounds okay, right? For a quick trip, maybe a week in London or a long weekend in Toronto, it's pretty convenient. You land, and your phone just works, no hassle. But try spending a month or two in Lisbon, like I did last year, relying on that. An extra $100 a month just for data, on top of your regular AT&T plan, feels really expensive when you realize a local SIM card could get you unlimited data for €15-€20 (about $16-$22 USD) a month. That's a huge difference, especially when you're already paying €750 for a T3 apartment in Arroios. I found myself hitting the Wi-Fi at Outsite Cais do Sodré every day, just to avoid those daily charges.
Understanding AT&T International Day Pass
The International Day Pass is definitely convenient. It uses your existing talk, text, and data allowances from your US plan. If you have unlimited data at home, you get unlimited data abroad. Just know they have a fair usage policy, usually after 2GB or 5GB, where speeds might slow down. They don't always advertise that part clearly. The catch, as I mentioned, is the daily trigger. Even a quick email check can activate it for the whole 24-hour period. Calls are usually unlimited to the US and within the country you're visiting. Texts are generally unlimited worldwide.
| Feature | AT&T International Day Pass | Local Travel eSIM (e.g., Cellesim) |
|---|---|---|
| Cost per Day | ~$10 (first line), ~$5 (additional line) | $0.50 - $3 (depending on plan/country) |
| Data Usage | Uses domestic plan allowance (subject to throttling after 2-5GB/day) | Dedicated data package (e.g., 5GB, 10GB, unlimited options) |
| Calls/Texts | Unlimited to US, within visited country (calls), worldwide (texts) | Data-only, uses WhatsApp/VoIP for calls/texts |
| Convenience | Automatic activation, seamless transition | Pre-purchase, scan QR, manual setup possible |
| Cost-Effectiveness | Good for short trips (1-7 days) | Excellent for longer trips (7+ days) |
The Hidden Costs and When It Makes Sense
Beyond the daily fee, the real hidden cost is what you could have saved. If you're abroad for a month, paying $100 for basic AT&T roaming when you could pay $20 for robust local data is a no-brainer. This is where a travel eSIM like Cellesim really shines. For shorter trips, where the bother of getting a new SIM or dealing with dual SIM settings might outweigh the savings, AT&T's Day Pass can be acceptable. Think business travel where your company pays, or a quick vacation where you want simplicity more than budget. But for anything over a week, or if you're like me and every dollar counts, you need to find another data solution.
One more thing: some banking or government apps, especially in countries like Brazil (for banks like Itaú or Nubank) or India (for Aadhaar-linked services), might need a local phone number for SMS verification. Your AT&T number won't work. In these cases, a local eSIM isn't just about saving on data, it's about making essential things function. It's why my WhatsApp groups are always buzzing with questions about local SIMs, not roaming packages.
Preparing Your Device for International eSIM Use
Before you even think about buying a travel eSIM or relying on AT&T's roaming, there are a few absolute must-do checks for your phone. Skip these, and you might end up staring at a 'Sim Not Supported' error message at 3 AM in a new time zone, which is definitely not fun, trust me.
Is Your Phone Unlocked?
This is the big one. If your phone is still under contract with AT&T or was bought through them and hasn't met their unlock rules, it won't accept another carrier's eSIM. Period. It's a hard lock. You can check your unlock status by calling AT&T customer service or using their online unlock portal. They usually require your device to be fully paid off and active on their network for a certain time (typically 60 days for postpaid, 6 months for prepaid). Don't wait until the last minute; it can take a few business days to process. If you're not sure how to check or need help with a complicated unlock, my iPhone eSIM Activation 2026: Your Essential Global Travel Guide might help, as it covers unlocking basics.
eSIM Compatibility Check
Most newer smartphones from the last few years support eSIM, but it's always smart to double-check. Devices like the iPhone XS and newer, Google Pixel 3 and newer, and Samsung Galaxy S20 and newer typically have eSIM capabilities. However, some regional versions, especially those sold in China, might not. Check your phone's specs or do a quick Google search for your specific model (e.g., 'iPhone 14 Pro eSIM compatibility'). If your phone uses an older physical SIM, you'll need a physical travel SIM instead of an eSIM.
Activating an AT&T International Roaming Plan
If you've decided the International Day Pass is right for your short trip, activating it is usually pretty easy. The main thing is to make sure it's enabled before you leave, or at least understand how to manage it from abroad.
Pre-Departure Activation Steps
The easiest way to ensure you're covered is to activate the International Day Pass through your AT&T online account or by calling customer service before you leave the US. Here's how:
- Log into your AT&T account: Go to att.com and sign in.
- Find 'My Plan' or 'Add-ons': Look for sections related to international services or travel add-ons.
- Select International Day Pass: Choose the International Day Pass option for the lines you want to cover.
- Confirm and Activate: Follow the steps to confirm your choice. You'll usually get a text message confirmation.
- Verify: Double-check that it's active before you depart.
Alternatively, you can call AT&T customer service at +1.800.331.0500 (from a landline or another phone) and ask them to add it to your account. This is often the fastest way to confirm it's set up correctly if you're in a hurry.
Managing Roaming Settings on Your Phone
Once the Day Pass is active on your AT&T account, your phone should automatically connect to a partner network when you land. However, you'll still need to make sure your phone's roaming settings are correct:
- For iPhone: Go to Settings > Cellular > Cellular Data Options > Data Roaming and make sure it's turned On.
- For Android: Go to Settings > Network & internet > Mobile network > Roaming and turn it On.
Without data roaming enabled on your device, even with the Day Pass active on your AT&T account, your phone won't be able to connect to data internationally. This is a common mistake that causes a lot of frustration.
The Smarter Move: Combining AT&T with a Travel eSIM
This is where my experience as a long-term traveler really comes in handy. For anything more than a week, or if you're watching your budget (and who isn't?), combining your AT&T line with a dedicated travel eSIM for data is the absolute best way to go. You keep your AT&T number active for those critical two-factor authentication texts from your bank, or calls from family, without burning through $10 a day for data you can get for a fraction of the cost.
Why Dual SIM is Your Best Friend
Dual SIM means your phone can handle two active cellular plans at the same time. With an eSIM-capable phone, this usually means one physical SIM (your AT&T line, if you haven't converted it to eSIM yet) and one or more eSIMs. The great thing about this setup is that you can decide which line handles cellular data and which handles calls/texts. I almost always set my travel eSIM for data and keep my main US number for calls and texts, especially for things like getting verification codes for banking apps back home. This hybrid approach gives you the best of both worlds: local data speeds and pricing, plus the continuity of your primary number.
Choosing the Right Travel eSIM Provider
There are many travel eSIM providers out there. I've tried quite a few, and my go-to recommendation for friends in my WhatsApp groups is always to look for a few key things:
- Clear pricing: No hidden fees, clear data allowances, and expiration dates.
- Wide coverage: This is especially important if you're hopping between countries, like my recent time through Southeast Asia.
- Easy activation: QR code scanning is standard, but good support for manual activation is a bonus.
- Reliable network: Make sure they partner with major local carriers.
For example, when I was in Germany last year, I picked up a Cellesim regional eSIM for Europe. It connected perfectly to Telekom Deutschland and Vodafone DE. For about €25, I had 10GB for 30 days. That's a huge difference from AT&T's $100 for the same period. If you're looking into Nomad eSIM Alternatives, Cellesim often offers great value.
Step-by-Step: Installing Your Travel eSIM Alongside AT&T
This is the practical stuff. Getting a travel eSIM installed and set up correctly is critical. It's not brain surgery, but missing a step can definitely lead to frustration. I've walked countless friends through this over video calls from various time zones, so I know the process inside and out.
Purchasing and Receiving Your eSIM
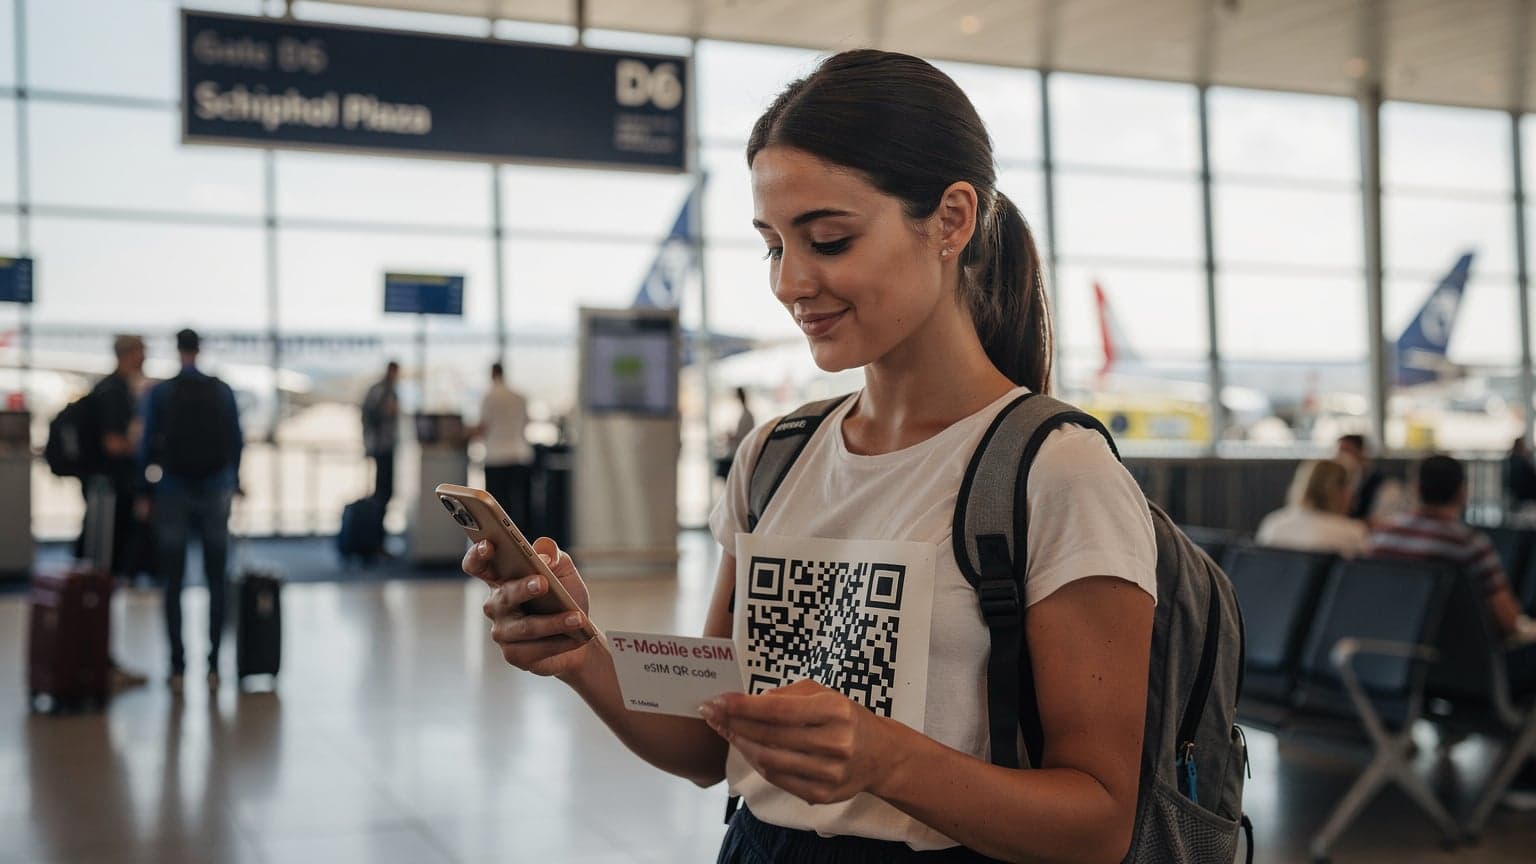
First, you buy your eSIM plan online from a provider like Cellesim. You'll choose the country or region and the data package you need. After purchase, you typically get an email with a QR code and manual activation details. I usually make sure to do this before I leave my home country or while I have reliable Wi-Fi, say at that great little café 'A Brasileira' in Lisbon, just off Rua Augusta.
Installation Process: iOS and Android
Installation is pretty similar across most modern eSIM-compatible devices.
For iPhone (iOS):
- Scan the QR Code: Go to Settings > Cellular > Add eSIM. Choose 'Use QR Code' and scan the QR code from your eSIM provider. If scanning isn't working, choose 'Enter Details Manually' and type in the SM-DP+ Address and Activation Code.
- Label Your eSIM: Once detected, your iPhone will ask you to label your plans. Label your AT&T line something like 'Primary US' and your travel eSIM 'Travel Data' or 'India Data' (whatever makes sense for your destination). This helps avoid confusion later.
- Choose Default Line for Calls/Texts: Your phone will then ask which line to use as your 'Default Voice Line'. I always keep my AT&T line here.
- Select Cellular Data Line: This is the most important step. Choose your new 'Travel Data' eSIM for 'Cellular Data'. Make sure 'Allow Cellular Data Switching' is OFF. This stops your phone from accidentally using AT&T data if your travel eSIM loses signal, which saves you money.
- Turn on Data Roaming for Travel eSIM: For the travel eSIM, go to Settings > Cellular > [Your Travel eSIM Label] > Data Roaming and make sure it's On. This might seem odd for a local SIM, but for travel eSIMs, it's often needed since they roam on partner networks within the country.
For Android (steps might vary slightly by manufacturer, e.g., Samsung Galaxy, Google Pixel):
- Scan the QR Code: Go to Settings > Network & internet > SIMs > Add more. You'll usually get an option to 'Download a SIM' or 'Add eSIM'. Choose to scan the QR code. If scanning fails, look for 'Manual Entry' and type in the SM-DP+ Address and Activation Code.
- Name Your eSIM: Just like on iPhone, name your new eSIM clearly (e.g., 'Travel Data').
- Set Preferred SIM for Calls/Texts/Data: Go to Settings > Network & internet > SIMs. Here, you can set your preferred SIM for 'Calls', 'SMS messages', and most importantly, 'Mobile data'. Set 'Mobile data' to your new travel eSIM. Keep 'Calls' and 'SMS messages' on your AT&T line.
- Enable Data Roaming for Travel eSIM: For the travel eSIM, go to Settings > Network & internet > SIMs > [Your Travel eSIM Label] > Roaming and turn it On.
Managing Dual SIMs on the Go: Practical Tips
Once you have both your AT&T line and your travel eSIM active, knowing how to manage them well is essential for a stress-free trip and to avoid unexpected charges. I've learned these tricks the hard way, usually by accidentally burning through $10 of AT&T data when I thought I was on my local plan.
Switching Between Data Lines
This is where those clear labels come in handy. On iPhone, you can quickly switch your cellular data line by going to Settings > Cellular > Cellular Data and picking the line you want. On Android, it's usually under Settings > Network & internet > SIMs > Mobile data. I recommend sticking to your travel eSIM for data unless you have a specific, urgent reason to use AT&T data (like your travel eSIM ran out, and you're in a bind).
Disabling AT&T Data Roaming (Carefully)
To completely stop AT&T from charging you for data roaming, you can go into your AT&T line's settings (Settings > Cellular > [Your AT&T Line Label] > Data Roaming on iOS; similar path on Android) and turn Data Roaming Off. However, be aware that this will also prevent you from getting MMS messages (picture messages) when not on Wi-Fi, as they need data. I usually keep it off unless I specifically need to receive an MMS, and then I toggle it back off right away. Your AT&T line will still get calls and SMS texts without data roaming.
"The worst feeling is seeing that AT&T 'International Day Pass activated' text pop up when you swore you were on your local data. Always double-check your data settings, especially after a phone restart or software update."
Using Wi-Fi Calling for Your AT&T Line
When you're on Wi-Fi abroad, you can often use Wi-Fi Calling for your AT&T line. This lets you make and receive calls and texts over Wi-Fi as if you were in the US. It's great for staying in touch without racking up roaming charges for voice calls. Make sure Wi-Fi Calling is enabled on your AT&T line before you travel (Settings > Phone > Wi-Fi Calling on iOS; check your phone app settings on Android). It's a lifesaver when I'm back in my apartment in Barcelona (which usually costs me about €850 for a T2 near Sagrada Família) and need to call a US bank.
Troubleshooting Common eSIM Issues Abroad
Even with the best planning, things can go wrong. I've dealt with 'Sim Not Supported' errors, 'No Service' messages, and painfully slow connections more times than I can count. Here's my no-nonsense way to fix common eSIM problems.
No Service or Weak Signal
If your travel eSIM isn't connecting, or your AT&T line isn't showing a partner network:
- Restart Your Phone: The oldest trick in the book, but it often works. It forces your phone to reconnect to the network.
- Check Network Selection: Sometimes, your phone tries to connect to a weak or incompatible network. Go to your SIM/eSIM settings, find 'Network Selection' (or 'Operators'), and change it from 'Automatic' to 'Manual'. Then, pick one of the listed partner networks for your eSIM provider or AT&T's roaming partners. I've had to do this manually when my phone insisted on connecting to a 2G network in rural Poland, even though a perfectly good 4G network was available.
- Verify APN Settings: This is less common with travel eSIMs that usually set up APNs automatically, but if you have no data, check your eSIM provider's instructions for the correct APN (Access Point Name) and manually enter it in your phone's settings (usually under Cellular Data Options or Mobile Network).
eSIM Not Activating After QR Scan
If the QR code isn't working, don't panic. This happens. Often, it's an easy fix:
- Check Wi-Fi Connection: You need an active internet connection (Wi-Fi or another cellular data source) to download the eSIM profile.
- Try Manual Entry: All good eSIM providers offer manual activation details (SM-DP+ Address and Activation Code). Use these if the QR scan fails. This is my go-to when dealing with a finicky QR reader or poor camera lighting.
- Contact eSIM Support: If manual entry also fails, reach out to your eSIM provider's support. They can often re-send the QR code or give you specific troubleshooting steps for your device and location. For complicated issues, like a 'Sim Not Supported' message that won't go away, you might need to contact the provider for a replacement eSIM.
Country-Specific eSIM Considerations
Different countries have different quirks when it comes to mobile connectivity. What works flawlessly in Spain might be a nightmare in Thailand. It's not just about data plans; it's about local rules and network infrastructure.
Europe: Schengen Area & Beyond
The great thing about Europe is the 'Roam Like At Home' rule within the EU/EEA for local SIMs. Many travel eSIMs also offer multi-country plans for the entire region. This means you can buy one regional eSIM for Europe and use it across Germany, France, Italy, and more without extra charges. This was a godsend during my month-long backpacking trip through the Balkans and then up to central Europe. I used a regional eSIM that covered me from Albania to Hungary. Knowing Fun Facts Germany is one thing, but knowing your eSIM works there is another!
| Country/Region | Typical eSIM Availability | Common Local Carriers (for reference) | Special Notes |
|---|---|---|---|
| Europe (EU/EEA) | High, many regional plans | Telekom (DE), Vodafone (DE/ES/IT/UK), Orange (FR/ES), Movistar (ES) | 'Roam Like At Home' for local SIMs. Regional eSIMs are cost-effective. Some visa types (e.g., student visas) might require local SIM registration. |
| Southeast Asia | Medium to High, varies by country | AIS (TH), Globe (PH), Singtel (SG), Maxis (MY) | Can be cheaper to buy local physical SIMs for very long stays, but eSIMs are convenient for short trips. Some countries (e.g., Vietnam) have strict ID requirements for SIMs. |
| India | Low for tourists, high for residents | Jio, Airtel, Vi | Highly regulated. Local SIMs/eSIMs require extensive KYC (Know Your Customer) with passport, visa, photo, local address. Travel eSIMs are often the only viable option for tourists. |
| Brazil | Medium, growing | Vivo, Claro, TIM | Local SIMs require a CPF (tax ID) to register, making travel eSIMs much easier for tourists. Banks often require a local number for verification. |
Asia, Africa, and Latin America: Unique Challenges
These regions can be tougher. In India, for instance, getting a local SIM requires extensive Know Your Customer (KYC) documents, including your passport, visa, and often proof of a local address. It can take days to activate. For tourists, a travel eSIM is usually the only practical solution for immediate connectivity. The same often applies in Brazil, where a CPF (tax ID number) is needed for local SIM registration, making Africa eSIM 2026: Multi-Country Connectivity for the Savvy Traveler and similar regional options absolute lifesavers.
Long-Term Travel: What Next After AT&T?
If you're planning to be abroad for a long time, say, more than three months, you really need to think about your AT&T plan. Continuing to pay for a US plan while mostly using a travel eSIM for data might not be the smartest financial move.
Pausing or Downgrading Your AT&T Plan
AT&T, like most big carriers, offers ways to temporarily suspend your service or switch to a cheaper plan. A temporary suspension (often called a 'seasonal suspension' or 'vacation hold') can pause your billing for a few months while keeping your number. This is perfect if you know you'll be back. If you're going to be gone for a year or more, it might be worth downgrading to the cheapest possible plan or even porting your number to a VoIP service like Google Voice or NumberBarn before canceling AT&T entirely. This keeps your number active for important things (like bank logins) without the monthly carrier fee.
Converting AT&T to eSIM (If Not Already)
If your AT&T line is still on a physical SIM, think about converting it to an eSIM before you leave. This frees up your physical SIM slot for a local physical SIM if you find yourself in a country where travel eSIMs are less reliable or more expensive. It also simplifies things by keeping all your lines digital. You can usually do this by visiting an AT&T store or contacting customer service. Just remember that once it's an eSIM, moving it to another phone requires a new QR code from AT&T.
Ultimately, getting your AT&T eSIM working abroad comes down to smart planning and knowing your options. Don't be that person stuck without data trying to hail a Grab in a new city. A little preparation goes a long way to making sure you stay connected and within budget, no matter where your travels take you.
Frequently Asked Questions
Can I use my AT&T eSIM internationally without additional charges?
No, using your AT&T eSIM internationally will lead to roaming charges unless you have an international roaming plan like the International Day Pass. This pass costs about $10 per day, allowing you to use your domestic plan allowances. For longer trips, this can quickly become expensive.
How do I add an international roaming plan to my AT&T eSIM?
You can add an international roaming plan, such as the International Day Pass, through your AT&T online account before your trip or by calling AT&T customer service. Once activated, it usually starts automatically when your device connects to a partner network abroad.
Can I use an AT&T eSIM and a local travel eSIM at the same time?
Yes, if your phone supports dual SIM functionality (which most modern eSIM-capable phones do), you can use your AT&T eSIM for calls/texts and a local travel eSIM for data simultaneously. This is often the most cost-effective solution for international travel, especially for longer stays.
What should I do if my AT&T eSIM isn't working abroad?
First, make sure your phone is unlocked and data roaming is enabled for your AT&T line in your phone's settings. Restart your device. If problems continue, try manually selecting a network operator or contacting AT&T customer support from a Wi-Fi connection.
Will my AT&T number still receive calls and texts if I'm using a travel eSIM for data?
Yes, if your AT&T line remains active and roaming is enabled (even with data roaming off), you will still receive calls and SMS texts on your AT&T number. You can also use Wi-Fi Calling for your AT&T line when connected to Wi-Fi to make/receive calls and texts without roaming charges.
How can I avoid high AT&T international roaming charges?
The best way to avoid high charges is to use a dedicated travel eSIM for all your data needs. Keep your AT&T line active for essential calls/texts, but set your travel eSIM as the primary data line. You can also turn off data roaming for your AT&T line in your phone's settings to prevent accidental usage.