Why Cosmote eSIM Greece 2026, Your Budget Data Hero
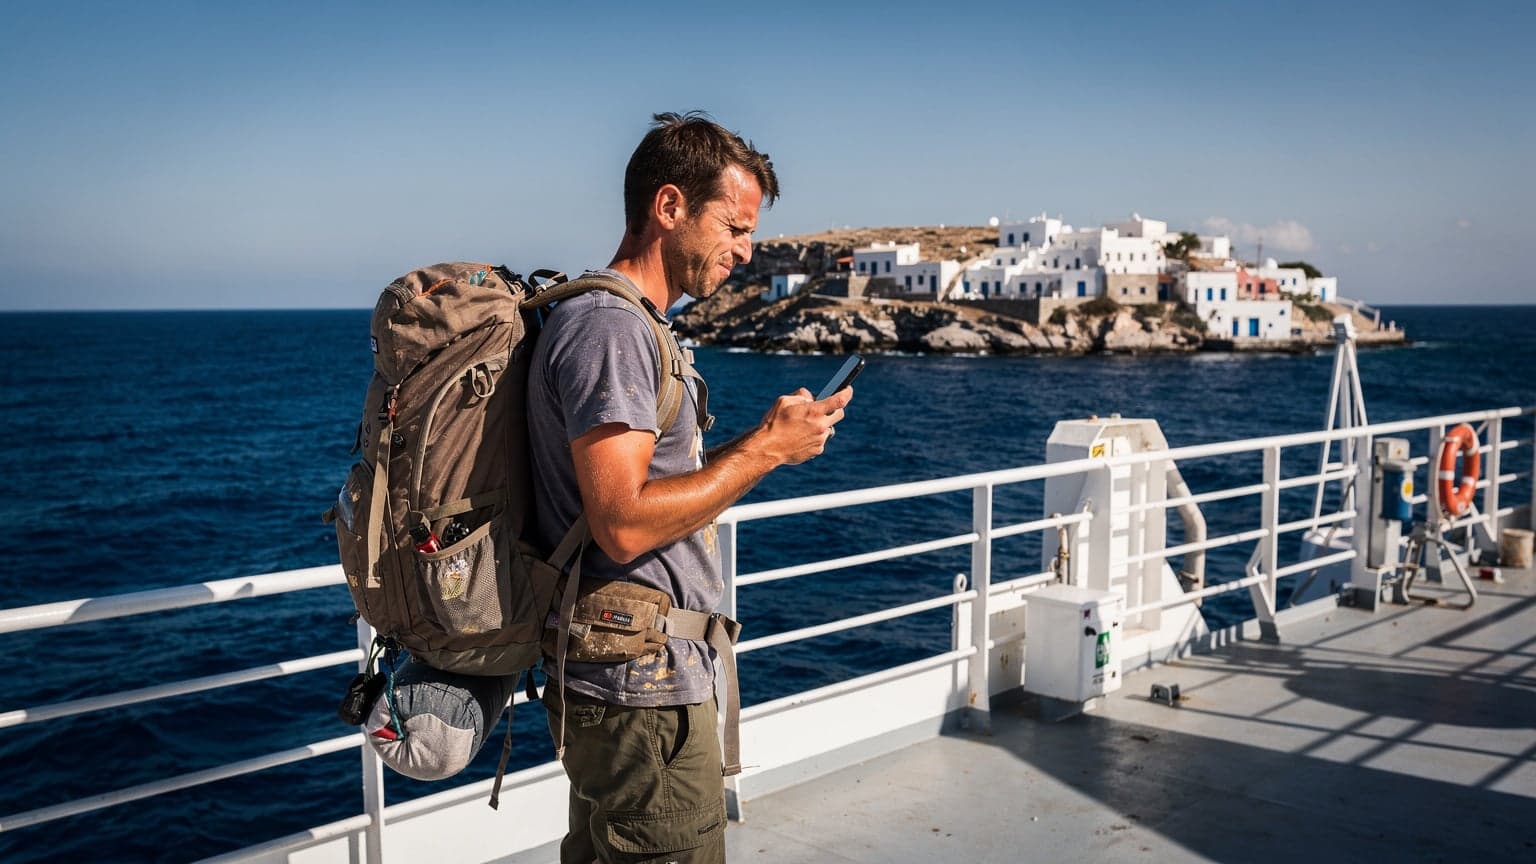
Let's talk numbers first. My last eight-day island-hopping trip through Greece, hitting Paros, Naxos, and Santorini, cost me exactly €280 for all my data needs. That's for 20GB of data, enough to stream music on ferries, navigate endless alleys, and even upload a few Substack drafts. How? Cosmote eSIM. Forget those horror stories of €50/day roaming charges, or getting stuck with a dead zone in a charming but remote village.
Greece, with its myriad islands and often spotty infrastructure, is a minefield for data. You need a provider that covers both the bustling hubs like Athens and the tiny tavernas on Ios. Cosmote, being the largest carrier in Greece, is your best bet for consistent coverage. For a budget backpacker like me, every euro counts. An eSIM from a reputable provider, configured for Greece, means I'm not wasting precious travel time hunting for a physical SIM card, or worse, paying an exorbitant fee at the airport. It's about tactical spending, not extravagant spending, and Cosmote delivers on that promise.
The Cost-Benefit Analysis: eSIM vs. Roaming
Let's be brutally honest, your home carrier's international roaming package is likely a rip-off. My buddy once paid €15 for 100MB while attempting to post a sunset photo from Mykonos. One hundred megabytes, for fifteen euros! That's daylight robbery. With an eSIM, you're paying local rates, or at least rates very close to them, without the hassle of a physical SIM. Think of it as direct access to the Greek network, bypassing the middlemen.
For example, a typical 10GB roaming package from a major US carrier could easily run you $100 for a week. A Cosmote eSIM with similar data might be half that, sometimes even less, depending on the plan you pick from Cellesim. That's more money for souvlaki, or an extra night at a decent hostel like Athens Backpackers (check their rooftop bar, trust me).
Island Hopping Connectivity: Don't Get Stranded Digitally
This is where Cosmote truly shines. If you're planning to hop between islands, especially those less-trafficked ones, you'll quickly learn that not all networks are created equal. I've been on ferries heading to Koufonisia, watching travelers on other networks frantically search for a signal, while my Cosmote-powered phone kept a steady connection. That reliable internet means you can check ferry schedules, book last-minute accommodations, or just stream a podcast while waiting for your connection at Piraeus Port. It's not a luxury, it's a necessity for smooth, stress-free travel, especially when you're on a tight schedule or budget.
This kind of reliable connectivity is vital for a budget traveler. A missed ferry or a hostel booking gone wrong due to no signal can cost you a lot more than a cheap data plan. Cosmote minimizes these risks. (And yes, I've seen it happen. Don't be that person.)
Cracking the Code: Cosmote eSIM Plans for Travelers
Cosmote offers various data packages, but not all are explicitly marketed as "tourist" eSIMs. The trick is to find the ones that give you the most bang for your euro, without requiring a Greek ID or long-term commitment. You're looking for prepaid options, often bundled with a certain amount of data, calls, and texts, but our focus here is data. These are usually valid for 15 or 30 days, which aligns perfectly with most backpacker itineraries.
Comparing Cosmote eSIM Data Packages
When you're looking at plans, always compare the GB-per-euro ratio. Don't just grab the biggest number, calculate its daily cost. For my 8-day trip, I aimed for roughly 2.5GB per day (20GB total). That's a solid benchmark for active map use, social media, and some light streaming. If you're just checking emails and WhatsApp, you can scale back significantly.
| Plan Name (Example) | Data Included | Validity | Approx. Price (€) | Cost per GB (€) |
|---|---|---|---|---|
| Cosmote Mobile Internet 15GB | 15 GB | 15 Days | 25 | 1.67 |
| Cosmote Mobile Internet 30GB | 30 GB | 30 Days | 40 | 1.33 |
| Cellesim Greece 10GB | 10 GB | 30 Days | 18 | 1.80 |
| Cellesim Greece 20GB | 20 GB | 30 Days | 30 | 1.50 |
As you can see, Cellesim often provides competitive options that simplify the process. Sometimes, the peace of mind of buying before you land is worth a few extra cents per GB, especially if you're hitting the ground running from Athens International Airport (ATH) and need data immediately for a taxi or bus. Check eSIM Greece options for the latest deals.
The Top-Up Trap: Avoiding Unexpected Charges
Always keep an eye on your data usage. Cosmote, like most carriers, will send you SMS alerts when you're running low. Don't ignore them. If you run out, topping up is easy through their app or website, but it's always better to anticipate. Calculate your daily usage: (Total GB bought / Days of trip) = GB per day. If you find yourself chewing through data faster than expected, it's cheaper to buy an additional data pack than to pay per MB. I set a data warning on my iPhone at 80% usage, just to be safe. You can check your remaining data through the Cosmote app or by dialling *121#.
How to Get Your Cosmote eSIM, Hassle-Free
Getting a Cosmote eSIM directly in Greece can be a bit of a bureaucratic dance, especially if you don't speak Greek. While possible, it often involves visiting a physical Cosmote store, showing your passport, and dealing with activation times. This isn't ideal when you've just landed after a red-eye from JFK and all you want is to find your hostel in Exarchia.
The smarter play for travelers, particularly those with eSIM compatible iPhones or Android devices, is to purchase a Greece eSIM from a third-party provider like Cellesim before you even leave home. This way, you land with data already active, avoiding queues and language barriers.
Buying from a Third-Party Provider: The Easy Button
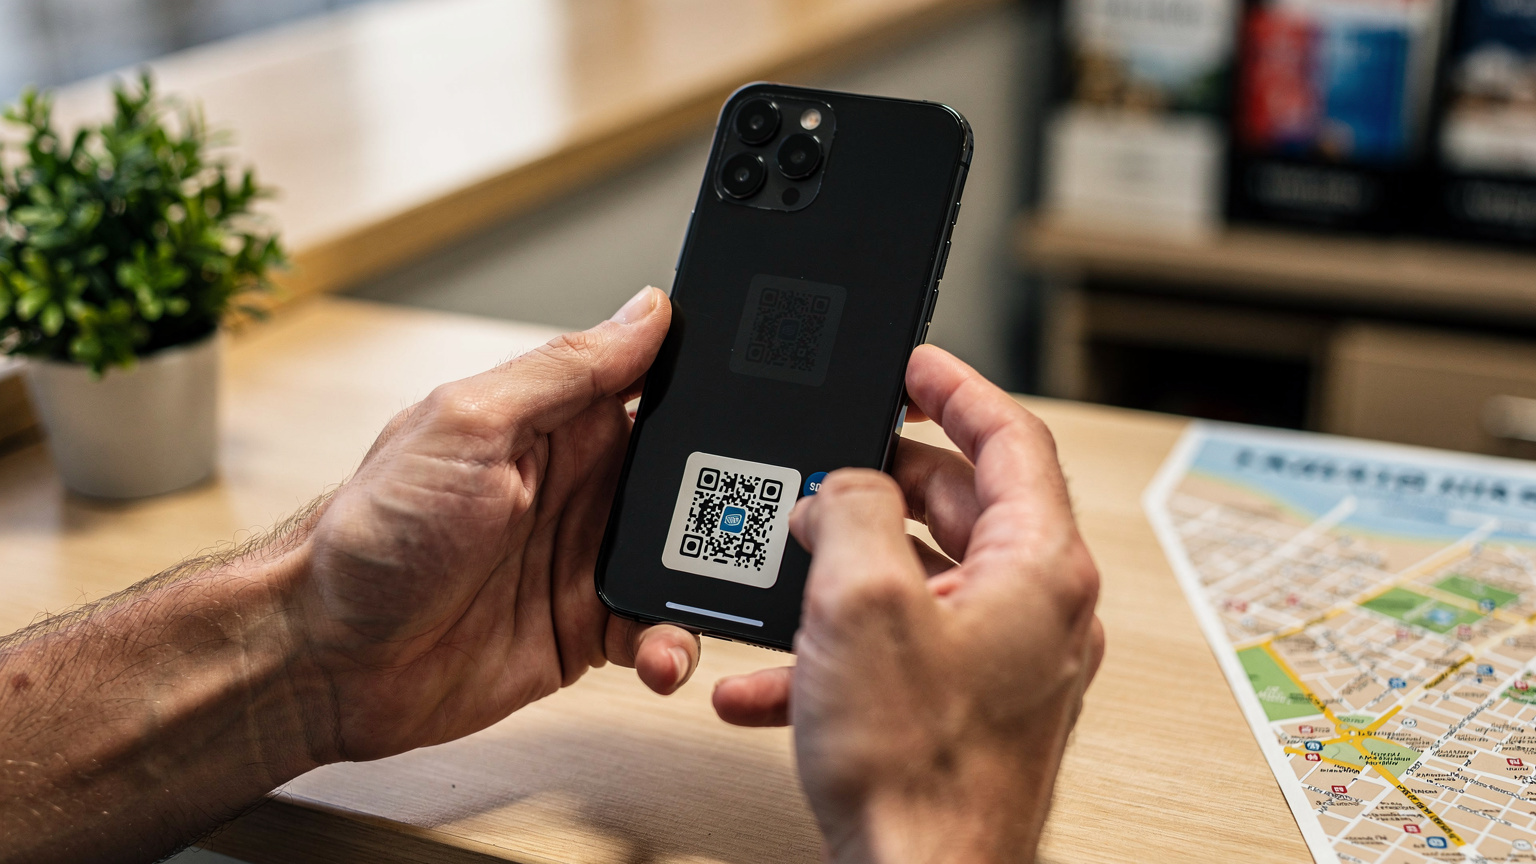
This is my preferred method, every single time. Websites like Cellesim aggregate plans from various local carriers, including Cosmote, and offer them as convenient eSIM packages. You select your data amount and duration, pay online, and receive a QR code via email almost instantly. No passport checks, no forms, no waiting. It's truly a no-bullshit approach to global data.
Here's what makes it simple:
- Instant Delivery: QR code arrives in your email minutes after purchase.
- Pre-activated: Your data plan starts when you activate the eSIM, often upon arrival.
- Multiple Options: Choose from various data sizes and validities to match your trip.
- No Language Barrier: Support is typically in English, making troubleshooting easier.
Activating Your eSIM: The QR Code Method
Once you have your QR code, activation is straightforward. I usually print it out or save it to another device (like my laptop or a friend's phone) so I can scan it directly with my travel phone. If you're on an iPhone, the process is incredibly smooth, just make sure you're connected to Wi-Fi initially. If you're having issues, you can always check out iPhone eSIM Activation: No-Bullshit Guide for 2026 Global Data for quick fixes.
Physical SIMs in Greece: The Dirt-Cheap Alternative
Okay, let's be fair. If you're really pinching pennies and have an older phone without eSIM support, or just prefer a physical card, there are cheaper options. Cosmote, Vodafone, and Wind all offer prepaid physical SIM cards in Greece. You can pick these up at their official stores, kiosks, or even some mini-markets in larger towns.
Where to Buy and What to Expect
The best place to buy a physical SIM is at an official carrier store in a major city like Athens (e.g., Syntagma Square) or Thessaloniki. Avoid buying from random kiosks at the airport unless you're desperate, as they often have limited plans and inflated prices. You'll need your passport for registration, which is a legal requirement in Greece. Expect to spend €10-€20 for the SIM card itself, often with a small amount of preloaded data.
- Official Stores: Best selection of plans, reliable activation, knowledgeable staff.
- Kiosks/Periptera: Convenient but limited options, prices might be higher.
- Mini-Markets: Cheapest option, but very basic plans, staff might not speak English.
Remember, this means swapping out your home SIM. Don't lose it! I usually stick my home SIM in a tiny Ziploc bag taped to the inside of my passport.
The Catch with Physical SIMs
While potentially cheaper upfront, physical SIMs come with their own set of inconveniences. First, the activation process can take anywhere from a few minutes to a few hours. Second, you lose access to your home number, which can be a pain if you rely on it for two-factor authentication or emergency calls. Third, if you're traveling between countries, you'll be repeating this process at every border, which is a major time sink.
"For a long-term, multi-country trip, juggling physical SIMs at every border crossing is a nightmare. I've spent too many hours in dusty phone shops in obscure towns. eSIM is the clear winner for convenience and often, overall value."
Coverage Report: Where Cosmote Shines and Struggles
Cosmote consistently ranks as the top network in Greece for both coverage and speed. This isn't just marketing fluff, it's based on real-world tests. They have the most extensive 4G/5G network, reaching even many of the smaller, more remote islands. If you're island-hopping, this is critical. There's nothing worse than being stuck on a ferry or a remote beach with no signal.
Mainland vs. Islands: A Closer Look
On the mainland, especially in major cities like Athens, Thessaloniki, and Patras, Cosmote's coverage is virtually flawless. You'll get strong 4G and increasingly 5G signals. Even in rural areas of the Peloponnese or northern Greece, Cosmote generally outperforms its competitors, Vodafone and Wind.
The islands are where the differences become most apparent. While all major islands (Crete, Rhodes, Corfu, Santorini, Mykonos) have excellent Cosmote coverage, the smaller Cycladic islands or Dodecanese islands might see some drops in signal, particularly in valleys or very remote coves. However, even in these edge cases, Cosmote usually maintains a usable 3G signal where other networks might drop completely. I've had perfectly good signal with Cosmote on small islands like Antiparos and even on the ferry crossing to Amorgos. (The views were better than my Wi-Fi at my hostel anyway.)
| Location Type | Cosmote Signal Strength | Notes |
|---|---|---|
| Major Cities (Athens, Thessaloniki) | Excellent (4G/5G) | Consistent high speeds, reliable for streaming and video calls. |
| Popular Islands (Santorini, Mykonos, Crete) | Very Good (4G) | Strong coverage in towns and tourist areas, some rural drops. |
| Remote Islands (e.g., Koufonisia, Folegandros) | Good (4G/3G) | Usable signal in main villages, can be spotty in isolated areas. |
| Ferries (Aegean Sea) | Variable (4G/3G/No Signal) | Strong near coastlines, drops in open sea. Often better than ferry Wi-Fi. |
Speed Test Results: What to Expect
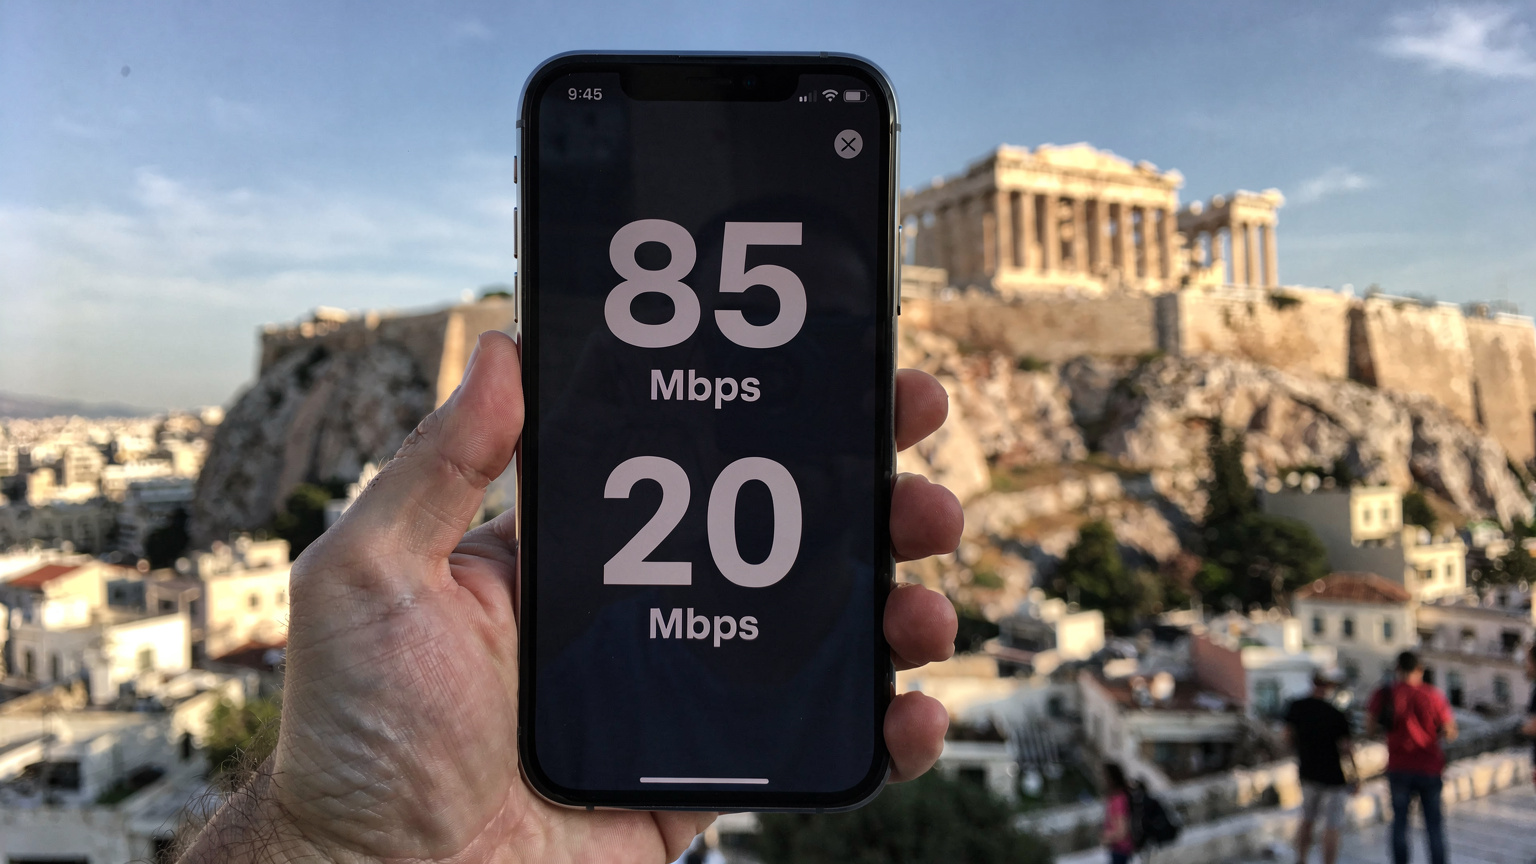
Based on my own informal speed tests and data from Opensignal, Cosmote generally delivers average download speeds of 60-100 Mbps on 4G in urban areas, with 5G reaching much higher. Upload speeds are typically 15-30 Mbps. This is more than enough for everyday browsing, social media, video calls, and even streaming HD video. For comparison, most hostel Wi-Fi networks struggle to hit 20 Mbps on a good day, especially during peak hours. Your eSIM will almost certainly be faster and more reliable than any free Wi-Fi you find.
Getting Your eSIM Running, A Step-by-Step Guide
Once you've bought your eSIM from Cellesim, the activation process is pretty universal across most modern smartphones. This is a crucial step, and you want to do it right. I usually do this while I still have stable Wi-Fi, like at my departure airport lounge or even at home before I leave, to avoid any last-minute stress.
Installation on iPhone Devices
iPhones handle eSIMs like a dream. If you're using an Apple device, consider yourself lucky. The process is streamlined and usually takes less than five minutes.
- Connect to Wi-Fi: Ensure your iPhone is connected to a stable Wi-Fi network. This is critical for downloading the eSIM profile.
- Scan the QR Code: Go to Settings > Cellular (or Mobile Data) > Add eSIM. Choose 'Use QR Code' and scan the QR code provided by Cellesim. If you can't scan, there's usually an option to 'Enter Details Manually', where you'll input the SM-DP+ Address and Activation Code.
- Label Your eSIM: Once detected, your iPhone will prompt you to label the new eSIM (e.g., 'Greece Travel' or 'Cosmote Greece'). This helps differentiate it from your primary line.
- Set Default Line: You'll then be asked to choose your default line for calls and messages. For data, select your new eSIM. For calls, you might want to keep your primary line for iMessage/FaceTime or switch to the eSIM for local calls if the plan includes them.
- Enable Data Roaming: Make sure data roaming is turned on for your new eSIM line. Some eSIMs don't require it, but it's good practice to check, especially if you're experiencing connectivity issues.
If your T-Mobile eSIM QR code is not working, for example, it's often a simple network setting fix, but with Cellesim, you're usually buying a fresh profile.
Installation on Android Devices
Android devices also support eSIM, though the exact menu names might vary slightly depending on your phone's manufacturer (Samsung, Google Pixel, etc.).
- Connect to Wi-Fi: Just like with iPhones, a stable Wi-Fi connection is necessary for the initial setup.
- Navigate to Network Settings: Go to Settings > Network & Internet > SIMs (or Mobile Network) > Add more (or Add eSIM).
- Scan QR Code or Enter Manually: Select the option to scan a QR code. Point your camera at the Cellesim QR code. If scanning fails, look for an option to enter the activation code manually.
- Follow Prompts: Your phone will guide you through adding the profile. You may be asked to name the eSIM profile and set it as your preferred network for mobile data.
- Confirm Activation: Once installed, you should see the new network appearing in your status bar or network settings. Test it by trying to load a webpage or send a message.
Always restart your phone after installation if you're not getting a signal. It often clears up any lingering network registration issues.
Data Usage on the Go: How Much Do You Really Need
This is a question I get asked constantly on my Substack. How much data for a trip? The answer, like most things in budget travel, depends on your habits. My 2.5GB/day benchmark for Greece allowed me to do everything I needed without stressing.
Typical Usage Scenarios and Data Consumption
Let's break it down:
- Navigation (Google Maps, Apple Maps): Surprisingly low. Around 5-10MB per hour of active use. If you download offline maps, it's virtually zero.
- Social Media (Instagram, TikTok, Facebook): This is a data killer if you're not careful. Scrolling through feeds with videos can consume 100-300MB per hour. Posting photos is less, maybe 5-10MB per post.
- Messaging (WhatsApp, iMessage): Very low. Text messages are negligible. Voice calls use around 0.5MB per minute, video calls 5-10MB per minute.
- Streaming Music (Spotify, Apple Music): Around 40-70MB per hour at standard quality. Offline downloads are your friend here.
- Streaming Video (YouTube, Netflix): The biggest data hog. HD video can chew through 1-3GB per hour. Avoid this unless you're on Wi-Fi or have unlimited data.
- Email/Browsing: Moderate. Checking emails and reading articles will use about 10-20MB per hour.
For my 8-day trip, 20GB worked out perfectly. That's 20,000MB / 8 days = 2,500MB per day. I could look up bus schedules for KTEL, find cheap eats in Plaka, and still call home without worrying.
Saving Data on Your Greek Adventure
Every backpacker knows the art of conserving resources. Data is no different.
- Download Offline Maps: Before you leave your hostel with Wi-Fi, download maps of Athens, Thessaloniki, and any islands you're visiting. Google Maps allows this.
- Use Wi-Fi When Available: Most hostels, cafes, and even some public squares offer free Wi-Fi. Leverage it for heavy tasks like video streaming or large downloads. (Just be careful with sensitive info on public networks.)
- Limit Background App Refresh: Go into your phone settings and turn off background refresh for apps that aren't critical. Instagram doesn't need to refresh every five minutes when you're hiking Samaria Gorge.
- Lower Streaming Quality: If you absolutely must stream music or video, set the quality to standard definition.
- Turn Off Auto-Play Videos: Social media apps often auto-play videos, silently draining your data. Disable this feature in the app settings.
Troubleshooting Common eSIM Headaches
Even with the best planning, sometimes things go sideways. An eSIM not connecting can be frustrating, especially when you're in a new country. Don't panic. Most issues are minor and can be resolved quickly.
No Signal or Slow Data
This is the most common complaint. Here's your checklist:
- Restart Your Phone: The oldest trick in the book, but often effective. It forces your phone to re-register with the network.
- Check APN Settings: Sometimes the Access Point Name (APN) settings aren't configured automatically. For Cosmote, the APN is usually 'internet'. You can find this under your cellular settings.
- Toggle Airplane Mode: Turn airplane mode on for 30 seconds, then off. This also forces a network re-scan.
- Ensure Data Roaming is ON: For your eSIM, make sure data roaming is enabled in your phone's cellular settings.
- Network Selection: Try manually selecting the Cosmote network (or its partners) in your phone's network settings, rather than 'Automatic'.
- Contact Support: If all else fails, reach out to Cellesim support. They can often diagnose issues remotely or provide specific APN settings.
eSIM Not Activating
If your eSIM simply won't activate after scanning the QR code, consider these:
- Stable Wi-Fi: Are you on a strong, stable Wi-Fi connection during activation? A weak signal can cause issues.
- QR Code Integrity: Is the QR code clear and undamaged? If you printed it, ensure it's not blurry.
- Device Compatibility: Is your phone definitely eSIM compatible and unlocked? (This should have been checked before purchase, but it's worth a double-check if you're stuck.)
- Single Scan Rule: Most eSIM QR codes are for single use. If you've tried scanning it multiple times on different devices, it might have been consumed. Contact Cellesim support for a new QR code if this is the case.
Remember, support for eSIMs is usually 24/7, so don't hesitate to use it. They've seen it all, from eSIM issues in Antigua and Barbuda to dropped connections in the Gobi Desert.
Final Thoughts on Cosmote eSIM for Greece
Choosing a Cosmote eSIM for your 2026 Greek adventure is a smart move for any savvy traveler, especially if you're navigating the islands. It offers the best balance of extensive coverage, reliable speeds, and a budget-friendly approach to data that avoids the pitfalls of expensive roaming or inconvenient physical SIM hunts. My 8-day trip with 20GB of data for under €30 was a testament to its value.
You're not just buying data, you're buying peace of mind. Knowing you can check ferry times, look up a hostel in a new town, or simply stay connected with family without worrying about outrageous bills is invaluable. So, do your research, pick the right plan, and enjoy the sun-drenched beauty of Greece, powered by reliable data.
Frequently Asked Questions
Is Cosmote eSIM available for tourists in Greece?
Yes, while not always explicitly marketed as 'tourist' eSIMs, you can purchase Cosmote-powered eSIM plans through third-party providers like Cellesim. These plans offer prepaid data packages ideal for short-term travel in Greece without requiring a local ID.
How much does a Cosmote eSIM for Greece cost?
The cost varies depending on the data amount and validity period. For example, a 10GB plan for 30 days might cost around €18-€25. This is significantly cheaper than most international roaming options and competitive with local physical SIMs, especially when factoring in convenience.
What kind of coverage can I expect with Cosmote eSIM in Greece?
Cosmote is Greece's largest and most reliable mobile network. You can expect excellent 4G/5G coverage in major cities and popular islands, with decent 3G/4G even in more remote island locations. It's the best option for consistent connectivity across the country, including during island hopping.
Can I use my existing phone number with a Cosmote eSIM?
Yes, one of the main advantages of an eSIM is that you can keep your primary physical SIM card active for calls and texts (using your home number) while using the eSIM for mobile data. This allows you to receive important calls or messages on your usual number without incurring roaming data charges.
Is it better to buy a Cosmote eSIM or a physical SIM in Greece?
For most travelers, an eSIM is more convenient. You can purchase and activate it before you arrive, avoiding airport queues and language barriers. Physical SIMs can be slightly cheaper but require in-person registration with your passport and mean swapping out your home SIM.
How much data do I need for a 7-day trip to Greece?
For an average traveler who uses maps, social media, and some light browsing, 10-15GB of data should be sufficient for a 7-day trip. If you plan to stream a lot of video or work remotely, consider a 20GB+ plan. My benchmark is 2.5GB per day for active usage.