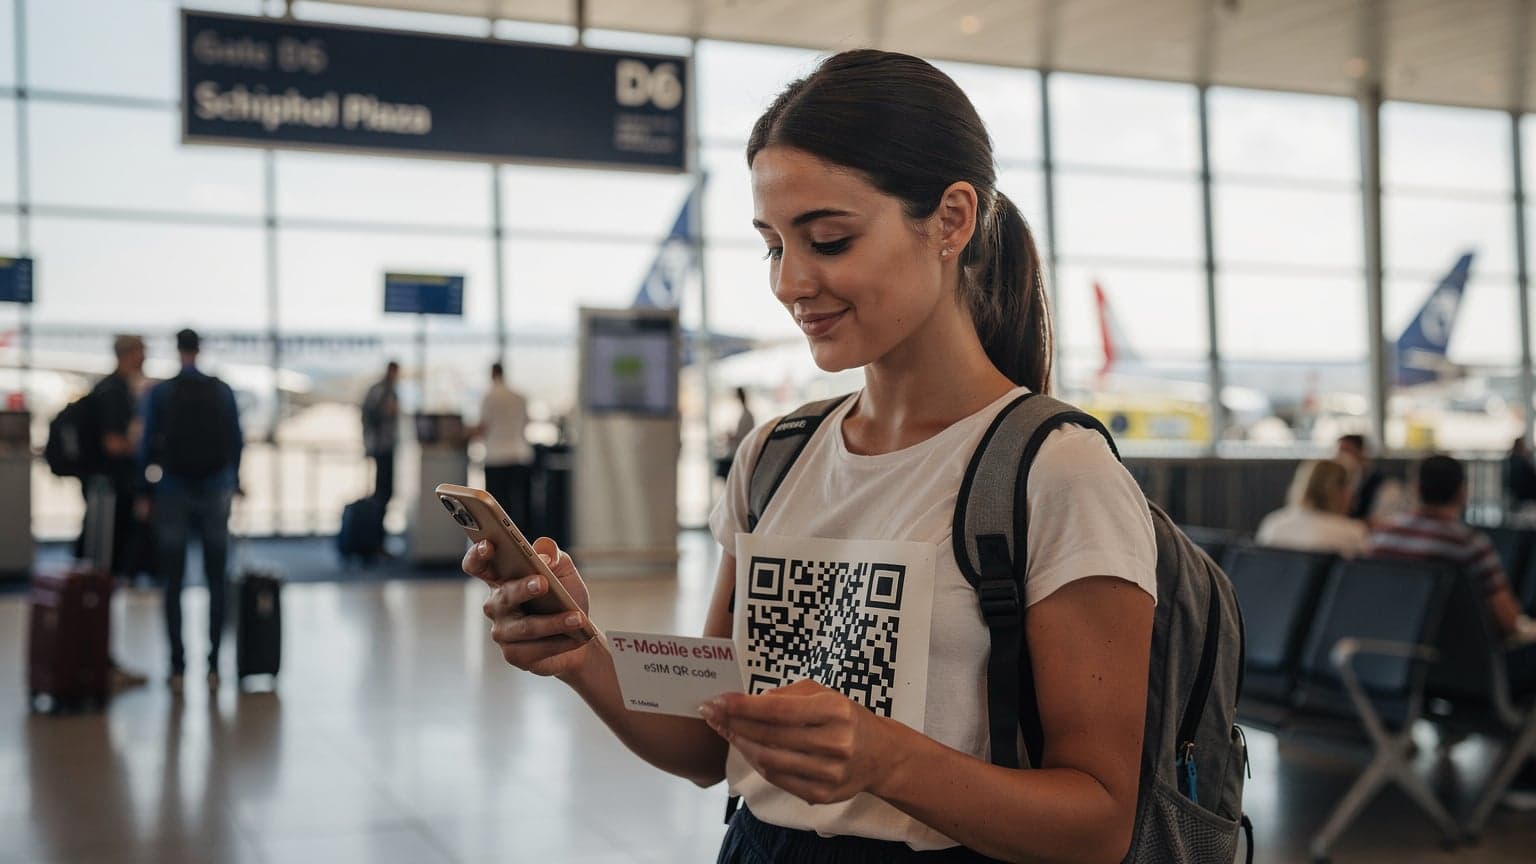
eSIMs vs. Local SIMs: The Real Cost Comparison
Let's be real, when you're traveling, every euro counts. My last 8-day trip through the Balkans, hopping from Albania to Montenegro, I spent exactly €280 on data, and that was after diligently tracking my usage. That's €35 a day, which isn't pocket change, but it's a lot better than the €100+ my friend racked up on AT&T roaming for half the data. The crucial decision isn't just 'eSIM or not,' it's 'which eSIM and when to buy a local plastic SIM instead.'
For years, the backpacker mantra was simple: land, find a corner store, buy a local SIM. In many places, this is still the undisputed champion of cheap data. Think of it, a 10GB SIM from Telekom Srbija for 900 RSD (about €7.50) in Belgrade, or a 15GB package from AIS in Thailand for 300 THB (€8). You can't beat those prices, right?
Well, sometimes you can, or at least you can save yourself a massive headache. On the road, that's often worth a few extra euros. With an eSIM, particularly a regional one, you can land, turn on your phone, and be connected instantly. No fumbling with tiny SIM trays, no struggling to explain 'data plan' in broken local languages, no finding out the shop is closed. For a 3-day layover, or a quick border hop, that convenience has a price tag. But it's usually less than the stress and wasted time of hunting down a physical SIM.
| Factor | Travel eSIM (Cellesim) | Local Physical SIM | Carrier Roaming |
|---|---|---|---|
| Activation Time | Minutes, before or upon arrival | 30 mins to 2 hours (finding store, setup) | Instant (if enabled) |
| Cost (Example: 10GB for 15 days) | €15-€30 (depending on region) | €7-€20 (highly variable by country) | €50-€150 (often per GB or daily rate) |
| Convenience | High (pre-arrival setup, no physical swap) | Medium (requires finding store, ID check, setup) | High (but costly) |
| Keep Home Number | Yes (Dual SIM functionality) | No (unless Dual SIM phone) | Yes |
| Network Switching | Automatic (multiple local networks) | Single network (unless multi-network SIM) | Automatic |
My typical data usage is about 1GB per day. I'm not streaming movies, but I'm heavy on Google Maps, WhatsApp, and checking hostelworld reviews. So, for a 15-day trip, I'm looking at 15GB. If a Cellesim regional plan for Europe costs me €25 for 20GB, that's a sweet deal compared to chasing down a SIM in every new country. Always do the math: GB consumed / day × days = total. If that total is within a reasonable eSIM package price, go for it.
Why Your iPhone is an eSIM Powerhouse for Travel
Apple has been pushing eSIMs for years, and frankly, they've made it the most straightforward experience in the industry. Starting with the iPhone XS, XR, and later models, every iPhone supports eSIM. If you're stateside, your iPhone 14 or newer might even be eSIM-only, meaning no physical SIM tray at all. That simplifies things, ironically, because you're forced into the digital realm.
The real magic for travelers, though, is the Dual SIM functionality. This means you can keep your home number active for calls and texts (on your physical SIM or primary eSIM) while using your travel eSIM for all your data needs. No more swapping SIMs, no more missing important messages from your bank or family. Just choose which line handles data in your Cellular settings, and you're good to go.
Plus, iPhones handle multiple eSIM profiles brilliantly. You can store several eSIMs on your device, activating them as needed. Heading to France for a week, then Greece for another? Load up a France eSIM and a Greece eSIM, and switch between them with a few taps. It's like having a wallet full of local SIM cards, but without the physical clutter and risk of losing them.
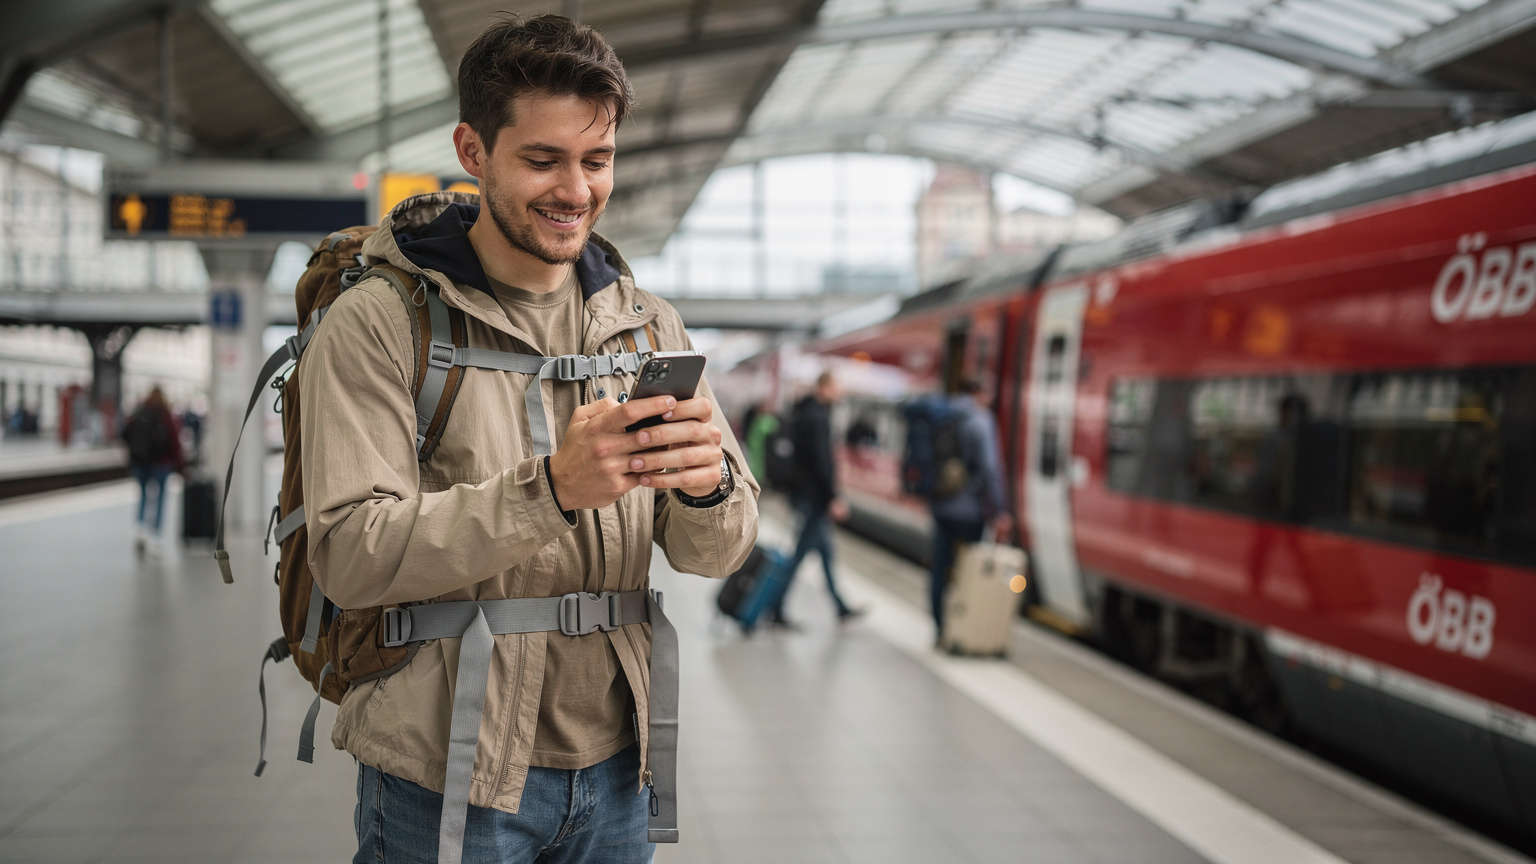
iPhone Models That Support eSIM
Most modern iPhones are eSIM-compatible. Here's a quick rundown:
- iPhone XS, XS Max, XR and later models (iPhone 11, 12, 13, 14, 15 series): All support eSIM.
- iPhone 14 and 15 series (US models): These are eSIM-only, meaning they have no physical SIM card tray. This is crucial to remember for those coming from the US.
- Other regions (Europe, Asia, etc.): iPhones generally have both a physical SIM tray and eSIM support.
If you're unsure, just check your iPhone settings under Settings > General > About and look for 'Available SIM' or 'Digital SIM'. If it's there, you're good.
The Power of Dual SIM with eSIM on iPhone
Dual SIM is a game-changer for travelers. Imagine this: you're in Rome, using your Cellesim data plan to navigate to your hostel, but your family back home needs to reach you on your regular number. With Dual SIM, both lines are active simultaneously. You can receive calls and texts on your primary number while using the travel eSIM for all your data needs. This means no missed calls, no expensive roaming charges for data, and full connectivity.
Picking the Right eSIM Plan for Your Trip: No Overspending
This is where the budget backpacker in me really shines. Don't just grab the biggest, cheapest plan you see. Tailor your eSIM to your actual needs. Overspending on data you won't use is just as bad as getting ripped off by roaming.
First, consider your destination. Is it a single country, a region (like Europe or Southeast Asia), or multiple diverse countries? Cellesim offers excellent regional eSIMs for Europe that cover dozens of countries, which is perfect for a multi-country Eurotrip. If you're just hitting up Saudi Arabia for Umrah, a country-specific plan will be more focused and potentially cheaper.
Second, how long are you staying? Most eSIMs come in durations of 7, 15, or 30 days. Don't buy a 30-day plan for a 5-day trip. It's a waste.
Third, data allowance. Be honest with yourself. Are you a social media fiend, uploading stories constantly? Or are you mostly using WhatsApp and Maps? My 1GB/day rule of thumb works for me. If you know you'll be relying on Wi-Fi at hostels and cafes, you can get away with less. If you're wild camping and streaming Netflix, you'll need more.
| Usage Type | Estimated Daily Data | Recommended eSIM Plan |
|---|---|---|
| Light User (Maps, WhatsApp, Email) | 0.5 GB | 3-5 GB for 7-10 days |
| Moderate User (Social Media, Browsing, Light Streaming) | 1-1.5 GB | 10-15 GB for 15 days |
| Heavy User (Video Calls, Streaming, Large Downloads) | 2+ GB | 20+ GB for 30 days |
Single-Country, Regional, or Global eSIMs?
This decision boils down to your itinerary:
- Single-Country eSIMs: Best if you're staying in one country for an extended period. They often offer the most data for your buck in that specific location. For instance, if you're spending two weeks exploring Ethiopia, a dedicated Ethiopia eSIM will likely be your cheapest bet.
- Regional eSIMs: Ideal for multi-country trips within a continent, like backpacking through Europe or hopping across Southeast Asia. You buy one plan, and it works in all covered countries, saving you the hassle of buying a new SIM at every border.
- Global eSIMs: These cover a vast number of countries worldwide. They are usually more expensive per GB but offer ultimate flexibility for truly global travelers or those with unpredictable itineraries. I rarely opt for these unless my trip is incredibly complex, as the cost per GB usually doesn't justify it for my budget.
Data Only or Voice and Text?
Most travel eSIMs are data-only. For voice and text, I rely on VoIP apps like WhatsApp, Signal, or Google Voice, which use data. My home number stays active for incoming calls and texts (using Dual SIM), which means I'm never truly disconnected from essential contacts. If you absolutely need a local number for calls, then a physical SIM might be necessary, but for most backpackers, data-only is perfectly fine.
Setting Up Your eSIM on iPhone: A Step-by-Step Walkthrough
This is where I, Dave Miller, Cellesim's troubleshooting guru, step in. The process is usually smooth, but knowing the exact steps can save you a lot of grief. You'll typically get an eSIM via a QR code or manual activation details.
- Buy Your eSIM Plan: Purchase your desired eSIM plan from Cellesim (or another provider, though you know which one I recommend for reliability). You'll receive a confirmation email with a QR code or manual installation details.
- Connect to Wi-Fi: Before you start, make sure your iPhone is connected to a stable Wi-Fi network. This is crucial for downloading the eSIM profile. Do NOT try to activate an eSIM while in airplane mode or without an internet connection, you'll just get errors.
- Go to Settings: Open the Settings app on your iPhone.
- Navigate to Cellular/Mobile Data: Tap on Cellular (or Mobile Data in some regions).
- Add eSIM: Tap Add eSIM.
- Scan QR Code or Enter Details: You'll have two options:
- Scan QR Code: This is the easiest. Point your iPhone camera at the QR code provided in your Cellesim email. It should detect it automatically.
- Enter Details Manually: If scanning isn't working (maybe you're viewing the QR code on the same phone you're trying to set up, rookie mistake!), tap Enter Details Manually. You'll need to input the SM-DP+ Address, Activation Code, and Confirmation Code. These will be in your Cellesim confirmation email.
- Label Your eSIM: Once installed, iOS will prompt you to label your new eSIM (e.g., 'Travel Europe', 'Spain Data'). This is super important for managing multiple plans, especially if you're juggling a few.
- Set Default Line for Data: Go back to Cellular/Mobile Data settings. Under 'Cellular Data', select your new travel eSIM as the primary line for data. Make sure 'Allow Cellular Data Switching' is off if you want to strictly use your travel eSIM for data and avoid accidental home carrier charges.
- Enable Data Roaming (for eSIM): For your new travel eSIM, tap on its label (e.g., 'Travel Europe') and ensure 'Data Roaming' is turned ON. This might sound counterintuitive, but for an international eSIM to connect to local partner networks, data roaming needs to be enabled for that specific eSIM. Don't worry, it won't trigger charges on your home plan if you've set your travel eSIM as the primary for data.
Managing Multiple eSIMs and Dual SIM on Your iPhone
Okay, you've got your Cellesim eSIM installed. Now, let's talk about managing it like a pro. This is where your iPhone truly shines, allowing you to juggle multiple numbers and data plans without breaking a sweat (or your budget).
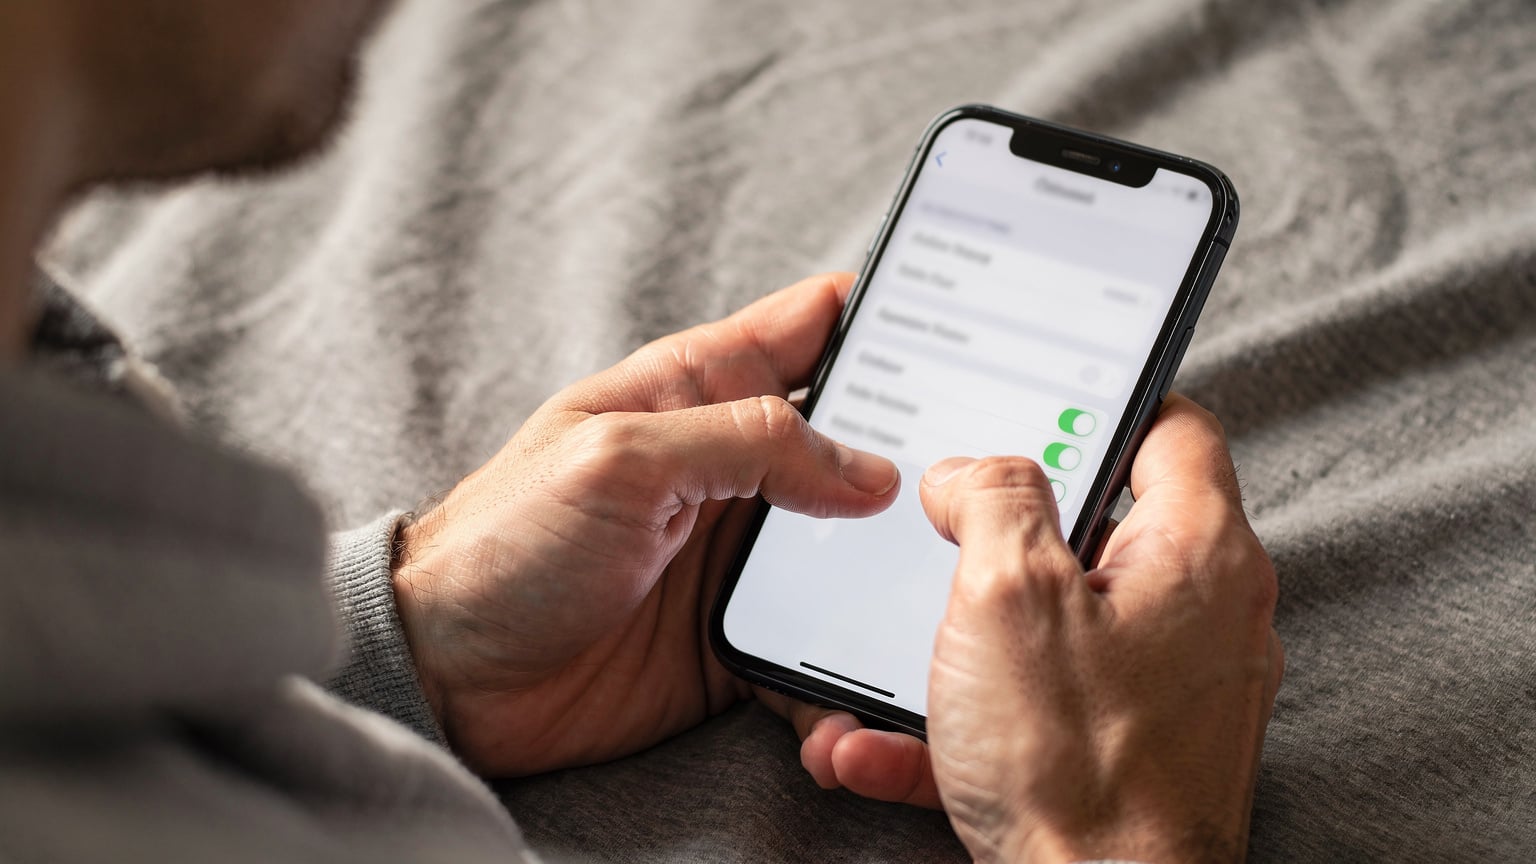
Switching Between eSIM Profiles
If you're like me, you might have a couple of regional eSIMs stored, or even one for data and your home eSIM for calls. Switching is simple:
- Go to Settings > Cellular (or Mobile Data).
- Tap on 'Cellular Data': Here you'll see a list of your installed eSIMs.
- Select the Desired eSIM: Tap the eSIM you want to use for data. It will immediately become active.
I usually name my eSIMs clearly, like 'Cellesim Europe' or 'Home US Number'. This avoids any confusion when you're quickly trying to get online.
Optimizing Dual SIM for Cost Savings
This is critical for avoiding surprise bills from your home carrier:
- Set Default Voice Line: In Settings > Cellular > Default Voice Line, you can choose which line makes calls. I usually keep my home number for this.
- Set Cellular Data Line: As mentioned, this is where you assign your travel eSIM for data.
- Turn Off 'Allow Cellular Data Switching': This setting, found under 'Cellular Data' options, can be a sneaky budget killer. If it's on, your iPhone might automatically switch to your home number's data if your travel eSIM's signal is weak. Turn it OFF to ensure you're only using your travel eSIM for data, even if it means a momentary drop in connectivity.
- Disable Data Roaming on Home SIM: If you still have a physical SIM from your home carrier, ensure data roaming is OFF for that line in its individual settings (tap the line name under Cellular). You want to keep your home number active for calls/texts, but absolutely kill its data roaming. AT&T eSIM Abroad, for example, can save you a ton if managed correctly.
Troubleshooting Common eSIM Issues on iPhone
Even with the best preparation, sometimes things go sideways. As Cellesim's troubleshooting guru, I've seen it all. Here are the most common issues and how to fix them:
eSIM Not Showing Up After Scanning QR Code
This usually means one of two things:
- No Wi-Fi Connection: Did you scan the QR code without Wi-Fi? The eSIM profile needs an internet connection to download. Reconnect to Wi-Fi and try adding the eSIM again.
- Already Installed/Deleted: Check if you've already installed it and perhaps just didn't label it. Go to Settings > Cellular and scroll down to 'eSIMs'. If it's there, just enable it. If you deleted it accidentally, you'll need a new QR code from Cellesim support, as QR codes are generally single-use.
No Service or No Data After Activation
This is the classic panic moment. Breathe. It's usually a setting:
- Data Roaming On for eSIM: Double-check that 'Data Roaming' is ON for your newly activated travel eSIM (Settings > Cellular > [Your eSIM Name] > Data Roaming).
- APN Settings: While iPhones usually auto-configure APN settings, sometimes they don't. Your Cellesim activation email should include APN details. Go to Settings > Cellular > [Your eSIM Name] > Cellular Data Network and manually enter the APN.
- Network Selection: In rare cases, your iPhone might try to latch onto a weak or incompatible network. Go to Settings > Cellular > [Your eSIM Name] > Network Selection and turn off 'Automatic'. Manually select one of the partner networks Cellesim uses in that country (check Cellesim's support pages for a list).
- Restart iPhone: The oldest trick in the book, but often effective. A fresh reboot can sometimes resolve connectivity glitches.
- Carrier Restrictions: Ensure your iPhone is unlocked from your home carrier. If it's locked, an eSIM (or any SIM from another carrier) won't work. Contact your home carrier to confirm your device's unlock status.
Home Number Not Receiving Calls or Texts with eSIM Active
This means your home eSIM (or physical SIM) isn't correctly configured for Dual SIM, or it's simply deactivated.
- Check Line Status: Go to Settings > Cellular. Ensure both your home line and travel eSIM are listed and enabled. If a line is off, toggle it on.
- Default Voice Line: Make sure your home number is set as the 'Default Voice Line' if you want to receive calls there.
- Signal Strength: Your home carrier needs to have an active roaming agreement in your current country for your home number to work, even for calls/texts. If there's no signal for your home line, it won't ring.
Border Crossings and eSIMs: Staying Connected on the Move
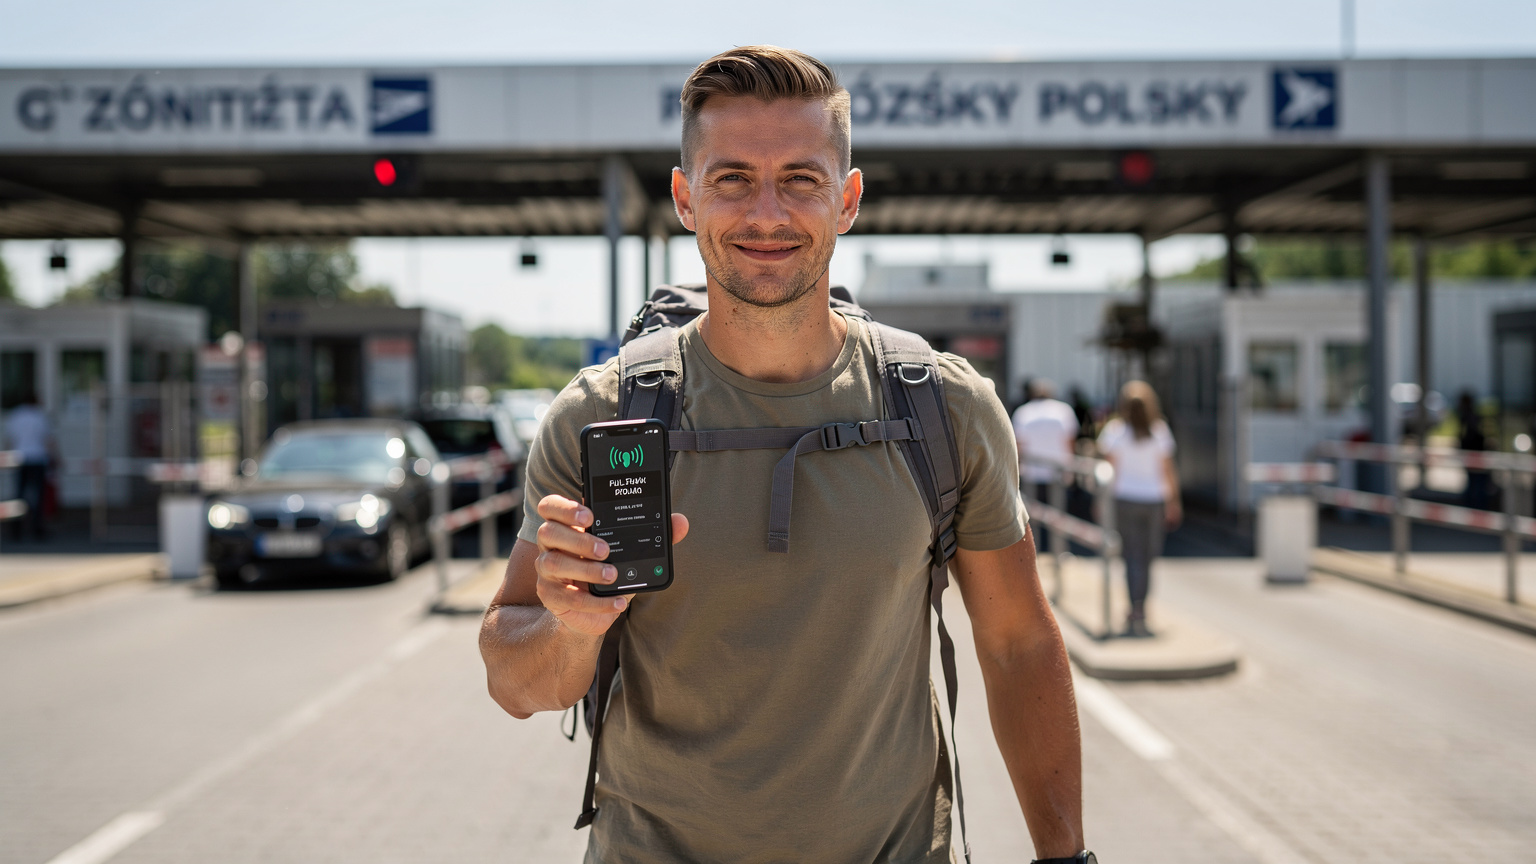
This is where eSIMs really shine for the fast-moving traveler. Picture this: you're on a night bus from Tirana, Albania, heading into Kotor, Montenegro. The bus crosses the border at 3 AM. With a physical SIM, you'd be hoping to find an open kiosk in Kotor after arriving at the bus station (good luck at 5 AM). With an eSIM, you literally don't have to think about it.
If you have a regional Europe eSIM from Cellesim, as soon as you cross the border and your phone picks up a Montenegrin network (like Crnogorski Telekom or M:tel), your data will just… work. No interruption, no fumbling, no waking up the bus driver to ask for directions with no internet.
My personal record for seamless border crossing was from Slovenia into Croatia. My phone barely registered a network hiccup as we drove past the old customs posts. It's a small thing, but when you're tired and just want to find your next hostel, it's priceless. This is also why having a reliable eSIM provider is key, one with solid roaming agreements across many carriers in a region.
What About ID Verification at Borders with eSIMs?
This is a common question. When you buy a physical SIM in many countries (especially in Europe or parts of Asia), you'll need to show your passport for ID verification. This is a local regulatory requirement. With a travel eSIM from a global provider like Cellesim, this step is bypassed. You're typically not subject to local SIM registration laws because the eSIM is provisioned by a foreign entity. This means one less bureaucratic hurdle when you're crossing borders. This is a huge win for speed and privacy for the average backpacker.
When a Physical SIM is Still the Cheapest Option
Let's not pretend eSIMs are always the absolute cheapest. They are often the most convenient and competitively priced, but there are specific scenarios where a local physical SIM will save you more cash, especially if you're really pinching pennies.
If you're staying in one country for an extended period, say a month or more, and plan to consume a lot of data, a local physical SIM will almost always offer a better deal. For example, in Vietnam, you can get truly unlimited data plans from Viettel or Mobifone for around 150,000 VND (€6) for 30 days. No eSIM, even from Cellesim, can match that price point for truly unlimited data.
Another scenario is if you need a local phone number for extensive local calls (e.g., booking tours, arranging local transport, calling local friends). While VoIP apps work for international calls, some local businesses prefer or require a local number. In these cases, a physical SIM that includes local call minutes might be more practical and cost-effective.
My rule of thumb: If your trip is under two weeks and involves multiple countries, an eSIM is your best friend. If you're settling in one spot for a month or more, especially in a country known for dirt-cheap local data (think Southeast Asia, parts of Eastern Europe), then take the time to find a local SIM. The best place to buy a local SIM is usually at an official carrier store in a major city center, not at the airport, where prices are often inflated.
Frequently Asked Questions
Will an eSIM drain my iPhone's battery faster than a physical SIM?
No, an eSIM generally has no significant impact on your iPhone's battery life compared to a physical SIM. Both use the same cellular radio technology. Any battery drain would likely be due to heavy data usage or poor network signal, not the eSIM technology itself.
Can I use my home number for calls and texts with a travel eSIM active for data?
Yes, absolutely. This is the primary benefit of Dual SIM functionality on iPhones. You can keep your home physical SIM or eSIM active for calls and texts, while using your travel eSIM for all your data needs, preventing expensive roaming charges.
What if my iPhone is locked to my current carrier? Can I still use an eSIM?
No, if your iPhone is locked to a specific carrier, you cannot use an eSIM from another provider, just as you couldn't use a physical SIM from another provider. You must contact your home carrier and request an unlock for your device before you can use any other eSIM or SIM.
Can I install an eSIM before I travel and activate it only upon arrival?
Yes, you can install the eSIM profile on your iPhone before you depart, but you should only enable it and set it as your data line once you've arrived at your destination. This prevents the plan from starting prematurely, ensuring you get the full duration of your purchased plan.
How many eSIMs can an iPhone store?
Modern iPhones (XS and later) can store eight or more eSIMs, but typically only two can be active simultaneously (Dual SIM with one physical SIM and one eSIM, or two active eSIMs on eSIM-only models). This allows you to have multiple profiles ready to switch between as needed.
Is it safe to delete an eSIM from my iPhone after my trip?
Yes, it is perfectly safe to delete an eSIM profile from your iPhone after your trip is over and you no longer need it. Go to Settings > Cellular > [Your eSIM Name] and tap 'Remove eSIM'. This frees up space for future travel eSIMs.