

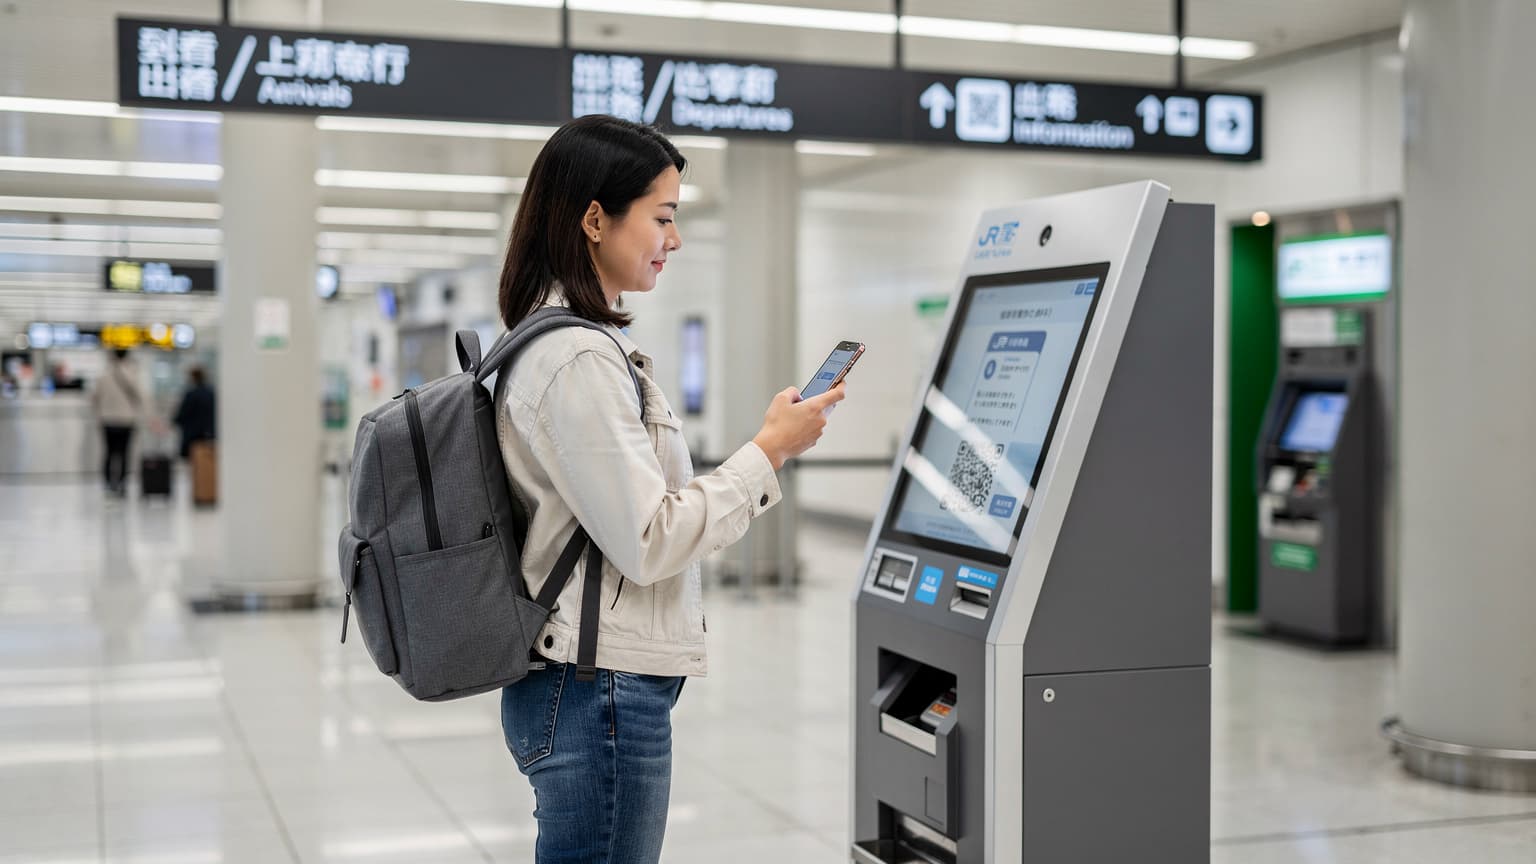
To activate an eSIM on your iPhone or Android, you generally need to navigate to your device's cellular settings, select the option to add an eSIM, and then either scan a QR code provided by your eSIM carrier or manually enter the activation details.
The eSIM Journey: Unpacking the Digital SIM Revolution
I remember my first trip to Japan, back when physical SIM cards were the only game in town. I landed at Narita, bleary-eyed, and spent a solid hour trying to find a compatible SIM, only to discover the mobile shop in the main concourse was closed until 10:00 AM. It was a miserable start to what should have been an exciting arrival in Tokyo. Fast forward to today, and that kind of hassle feels like a relic from another century. The eSIM, or embedded SIM, has truly changed the game, cutting out the plastic and the waiting lines.
For those still wondering what an eSIM is, think of it as a digital SIM card, pre-installed in your phone. Instead of swapping out a tiny piece of plastic, you download a profile directly onto your device. This means you can switch carriers and data plans with a few taps, making it a godsend for anyone who travels frequently. It's a technology that has truly come into its own, especially for handsets running iOS 18 or the latest Android versions, offering flexibility I could only dream of during those early travel days.
Prepping Your Device: The Pre-Trip Checklist
Before you even think about activating an eSIM, a little groundwork goes a long way. Trust me, nothing sours a trip faster than connectivity issues right as you're trying to hail a taxi from Rome's Fiumicino Airport into Trastevere, or navigate the labyrinthine streets of Kyoto's Gion district.
Is Your Phone eSIM Compatible?
Most modern smartphones support eSIM. If you have an iPhone XS or newer, including all iPhone 15 models, you're good to go. For Android users, typically devices like the Samsung Galaxy S20 series or newer, Google Pixel 3 and up, and many newer flagships from manufacturers like Xiaomi and OnePlus are compatible. Always double-check your specific model's specifications, though. A quick search for "[Your Phone Model] eSIM compatibility" will usually give you a definitive answer.
Unlocking Your Device: A Crucial Step
This is where many travelers hit a snag. If your phone is locked to a specific carrier (like AT&T, Verizon, or T-Mobile in the US), it likely won't accept an eSIM from another provider, especially an international one. Before you leave, call your home carrier and request an unlock. They often have specific requirements, like a certain period of active service, so do this well in advance. I learned this the hard way trying to get a local SIM to work on a locked phone in Argentina, ending up paying exorbitant roaming charges for a week in Palermo before I could sort it out.
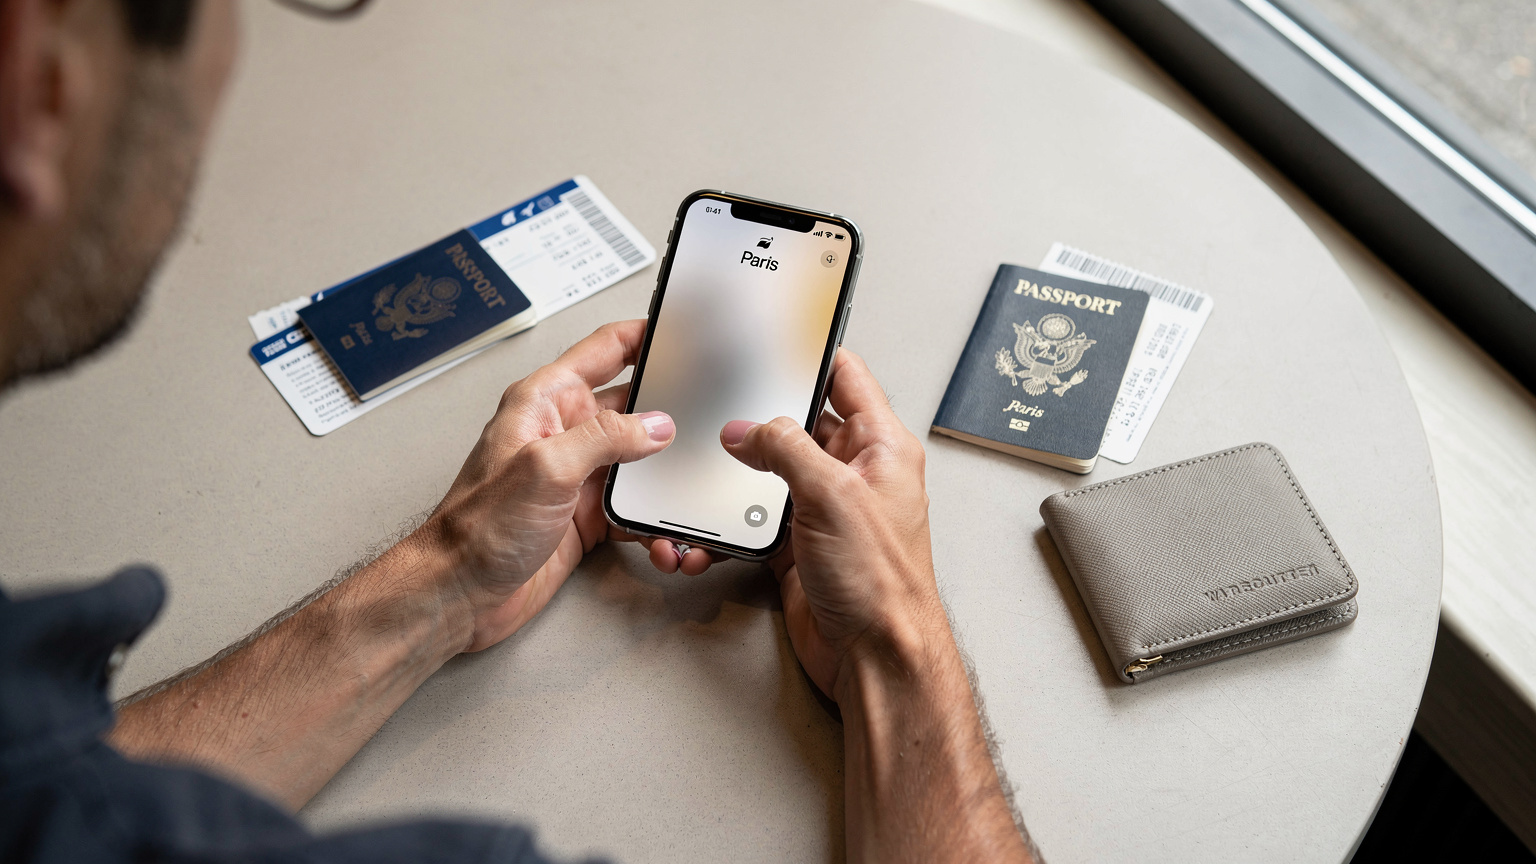
How to Activate eSIM on iPhone (iOS 18 onwards)
Apple has made the eSIM activation process incredibly smooth over the years, and with iOS 18, it's more intuitive than ever. Whether you're using a QR code or manually entering details, the steps are straightforward.
Method 1: Scanning a QR Code (The Easiest Way)
This is the preferred method for most eSIM providers, including Cellesim. You'll receive a QR code via email or directly in your account dashboard after purchase.
- Open Settings: Tap the grey "Settings" icon on your home screen.
- Navigate to Cellular: Scroll down and tap on "Cellular" (or "Mobile Data" in some regions).
- Add eSIM: Tap "Add eSIM."
- Scan QR Code: Choose "Use QR Code." Your camera will open. Position your iPhone so the QR code is centered in the frame. It should detect and scan automatically.
- Follow Prompts: Your iPhone will then guide you through adding the cellular plan. You might be asked to label the plan (e.g., "Travel Japan," "France Data"), choose which line for iMessage/FaceTime, and select a default line for cellular data.
- Enable Data Roaming: For international eSIMs, ensure "Data Roaming" is turned ON for your new eSIM line. (We'll cover this more in a later section.)
Method 2: Manual Entry (When a QR Code Isn't Possible)
Sometimes you might not have a second screen for the QR code, or your provider might only offer manual details. It's a bit more typing, but still very manageable.
- Open Settings > Cellular > Add eSIM: Follow steps 1-3 from the QR code method.
- Enter Details Manually: Choose "Enter Details Manually" at the bottom of the screen.
- Input SM-DP+ Address & Activation Code: Your eSIM provider will supply these. Carefully type them into the respective fields. There's often a "Confirmation Code" field too, so make sure you enter all provided information accurately.
- Complete Setup: Tap "Next" and follow any remaining on-screen prompts to activate the plan.
Activating eSIM on Android (Samsung, Pixel, and Beyond)
Android's activation process is quite similar to iPhone's, though the exact menu names might vary slightly between manufacturers like Samsung and Google Pixel. The core steps remain the same.
For Google Pixel Devices (e.g., Pixel 8, Pixel 9)
- Open Settings: Swipe down from the top of your screen and tap the gear icon, or find "Settings" in your app drawer.
- Navigate to Network & Internet: Tap on "Network & internet."
- SIMs > Add Network: Tap "SIMs," then look for an option like "Add network" or "+ Add more."
- Download an eSIM: When prompted "Use 2 SIMs?" or similar, choose "Download an eSIM instead."
- Scan QR Code or Enter Manually: If you have a QR code, tap "Next" and scan it. If you need to enter details manually, look for a small link, often "Need help?" or "Add it manually."
- Follow Prompts: Your Pixel will then guide you through labeling the eSIM, setting it as your default for data, calls, and texts.
- Enable Data Roaming: Crucial for international use, ensure "Data Roaming" is ON for your new eSIM.
For Samsung Galaxy Devices (e.g., S24, Z Fold 6)
- Open Settings: Tap the "Settings" icon.
- Navigate to Connections: Tap on "Connections."
- SIM Manager: Select "SIM manager."
- Add eSIM: Under "eSIMs," tap "Add eSIM."
- Scan QR Code or Add Manually: Choose "Scan QR code" or "Add using activation code."
- Follow Prompts: If scanning, your camera will open. For manual entry, input the SM-DP+ Address and Activation Code.
- Complete Setup & Enable Roaming: Follow the on-screen instructions, label your eSIM, and ensure Data Roaming is enabled for the new line.

Before or After Arrival: Timing Your eSIM Activation
This is a question I get asked a lot. Should you activate your eSIM before you even step on the plane, or wait until you've landed? The answer, like most things in travel, depends on your specific plan and comfort level.
Activating Before You Go
Many Cellesim plans activate only when they connect to a supported network in the destination country. This is ideal, as it means you can purchase and set up your eSIM while still at home, perhaps a day or two before your flight. You simply install the eSIM, label it, and then switch it on once you land. This is my preferred method for peace of mind, especially if I'm arriving late at night in a place like the Shibuya district of Tokyo, where I know getting local data immediately will be crucial for navigation and hailing a taxi via the 'Go' app.
Activating Upon Arrival
If your plan activates immediately upon installation, or if you prefer to be extra cautious, you can wait until you land. Just be sure you have Wi-Fi access (like at an airport or hotel) to download the eSIM profile. I've done this numerous times, sitting at a cafe in Paris, getting my Cellesim eSIM setup guide ready while sipping an espresso, before hopping on the Métro line 1 toward the Marais.
| Scenario | Pros | Cons |
|---|---|---|
| Activate Before Travel | Instant connectivity upon arrival; no need for airport Wi-Fi; less stress at destination. | Might start your plan's validity period earlier if it activates on installation. |
| Activate Upon Arrival | Ensures plan starts exactly when you need it; avoids accidental early activation. | Requires airport/hotel Wi-Fi; potential for activation delays or issues while tired. |
Data Roaming and Line Management: The Post-Activation Dance
Once your eSIM is active, the next step is managing your lines. Your phone might now have your primary home SIM (physical or eSIM) and your new travel eSIM. Here's how to ensure you're using the right one for data.
Turning On Data Roaming for Your Travel eSIM
This is a critical step for any international eSIM. Data roaming must be enabled for your travel eSIM to connect to local networks. Don't worry, this only applies to the specific eSIM line you select, not your home line. You won't incur surprise charges on your home plan if you've turned off data roaming for it.
- On iPhone: Go to Settings > Cellular > [Your Travel eSIM Label]. Make sure "Data Roaming" is toggled ON.
- On Android (Pixel/Samsung): Go to Settings > Network & internet > SIMs > [Your Travel eSIM Label]. Toggle "Roaming" ON.
Setting Your Default Line for Cellular Data
Your phone needs to know which line to use for internet access. You'll want to set your new travel eSIM as the default for cellular data.
- On iPhone: Go to Settings > Cellular > Cellular Data. Select your travel eSIM.
- On Android (Pixel/Samsung): Go to Settings > Network & internet > SIMs > Preferred SIM for Mobile data (or similar). Select your travel eSIM.
Keep your home line active for calls and texts if you need to receive them, but ensure data roaming is off for it. This way, you can get urgent messages without accidentally racking up expensive data charges. I keep my US number active to receive two-factor authentication codes, for example, but always ensure its data roaming is firmly off when I'm exploring the backstreets of Lisbon.
eSIM Troubleshooting: When Things Go Sideways
Even with the best preparation, sometimes technology decides to play hard to get. An eSIM not activating or showing no service can be frustrating, especially when you're far from home. Here's my go-to troubleshooting checklist.
"eSIM Won't Activate" or "No Service"
This is perhaps the most common headache. Don't panic. Take a deep breath.
- Check for Wi-Fi: If you're trying to activate upon arrival, ensure you're connected to a stable Wi-Fi network. eSIM profiles need an internet connection to download.
- Restart Your Phone: The oldest trick in the book, and often the most effective. A quick reboot can resolve many temporary network glitches.
- Verify Data Roaming: Did you enable data roaming for your travel eSIM? Double-check this in your cellular settings.
- Manual Network Selection: Sometimes your phone struggles to automatically find the strongest network. Try this:
- On iPhone: Settings > Cellular > [Your Travel eSIM] > Network Selection. Toggle "Automatic" off and manually select a supported local carrier.
- On Android: Settings > Network & internet > SIMs > [Your Travel eSIM] > Network operators. Turn off "Choose automatically" and select a network.
- APN Settings: While most eSIMs configure this automatically, some might require manual APN (Access Point Name) settings. Your eSIM provider's support pages will have this information if needed.
- Contact Support: If all else fails, reach out to your eSIM provider's customer support. They can check your account status and provide specific network details for your location. Cellesim's support is available 24/7, which is a lifesaver when you're in a completely different time zone. (For other common questions, you might find answers in Cellesim's general FAQ section too.)
| Problem | Solution | Details |
|---|---|---|
| eSIM won't install | Stable Wi-Fi, manual entry check | Ensure strong Wi-Fi. If QR fails, manually input SM-DP+ Address & Activation Code. |
| No service after activation | Restart, Data Roaming, Network Selection | Reboot device. Verify Data Roaming is ON for eSIM. Try manual network selection. |
| Slow data speeds | Check coverage, APN settings | Confirm you're within a covered area. Double-check APN settings with provider if needed. |

Choosing the Right eSIM Provider for Your Next Adventure
Not all eSIM providers are created equal. Just like choosing between the MTA in New York or the JR East network in Japan, selecting your data provider requires a bit of research. Price is always a factor, but so are coverage, data allowances, and customer support.
Key Considerations for eSIM Selection
- Destination Coverage: Does the eSIM cover all the countries or regions you'll be visiting? Some plans are regional, like a South America eSIM, while others are country-specific, like for Japan.
- Data Allowance: How much data do you actually need? Are you a heavy streamer, or just checking maps and emails?
- Validity Period: Does the plan last for the duration of your trip? Some plans are for 7 days, others for 30, and some even longer.
- Top-up Options: Can you easily add more data if you run out?
- Customer Support: What kind of support do they offer? 24/7 chat support is invaluable when you're overseas and facing a connectivity hiccup.
| Feature | Cellesim (Example) | Competitor A | Competitor B |
|---|---|---|---|
| Coverage | 190+ countries & regions | 100+ countries | 150+ countries |
| Data Plans | Flexible, from 1GB to unlimited | Tiered, mostly fixed bundles | Mostly regional packs |
| Customer Support | 24/7 chat & email | Email only, business hours | Limited chat support |
| Price (5GB/30 days) | $15-20 (region dependent) | $20-25 | $18-28 |
The Future of Connectivity: eSIM and Beyond
The eSIM isn't just a convenience, it's a peek into the future of mobile connectivity. As more devices, from iPads to laptops, integrate eSIM technology, the days of juggling physical SIM cards will truly be behind us. Imagine seamless connectivity across all your devices, managed from a single account. That's the promise of eSIM, and it's rapidly becoming our reality.
We're seeing increased adoption by carriers worldwide, better integration into operating systems, and a clearer understanding by consumers of its benefits. For me, it means less time worrying about getting connected and more time soaking in the atmosphere of a new place, whether it's finding the best pastéis de nata in Belém, Portugal, or navigating the souks of Marrakech. The freedom to simply arrive and connect is, in my book, one of travel's greatest modern luxuries.
Frequently Asked Questions
Can I activate an eSIM on any iPhone or Android phone?
No, not all phones support eSIM. Generally, iPhones XS and newer, Google Pixel 3 and newer, and Samsung Galaxy S20 series and newer are compatible. Always check your specific device model's specifications before purchasing an eSIM.
Do I need Wi-Fi to activate an eSIM?
Yes, you typically need an active internet connection, usually Wi-Fi, to download the eSIM profile onto your device. Once activated, the eSIM will use cellular data, but the initial setup requires Wi-Fi.
What's the difference between QR code activation and manual entry?
QR code activation is the fastest and easiest method, where you simply scan a QR code provided by your eSIM carrier. Manual entry involves typing in an SM-DP+ Address, Activation Code, and sometimes a Confirmation Code, which is useful if you don't have a second screen for the QR code.
Should I activate my eSIM before or after I arrive at my destination?
Many eSIM plans are designed to activate only when they connect to a supported network in the destination country, allowing you to install it before you depart. If your plan activates immediately upon installation, or if you prefer to be cautious, you can wait until you arrive and connect to airport Wi-Fi.
Why is my eSIM showing "No Service" after activation?
First, restart your phone. Then, ensure 'Data Roaming' is toggled ON for your eSIM line in your phone's cellular settings. You might also need to manually select a network operator from the list of available networks in your settings, as sometimes automatic selection can fail.
Can I use my regular phone number with an eSIM?
Yes, you can often keep your primary physical SIM or eSIM active for calls and texts from your home number while using the travel eSIM for data. Just remember to turn off data roaming for your home line to avoid unexpected charges.