Want to add a cellular data plan to your eSIM-compatible iPad? Just head to Settings > Cellular Data > Add a New Plan. From there, you can scan a QR code from your eSIM provider or type in the details yourself. This lets you connect to mobile networks without a physical SIM card, meaning reliable internet when you're out and about.
eSIM iPads: Which Models Actually Work in 2026?
Let's get straight to it. Not every iPad with cellular capabilities actually supports eSIM, and definitely not every iPad supports cellular at all. Before you even think about buying a data plan, you need to figure out if your specific iPad model has the hardware for eSIM.
For those new to this, eSIM, or embedded SIM, is a digital SIM. It lets you activate a cellular plan from a carrier without needing a physical nano-SIM card. This means no more fumbling with tiny trays, which is a lifesaver when you're jet-lagged in a new country. Most iPads with cellular capabilities launched since 2018 are eSIM-ready. This usually includes:
- iPad Pro (11-inch and 12.9-inch): 3rd generation and later for the 11-inch, 3rd generation and later for the 12.9-inch.
- iPad Air: 3rd generation and later.
- iPad (standard): 7th generation and later.
- iPad mini: 5th generation and later.
If you're not sure about your specific model, a quick check of the model number in Settings > General > About, then comparing it with Apple's specs, will confirm it. Or, for a faster check, use a Cellesim compatibility checker. This step is crucial because a Wi-Fi-only iPad simply doesn't have the internal radio to connect to mobile networks, eSIM or not. It's like trying to put gas in a diesel car; it just won't work.
The Difference Between Cellular and Wi-Fi-Only Models
This is where a lot of people get confused. An iPad sold as "Wi-Fi Only" means exactly what it says: it connects to the internet only through Wi-Fi networks. It doesn't have the internal modem, antenna, or SIM slot (or eSIM capability) needed for 4G or 5G mobile networks. These models are usually cheaper, which is great if you never leave your house or a reliable co-working space, but it's a nightmare if you're trying to hail an Uber in a foreign city or navigate with maps without Wi-Fi.
A "Cellular" iPad, on the other hand, comes with all the hardware needed to connect to mobile networks, plus Wi-Fi. This is the model you need for eSIM functionality. You can usually spot it by a thin plastic strip at the top edge for the antenna and, historically, a physical SIM tray on the side. However, newer cellular iPads rely heavily on eSIMs. The convenience of cellular connectivity on an iPad means you don't always have to drain your phone's battery by tethering, especially when you're trying to keep up with client emails between meetings.
Why Apple Moved to eSIM for iPads
Apple's move towards eSIM for iPads, similar to their iPhone eSIM strategy, is driven by a few factors. First, it allows for more compact internal designs, freeing up valuable space that a physical SIM tray would otherwise occupy. Second, and more importantly for us long-term travelers, it offers incredible flexibility. You can switch carriers and data plans on the fly, without needing to find a local SIM card vendor, deal with language barriers, or worry about losing a tiny piece of plastic.
This flexibility is especially powerful for iPads. While a phone might need a local physical SIM for specific services, like registering for Brazil's PIX banking system or India's Aadhaar biometric ID, which often require a local number, an iPad is mainly a data device. eSIMs remove a big hurdle to immediate connectivity, making it much easier to land in, say, Barcelona, activate an eSIM for Spain, and be online before you even leave the airport. No more desperate searches for 'free WiFi' at El Prat.
Why Your iPad Needs Its Own Data Plan: A Nomad Perspective
I've been traveling for four years, spending 1-3 months in each country. I've learned the hard way that relying only on Wi-Fi or tethering your phone is a recipe for trouble, especially when being online is how you earn a living. Your iPad, if it's your main work device, absolutely needs its own independent data connection.
Picture this: You're in a new city, let's say Lisbon. You've found a decent Airbnb in Alfama, but the Wi-Fi is spotty, cutting out every few hours. You need to join a critical video call. What do you do? Before, it was a rush to find a cafe with reliable internet, like Copenhagen Coffee Lab near Praça do Comércio, or draining your phone's battery by hotspotting. With an eSIM in your iPad, you just switch to cellular, and you're good to go. It’s a backup, a primary connection, and a stress-reducer all in one.

The Unreliability of Public Wi-Fi
I can't count how many times public Wi-Fi has failed me. From the "free Wi-Fi" at Istanbul Airport that demanded a Turkish phone number for an SMS code (a huge hassle for short-term visitors) to the notoriously slow connections in many cafes in Medellín, Colombia. Public Wi-Fi is often slow, insecure, and makes you jump through hoops just to connect. When you're trying to upload a big file or join a high-bandwidth meeting, these problems quickly become deal-breakers.
Even dedicated co-working spaces aren't perfect. I remember working from Hubud in Ubud, Bali, years ago (RIP). While usually excellent, even they had moments of internet instability, especially during peak hours or heavy rain. Having an eSIM on my iPad meant I could instantly switch to a cellular connection without missing a beat. This saved me from countless dropped calls and missed deadlines.
The Limitations of Phone Tethering
Hotspotting from your phone sounds great on paper. One data plan, two devices. Simple, right? Not exactly. Tethering absolutely destroys your phone's battery life. I've seen my iPhone 15 Pro Max drop from 80% to 20% in under two hours while tethering my iPad for a video call. This leaves you with a dead phone just when you need it for navigation, emergencies, or those crucial WhatsApp messages from other nomads about the best street food stall in Bangkok.
Plus, some carriers put speed limits or even extra charges on tethering, especially if you're using a local physical SIM. You might think you have unlimited data, but hidden in the terms and conditions is a clause throttling hotspot usage. An independent eSIM on your iPad avoids these issues completely. It's a cleaner, more efficient way to stay connected, making sure both your phone and iPad have strong data when you need it.
Getting Started: Checking Your iPad's eSIM Compatibility
Before you commit to an eSIM plan, you need to be absolutely sure your iPad supports it. It's not just about having a cellular model, but also about the generation and region. Apple's iPads can be a bit tricky, but a quick check in your settings will give you the definitive answer.
Identify Your iPad Model and Cellular Capability
Here’s how to quickly confirm if your iPad is eSIM-ready:
- Open Settings: Tap the gray 'Settings' icon on your iPad's home screen.
- Navigate to General: Scroll down and tap 'General'.
- Tap About: In the General menu, tap 'About'.
- Find Model Name & Number: Look for 'Model Name' (e.g., iPad Pro 12.9-inch 5th Gen) and 'Model Number' (e.g., A2378).
- Check for 'Cellular Data' Option: If you see a 'Cellular Data' option in your main Settings menu, your iPad is a cellular model. If you don't see it, it's a Wi-Fi-only model and cannot use eSIM.
- Verify eSIM Support: Compare your 'Model Name' or 'Model Number' with Apple's official support documents or Cellesim's eSIM compatibility checker. Generally, if it's a cellular iPad from 2018 or newer, it should support eSIM.
If you have an older cellular iPad that doesn't support eSIM, you're out of luck on the digital front. You'll still need to rely on physical SIM cards, which, while functional, are a pain to manage when you're moving between countries every few weeks. I remember buying a local SIM in Ho Chi Minh City, Vietnam, and having to physically swap it out every time I crossed into Cambodia. Not ideal.
Understanding Unlocked vs. Locked iPads
Just like phones, iPads can be locked to a specific carrier. A carrier-locked iPad will only work with SIMs or eSIMs from that particular provider. This is much less common with iPads than with iPhones, especially if you bought it directly from Apple. However, if you bought your iPad through a mobile carrier or as part of a bundle, it might be locked.
An unlocked iPad gives you the freedom to use any carrier's eSIM or physical SIM, anywhere in the world. This is essential for a digital nomad. Imagine being stuck in Kuala Lumpur, wanting to use a cheap local Maxis eSIM, but your iPad is locked to AT&T. You'd be back to square one, tethering your phone or hunting for Wi-Fi at the Suria KLCC food court. Always make sure your device is unlocked before buying any travel eSIMs.
How to Add an eSIM Data Plan to Your iPad: A Step-by-Step Guide
Adding an eSIM to your iPad is surprisingly straightforward once you have the right model. The process is almost identical to adding an eSIM to an iPhone, which makes it easy if you're already familiar with it. You'll generally have two main methods: scanning a QR code or manual entry.
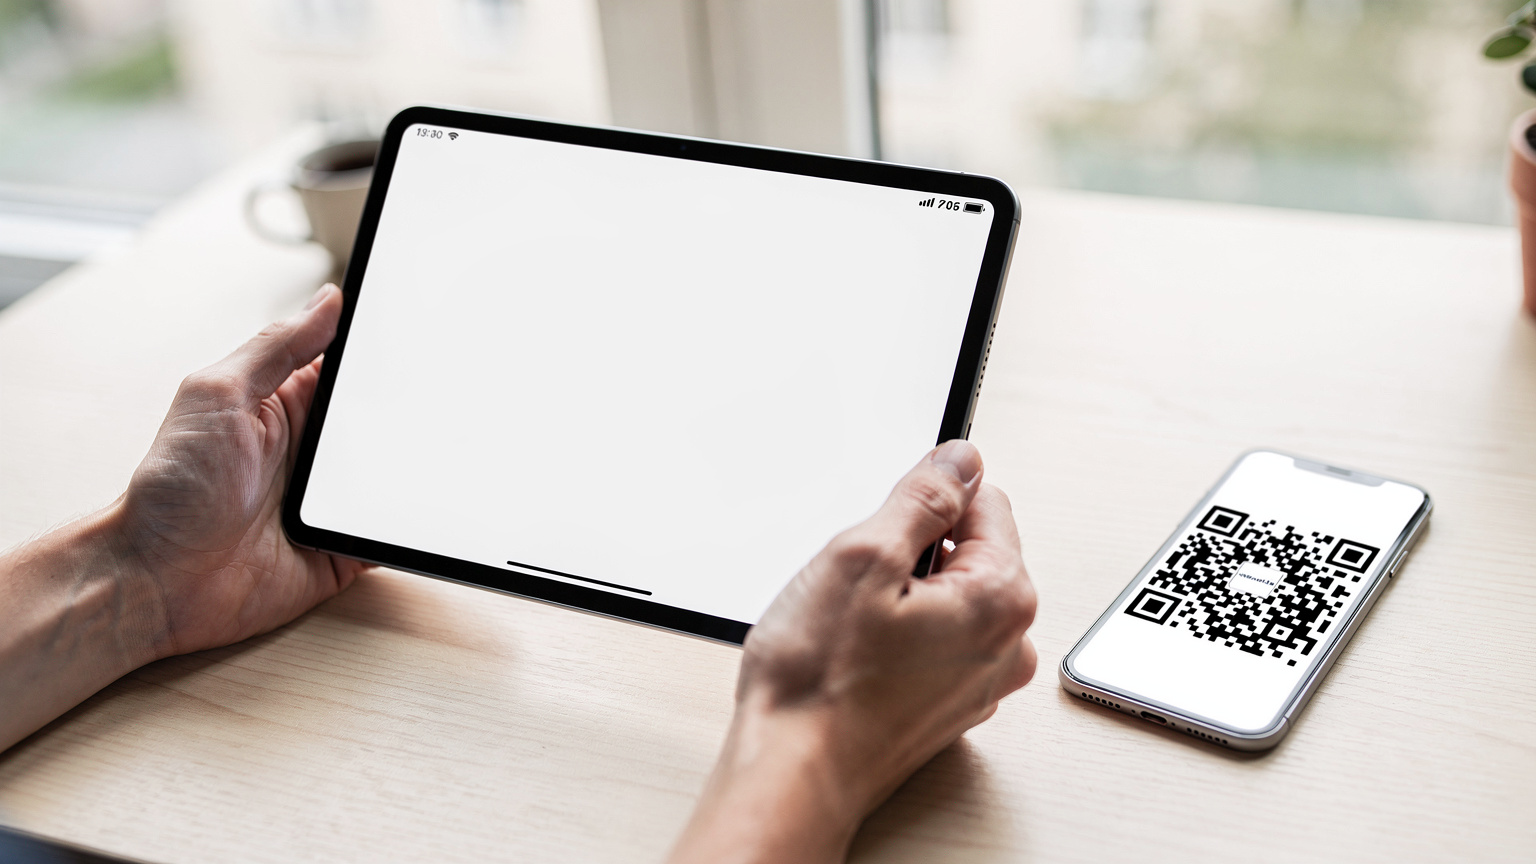
Method 1: Scanning a QR Code
This is by far the easiest and most common way to activate an eSIM. Most travel eSIM providers, like Cellesim, will send you a QR code via email immediately after purchase. Here's how to use it:
- Ensure Wi-Fi Connectivity: Your iPad needs an active internet connection (Wi-Fi) to download the eSIM profile.
- Open Settings: Tap the 'Settings' icon.
- Go to Cellular Data: Tap 'Cellular Data' (or 'Mobile Data' in some regions) in the left-hand menu.
- Tap Add a New Plan: Select 'Add a New Plan' (or 'Add eSIM').
- Use QR Code: Tap 'Use QR Code'.
- Scan the QR Code: Hold your iPad over the QR code (displayed on another device or a printout) so it fits within the frame on your screen.
- Confirmation: Follow any on-screen prompts to confirm and activate the plan. You might be asked to label the plan (e.g., "Travel Data" or "Work iPad").
- Set as Primary: Choose whether to use this new eSIM as your primary data line. For an iPad, it will likely be your only data line.
Once activated, your iPad will connect to the network. You'll see signal bars appear at the top right of your screen, showing cellular connectivity. It usually takes just a few seconds. I once set up a Cellesim eSIM for Japan on my iPad while waiting for my luggage at Narita, and it was ready before my bag even hit the carousel.
Method 2: Manual Entry for eSIM Details
Occasionally, you might get eSIM details as a set of numbers and letters, rather than a QR code. This is less common but still supported:
- Ensure Wi-Fi Connectivity: Just like with the QR code, Wi-Fi is essential for the initial download.
- Open Settings: Tap 'Settings'.
- Go to Cellular Data: Tap 'Cellular Data'.
- Tap Add a New Plan: Select 'Add a New Plan'.
- Enter Details Manually: Tap 'Enter Details Manually' (or similar option).
- Input SM-DP+ Address and Activation Code: You'll be prompted to enter the SM-DP+ Address, an Activation Code, and optionally a Confirmation Code. Your eSIM carrier will provide these.
- Confirm and Activate: Follow the prompts to confirm the details and activate your plan.
This method is a bit more tedious, requiring careful typing to avoid errors, but it gets the job done. I’ve only had to use manual entry a couple of times when a QR code failed to scan properly because of poor lighting or a pixelated image on my laptop screen.
Using Travel eSIMs on Your iPad Abroad: My Real-World Experience
This is where the iPad eSIM really shines for anyone who lives out of a suitcase. Forget expensive roaming charges from your home network. A travel eSIM offers local data rates, often with better coverage and speeds than what your home carrier's international roaming package could ever provide. It's become standard practice for my entire WhatsApp group of digital nomads, whether they're in Southeast Asia or Latin America.
Why Travel eSIMs Are Superior to Roaming
Let's be honest: carrier roaming is a rip-off. My UK Vodafone plan charges me £2/day for roaming in Europe, and even more outside the EU. That's £60 a month, on top of my regular bill, for limited data and often throttled speeds. A Cellesim data plan for Europe, however, can give you 10GB for a month for less than £20. The numbers speak for themselves.
Beyond cost, travel eSIMs often connect to the best local networks. For example, in Canada, a Cellesim eSIM for Canada will typically use Bell or Telus's strong infrastructure, which provides far better coverage, especially outside major cities like Toronto or Vancouver, compared to a partner network your home carrier might use. In South America, where network quality varies widely, an eSIM can often connect to multiple local providers, giving you the best available signal. I've found this invaluable in places like the remote parts of Patagonia, where Movistar Argentina, for instance, had surprisingly good 4G in small towns, and my eSIM picked it up without a hitch.
| Feature | Travel eSIM (e.g., Cellesim) | Traditional Carrier Roaming |
|---|---|---|
| Cost | Significantly lower, pay-as-you-go | High daily/monthly fees, often hidden costs |
| Data Speeds | Local speeds, often 5G capable | Often throttled or lower priority |
| Coverage | Uses best local networks, often multi-network | Relies on single roaming partner, can be spotty |
| Flexibility | Easy to switch plans/countries, no contracts | Locked into home carrier's roaming package |
| Setup | Instant QR code activation | Automatic, but often requires manual network selection for optimal performance |
Managing Data Usage and Top-Ups
Most eSIM providers make it easy to monitor your data usage directly through their app or a web portal. This is critical when you're on a fixed data allowance. You can usually top up your plan with more data with a few taps, avoiding any interruption to your workflow. This real-time management is far better than waiting for an SMS notification from your home carrier saying you've hit your roaming limit and are about to incur exorbitant charges.
My routine is usually to buy a 30-day, 20GB plan when I land. If I'm hitting a co-working space like Impact Hub in Vienna, I'll use their Wi-Fi for heavy downloads. But if I'm out exploring a new neighborhood, or working from a cafe with questionable Wi-Fi, my iPad eSIM is my go-to. I check my usage daily via the Cellesim app, and if I see myself running low, I buy a top-up pack before it becomes an issue. No drama, no surprises, just consistent connectivity.

The Pitfalls of Wi-Fi-Only iPads and Tethering Alternatives
If you're reading this with a Wi-Fi-only iPad, you might feel a bit left out. And honestly, you should be. While these models are cheaper, the lack of independent cellular connectivity is a real limitation for anyone who needs to be reliably online outside of a fixed Wi-Fi network. It forces you into workarounds, none of which are as smooth or robust as a dedicated eSIM.
Why a Wi-Fi-Only iPad Isn't Ideal for Nomads
I've already talked about the unreliability of public Wi-Fi and the battery drain of phone tethering, but let's say it again: a Wi-Fi-only iPad fundamentally restricts your mobility. You're constantly hunting for a network, asking for passwords, and hoping the connection is stable enough for your tasks. This isn't just an inconvenience; it's a productivity killer.
Imagine you're trying to quickly check directions or book a Grab in Hanoi, but the Wi-Fi at your guesthouse just went down. Or you're at a cafe, and the Wi-Fi is fine for browsing, but drops out every time you try to join a Zoom call. These aren't hypothetical scenarios; they are daily realities for many travelers. For critical work, a Wi-Fi-only iPad means you're always one unstable connection away from being offline, which is a risk most digital nomads cannot afford to take.
Tethering Your iPhone or Android: The Stopgap Solution
If you absolutely must use a Wi-Fi-only iPad on the go, tethering your smartphone is your only real option. Both iPhones and Android devices can create a personal hotspot, turning your phone's cellular connection into a Wi-Fi network your iPad can join. It's relatively easy to set up:
On iPhone:
- Go to Settings > Personal Hotspot.
- Toggle 'Allow Others to Join' On.
- Note the Wi-Fi Password.
- On your iPad: Go to Settings > Wi-Fi, and select your iPhone's network name, then enter the password.
On Android:
- Go to Settings > Network & internet > Hotspot & tethering > Wi-Fi hotspot.
- Toggle 'Wi-Fi hotspot' On.
- Note the Hotspot Name and Password.
- On your iPad: Go to Settings > Wi-Fi, and select your Android's network name, then enter the password.
While this works, remember the downsides: phone battery drain, potential carrier throttling, and the single point of failure (if your phone dies, both devices are offline). It's a temporary fix, not a long-term solution. For anything more than occasional browsing, I recommend a dedicated eSIM for your primary device, whether that's a laptop or an iPad. Your phone's battery will thank you.
Managing Multiple eSIM Profiles on Your iPad: The Savvy Way
One of the biggest benefits of eSIM technology, especially for long-term travelers, is being able to store multiple eSIM profiles on a single device. Your iPad can hold several eSIMs, letting you switch between them as needed. This is incredibly useful if you're hopping between countries or if you want to keep a backup eSIM active for emergencies.
Switching Between eSIM Plans
If you have multiple eSIM profiles installed on your iPad, switching between them is simple:
- Open Settings: Tap the 'Settings' icon.
- Go to Cellular Data: Tap 'Cellular Data'.
- Select Your Desired Plan: Under 'Cellular Plans' (or 'Mobile Data Plans'), you'll see a list of your installed eSIMs. Tap the one you want to use for data.
- Turn On This Line: Make sure 'Turn On This Line' is toggled on.
- Set as Primary: If asked, confirm it as your primary data line.
This flexibility is priceless. Say you're doing a multi-country trip through South America. You could have a Cellesim eSIM for South America covering multiple countries, and then a dedicated local eSIM for Argentina if you find yourself spending a month in Palermo, Buenos Aires, and need higher data allowances for cheaper rates. I often use a regional eSIM for transit days and then activate a local eSIM once I've settled in a country for a while. The monthly rent for a decent studio in Palermo, for instance, runs about $400-500 USD, so saving on data helps balance the books.
| Scenario | eSIM Strategy | Benefit for iPad User |
|---|---|---|
| Short Trip (1-2 weeks, 1 country) | Single country-specific eSIM (e.g., Cellesim Japan) | Simple, cost-effective, immediate data upon arrival. |
| Multi-Country Trip (2-4 weeks) | Regional eSIM (e.g., Cellesim Europe) | Seamless connectivity across borders, no need to switch. |
| Long-Stay Nomad (1-3 months, 1 country) | Regional eSIM for arrival/transit, then a local-specific eSIM for the long haul. | Best local rates, higher data allowances, ideal for co-working (e.g., CoPass in Chiang Mai). |
| Backup Connectivity | Keep a small data plan from a different provider active as a secondary eSIM. | Ensures connectivity even if primary eSIM network has issues. |
Removing Old or Unused eSIMs
To keep things tidy and avoid clutter, you can easily remove eSIM profiles you no longer need. This is useful if you've finished a trip or if a plan has expired:
- Open Settings: Tap the 'Settings' icon.
- Go to Cellular Data: Tap 'Cellular Data'.
- Select the eSIM You Want to Remove: Under 'Cellular Plans', tap the eSIM profile.
- Tap Delete eSIM: Scroll down and tap 'Delete eSIM' (or 'Remove Data Plan').
- Confirm: Confirm your choice when prompted.
This doesn't delete the plan from your provider's system, but it removes it from your iPad, freeing up a slot for a new one. It's a good habit to clear out old profiles after each major trip, just to keep your settings clean. It's a bit like clearing out old files from your desktop; it just makes everything run smoother.
eSIM for iPad FAQs
I get a lot of questions about this topic in my nomad groups, so here are the most common ones, straight up.
Q: Can I use an eSIM on any iPad?
A: No, only cellular-enabled iPad models from 2018 onwards support eSIM. Wi-Fi-only iPads lack the necessary hardware to connect to mobile networks, regardless of eSIM technology. You need to verify your specific model's compatibility.
Q: Is setting up an eSIM on an iPad different from an iPhone?
A: The process is virtually identical. You go to Settings > Cellular Data > Add a New Plan, and then either scan a QR code or enter the details manually. If you've activated an eSIM on an iPhone before, you'll find the iPad setup familiar.
Q: Can I keep my home cellular plan and add an eSIM for travel on my iPad?
A: Yes, if your iPad supports multiple eSIM profiles, you can have your home plan active and add a travel eSIM. You can then easily switch between them in Settings > Cellular Data to choose which plan provides data. For an iPad, this usually means only having a data plan active, not a voice line.
Q: What if I have a Wi-Fi-only iPad and still need mobile data?
A: Your only option is to tether it to a smartphone or a dedicated mobile hotspot device. This uses your phone's cellular data and shares it via Wi-Fi. Be mindful of your phone's battery life and any tethering restrictions from your phone's carrier.
Q: Are travel eSIMs expensive for iPads?
A: Generally, no. Travel eSIMs are often much cheaper than using your home carrier's international roaming services, especially for data. You can find plans tailored for specific countries or regions that offer competitive rates and larger data allowances, saving you significant money compared to daily roaming fees.
Q: Do I need to be connected to Wi-Fi to activate an eSIM on my iPad?
A: Yes, for the initial activation and download of the eSIM profile, your iPad needs to be connected to a Wi-Fi network. Once the eSIM is installed and activated, you can then disconnect from Wi-Fi and use your cellular data plan.
Frequently Asked Questions
Can I use an eSIM on any iPad?
No, only cellular-enabled iPad models from 2018 onwards support eSIM. Wi-Fi-only iPads lack the necessary hardware to connect to mobile networks, regardless of eSIM technology. You need to verify your specific model's compatibility.
Is setting up an eSIM on an iPad different from an iPhone?
The process is virtually identical. You go to Settings > Cellular Data > Add a New Plan, and then either scan a QR code or enter the details manually. If you've activated an eSIM on an iPhone before, you'll find the iPad setup familiar.
Can I keep my home cellular plan and add an eSIM for travel on my iPad?
Yes, if your iPad supports multiple eSIM profiles, you can have your home plan active and add a travel eSIM. You can then easily switch between them in Settings > Cellular Data to choose which plan provides data. For an iPad, this usually means only having a data plan active, not a voice line.
What if I have a Wi-Fi-only iPad and still need mobile data?
Your only option is to tether it to a smartphone or a dedicated mobile hotspot device. This uses your phone's cellular data and shares it via Wi-Fi. Be mindful of your phone's battery life and any tethering restrictions from your phone's carrier.
Are travel eSIMs expensive for iPads?
Generally, no. Travel eSIMs are often much cheaper than using your home carrier's international roaming services, especially for data. You can find plans tailored for specific countries or regions that offer competitive rates and larger data allowances, saving you significant money compared to daily roaming fees.
Do I need to be connected to Wi-Fi to activate an eSIM on my iPad?
Yes, for the initial activation and download of the eSIM profile, your iPad needs to be connected to a Wi-Fi network. Once the eSIM is installed and activated, you can then disconnect from Wi-Fi and use your cellular data plan.
See also: Copenhagen eSIM