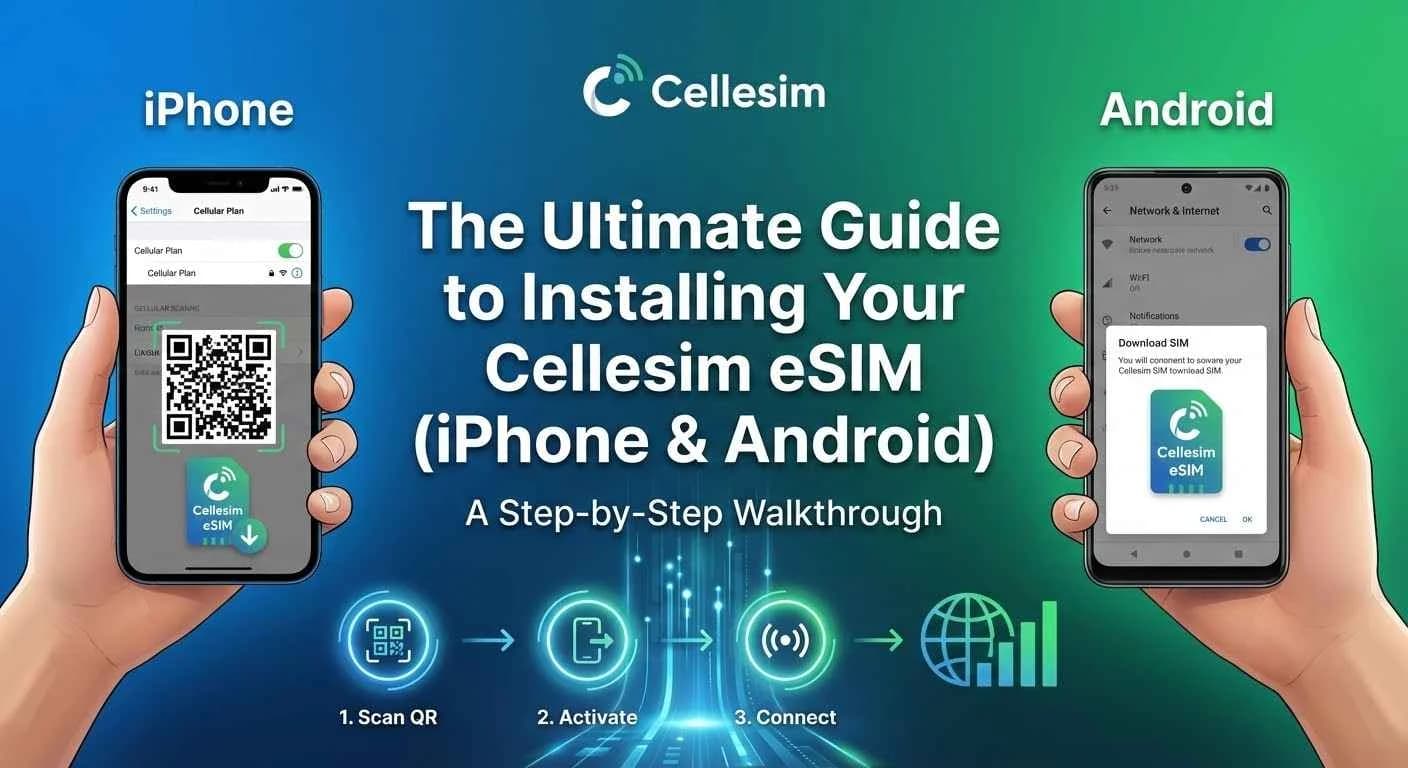
In the evolving landscape of mobile connectivity, eSIM technology stands out as a significant advancement, especially for travelers. Cellesim offers a seamless solution to stay connected globally, eliminating the complexities of traditional SIM cards. This guide provides a comprehensive, step-by-step walkthrough for installing your Cellesim eSIM on both iPhone and Android devices, ensuring you achieve instant connectivity no matter your destination.
- Why Cellesim eSIM is Your Smartest Travel Connectivity Choice
- Understanding eSIM: The Digital SIM Advantage
- Is Your Device eSIM Compatible? iPhone & Android Checks
- Preparing for Installation: Your Cellesim eSIM Checklist
- Step-by-Step: Installing Your Cellesim eSIM on iPhone
- Step-by-Step: Installing Your Cellesim eSIM on Android
- Activating and Managing Your Cellesim eSIM
- Troubleshooting Common Cellesim eSIM Installation Issues
- Frequently Asked Questions
Connect Globally with Cellesim eSIM Plans
Say goodbye to roaming fees and physical SIMs. Join 50,000+ travelers in 200+ countries who connect instantly with Cellesim.
View All eSIM PlansWhy Cellesim eSIM is Your Smartest Travel Connectivity Choice
The traditional hassle of sourcing a physical SIM card upon arrival in a new country is now a relic of the past. With an eSIM (embedded SIM) from Cellesim, travelers can bypass local stores and airport queues entirely. Instead, you download a digital data plan directly to your iPhone or Android device.
This digital approach offers several distinct advantages. It is often more cost-effective than international roaming plans, significantly faster to set up, and inherently more secure as there is no physical card to lose or have stolen. Cellesim streamlines your travel experience by providing instant connectivity, allowing you to navigate, communicate, and share your journey without interruption.
Understanding eSIM: The Digital SIM Advantage
An eSIM is a digital SIM embedded directly into your phone’s hardware. Unlike a physical SIM card that you insert and remove, an eSIM profile can be downloaded and activated wirelessly. This technology supports multiple profiles, meaning you can store several eSIM plans on a single device and switch between them as needed.
"eSIM technology provides unparalleled flexibility for global travelers. You can maintain your primary phone number while using a Cellesim eSIM for local data, ensuring you are always connected without incurring excessive roaming charges."
For iPhone and Android users, the move to eSIM simplifies device management. You no longer need a SIM tray tool or to worry about incompatible SIM card sizes. The setup process is entirely digital, making it ideal for business travelers, digital nomads, and holidaymakers alike who value efficient and reliable internet access.
Is Your Device eSIM Compatible? iPhone & Android Checks
Before you purchase an eSIM plan, it is crucial to verify that your smartphone supports eSIM technology. Most modern iPhones and a growing number of Android devices are eSIM compatible. Here is how to check:
For iPhone Users:
Most iPhone models released since 2018 support eSIM. This includes the iPhone XR, XS, XS Max, and all subsequent models (iPhone 11, 12, 13, 14, 15 series, and SE 2nd/3rd gen). To confirm, go to Settings > General > About. Look for "Add eSIM" or "Digital SIM" under "Available SIM". If you see this option, your iPhone is ready for eSIM.
For Android Users:
eSIM compatibility on Android devices varies more widely by manufacturer and model. Popular brands like Samsung (Galaxy S20 series and newer, Note 20 series, Z Fold/Flip series), Google (Pixel 3 and newer), and Huawei (P40 series) are generally compatible. To check:
- Go to Settings > Network & Internet > SIMs or Settings > Connections > SIM card manager.
- Look for an option like "Add eSIM," "Download a SIM," or "Add mobile plan."
Alternatively, you can dial *#06#. If an "EID" (eSIM Identifier) number appears, your Android device supports eSIM. For a definitive check, visit our eSIM checker tool.
If your device is not compatible, you will need a physical SIM card or consider upgrading your phone to take advantage of eSIM benefits.
Preparing for Installation: Your Cellesim eSIM Checklist
To ensure a smooth Cellesim eSIM installation process, gather these essentials before you begin:
- eSIM Compatible Device: Confirm your iPhone or Android model supports eSIM. Use our eSIM checker if unsure.
- Stable Internet Connection: You will need a reliable Wi-Fi connection to download the eSIM profile. Ensure you are connected before starting the installation.
- Cellesim Confirmation Email: After purchasing your Cellesim eSIM plan, you will receive an email containing a QR code or manual activation details. Keep this email accessible, either on another device or printed out.
- Unlocked Phone: Your device must be unlocked by your carrier to use an eSIM from another provider. If you purchased your phone through a contract, confirm its unlocked status.
Having these items ready minimizes potential issues and allows for quick, stress-free setup. Most Cellesim eSIMs can be installed and activated within minutes once you have your QR code.
Step-by-Step: Installing Your Cellesim eSIM on iPhone
Installing your Cellesim eSIM on an iPhone is a straightforward process, typically completed in a few steps. You can use either a QR code or manual entry.
Method 1: Using a QR Code (Recommended)
- Open Settings: Go to the "Settings" app on your iPhone.
- Navigate to Cellular: Tap "Cellular" or "Mobile Data".
- Add eSIM: Tap "Add eSIM" or "Add Data Plan".
- Scan QR Code: Choose "Use QR Code" and scan the QR code provided in your Cellesim confirmation email. Ensure the code is well-lit and clear.
- Confirm Data Plan: Follow the on-screen prompts to confirm the data plan. You might be asked to label your eSIM (e.g., "Travel," "Cellesim Italy") for easy identification.
- Set Default Line: Select which line you want to use for data, calls, and messages. For travel, it is common to set the Cellesim eSIM for data only, while keeping your primary number for calls/SMS.
- Complete Installation: Once confirmed, your Cellesim eSIM profile will be installed and ready for activation.
Method 2: Manual Entry
If you cannot scan the QR code, Cellesim provides manual activation details.
- Follow Steps 1-3 above.
- Enter Details Manually: Tap "Enter Details Manually" at the bottom of the screen.
- Input SM-DP+ Address and Activation Code: You will need to enter the "SM-DP+ Address" and "Activation Code" (or similar details) found in your Cellesim confirmation email.
- Complete Setup: Follow the remaining on-screen prompts to label your eSIM and set default lines, similar to the QR code method.
For more detailed guidance, refer to the complete eSIM setup guide on our website.
Step-by-Step: Installing Your Cellesim eSIM on Android
Android users can also install their Cellesim eSIM via QR code or manual entry, though menu names may vary slightly between manufacturers (Samsung, Google Pixel, etc.).
Method 1: Using a QR Code (Recommended)
- Open Settings: Go to the "Settings" app on your Android device.
- Navigate to Network: Tap "Network & Internet," "Connections," or "Mobile network."
- Add SIM/eSIM: Look for "SIM card manager," "Add eSIM," or "Download a SIM."
- Scan QR Code: Select "Add using QR code" or "Scan carrier QR code." Scan the QR code from your Cellesim confirmation email.
- Confirm Plan: Follow the prompts to add and activate the mobile plan. Your device will connect to Cellesim's network to download the profile.
- Label eSIM: Name your new eSIM profile (e.g., "Cellesim Travel") for easy management.
- Set Data Preference: Choose your Cellesim eSIM for mobile data. You can keep your primary SIM active for calls/SMS.
Method 2: Manual Entry
If QR code scanning is not feasible, use the manual details provided by Cellesim.
- Follow Steps 1-3 above.
- Enter Details Manually: Select "Enter activation code manually" or "Manual entry."
- Input Activation Code: Type in the "SM-DP+ Address" or "Activation Code" from your Cellesim email.
- Complete Setup: Proceed with the on-screen instructions to finalize the installation, label your eSIM, and configure data preferences.
After installation, ensure your Cellesim eSIM is enabled for mobile data in your device settings. You may also need to enable data roaming for the eSIM, even though it is not traditional roaming, to allow it to connect to local partner networks.
Activating and Managing Your Cellesim eSIM
Once your Cellesim eSIM profile is installed, a few final steps ensure it is active and optimally configured for your travel needs.
Activating Your eSIM
After installation, you typically need to enable the eSIM for mobile data. Go back to your phone's cellular/SIM settings and toggle on the Cellesim eSIM. If you are already at your destination, your phone should automatically connect to a local partner network. If not, a quick restart can help.
Managing Multiple eSIMs and Physical SIMs
One of eSIM's greatest strengths is the ability to manage multiple profiles. On both iPhone and Android, you can easily switch between your primary physical SIM, your Cellesim eSIM, and any other eSIMs you might have. You can specify which SIM to use for mobile data, calls, and SMS. For international travel, it is common to:
- Use Cellesim eSIM for mobile data.
- Keep your primary physical SIM active for incoming calls and texts (especially to avoid losing access to WhatsApp or other messaging apps tied to your home number).
Always review your phone's cellular settings to ensure your preferred SIM is active for data to avoid unexpected roaming charges on your home plan. You can use our roaming savings calculator to compare costs.
Troubleshooting Common Cellesim eSIM Installation Issues
While Cellesim eSIM installation is generally smooth, you might occasionally encounter minor issues. Here are common problems and their solutions:
No Service or Data Connectivity
- Check eSIM is Enabled: Ensure your Cellesim eSIM is turned on in your phone's settings (Settings > Cellular/Mobile Data > Cellesim eSIM).
- Data Roaming: For some eSIMs, you might need to enable data roaming within your phone's settings for the eSIM profile. This allows it to connect to partner networks abroad.
- Network Selection: Try manually selecting a network operator from your phone's settings (Settings > Cellular/Mobile Data > Network Selection > Turn off Automatic, then select a listed network).
- Restart Device: A simple restart often resolves temporary network glitches.
- APN Settings: In rare cases, you might need to manually configure APN (Access Point Name) settings. Cellesim provides these in your confirmation email if required. Go to your eSIM settings > Mobile Network > Access Point Names.
QR Code Not Scanning
- Good Lighting: Ensure the QR code is well-lit and clear.
- Clean Camera Lens: A smudged camera lens can prevent scanning.
- Zoom/Distance: Adjust the distance of your phone from the QR code. Try zooming in slightly if available.
- Manual Entry: If scanning consistently fails, use the manual entry option with the SM-DP+ Address and Activation Code provided in your Cellesim email.
eSIM Not Appearing After Installation
- Restart Device: Sometimes, a restart is needed for the eSIM profile to fully register.
- Check Settings Again: Double-check your Cellular/Mobile Data settings to ensure the eSIM profile is listed and enabled.
- Internet Connection: Ensure you had a stable internet connection during the installation process, as the profile needs to be downloaded.
If you continue to experience issues, contact Cellesim support at [email protected]. Provide your order number and a description of the problem for prompt assistance.
For additional self-help, our troubleshooting guide offers more in-depth solutions.
Ready for Seamless Connectivity?
Install your Cellesim eSIM today and experience effortless global data.
Start Your Connected JourneyTrusted by 50,000+ travelers worldwide. 24/7 Support.
Frequently Asked Questions
Can I keep my physical SIM card active with a Cellesim eSIM?
Yes, most modern smartphones are dual SIM capable, meaning they can support one physical SIM and one or more eSIMs simultaneously. You can use your Cellesim eSIM for data while keeping your primary physical SIM active for calls and SMS from your home number.
When should I activate my Cellesim eSIM?
You can install your Cellesim eSIM at any time before your trip, typically from home with a Wi-Fi connection. However, it is generally recommended to activate it for data only upon arrival at your destination to maximize your data allowance from the moment you need it.
What if my phone is locked to a carrier?
If your phone is locked to a specific carrier, it will not be able to connect to Cellesim's network, or any other network, using an eSIM. You must contact your home carrier to unlock your device before purchasing and attempting to install a Cellesim eSIM.
How do I know how much data I need for my trip?
Data usage varies significantly based on your activities. Streaming videos and heavy social media use consume more data than basic browsing and messaging. Cellesim offers various data plans to suit different needs. You can use our Smart Data Calculator to estimate your requirements.
Can I use my Cellesim eSIM for tethering or personal hotspot?
Yes, Cellesim eSIMs generally support tethering and personal hotspot functionality, allowing you to share your mobile data connection with other devices like laptops or tablets. Ensure your phone's hotspot settings are correctly configured after eSIM activation.
What if I accidentally delete my eSIM profile?
If you accidentally delete your Cellesim eSIM profile, contact our customer support at [email protected] with your order details. Depending on your specific plan and device, it might be possible to reactivate or reinstall it, although some plans are single-use.