The iPhone 17 Pro Max is set to be a top contender in 2026, building on Apple's reputation for cutting-edge mobile tech. With it comes eSIM integration, a game-changer for anyone who travels, works remotely, or just wants more flexible phone service. Forget wrestling with tiny physical SIM cards or getting hit with huge roaming charges. This guide will walk you through exactly how to set up an eSIM on your iPhone 17 Pro Max, so you can stay connected easily, whether you're just across town or halfway around the world.
- Understanding eSIM Technology on Your iPhone 17 Pro Max in 2026
- Essential Preparations Before Installing Your eSIM
- The Two Main Methods to Install an eSIM on iPhone 17 Pro Max
- Step-by-Step Guide: Installing eSIM via QR Code on iPhone 17 Pro Max
- Manually Adding an eSIM to Your iPhone 17 Pro Max
- Activating and Managing Your eSIM Data Plan
- Troubleshooting Common eSIM Installation Issues on iPhone 17 Pro Max
- Why Cellesim is the Ideal eSIM Provider for Your iPhone 17 Pro Max
- Maximizing Your Connectivity with iPhone 17 Pro Max eSIM Features
- Frequently Asked Questions
Understanding eSIM Technology on Your iPhone 17 Pro Max in 2026
The iPhone 17 Pro Max, hitting stores with advanced connectivity, fully supports eSIM technology. This makes it a key part of mobile communication in 2026. An eSIM, or embedded SIM, is basically a digital SIM that lets you activate a cellular plan without needing a physical nano-SIM card. Apple has been slowly bringing this innovation into its devices, giving users incredible flexibility and convenience around the world. With the iPhone 17 Pro Max, you can keep several eSIM profiles on your phone, letting you switch between different carriers or data plans easily. This is super helpful for travelers or anyone who needs separate lines for personal and work use.
Some regions, like the US market for newer iPhone models, have already switched to eSIM-only devices. This highlights a bigger industry trend. While other places might still offer physical SIM cards alongside eSIMs, the iPhone 17 Pro Max shows us where mobile connectivity is headed. Imagine landing in a new country, buying a local data plan online from a provider like Cellesim, and having it active on your phone in just a few minutes. No more searching for local SIM card shops or struggling with language barriers. The secure, simple digital activation is a huge plus, making travel and daily life much more efficient.
Beyond just being convenient, eSIMs are more secure. Unlike physical SIMs that can be removed if your phone gets lost or stolen, an eSIM profile is built right into the device, making it harder for unauthorized people to access. This adds another layer of protection for your personal data and connection. As we move through 2026, the iPhone 17 Pro Max and its eSIM features truly represent a big step forward in mobile technology. It gives users more control over their cellular services and reduces how much we rely on old-school, often clunky, physical SIM cards.
Essential Preparations Before Installing Your eSIM
Before you jump into installing an eSIM on your shiny new iPhone 17 Pro Max in 2026, a few key steps will make sure everything goes smoothly. First, check that your iPhone 17 Pro Max is unlocked. If it's tied to a specific carrier, it might not accept an eSIM from another provider. Most iPhones bought directly from Apple are unlocked, but if you got yours through a carrier contract, double-check with them or ask them to unlock it if you're eligible. This is a common hang-up for many international travelers.
Next, make sure your iPhone 17 Pro Max is running the latest iOS version. Apple regularly releases updates that improve performance and add new features, which are often vital for eSIMs to work their best. A quick check in your phone's settings under Settings > General > Software Update will tell you if you're up to date. An old operating system can cause unexpected errors during activation.
You'll also need a solid Wi-Fi connection. Downloading and activating an eSIM requires an internet connection to talk to your carrier's servers. Public Wi-Fi can sometimes be spotty or risky, so a private, secure network is always better. Finally, have your eSIM QR code or manual activation details handy. Your eSIM provider, like Cellesim, usually sends this information to you by email right after you buy a plan. Having it ready, perhaps on another device or printed out, will speed up the installation a lot.
Experience Instant Connectivity for Your iPhone 17 Pro Max
Get reliable, high-speed data plans for 200+ countries. Join 50,000+ travelers worldwide and stay connected with Cellesim. Instant setup in 2 minutes.
Explore All eSIM Plans Today 🚀The Two Main Methods to Install an eSIM on iPhone 17 Pro Max
Setting up an eSIM on your iPhone 17 Pro Max in 2026 mostly involves two simple ways: scanning a QR code or typing in the details manually. Both are designed to be easy, but knowing which one to use for your situation will make things much smoother. The QR code method is by far the most common and recommended because it's so quick and simple. When you buy an eSIM from a provider like Cellesim, you'll usually get an email with a QR code. This code has all the info your iPhone needs to download and install the eSIM profile automatically.
To use the QR code method, your iPhone 17 Pro Max will use its camera to scan the code from another screen or a piece of paper. This kicks off the setup, guiding you through a few prompts to confirm the installation. It's fast, efficient, and really cuts down on errors that can happen with typing things in yourself. Most modern eSIM providers, Cellesim included, prefer this method for its user-friendly experience, making sure travelers can get online almost immediately after buying a plan.
The second method, manual entry, is for when a QR code isn't available or if you have trouble scanning it. Instead of a QR code, your eSIM provider will give you specific details: an SM-DP+ Address, an Activation Code, and sometimes a Confirmation Code. You'll enter these details directly into your iPhone's cellular settings. While it's a bit more involved than scanning a QR code, it's a reliable backup for activating your eSIM. This method is especially handy if you only have one device and can't display the QR code on a separate screen, or if you simply prefer typing things in. Both methods work well, but having your QR code ready on another device is usually the fastest way to get connected.
Step-by-Step Guide: Installing eSIM via QR Code on iPhone 17 Pro Max
For most people, installing an eSIM on the iPhone 17 Pro Max using a QR code is the quickest and easiest way. Here’s a detailed, step-by-step guide to get you connected in 2026:
- Purchase Your eSIM: First, buy an eSIM data plan from a trusted provider like Cellesim. Pick a plan that fits your travel spot (like a United Kingdom eSIM, Europe eSIM, or Asia eSIM) and your data needs. Right after you buy it, Cellesim will email you your eSIM QR code and setup instructions. Keep this email open on another device (like a computer or tablet) or print it out.
- Open Settings on Your iPhone 17 Pro Max: Go to your iPhone's Settings app.
- Navigate to Cellular: Tap on Cellular (or Mobile Data, depending on your region).
- Add eSIM: Tap Add eSIM. You might see options like "Add Cellular Plan" or "Set Up Cellular."
- Choose QR Code Method: When asked, select Use QR Code.
- Scan the QR Code: Your iPhone's camera will open. Hold your iPhone so the QR code from your Cellesim email is clearly visible in the camera frame. Your phone should automatically find and scan the code in a few seconds.
- Confirm Cellular Plan: After a successful scan, your iPhone will show details about the new cellular plan from your provider. Tap Continue or Add Cellular Plan to confirm.
- Label Your eSIM: You'll be asked to give your new eSIM a name (e.g., "Travel," "Business," "Cellesim Data"). This helps a lot when you have multiple plans.
- Set Default Line (if applicable): If you already have a physical SIM or another eSIM, your iPhone will ask you to pick a default line for calls, messages, and mobile data. For data, choose your freshly installed Cellesim eSIM.
- Enable Data Roaming (if necessary): For international trips, make sure Data Roaming is turned on for your Cellesim eSIM. You'll find this under Settings > Cellular > [Your Cellesim eSIM Label] > Data Roaming. Cellesim plans are designed for roaming, so you'll usually need to do this.
Once you've finished these steps, your iPhone 17 Pro Max should connect to the local network your Cellesim plan covers, and you can start using your data right away. This whole process usually takes less than two minutes, really showing how convenient eSIM technology is.
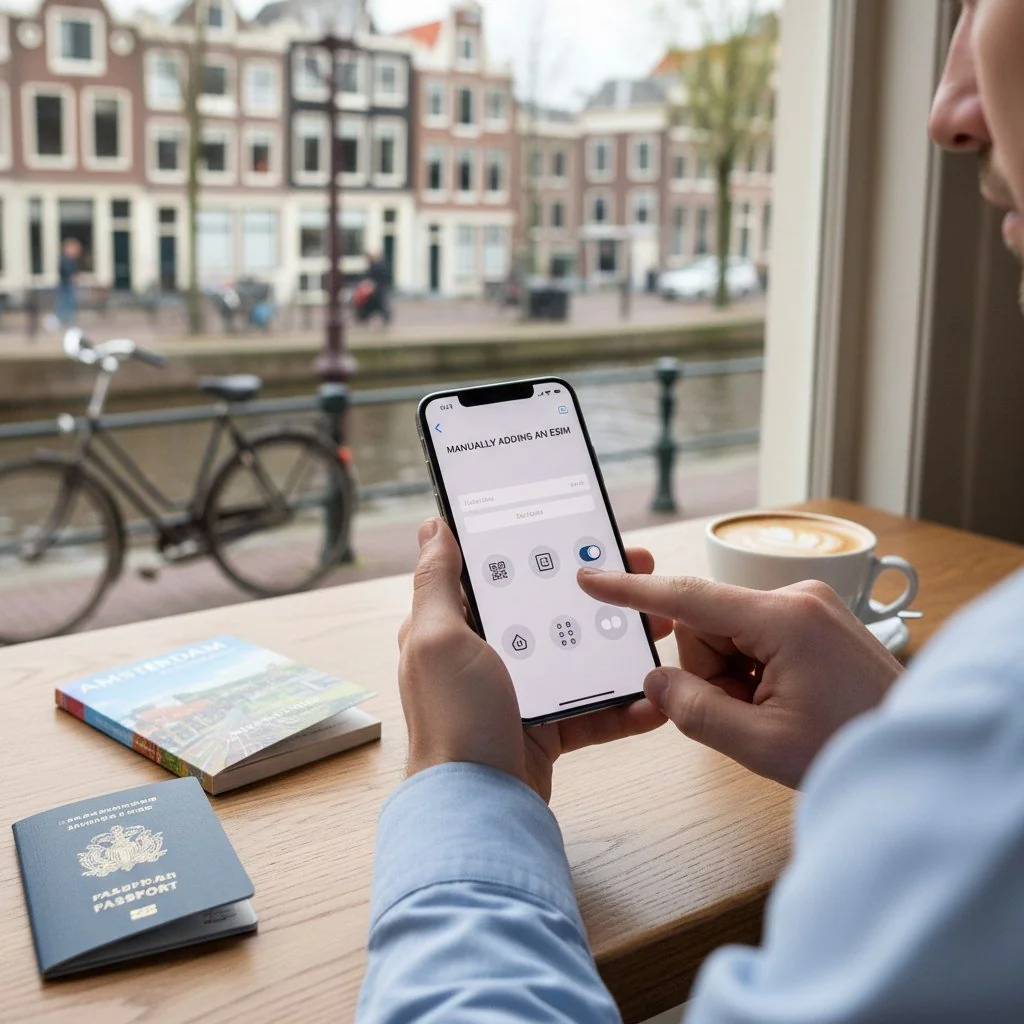
Manually Adding an eSIM to Your iPhone 17 Pro Max
While scanning a QR code is usually the quicker way to install an eSIM, you might sometimes need to manually enter the eSIM details on your iPhone 17 Pro Max in 2026. This method works just as well and means you can still activate your plan even without a scannable QR code. Your eSIM provider, like Cellesim, will give you specific activation codes if you need to use the manual option. Here's how to do it:
- Obtain Manual Details: Make sure you have the necessary manual activation details from your eSIM provider. These typically include an SM-DP+ Address and an Activation Code. Cellesim provides these in your confirmation email, alongside the QR code.
- Open Settings: Go to the Settings app on your iPhone 17 Pro Max.
- Navigate to Cellular: Tap on Cellular (or Mobile Data).
- Add eSIM: Tap Add eSIM.
- Select Manual Entry: When you see the options, choose Enter Details Manually (it might initially say "Use QR Code," then you'll find "Enter Details Manually" within that screen or as an alternative link).
- Input Details: Carefully type the SM-DP+ Address and Activation Code into the correct fields. Double-check for any typos; even one wrong character will stop it from activating. Some providers might also give a Confirmation Code, which you'd enter if there's a field for it.
- Confirm and Activate: Tap Next or Activate Your Cellular Plan. Your iPhone will then connect to the carrier's server to download and install the eSIM profile.
- Label Your eSIM: Just like with the QR code method, you'll be asked to give your new eSIM an easy-to-recognize name, such as "Cellesim Trip" or "My Data Plan."
- Configure Default Line: Choose your preferred default line for calls, messages, and mobile data, making sure your new Cellesim eSIM is selected for data use when you're traveling.
- Enable Data Roaming: For the best international connectivity, remember to turn on Data Roaming for your Cellesim eSIM profile in your Cellular settings.
Manual entry is a solid backup and particularly useful if you can't easily display a QR code on another screen. Always keep your manual details safe, as they're essential for activation.
Activating and Managing Your eSIM Data Plan
Once you've successfully installed your eSIM on your iPhone 17 Pro Max, whether with a QR code or manual entry, the next steps are all about getting it active and managing your new data plan. Activation usually happens automatically once the eSIM profile is downloaded, but it's smart to confirm you're connected. After installation, your iPhone 17 Pro Max should show your eSIM provider's carrier name in the top status bar (like "Cellesim" or a local partner network). Test your connection by opening a web browser or a messaging app. If you don't connect right away, a quick restart of your iPhone often fixes minor network registration issues.
Managing your eSIM effectively on the iPhone 17 Pro Max really highlights its dual SIM power. You can go to Settings > Cellular to see all your installed cellular plans. Here, you can rename your eSIMs (for example, "Primary," "Travel," "Cellesim") to make them easier to tell apart. You'll also be able to choose which line is used for Default Voice Line, Cellular Data, and which numbers work for iMessage & FaceTime. For travel where data is your main concern, set your Cellesim eSIM as your primary line for Cellular Data.
The iPhone 17 Pro Max also lets you easily switch between your physical SIM and eSIM, or between multiple eSIMs, right from these settings. This is incredibly useful for travelers who might use a local physical SIM for calls and texts but rely on a Cellesim eSIM for affordable data abroad. Just remember to turn off data roaming for your home carrier's physical SIM to avoid unexpected charges. Plus, checking your data usage is simple. You can see how much data you have left directly through your Cellesim account online or in the Cellesim app. When your data gets low, Cellesim offers easy top-up options, so you stay connected throughout your trip in 2026.
Troubleshooting Common eSIM Installation Issues on iPhone 17 Pro Max
While setting up an eSIM on the iPhone 17 Pro Max is usually straightforward, you might run into small problems now and then. Knowing how to fix these common issues can save you a lot of time and headache when you're traveling in 2026. One frequent problem is when the QR code won't scan. This can happen if the code is blurry, the lighting is bad, or there's a glare on the screen you're scanning from. Try adjusting the light, cleaning your iPhone's camera lens, or making sure the QR code is clearly displayed on a flat screen. If scanning keeps failing, just use the manual entry method with the SM-DP+ Address and Activation Code you were given.
Another common issue is having no internet connection after the eSIM is installed. First, double-check that Data Roaming is turned on for your Cellesim eSIM under Settings > Cellular > [Your eSIM Label]. Many international eSIMs need this to connect to local networks. If it's on and you still have no service, try restarting your iPhone 17 Pro Max. This often refreshes network connections and fixes minor glitches. Also, confirm that your Cellesim eSIM is selected as the active line for Cellular Data in your settings.
Sometimes, an eSIM might show "No Service" or "Searching." This could mean there's a network problem where you are, or your phone is struggling to register. Manually picking the network operator can sometimes help. Go to Settings > Cellular > [Your eSIM Label] > Network Selection and switch off Automatic. Then, choose one of the available networks. If nothing else works, reach out to Cellesim's 24/7 email support at [email protected]. They can check your eSIM status and offer specific advice. Remember, Cellesim plans are designed to be user-friendly, and their support team is always ready to help with any connectivity issues you encounter.
Why Cellesim is the Ideal eSIM Provider for Your iPhone 17 Pro Max
When picking an eSIM provider for your iPhone 17 Pro Max in 2026, Cellesim really shines as a top choice for travelers and tech lovers worldwide. Cellesim offers extensive coverage in over 200 countries, meaning you'll have reliable data almost anywhere your adventures take you. This huge network means you don't have to buy a new local SIM card in every country, which makes travel so much easier. Whether you're exploring the busy streets of Japan, hiking in the Swiss Alps, or on a business trip in the United States, Cellesim has plans designed for all kinds of needs.
One of Cellesim's biggest perks is its focus on instant delivery and digital activation. As soon as you buy a plan, your eSIM QR code arrives in your email within minutes, letting you activate it 100% digitally right on your iPhone 17 Pro Max. This means no waiting for a physical SIM card to arrive and no desperate search for local shops when you land. The setup is quick and intuitive, designed to get you online in under two minutes. With over 50,000 happy customers globally, Cellesim has earned a reputation for dependable service and a great user experience.
Plus, Cellesim supports 24 languages, including English, German, Spanish, French, and many others, providing local support for its diverse customer base. Their 24/7 email support at [email protected] means help is always available, no matter what time zone you're in. Payments are simple with many options, including credit/debit cards, PayPal, Alipay, and local payment methods, with prices shown in local currencies. This global approach to customer service and accessibility makes Cellesim an unbeatable partner for your iPhone 17 Pro Max, offering peace of mind and effortless connectivity wherever you go in 2026. Think about Cellesim for your next trip and enjoy the freedom of advanced mobile data.
Maximizing Your Connectivity with iPhone 17 Pro Max eSIM Features
The iPhone 17 Pro Max, with its advanced eSIM capabilities, gives you a bunch of features that can really supercharge your connectivity and overall mobile experience in 2026. Knowing how to use these features will help you get the most out of your Cellesim eSIM plans. One of the best features is the ability to use Dual SIM, meaning you can have an eSIM and a physical SIM working at the same time. This lets you keep your home number active on your physical SIM for calls and texts (potentially saving you from voice roaming charges if your plan allows), while using your Cellesim eSIM for fast, affordable data when you're abroad. It's a perfect setup for balancing cost savings with the convenience of keeping your main contact number.
Another handy feature is Personal Hotspot. With a Cellesim eSIM plan, you can easily share your mobile data connection with other devices like laptops, tablets, or even other phones. This turns your iPhone 17 Pro Max into a portable Wi-Fi hub, making sure all your gadgets stay connected without relying on public Wi-Fi, which can often be slow, unsafe, or simply not available in remote areas. To turn it on, go to Settings > Cellular > Personal Hotspot and follow the instructions. This is especially great for business travelers or families sharing one data plan.
The iPhone 17 Pro Max also smartly manages multiple eSIM profiles, giving you incredible flexibility. You can store several Cellesim eSIMs for different regions or countries (for example, one for Europe, one for Asia, one for North America) and switch between them instantly as you travel. This feature, explained more in our guide on managing multiple eSIMs, means you can plan your connectivity well in advance for complicated travel plans. Plus, iOS's strong security features combined with the digital nature of eSIMs give you a safer browsing experience, protecting your data from potential threats often found on public networks. By using these built-in features, your iPhone 17 Pro Max becomes an even more essential tool for staying connected in your travels and daily life in 2026.
Frequently Asked Questions
Does the iPhone 17 Pro Max support eSIM in 2026?
Yes, absolutely. The iPhone 17 Pro Max fully supports eSIM technology. Following Apple's trend for newer models, it likely offers dual eSIM support or a combination of one physical SIM and one or more eSIMs, depending on the region of purchase. This allows for flexible and convenient digital cellular plan activation.
How do I activate eSIM in my iPhone 17 Pro Max?
You can activate an eSIM on your iPhone 17 Pro Max primarily in two ways: by scanning a QR code provided by your eSIM carrier (like Cellesim) or by manually entering the SM-DP+ Address and Activation Code into your phone's cellular settings. Both methods are straightforward and generally take only a few minutes to complete.
How do I activate my new iPhone 17 Pro Max with an eSIM?
To activate your new iPhone 17 Pro Max with an eSIM, first ensure the device is unlocked and connected to Wi-Fi. Then, go to Settings > Cellular > Add eSIM, and choose either to scan the QR code or enter details manually from your eSIM provider. Follow the on-screen prompts to complete the activation and label your new cellular plan.
How do I manually add an eSIM to my iPhone 17 Pro Max?
To manually add an eSIM, navigate to Settings > Cellular > Add eSIM on your iPhone 17 Pro Max. Then, select the option Enter Details Manually. You will then input the SM-DP+ Address and Activation Code supplied by your eSIM provider, ensuring accuracy to avoid activation errors.
Can I use both a physical SIM and an eSIM simultaneously on iPhone 17 Pro Max?
Yes, the iPhone 17 Pro Max supports Dual SIM functionality, allowing you to use both a physical SIM card and one or more eSIMs concurrently. This enables you to have two active phone numbers or data plans on a single device, perfect for managing personal and business lines or for international travel.
What if my eSIM doesn't work after installation on my iPhone 17 Pro Max?
If your eSIM isn't working, first ensure Data Roaming is enabled for your eSIM plan in Settings > Cellular. Try restarting your iPhone. If issues persist, verify you have a strong network signal, and manually select a network operator if needed. For persistent problems, contact your eSIM provider's customer support, such as Cellesim's 24/7 team at [email protected].
Stay Connected in 2026: Get Your Cellesim eSIM Today
Don't let connectivity worries hold you back. Cellesim offers reliable eSIM plans for 200+ countries, ensuring seamless internet access for your iPhone 17 Pro Max wherever you go.
Explore All Cellesim eSIM Plans ✨Join 50,000+ satisfied customers globally. Instant activation, 24/7 support.
See also: transfer your eSIM