Why Opt for a T-Mobile eSIM?
For years, I swore by local physical SIMs, haggling in tiny shops at the Bangkok bus station or the Buenos Aires airport to save every cent. And honestly, for a long-term stay in one country, they're often still the absolute cheapest. But traveling across multiple borders in a short span? The hassle of finding a vendor, dealing with language barriers, and getting ripped off at the airport kiosks (looking at you, Rome Fiumicino) makes a strong case for eSIMs.
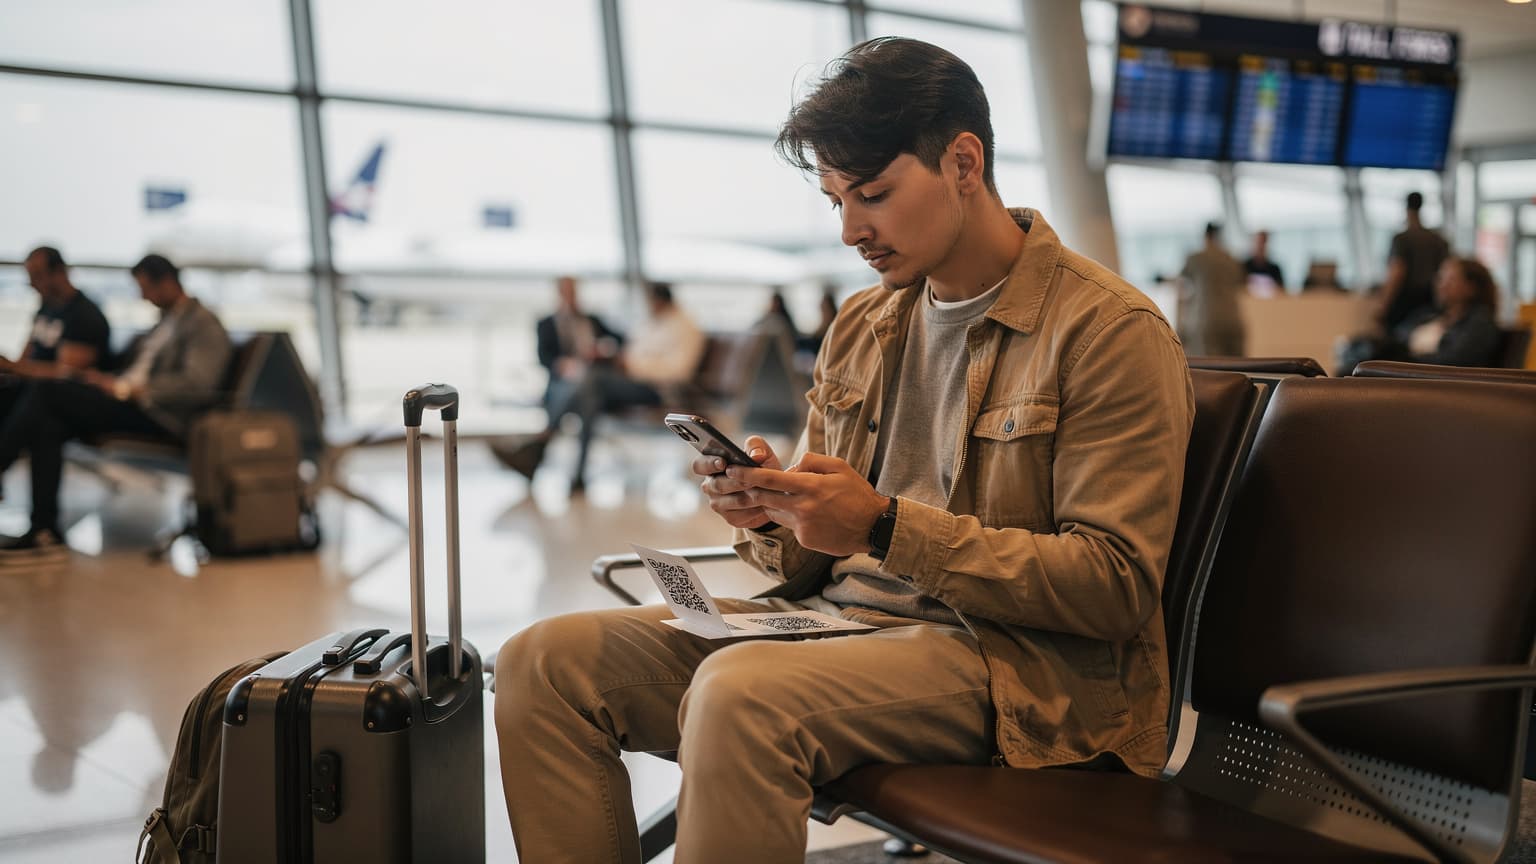
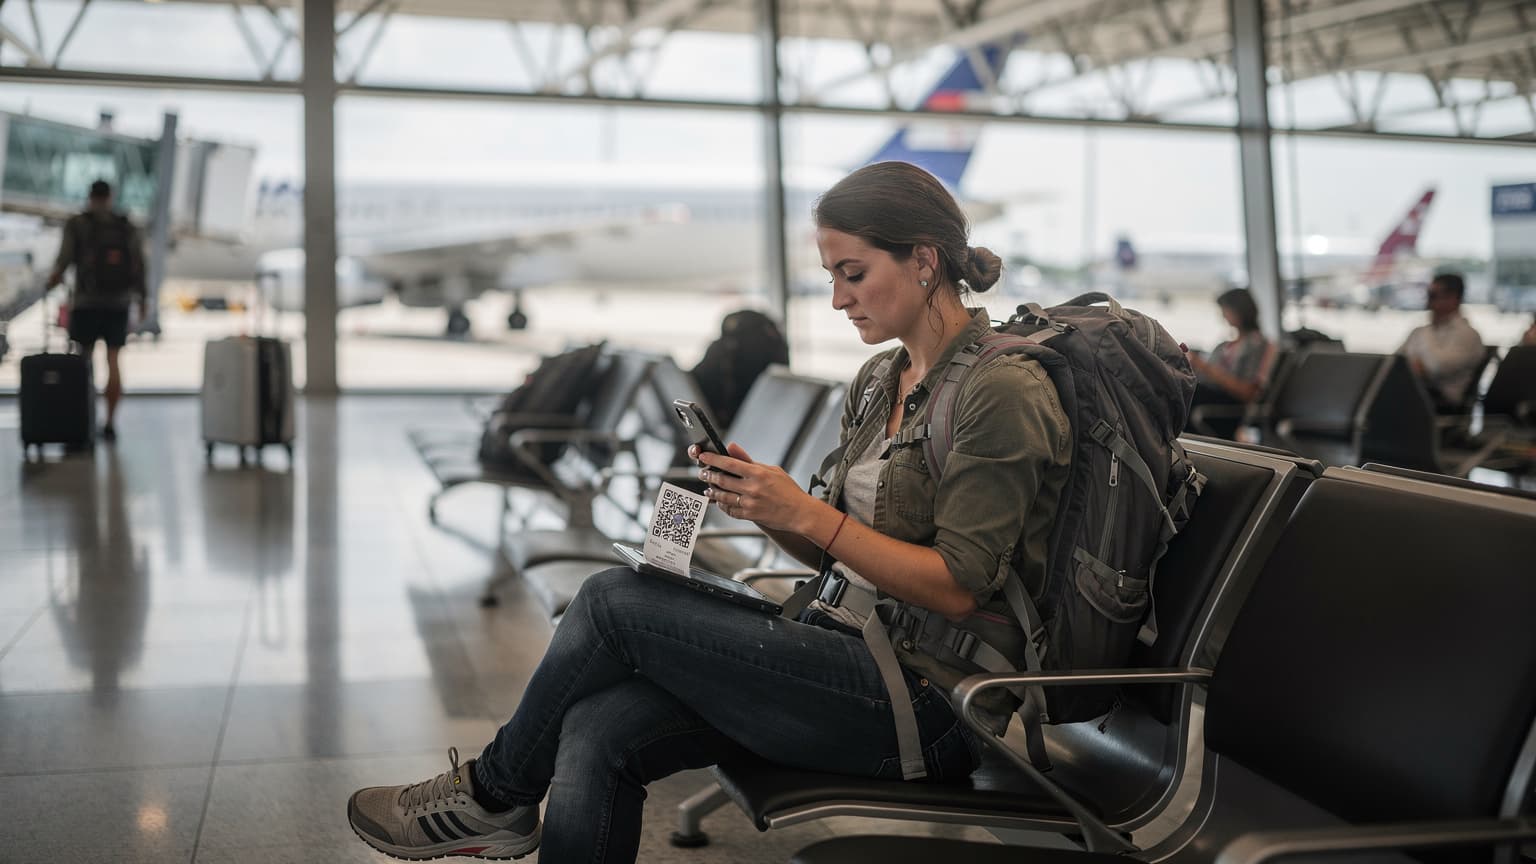
T-Mobile offers eSIMs, which means no more fumbling with tiny SIM card trays or worrying about losing your home SIM in a dodgy hostel locker. It's all digital, tied to your phone, and can be activated with a simple QR code. This is particularly handy for folks like me who are constantly on the move, crossing borders from say, Germany into Austria, then Italy, all in one week. The convenience factor for multi-country trips is huge.
Plus, with a T-Mobile eSIM, you keep your primary number active. This is crucial for things like two-factor authentication for banking apps or keeping in touch with family without resorting to WhatsApp calls only. While I'm all about saving money, I'm also about not getting stranded without access to my bank account. You can learn more about what an eSIM is and how it works if you're new to the technology.
The Benefits of eSIM for the Savvy Traveler
Let's talk brass tacks. For someone who tracks every euro, eSIMs offer benefits beyond just convenience. They cut down on wasted time, which, for a budget traveler, means more time exploring instead of hunting for a phone shop. Imagine landing in Bali, already exhausted from the flight, and instead of navigating the chaos of Denpasar Airport for a Telkomsel SIM, you just scan a QR code and you're online. That's precious time saved, which I'd rather spend negotiating a cheaper scooter rental.
- Instant Activation: No waiting in line, no paperwork. Scan the QR, and you're good.
- Dual SIM Functionality: Keep your primary physical SIM active for calls and texts, while using the eSIM for data abroad. This means no missed calls from home.
- Flexibility: Easily switch between different eSIM profiles, allowing you to compare local data plans with international eSIMs like Cellesim to always get the best deal.
- Environmental Impact: A small win, but no physical plastic means less waste. Every bit counts, right?
Getting Your T-Mobile eSIM QR Code
So, you've decided to go the T-Mobile eSIM route. Smart move, for certain trips. Now, how do you actually get that magical QR code? It's not always as simple as clicking a button, especially if you're already abroad or forgot to arrange it before leaving. I've been in that situation at a border crossing in Southeast Asia, trying to sort out data while the bus driver glared at me.
The primary way to get your T-Mobile eSIM QR code is through their customer service or your online account. If you're a new customer, you might receive it during the signup process. Existing customers can usually request one via the T-Mobile app, their website, or by calling their support line. Be prepared to verify your identity, as this is a security measure. It's usually a breeze from your couch, but a minor headache from a hostel in Lisbon at 2 AM.
Important Note: Some T-Mobile plans might have specific limitations or requirements for eSIM activation, especially older plans. Always double-check your plan details or speak to a T-Mobile representative before you travel. You don't want to find out your plan doesn't support international eSIMs when you're already in a different time zone.
Ways to Obtain Your QR Code
- T-Mobile App: Many customers can request a new eSIM or convert their physical SIM to an eSIM directly through the T-Mobile app. Look for options like 'Manage Plan' or 'Device & SIM'.
- T-Mobile Website: Log into your account on the T-Mobile website. There's often a section dedicated to SIM and eSIM management where you can generate or request a QR code.
- Customer Service: The old-fashioned way, but often the most reliable if you're having trouble. Call T-Mobile support. Be ready to provide your account information and state clearly that you need an eSIM QR code for international use.
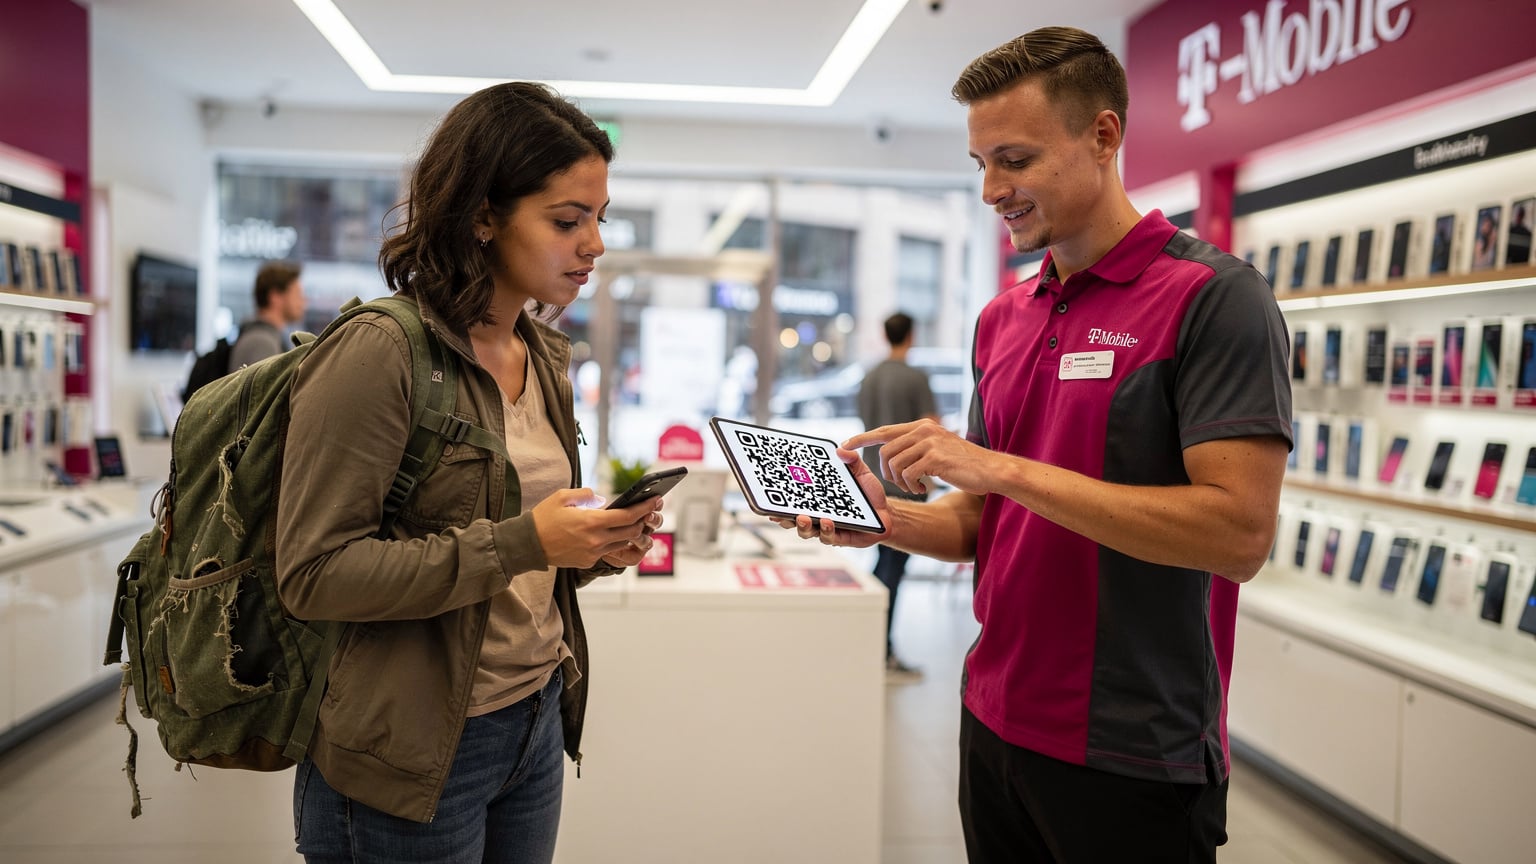
- In-Store: If you're still in the US before your trip, visiting a T-Mobile store is a surefire way to get assistance. They can often print the QR code for you or email it on the spot.
Step-by-Step Activation for iPhone Users
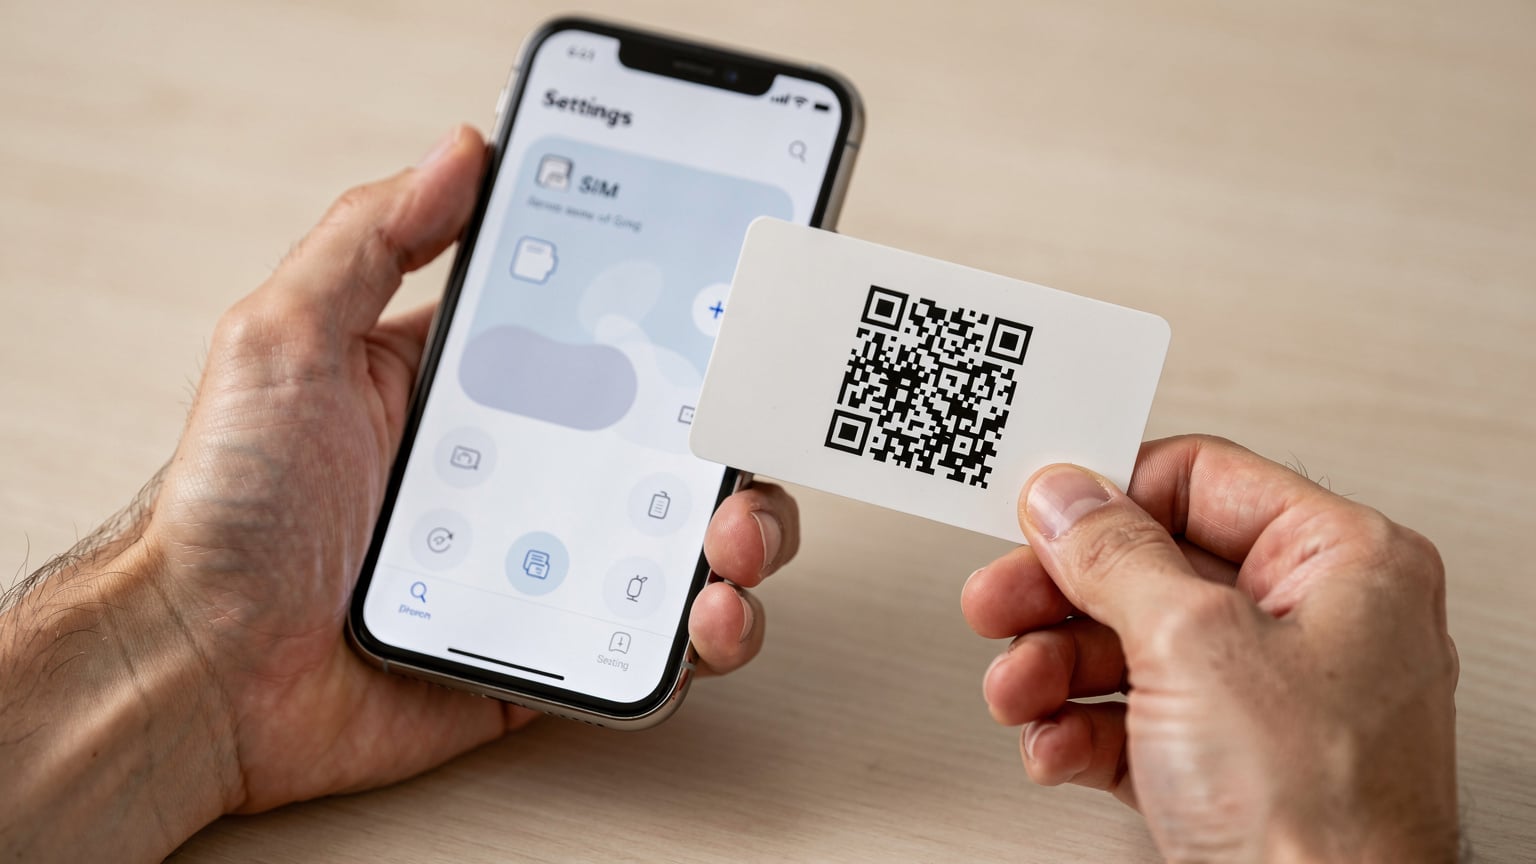
Alright, iPhone users, this is for you. Activating a T-Mobile eSIM on your iPhone via a QR code is fairly straightforward, assuming you've got your QR code in hand and a decent Wi-Fi connection. Remember, without Wi-Fi, you're not downloading anything, so make sure you're either at your hotel, a café (like the free Wi-Fi at Starbucks, not that I'm recommending their coffee), or the airport. I usually do this before I even leave the departure gate, just in case.
Here's the drill:
- Ensure Wi-Fi Connection: Before you do anything, make sure your iPhone is connected to a stable Wi-Fi network. This is non-negotiable for the eSIM profile download.
- Access Settings: Go to your iPhone's 'Settings' app.
- Navigate to Cellular: Tap on 'Cellular' or 'Mobile Data'.
- Add eSIM: Tap 'Add eSIM'. You'll see an option to 'Use QR Code'.
- Scan QR Code: Position your iPhone camera over the QR code provided by T-Mobile. Make sure it's well-lit and in focus.
- Follow Prompts: Your iPhone will detect the eSIM profile. Follow the on-screen prompts to confirm and activate. You might be asked to label your eSIM (e.g., 'Travel Data', 'T-Mobile International'), which is super helpful for managing multiple lines.
- Set Default Line: Once activated, go back to 'Cellular' settings. Here, you can choose which line (your physical SIM or the new eSIM) to use for data, calls, and messages. For data, I always set my travel eSIM as primary to avoid accidental roaming charges on my home line.
If you have any issues, especially if the QR code isn't scanning, double-check that your phone's software is up to date. An old iOS version can sometimes cause hiccups. Also, ensure there's no glare on the QR code itself. I've seen people try to scan a QR code from a laptop screen with a bright light reflecting off it, wondering why it wouldn't work.
Managing Multiple eSIMs on Your iPhone
This is where the true power of eSIMs shines for a frequent traveler. You can store multiple eSIM profiles on your iPhone. I often have my primary physical SIM, plus an eSIM for Europe, one for Southeast Asia, and sometimes even a specific one for a country like Bali if I'm staying there for a while. This means I can switch between them with a few taps, picking the cheapest data plan for wherever I am.
To switch between profiles:
- Go to 'Settings' > 'Cellular'.
- Under 'Cellular Plans', you'll see all your active and stored eSIMs.
- Tap on the eSIM you want to use for data and select 'Turn On This Line'.
- Then, under 'Cellular Data', select that eSIM as your preferred data line.
It's like having a universal remote for your data, but for your phone. This setup is a lifesaver when you're crossing a border from, say, France to Spain, and want to switch from a French regional eSIM to a broader European one from Cellesim, instantly.
Step-by-Step Activation for Android Users
Android users, you're not left out. The process is very similar to iPhone, though the menu names might vary slightly depending on your phone's manufacturer (Samsung, Google Pixel, OnePlus, etc.) and Android version. Still, the core steps remain the same: find the 'Add eSIM' option, scan the QR, and configure. I once helped a fellow backpacker activate his Pixel eSIM in a dusty internet cafe in Bolivia, so I know it's doable anywhere with Wi-Fi.
Here's a general guide for Android devices:
- Connect to Wi-Fi: Just like with iPhones, a stable internet connection is vital for downloading the eSIM profile.
- Open Settings: Go to your phone's 'Settings' app.
- Find Network & Internet: Look for 'Network & internet' or 'Connections' (on Samsung).
- Add Mobile Network: Tap 'SIMs' or 'Mobile network', then look for an option like 'Add SIM' or 'Download a SIM'.
- Scan QR Code: When prompted, choose 'Use a QR code' or 'Scan QR code'. Point your camera at the T-Mobile eSIM QR code.
- Activate and Configure: Follow the on-screen instructions to activate the eSIM. You'll likely be asked to name the eSIM and set it as your preferred line for data.
If your QR code isn't scanning, try restarting your phone, ensuring good lighting, and double-checking that your Android OS is updated. Sometimes, an older version of Android can be finicky with new eSIM profiles. And if you're staring at a blank screen, try manually entering the activation code if T-Mobile provided one alongside the QR. It's usually a long string of numbers and letters, a pain to type, but a good fallback.
Android eSIM Management Tips
Android phones also handle multiple eSIMs well, though the interface might be a bit more buried than on iOS. The key is to know where your SIM management settings are. This is where you decide which data line is active, which is crucial for not accidentally using expensive T-Mobile roaming data when you intended to use your cheaper Cellesim international plan.
- Label Your eSIMs Clearly: When you activate a new eSIM, give it a descriptive name like 'T-Mobile Home' or 'Cellesim Europe'. This makes switching much easier.
- Set Data Preference: In your 'Network & internet' settings, you can usually designate a default SIM for mobile data. Always ensure your cheaper travel eSIM is selected when abroad.
- Disable Auto-Switching: Some Android phones have a 'Smart SIM' or 'Adaptive Connectivity' feature that might automatically switch between SIMs. If you're trying to control costs, disable this to prevent unexpected charges.
Honestly, getting the hang of eSIM management on Android takes a bit of practice, but once you do, it's a huge money-saver. I remember a trip through Italy where I was constantly swapping between a TIM eSIM Italy tourist plan for calls and Cellesim for data. Knowing how to manage those profiles quickly was key.
Troubleshooting Common eSIM Activation Issues
Even with the best instructions, things can go wrong. I've seen it all, from QR codes that refuse to scan to phones that just won't connect. The key is to stay calm and systematically go through potential solutions. Most issues are minor and easily fixable. It's usually user error or a temporary network glitch, not a catastrophic phone failure (though I've had those too, usually after a night bus adventure).
The QR Code Won't Scan
This is probably the most common issue. Before you panic, check these:
- Lighting: Is the QR code well-lit? Too dark, too bright, or glare from a screen can prevent scanning. Try moving to a different spot.
- Focus: Is your phone's camera focusing properly on the QR code? Make sure the image isn't blurry.
- Damage/Quality: Is the QR code itself clear? If it's printed, is it smudged or torn? If on a screen, is the resolution high enough?
- Distance: Try different distances. Sometimes holding it too close or too far away can be the problem.
- Restart Phone: The classic tech support advice, but often effective. A quick reboot can clear minor software glitches.
If all else fails, and T-Mobile has provided an SM-DP+ address and activation code, you can try to enter the information manually. This is a bit tedious but bypasses the scanning process entirely. It's usually found under the 'Add eSIM' section, often labeled 'Enter Details Manually'.

eSIM Activated, But No Service
You've scanned the QR, the phone says the eSIM is active, but you still can't get online. This is infuriating, especially when you're trying to find your hostel in a new city. Here's what to check:
- Data Roaming: For international eSIMs, ensure data roaming is turned ON for that specific eSIM. This is a common oversight. Go to Settings > Cellular > Select your eSIM > Toggle 'Data Roaming' ON.
- APN Settings: Sometimes, the Access Point Name (APN) settings aren't configured automatically. T-Mobile usually sets this up, but if you're using a third-party international eSIM (like Cellesim), you might need to manually input the APN. Check the provider's website for their specific APN.
- Network Selection: Try manually selecting a network operator. Go to Settings > Cellular > Network Selection > Toggle 'Automatic' OFF > Choose a local network (e.g., Vodafone, Orange, etc.) from the list.
- Restart Device: Again, a simple restart can re-establish network connections.
- Check Data Balance: Is it possible you've run out of data? Use the provider's app or website to check your remaining balance. I've definitely made that mistake before, thinking I had more gigs than I did.
When T-Mobile eSIM Might Not Be the Cheapest Option for Travelers
I track every cent. And while T-Mobile's eSIM offers convenience, it's critical to understand that it's often not the cheapest data option for international travel. Their 'Magenta MAX' plan offers international roaming, but it's usually throttled to 2G speeds after a certain amount of data, which is barely enough to load a map, let alone upload photos of your budget hostel breakfast. For real speed, you're paying extra for international data passes, and those costs add up fast. I spent €280 on data alone during an 8-day trip through Italy using my old carrier's roaming, before I wised up.
Let's do some quick math. If you're consuming, say, 1GB of data per day (which is easy if you're using maps, social media, and looking up bus schedules), over 10 days, that's 10GB. T-Mobile's international data passes can range from $5 to $15 per GB depending on the package. That's $50 to $150 just for those 10GB. Compare that to a dedicated travel eSIM from a provider like Cellesim, which might offer 10GB for $25-30 for the same region.
For fairness, the absolute cheapest option, if you're staying in one country for more than a week or two, is almost always a local physical SIM. For example, in Indonesia, a Telkomsel tourist SIM can give you 25GB for about 150,000 IDR (around $10-11 USD), which beats pretty much any international eSIM. The downside, of course, is the time and effort to acquire it. But if you're going to Bali and staying for a month, that local SIM is hard to beat on price per GB.
Roaming Charges and Hidden Costs
This is where many travelers get burned. While T-Mobile markets itself as 'America's only 5G network with coverage in 215+ countries and destinations', the devil is in the details of 'coverage' and 'speed'. Many plans include basic international roaming, but the speeds are often so slow they're practically unusable for anything beyond basic messaging. For high-speed data, you're buying add-ons.
| Provider/Service | Typical Cost (10GB) | Speed/Limitations | Convenience Factor |
|---|---|---|---|
| T-Mobile International Pass | $50 - $150+ | Full speed, but expensive per GB. Basic roaming is 2G. | High, integrated with existing T-Mobile plan. |
| Local Physical SIM (e.g., Telkomsel Indonesia) | $7 - $15 | Full local speed. | Low, requires purchase & setup upon arrival. |
| Cellesim International eSIM | $25 - $35 | Full speed on local networks. | High, pre-purchase & activate anywhere with Wi-Fi. |
Always read the fine print. That 'free international roaming' might only give you enough speed to send a single text message in five minutes. If you're relying on data for navigation, research, or staying in touch, that's simply not going to cut it. I'd rather spend a few extra dollars upfront on a reliable, fast international eSIM than be stuck unable to call an Uber or find my hostel in a new city. I've learned that lesson the hard way, wandering around the back streets of Marrakech at night, trying to load a map on 2G.
Cellesim vs. T-Mobile eSIM: A Cost Breakdown
This is where my budget backpacker instincts kick in. When it comes to international data, it's a constant battle between convenience and cost. T-Mobile offers the convenience of staying with your existing carrier, but Cellesim often wins on pure price per gigabyte for travel data.
Let's take a hypothetical 15-day trip through Europe, covering France, Germany, and Italy. I'd expect to use about 500MB per day, minimum, for maps, WhatsApp, Instagram stories of my cheap street food finds, and looking up bus schedules. That's 7.5GB over 15 days.
- T-Mobile: If I were to buy T-Mobile's international data passes for 7.5GB, it could easily run me $75-$100, depending on the specific passes available.
- Cellesim: A Cellesim European eSIM with 10GB for 30 days might cost around $29-$35. That's a significant saving, often more than half the price.
The math is clear. If your goal is to save money on data while traveling, a dedicated international eSIM provider like Cellesim is usually the better bet. It's designed specifically for travelers, leveraging local networks at competitive rates, rather than being an add-on to a domestic plan. Think of it as buying water from a local shop versus paying hotel minibar prices.
The Value of Flexibility for Budget Travelers
Beyond the raw price, consider the flexibility. With Cellesim, you're not locked into T-Mobile's specific network partners or pricing. You can buy a regional eSIM for Europe, an individual country eSIM for places like Saudi Arabia for specific pilgrimages, or even compare prices with other providers on the fly. This agility is invaluable for a budget traveler. I often compare Cellesim's offerings with what I can get on the ground, and often Cellesim wins for trips under a month.
I've crossed borders where I used Cellesim for the initial connection, then bought a local SIM a few days later once I was settled and had time to shop around. For example, crossing from Egypt into Sudan (a tricky border, by the way, always have small USD bills ready for 'fees'), I'd rely on a regional eSIM for those first few days until I could find a local provider in Khartoum. This hybrid approach saves both money and stress.
| Feature | T-Mobile eSIM (with international add-on) | Cellesim International eSIM |
|---|---|---|
| Primary Purpose | Domestic plan with international roaming as an add-on. | Dedicated international data for travelers. |
| Cost per GB (approx.) | $5 - $15+ | $2 - $5 |
| Activation | QR code from T-Mobile, or physical SIM to eSIM conversion. | QR code after online purchase. |
| Network Access | T-Mobile's roaming partners, often throttled without add-on. | Local high-speed networks in destination countries. |
| Flexibility | Limited to T-Mobile's offerings. | Wide range of plans, easy to switch providers. |
| Ease of Purchase | Through existing T-Mobile account/support. | Online from anywhere, anytime. |
Final Thoughts on eSIM Connectivity
Look, the travel landscape has changed. Gone are the days when you absolutely had to swap physical SIMs every time you crossed a border. eSIMs, whether from your home carrier like T-Mobile or a dedicated provider like Cellesim, have made staying connected abroad infinitely easier. But 'easier' doesn't always mean 'cheaper', and for me, cheap is always king.
My advice? For short trips, or if you value absolute convenience above all else, T-Mobile's eSIM with an international data pass might work, assuming you're okay with the higher cost. But if you're like me, constantly counting euros and looking for the best bang for your buck, a dedicated international eSIM provider is almost always the smarter move. You get better rates, more data, and the flexibility to switch plans as you hop from hostel to hostel, country to country. Always check out the Cellesim FAQ for common questions.
The important thing is to be prepared. Have your eSIM activated before you land, know your data usage, and always have a backup plan (like downloaded offline maps). Because when you're navigating a new city, trying to find the cheapest falafel stand, the last thing you want is to be offline.
Frequently Asked Questions
Can I activate my T-Mobile eSIM while I'm already abroad?
Yes, you can activate your T-Mobile eSIM abroad, provided you have a stable Wi-Fi connection to download the eSIM profile. It's best to do this at your hotel or a reliable Wi-Fi hotspot before heading out.
What if my T-Mobile eSIM QR code isn't working?
First, ensure good lighting and focus when scanning. If it still fails, try restarting your phone. If T-Mobile provided an SM-DP+ address and activation code, you can try manual entry. Otherwise, contact T-Mobile support.
Will activating a T-Mobile eSIM affect my existing phone number?
No, activating a T-Mobile eSIM for data typically won't affect your primary phone number. Your existing physical SIM remains active, allowing you to use both lines simultaneously for calls, texts, and data.
Is T-Mobile's international roaming included with my eSIM always high-speed?
Not usually. T-Mobile's basic international roaming often throttles speeds to 2G after a minimal data allowance. For high-speed data, you generally need to purchase additional international data passes, which can be expensive.
Can I use a T-Mobile eSIM and a Cellesim eSIM on the same phone?
Yes, most modern smartphones with eSIM capability support multiple eSIM profiles. You can have your T-Mobile eSIM for your domestic service and a Cellesim eSIM for international data, switching between them as needed to manage costs.
What's the cheapest alternative to T-Mobile's international data for long trips?
For extended stays in a single country (over a week or two), a local physical SIM purchased upon arrival is almost always the cheapest per-GB option. For multi-country trips, dedicated international eSIM providers like Cellesim offer better value than T-Mobile's international data passes.