Trying to manage your phone's data when you're traveling the world can feel like a chore, but activating a T-Mobile eSIM using a QR code is usually pretty simple. It gets you online without the hassle of physical SIM cards, which is a huge win for international travelers who just want things to work. This guide will walk you through the whole process, making sure you're set for your next adventure.
The Evolution of Connectivity: Physical SIMs to eSIMs
I still remember, not that long ago, landing in a new country and immediately having to hunt for a local SIM card vendor. Usually, it was some overpriced kiosk at the airport. My first trip to Thailand in 2008 meant a 45-minute wait at Suvarnabhumi Airport just to buy a prepaid SIM from DTAC, all while I was jet-lagged and sweating in the Bangkok heat. It felt like a necessary evil, but definitely not efficient.
Now, things are completely different. The embedded Subscriber Identity Module, or eSIM, has changed everything. No more messing with tiny plastic cards, no more looking for that elusive SIM ejector tool (I've lost mine more times than I can count, usually somewhere between a hotel in Florence and a Trenitalia train to Milan). With an eSIM, your phone's identity is programmable, letting you switch carriers and data plans digitally.
This isn't just a cool tech trick. It's a real shift in how we handle connectivity while traveling. Imagine landing in Paris, getting off the RER B at Gare du Nord, and having your local data plan already working before you even hail a taxi to the Marais. That's what eSIM technology promises, and it's a promise T-Mobile, along with many other big carriers, is now keeping.
The Pain Points of Physical SIMs: A Traveler's Lament
I've had my share of physical SIM card nightmares. There was the time in Kyoto when my cheap Android phone wouldn't recognize the SoftBank SIM, leaving me completely dependent on spotty cafe Wi-Fi in Gion for three days. Or the time in Berlin, trying to explain to a Deutsche Telekom clerk in Alexanderplatz that my tiny iPhone 4S needed a micro-SIM, not a standard one. The language barrier, the compatibility issues, the sheer hassle of it all - these are the forgotten frustrations of pre-eSIM travel.
- Loss and Damage: Those little cards are easy to misplace or break. A bent contact pin can render a SIM useless.
- Activation Delays: Sometimes, local SIMs need ID registration, which adds extra steps and time.
- Swapping Hassle: Juggling multiple SIMs, especially when you want to keep your home number active for calls or texts, is a pain.
- Uncertainty: Will this local SIM actually work with my unlocked phone? Will the plan be what I expect? These questions used to haunt me before every trip.
eSIMs largely solve these problems, offering a smoother, more predictable experience. That's exactly what you need when you're trying to find your way through unfamiliar streets or confirm a dinner reservation at that tiny trattoria in Rome's Trastevere district.
Why T-Mobile eSIM for Your Travels?
T-Mobile has always pitched itself as a carrier that's good for travelers, especially those leaving the US. Their 'Magenta' and 'Go5G' plans often come with international roaming benefits, which can be super handy for short trips or occasional use. Being able to activate a T-Mobile eSIM means you can use these benefits without needing a physical SIM.
For example, if you're already a T-Mobile customer and your plan includes international data, activating an eSIM before you leave can mean you land in, say, London Heathrow, and your phone just works. No need to search for a 'Three' or 'Vodafone' shop, no need to change your number, just instant connectivity to check Google Maps for the fastest way to your Airbnb in Notting Hill. (Though, in London, I always prefer the Tube, using the TfL's contactless payment system, which is wonderfully simple).
T-Mobile's International Roaming Perks
Many T-Mobile plans, especially their higher-end options, include some form of international roaming. This usually gives you data at 2G speeds (which, let's be honest, is barely enough for WhatsApp messages, let alone maps or browsing), and sometimes a small amount of high-speed data. It's not perfect for heavy users, but for checking emails and light messaging, it can be a lifesaver.
| T-Mobile Plan Tier | Included International Data (Typical) | Included International Calls/Texts | Best For |
|---|---|---|---|
| Essentials/Go5G | Unlimited 2G data, some plans with 5GB high-speed data in select countries | Unlimited texts, calls at $0.25/min | Light usage, emergencies, keeping home number |
| Magenta MAX/Go5G Plus | Up to 5GB high-speed data in 215+ countries, then unlimited 2G | Unlimited texts, calls at $0.25/min | Moderate usage, longer trips, business travel |
| Business Plans | Varies greatly, often includes more generous high-speed allowances | Varies, sometimes includes free calling to/from Canada/Mexico | Frequent business travelers needing consistent connectivity |
These benefits, especially with an eSIM, mean you can technically keep your main T-Mobile line active for calls and texts while using a secondary eSIM for your high-speed data needs. We'll get into that more when we talk about Cellesim later.
eSIM Compatibility: Is Your Device Ready?
Before you even think about scanning a QR code, you need to make sure your device actually supports eSIM technology. Most modern smartphones from the last few years are eSIM-compatible. This includes:
- iPhones: iPhone XS, XS Max, XR, and newer models (with some regional variations).
- Google Pixel: Pixel 3 and newer.
- Samsung Galaxy: Galaxy S20 series and newer, Note 20 series, Fold series, Flip series.
- Other Android Devices: Many newer flagship phones from brands like Huawei, Motorola, and OnePlus also support eSIM.
A quick check in your phone's settings (usually under 'Mobile Data' or 'Network & Internet') will tell you. If you're not sure, a quick Google search for '[Your Phone Model] eSIM compatibility' will usually clear it up. It's a small check that can save you a lot of frustration, trust me. I once bought an eSIM for a trip to Vietnam, only to realize my old work phone (a trusty but outdated iPhone 8) didn't support it, leaving me scrambling for a physical SIM at Tân Sơn Nhất International Airport after a 17-hour flight.
Preparing for Your T-Mobile eSIM Activation
A little preparation goes a long way. Think of it like packing your carry-on: you don't want to realize you've forgotten your passport or your universal adapter when you're already at the gate at JFK's Terminal 5.
What You'll Need Before You Start
- An eSIM-compatible device: As mentioned, check your phone model.
- A stable Wi-Fi connection: You'll need this to download the eSIM profile. Don't try to do this on a moving train on the JR Yamanote line, for instance, where connectivity can be patchy.
- Your T-Mobile account credentials: You might need to log into your account to start the eSIM transfer or request the QR code.
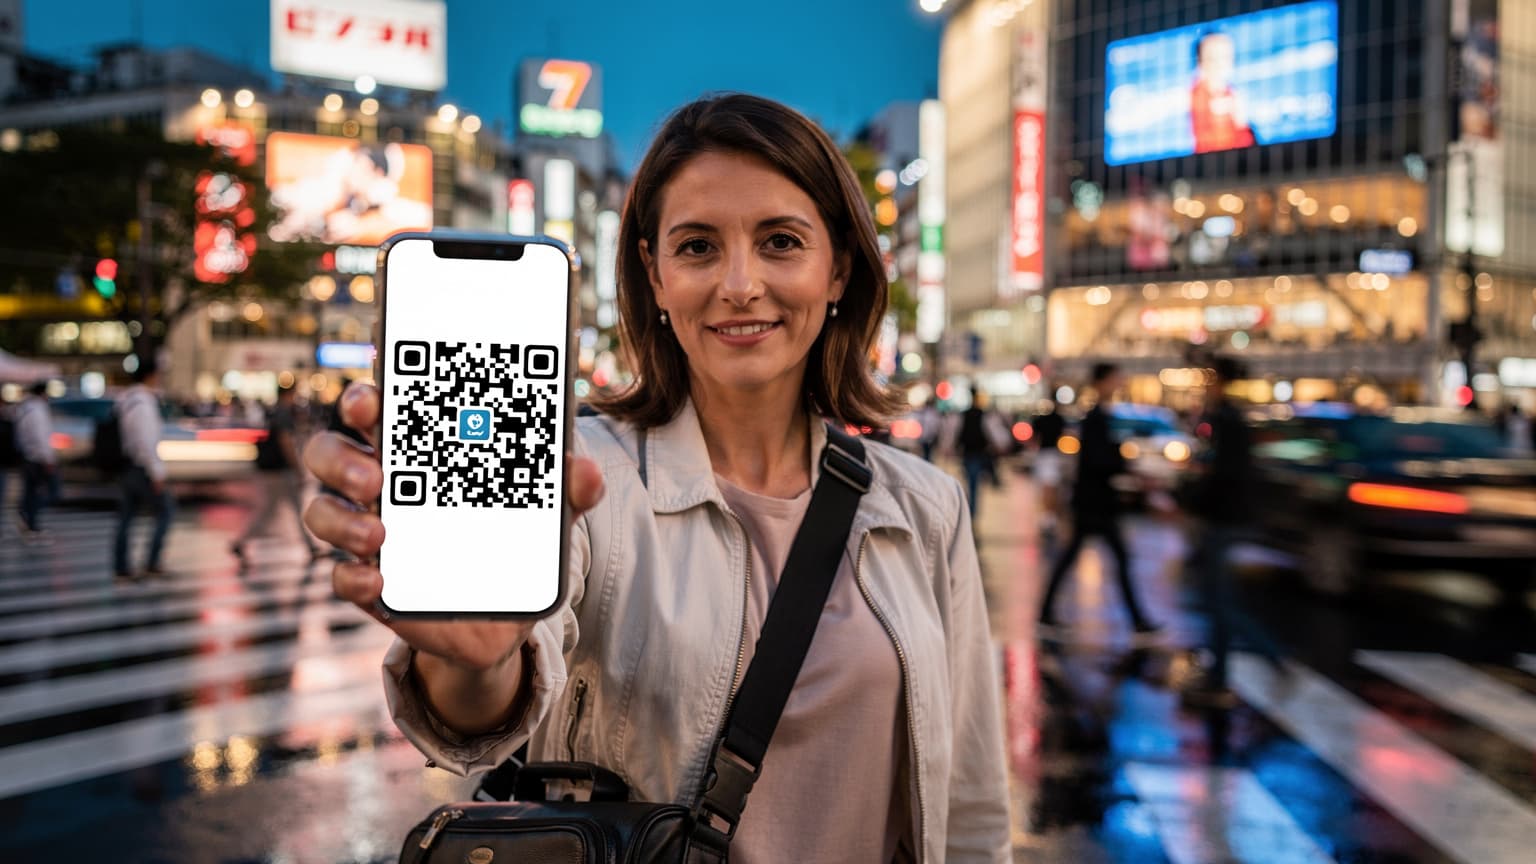
- The T-Mobile eSIM QR code: This is the crucial bit. You'll typically get this via email, in the T-Mobile app, or by visiting a T-Mobile store.
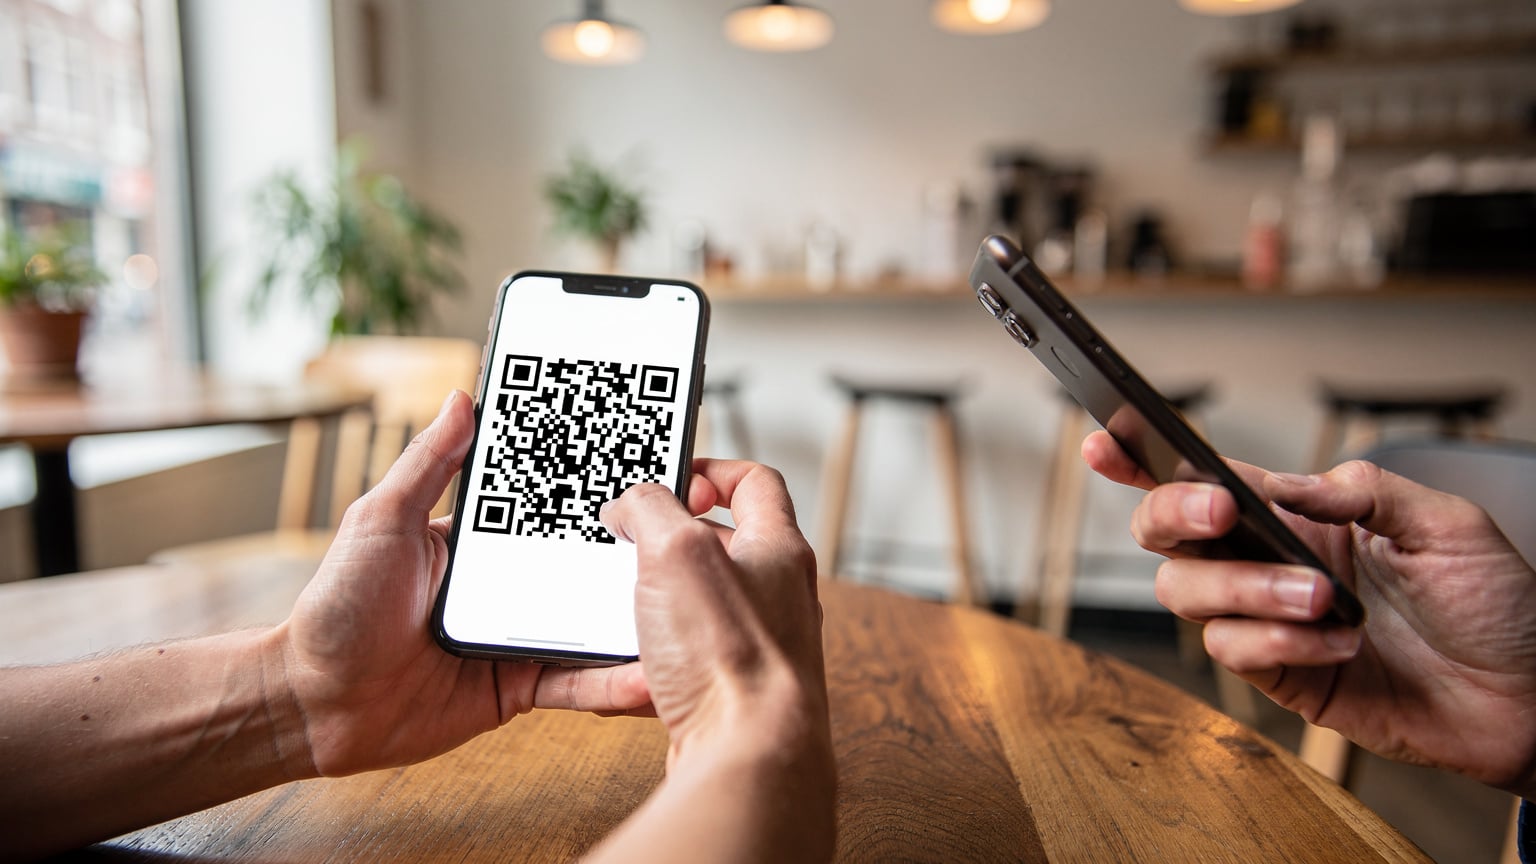
- A secondary device (optional but recommended): Use another phone or a computer to display the QR code for scanning. Trying to scan a QR code from the same device you're trying to activate is, well, pointless.
Obtaining Your T-Mobile eSIM QR Code
This is where T-Mobile's process can vary a bit. Ideally, you should do this before you travel. You can often:
- Via T-Mobile App/Website: Log into your T-Mobile account, go to your lines or devices, and look for an option to 'Switch to eSIM' or 'Get eSIM'. Follow the instructions, and they'll usually email or show you the QR code.
- Contact Customer Service: If you can't find it online, call T-Mobile customer service. They can often email you the QR code directly. (I once spent an hour on the phone with AT&T trying to get an eSIM for a trip to Canada, only to be told I had to visit a store, which was a huge waste of time.)
- Visit a T-Mobile Store: This is the most reliable method if you're having trouble online. A representative can generate the QR code for you right there.
Make sure the QR code is clear and easy to read. A blurry screenshot or a faded printout can make activation unnecessarily complicated. Keep it safe, as it contains sensitive information.
Step-by-Step: Activating Your T-Mobile eSIM with a QR Code
The actual activation is usually faster than the preparation. Once you have that QR code, it's just a few taps.
For iPhone Users
- Go to Settings: Tap the 'Settings' app on your iPhone.
- Navigate to Cellular/Mobile Data: Select 'Cellular' or 'Mobile Data'.
- Add eSIM/Cellular Plan: Tap 'Add eSIM' or 'Add Cellular Plan'.
- Scan QR Code: Choose 'Use QR Code'. Your camera will open.
- Scan the QR: Hold your iPhone over the T-Mobile QR code (displayed on another device or a printout) so it fits within the frame.
- Confirmation: Your iPhone will detect the new plan. Follow any on-screen prompts to confirm the activation. You might be asked to name your new eSIM (e.g., 'T-Mobile Travel').
- Set Default Line: Decide if you want your T-Mobile eSIM to be your primary line for data, calls, or both. For travel, you might set it as your data line and keep your home SIM for calls/texts.
For Android Users (Samsung, Pixel, etc.)
- Open Settings: Find and tap the 'Settings' icon.
- Network & Internet/Connections: Go to 'Network & Internet' or 'Connections' (on Samsung devices).
- SIM Cards/eSIM: Select 'SIM cards' or 'eSIM'.
- Add Mobile Plan/Add eSIM: Tap 'Add mobile plan' or 'Add eSIM'.
- Scan QR Code: When prompted, choose to 'Scan QR code'.
- Scan the QR: Use your phone's camera to scan the T-Mobile QR code.
- Confirmation: Follow the on-screen instructions to finish downloading and activating your eSIM profile. Label it clearly.
- Configure Usage: Set your new T-Mobile eSIM as the preferred SIM for mobile data, calls, or SMS, depending on what you need for your trip.
It's generally a smooth process, often taking less than five minutes if you have everything ready. Remember to do this while you still have a reliable Wi-Fi connection, ideally before you even leave your home country. Nothing is worse than trying to fix connectivity from a tiny hostel room in Lisbon's Alfama district with terrible Wi-Fi at 2 AM.
Troubleshooting Common T-Mobile eSIM Activation Issues
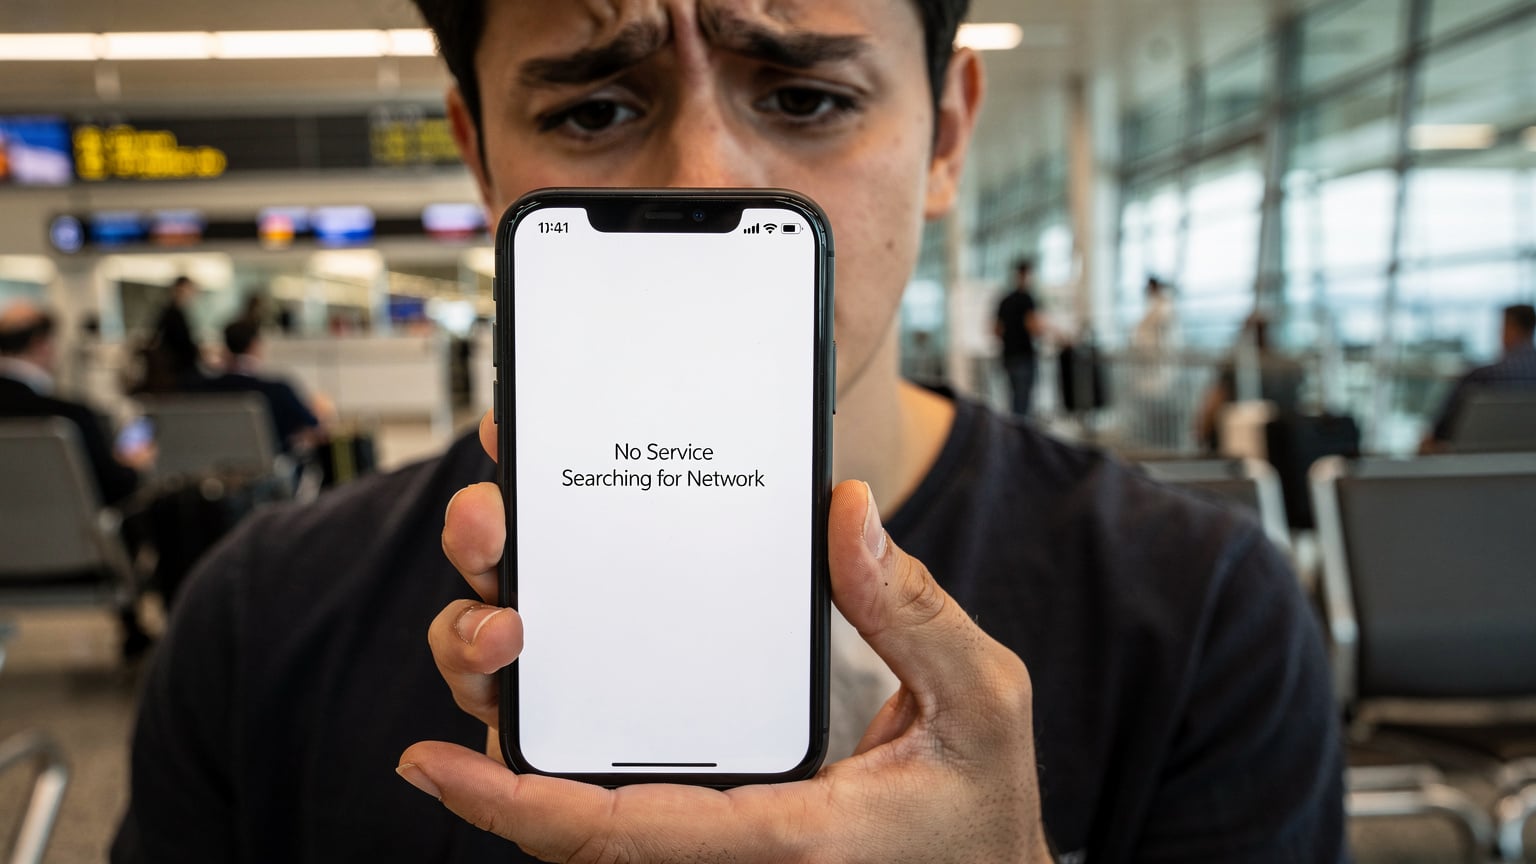
Even with the best preparation, sometimes things go wrong. I've been there, staring at a 'No Service' message, wondering if I'd have to buy another expensive airport SIM. (Yes, Zurich Airport, I'm looking at your 50 CHF prepaid SIMs that expire in 7 days).
QR Code Scan Failures
This is a common problem. If your phone isn't scanning the QR code, try these tips:
- Lighting: Make sure you have good, even lighting. Avoid glare or shadows on the QR code.
- Clarity: Check that the QR code isn't blurry, creased, or partially hidden. A clear, high-resolution display on a second screen is best.
- Distance: Hold your phone steady and adjust the distance. Sometimes being too close or too far makes scanning difficult.
- Restart: It's a classic tech fix, but often works. Restart your phone and try again.
Connectivity Problems After Activation
So, the eSIM activated, but you still have no data? This could be a few things:
- APN Settings: Sometimes, the Access Point Name (APN) settings don't configure automatically. You might need to manually enter T-Mobile's APN settings, which are usually 'fast.t-mobile.com' for data. You can find this under your eSIM's settings.
- Roaming Enabled: Make sure 'Data Roaming' is turned ON for your T-Mobile eSIM, especially if you're outside the US.
- Network Selection: Try manually selecting a network operator. Go to your eSIM settings, 'Network Selection', and choose a local partner network. (For example, in Germany, T-Mobile might partner with Telekom.de or Vodafone).
- Plan Status: Double-check your T-Mobile account to ensure your international roaming features are active and you haven't used up any data limits.
If nothing works, contact T-Mobile support. Have your account details and the eSIM ICCID (a unique identifier for your eSIM, usually found in your phone's settings under the eSIM details) ready. This happened to me once in Buenos Aires, trying to connect to a local Movistar partner network. A quick call to T-Mobile's international support fixed it, though it did mean a brief stop at a cafe with strong Wi-Fi in the Palermo Soho neighborhood.
Managing Your T-Mobile eSIM Settings Abroad
Once your T-Mobile eSIM is active, knowing how to manage its settings will save you headaches and potentially money.
Dual SIM Functionality: The Power of Two
One of the best things about eSIM-enabled phones is their dual-SIM capability. This means you can have both your physical SIM (your home number) and your T-Mobile eSIM (or another travel eSIM) active at the same time. This is particularly useful for:
- Keeping your home number active: Receive calls and texts on your primary number without needing to swap physical SIMs. This is incredibly valuable for two-factor authentication or urgent contacts.
- Dedicated data line: Use your T-Mobile eSIM (or a dedicated travel eSIM for the USA) just for data, making sure you get the best speeds and rates.
- Separating work and personal: For business travelers, this can mean one line for professional contacts and another for personal use.
You can usually specify which SIM is used for cellular data, which for calls, and which for SMS in your phone's 'Cellular' or 'Mobile Data' settings. I typically set my physical SIM for calls/texts only (especially if my home plan has free international incoming texts) and my travel eSIM for all data, which helps me keep better track of usage.
Monitoring Data Usage
It's easy to chew through data, especially when you're streaming navigation, uploading photos, or video calling family. Keep an eye on your T-Mobile data usage through:
- T-Mobile App: The easiest way to track your remaining data, manage your plan, or buy add-ons.
- Phone Settings: Your phone's 'Cellular' or 'Mobile Data' settings often have a data usage tracker, though it might not perfectly match your carrier's billing cycle.
For longer trips, or if you're worried about hitting data limits, it's smart to check your usage daily. I learned this the hard way in Japan, hitting my T-Mobile data cap halfway through a two-week trip and being throttled to dial-up speeds. Navigating the Tokyo Metro (using the excellent Japan Transit Planner app) became an exercise in patience until I bought a local data-only eSIM.
When T-Mobile Might Not Be Your Best International Bet: Alternatives for Global Connectivity
While T-Mobile offers decent international roaming, it's not always the cheapest or best-performing option for every traveler. This is especially true for longer trips, heavy data users, or those going to more remote destinations where T-Mobile's partner networks might be scarce or slow.
I've been in situations, like trekking through the Atlas Mountains in Morocco, where my T-Mobile roaming was practically nonexistent, and a local Maroc Telecom SIM was the only way to get a signal. Or during a month-long Euro trip, where paying T-Mobile's per-minute international calling rates quickly added up, making a local or regional eSIM a much smarter choice. The convenience of your home carrier often comes with a trade-off in cost or speed.
The Limitations of Carrier Roaming
Speed Throttling: Many T-Mobile plans offer 'unlimited 2G' data abroad, which is practically useless for anything beyond basic messaging. Even their high-speed allowances can be limited (e.g., 5GB per month) before throttling kicks in.
Cost: While texting is often free, calls can be expensive ($0.25/minute), and going over high-speed data allowances can lead to huge charges or painfully slow speeds.
Coverage Gaps: T-Mobile relies on partner networks abroad. In some regions, especially rural or developing areas, these partnerships might not provide the best coverage or speeds compared to a strong local carrier.
No Local Number: Your T-Mobile eSIM keeps your US number, which can be inconvenient if you need a local number for reservations, deliveries, or local contacts (e.g., ordering from Uber Eats in Mexico City's Roma Norte district).
| Feature | T-Mobile eSIM (Roaming) | Dedicated Travel eSIM (e.g., Cellesim) |
|---|---|---|
| Cost per GB | Higher, often hidden in plan cost or add-ons | Significantly lower, transparent pricing |
| Speed & Performance | Often throttled (2G) or limited high-speed | Full 4G/5G speeds, comparable to local SIMs |
| Coverage | Dependent on roaming agreements, can be patchy | Local networks, strong, reliable coverage |
| Local Number | Not typically provided | Some plans offer, or easily paired with local VoIP app |
| Setup Complexity | Requires T-Mobile account, potentially customer service | Quick online purchase & QR code scan |
Why a Secondary Travel eSIM is Often the Smarter Move
This is where dedicated travel eSIM providers truly shine. They specialize in offering data plans specifically for international travelers, often costing a lot less than traditional roaming, and with full local speeds. I've used these extensively, from keeping up with work emails during a conference in Shinjuku, Tokyo, to figuring out the complex bus routes in Medellín, Colombia.
The beauty of a travel eSIM is its simplicity and focus. You buy data for the specific country or region you're visiting, activate it with a quick QR scan, and you're good to go. No hidden fees, no confusing roaming charges, just straightforward data. This approach is especially effective for trips like a safari adventure in Kenya or a multi-country European tour.
Introducing Cellesim: Your Global eSIM Solution
This is where services like Cellesim become essential. We're built exactly for the modern traveler who wants reliable, high-speed data without the trouble or cost of traditional roaming. Think of it as your digital passport to global connectivity, letting you skip the complexities of local SIMs and expensive carrier plans.
Cellesim offers a huge range of plans for almost every country on the planet, from the busy streets of Seoul to the peaceful beaches of Bali. You simply choose your destination, select a data package that fits your needs (whether it's 1GB for a quick weekend trip or 20GB for a month-long adventure), and buy it online. The QR code arrives instantly in your email, ready to activate.
One of the main differences between Cellesim and other providers like Nomad eSIM is our focus on local network partnerships. We don't just 'roam' on a generic network; we often connect you directly to the strongest local carriers. This ensures you get optimal speeds and coverage, whether you're uploading photos from a cafe in Montmartre or checking train times on the DB Navigator app for a journey across Germany.
The Cellesim Advantage: Simplicity, Speed, Savings
- Instant Activation: Buy, scan QR code, connect. It usually takes about 2 minutes from start to finish.
- Global Coverage: Plans for over 200 countries and regions.
- Local Speeds: Access to the fastest available local networks (4G/5G), not slowed-down roaming data.
- Cost-Effective: Often much cheaper per GB than international roaming packages from traditional carriers.
- Flexibility: No contracts, no hidden fees. Buy data only when you need it.
- Keep Your Home Number: Use your Cellesim for data while keeping your T-Mobile (or other home carrier) physical SIM active for calls and texts.
I've personally relied on Cellesim for countless trips. On a recent business trip to Singapore, landing at Changi Airport around 10:00 AM, I had my Cellesim plan activated before I even cleared immigration. This let me instantly book a Grab ride to my hotel in the Downtown Core, all while my colleagues were still struggling with their roaming settings.
Making the Switch or Adding Cellesim to Your T-Mobile Setup
Adding Cellesim to your travel routine is incredibly simple, whether you want to replace T-Mobile's roaming completely or just use it alongside for better data performance.
How Cellesim Activation Compares to T-Mobile
The activation process for Cellesim is largely the same as what we've described for T-Mobile, but without the potential hassles of dealing with carrier accounts or customer service lines. You don't need to be an existing Cellesim customer to buy a plan. It's truly pay-as-you-go, making it a perfect choice for every type of traveler.
- Choose Your Plan: Visit the Cellesim website, select your destination (e.g., France eSIM for a trip to Provence), and pick a data package.
- Purchase: Complete the purchase online.
- Receive QR Code: The eSIM QR code is sent to your email almost instantly.
- Activate: Follow the same steps detailed for T-Mobile eSIM activation in your phone's settings (Settings > Cellular/Mobile Data > Add eSIM > Scan QR Code).
- Enable Data Roaming: For Cellesim, make sure 'Data Roaming' is turned ON for the Cellesim profile in your phone's settings. This is essential for it to connect to local networks abroad.
That's it. No phone calls to customer service, no waiting for a physical SIM to arrive in the mail, no trying to navigate complex carrier portals. Just pure, straightforward connectivity. It's the kind of streamlined process that makes travel genuinely less stressful.
Using T-Mobile and Cellesim Side-by-Side
This is my preferred method for international travel. It gives you the best of both worlds:
- T-Mobile (Physical SIM or eSIM): Keep this as your primary line for receiving calls and texts to your home number. This ensures you don't miss important messages or 2FA codes, and it's useful for calling US numbers if your plan includes it.
- Cellesim (eSIM): Set this as your default line for all mobile data. This gives you high-speed, cost-effective internet access wherever you are, without using up T-Mobile's limited high-speed roaming or getting hit with unexpected charges.
In your phone's settings, you can easily decide which SIM handles which function. For example, on an iPhone, you might set 'T-Mobile' for 'Default Voice Line' and 'Cellesim' for 'Cellular Data'. This way, you get reliable local data while keeping your main contact number.
It's a setup I've relied on extensively, from navigating the winding medinas of Fès, Morocco, to finding the best izakaya in Kyoto's Pontocho alley. It allows for easy communication and navigation without the constant worry of a huge phone bill when you get home.
Final Thoughts on Staying Connected Globally
The world of travel connectivity truly has changed. The days of hunting for physical SIM cards, trying to understand foreign data plans, or dealing with slow, expensive roaming are thankfully becoming a distant memory. T-Mobile's adoption of eSIM technology is a good step, offering more convenience for their existing customers.
However, for the smart international traveler, especially those who value consistent high-speed data and saving money, looking into dedicated travel eSIM solutions like Cellesim isn't just an option, but a real advantage. It's about giving yourself choices, making sure you're always connected, whether you're confirming a reservation at a small, family-run pension in the Plaka district of Athens or using a ride-sharing app to get across São Paulo's busy streets.
Ultimately, the goal is to make your travel experience smoother, more enjoyable, and less stressful. With the right eSIM strategy, you can truly focus on the adventure, not the anxiety of staying connected.
Frequently Asked Questions
Can I activate my T-Mobile eSIM internationally?
Yes, you can activate your T-Mobile eSIM while abroad, as long as you have a stable Wi-Fi connection. It's generally a good idea to activate it before you travel to avoid any potential connectivity problems when you arrive in a new country.
What if my T-Mobile eSIM QR code isn't scanning?
Make sure the QR code is clear, well-lit, and not damaged. Try showing it on a different screen (like a laptop or another phone) for better contrast. If you still have trouble, restart your phone or contact T-Mobile customer support for a new QR code.
Will my T-Mobile eSIM plan include international data?
Many T-Mobile plans, especially their Go5G and Magenta MAX tiers, include international roaming with different data speeds and allowances. Always check your specific plan details or contact T-Mobile directly to understand your international benefits before traveling.
Can I use a Cellesim eSIM alongside my T-Mobile eSIM?
Absolutely. Most modern eSIM-compatible phones support dual SIM functionality. You can keep your T-Mobile eSIM active for calls and texts to your home number, while using a Cellesim eSIM as your main data line for affordable, high-speed internet abroad.
Is a T-Mobile eSIM better than a physical SIM for international travel?
For international travel, an eSIM generally offers more flexibility and convenience than a physical SIM. It means no physical swapping, less risk of loss, and easier switching between multiple plans, including local travel eSIMs like Cellesim.
Do I need to enable data roaming for my T-Mobile eSIM abroad?
Yes, if you are using your T-Mobile eSIM for data outside of the United States, you must turn on 'Data Roaming' in your phone's cellular settings for that specific eSIM profile. If you don't, you won't have data connectivity.
See also: eSIM for Kenya
See also: eSIM for Zurich
See also: Medellín eSIM