
Activate That eSIM, Buddy: The First Check
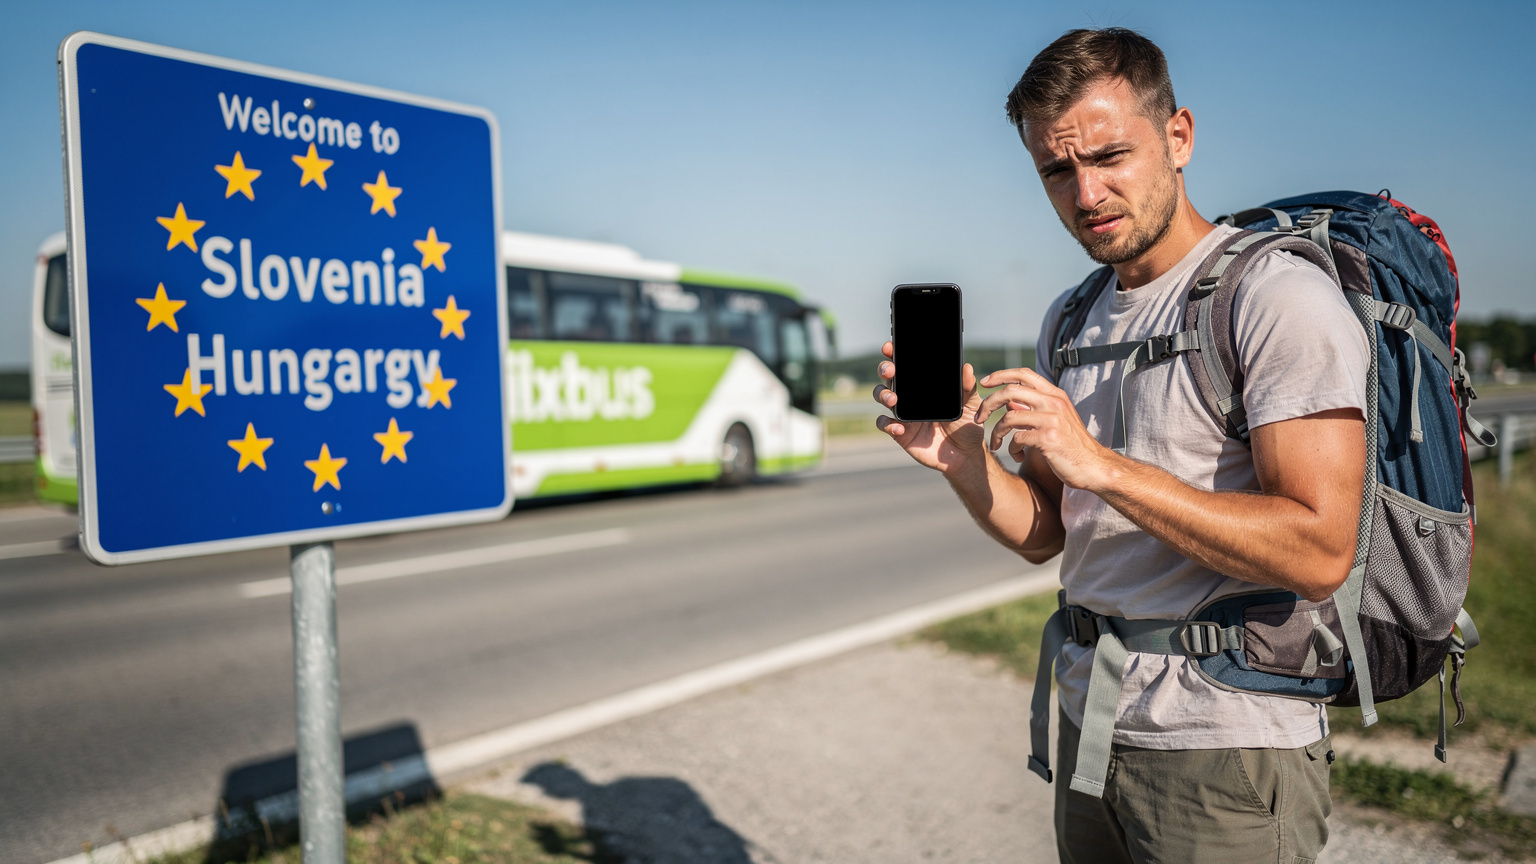
You’ve landed, you're tired, and you're ready to hit the hostel in Palermo, Sicily. You pull out your phone, expecting to order a Bolt, but… no service. Before you panic, let's start with the most basic step: is your eSIM actually activated and enabled?
Many eSIMs, especially those purchased for a specific travel window, don't auto-activate until you land in the target country. Some require a manual toggle. I've seen travelers lose an hour at Warsaw Chopin Airport because they forgot this simple step. Don't be that traveler. Check the basics first.
Is Your eSIM Line Turned On?
This sounds like a no-brainer, but it’s the most common rookie mistake. Your phone might have multiple SIM profiles, and the one you want for your current destination could be turned off. It’s like trying to drive a car with no gas in the tank, it just won't go.
- Go to Settings: For iPhones, it's 'Cellular' or 'Mobile Data'. For Android, it's usually 'Network & Internet' then 'SIMs' or 'Mobile network'.
- Select Your eSIM: You'll see a list of your installed SIMs/eSIMs. Tap on the one you expect to be using.
- Toggle 'Turn On This Line' or 'Enable SIM': Make sure this switch is in the ON position. If it’s off, your phone isn't even trying to connect.
- Set as Primary for Data: While you're there, ensure this eSIM is selected as the primary line for 'Cellular Data' or 'Mobile Data'. This tells your phone which connection to prioritize.
Check Your Cellular Data Settings: The Obvious, But Overlooked
Sometimes, the issue isn't the eSIM itself, but how your phone is configured to use it. Think of it like having the right bus ticket but standing at the wrong stop. The connection is there, but your device isn't looking for it in the right place.
I once had a data drought in Portugal while using a local Vodafone SIM, only to realize I'd accidentally left my phone set to use my dormant T-Mobile US physical SIM for data. Rookie mistake, cost me €5 in a pinch before I figured it out. Every euro counts when you're aiming for that €40/day budget.
Ensure Data Roaming is Enabled for Your eSIM
This is crucial. Even though an eSIM is designed for international travel, your phone still treats connections outside your home network as 'roaming'. If you've manually disabled data roaming globally, or specifically for that eSIM profile, you're out of luck. It's not about paying roaming fees if you have an active eSIM plan, it's about allowing your phone to connect to foreign networks.

APN Settings: The Secret Sauce for Connectivity
Access Point Name, or APN, is essentially a gateway that connects your phone to the internet. Most eSIMs configure this automatically, but not always. If your eSIM is showing 'no service' or only 'E' for Edge (which is basically dial-up speed, utterly useless for anything beyond a text message), incorrect APN settings are a prime suspect. This is especially true if you bought a cheap local SIM from a sketchy vendor near a bus station, they often don't pre-configure this.
I've had to manually input APN settings for some niche local providers in Southeast Asia, and it's always a bit of a hunt. The instructions often come in a tiny folded leaflet that looks like it was printed in 2005. Stick to reputable eSIM providers, and they usually handle this behind the scenes.
How to Manually Configure Your APN
- Find APN Settings:
iPhone: Settings > Cellular > Cellular Data Network.
Android: Settings > Network & Internet > Mobile network > Advanced > Access Point Names. - Add a New APN: Look for a '+' icon or an option to 'Add new APN'.
- Enter Details: Your eSIM provider should give you the specific APN name. Common ones are 'internet', 'data', or 'm2m'. You usually only need to fill in the 'APN' field. Leave username, password, proxy, etc., blank unless specifically instructed.
- Save and Select: Save the new APN and make sure it’s selected as the active one.
| Provider Type | Common APN | Notes for Travelers |
|---|---|---|
| Cellesim eSIM | Usually automatic | Rarely requires manual input. Check provider's FAQ if issues persist. |
| Local Physical SIM (e.g., Vodafone PT) | internet.vodafone.pt | Often specific to carrier and country. Can be found on their website. |
| Budget MVNO (e.g., LycaMobile) | data.lycamobile.com | More prone to requiring manual APN setup. |
Manual Network Selection: Force a Connection When All Else Fails
Your phone usually tries to automatically connect to the strongest available network. But sometimes, it gets stuck. Imagine your phone is trying to hail a cab, but it keeps trying the same taxi stand that's empty, ignoring the bustling one across the street. Manual network selection forces your phone to scan for all available networks and lets you pick one. This is particularly useful in border regions or areas with patchy coverage.
I remember being on a night bus from Budapest to Krakow. As we crossed into Slovakia, my eSIM went dead. Turns out, my phone was clinging to a weak Hungarian signal instead of picking up a strong Slovakian one. A quick manual scan, and I was back online, checking hostel reviews for Krakow (I ended up at Greg & Tom Hostel, decent for €15 a night).
Steps for Manual Network Selection
- Access Network Selection:
iPhone: Settings > Cellular > Network Selection. Toggle 'Automatic' off.
Android: Settings > Network & Internet > Mobile network > Network operators. Toggle 'Choose automatically' off. - Scan for Networks: Your phone will now scan and display a list of available carriers.
- Select a Network: Try connecting to each network one by one. If one fails, try another. You're looking for one that allows your eSIM to register and provide service. Your eSIM provider usually partners with specific local carriers, so if you know those, prioritize them. For example, if your eSIM for Greece uses Cosmote, look for that, but also try others like Vodafone GR or Wind Hellas.
- Re-enable Automatic: Once you find a working network, you can sometimes switch 'Automatic' back on, and your phone will remember the preferred network. But if issues persist, leave it manual.
Reboot to the Rescue: The Classic Fix That Still Works
The oldest trick in the tech book. But it works. Seriously. A simple restart can often clear temporary software glitches that are preventing your eSIM from connecting properly. It's like giving your phone a quick nap to refresh its brain.
Why a Restart Helps
- Clears Cache: A reboot flushes out temporary data and clears any stuck processes.
- Resets Network Connection: It forces your phone to re-establish a fresh connection with the cellular network towers.
- Resolves Software Conflicts: Sometimes, an app or background process might be interfering with network functions. A restart often resolves these conflicts.
Physical SIM Interference: A Hidden Culprit
If you're using a dual-SIM phone (one physical SIM, one or more eSIMs), sometimes your physical SIM can unintentionally interfere with your eSIM's operation. I've seen this happen with travelers who keep their home SIM active for SMS verification, but it occasionally messes with the data hand-off.
What to Do About It
- Temporarily Disable Physical SIM: The quickest way to check if your physical SIM is the problem is to temporarily turn it off. Go to your phone's SIM settings and toggle off your physical SIM. Then, see if your eSIM connects. If it does, you've found your culprit.
- Remove Physical SIM (Last Resort): If simply disabling it doesn't work, consider physically removing your home SIM card. Just remember to store it safely, perhaps in a tiny Ziploc bag taped to the inside of your passport.

Data Roaming: On or Off? It's Not Always What You Think
This is where it gets tricky for some. For a traditional physical SIM from your home country, 'data roaming' means you're using international partners and will likely incur steep charges. You'd typically keep it OFF to avoid bill shock. However, with an international eSIM, especially one designed for a specific region or global coverage, 'data roaming' often needs to be ON for it to function.
Why? Because your eSIM, while purchased from a Cellesim or similar provider, connects to local networks in your destination. Your phone still sees these as 'roaming' networks relative to the eSIM's virtual 'home' network. It's counter-intuitive, but essential.
The Data Roaming Dilemma
When to ensure Data Roaming is ON:
- For your international eSIM: If you're using a Cellesim eSIM for travel, make sure data roaming is enabled for that specific eSIM profile. This allows it to connect to the local partner networks.
- For home SIM (if you have an international plan): If your home carrier (like T-Mobile in the US) offers free international roaming, you'll need data roaming enabled on that physical SIM to use it abroad.
When to ensure Data Roaming is OFF:
- For your home SIM (if you DON'T have an international plan): If your home carrier charges exorbitant roaming fees, keep data roaming OFF for your physical SIM to avoid accidental charges. You can still keep the line active for calls/texts if needed, but no data.
Always double-check your Cellesim eSIM instructions. They’ll usually clarify this point. For example, when I used an eSIM for Morocco last year, the instructions explicitly stated to enable data roaming. My total data usage for 10 days in Morocco was 8GB. At €3.50/GB (my Cellesim rate), that's €28. Compare that to the €12/day many local carriers charge for limited data, it's a no-brainer.
Update Your Device's Software: Because Bugs Happen
Software bugs are a fact of life, and sometimes they can mess with your phone's ability to recognize or connect with eSIMs. Outdated operating systems (iOS or Android) might have glitches that have already been patched in newer versions.
I once had an issue in the Nordic countries where my iPhone 13 Pro Max suddenly refused to activate a new eSIM. After trying everything, I realized I was two iOS versions behind. An update fixed it immediately. Don't underestimate the power of a fresh software install.
How to Check for Updates
- iPhone: Settings > General > Software Update.
- Android: Settings > System > System update or Software update.
Always do this on Wi-Fi before you travel, or at your hostel with a good connection. You don't want to burn through your data budget on a huge software download.
Border-Crossing Glitches and How to Beat Them
This is a specific pain point for backpackers hitting multiple countries in quick succession. As you cross a border, your phone needs to switch from one country's network to another. Sometimes, it gets confused, especially if the networks are weak or congested at the crossing point (e.g., a busy land border checkpoint).
Tactics for Smooth Border Transitions
- Power Cycle at the Border: As you cross into a new country, simply power your phone off and on again. This forces it to re-scan for local networks. This trick saved me hours at the Serbia-Bosnia border, which, let's just say, isn't exactly known for its seamless digital infrastructure.
- Manual Network Selection (Again): If a reboot doesn't work, jump straight to manual network selection. Your phone might be clinging to a weak signal from the previous country. For example, if you're traveling from the UK to Ireland, your phone might try to hold onto a UK network. For UK travel, I generally use an eSIM, but sometimes I'll grab a physical giffgaff SIM if I'm planning a long stay.
- Check eSIM Region Coverage: Ensure your eSIM actually covers the country you've just entered. Some regional eSIMs might cover 'Europe' but exclude certain countries (e.g., Georgia or Azerbaijan, often grouped with Europe but sometimes outside specific eSIM bundles). Always check the fine print before you purchase an eSIM for Turkey, or any other specific destination.
When All Else Fails: Contact Support or Go Local
You've tried everything. Power cycling, APN settings, manual network selection, praying to the digital gods. Still 'no service'. It's time to accept that you might need external help.
Contact Your eSIM Provider's Support
Cellesim, like any good provider, has a support team. Use Wi-Fi (your hostel, a cafe, a McDonald's) to reach out to them. They can check your account status, verify if your eSIM is active, and often diagnose network-specific issues remotely. Have your eSIM number ready; if you're not sure how to find it, check out this guide on finding your eSIM number.
When troubleshooting, take screenshots of your settings. If you need to contact support, these images can quickly show them exactly what you've done, saving you time and frustration. It's like showing a mechanic the exact dent in your fender instead of just describing it.
The Local SIM Card Fallback
If your eSIM truly isn't working and support can't fix it promptly, don't let it ruin your trip. There's always the fallback: a local physical SIM card. My general rule of thumb: if I'm staying in a country for more than 5-7 days and my eSIM dies, I'll consider a local SIM. For shorter stints, I'll rely on hostel Wi-Fi and offline maps.
Local SIMs can be surprisingly cheap, especially in places like Albania or North Macedonia, where you can get 10GB for €5-€10. The catch? You have to find a store, deal with activation, and sometimes provide passport details. Also, watch out for the tourist traps at airports. Those kiosks often charge 2-3x the price you'd pay in a city center.
| Alternative | Pros | Cons |
|---|---|---|
| Local Physical SIM | Very low cost per GB, widely available in city centers. | Requires finding a store, activation hassle, potential language barrier, not always available at reasonable prices at airports. |
| Public Wi-Fi | Free, readily available in cafes, hostels, libraries. | Insecure, not always reliable or fast, limited mobility. |
| Home Carrier Roaming | Convenient, familiar number, sometimes 'free' (e.g. T-Mobile's basic roaming). | Expensive for most, throttled speeds, easy to incur bill shock. |
Final Thoughts on Connectivity
Staying connected on the road is vital for safety, navigation, and keeping up with fellow travelers. While eSIMs are a game-changer for budget travel, occasional glitches happen. The key is to be methodical in your troubleshooting. Don't assume the worst. Most 'no service' issues are easily fixed with a few taps in your settings. Always compare the cost per gigabyte, whether it's an eSIM or a local physical SIM. For my last European trip, a Cellesim eSIM gave me 20GB for €25, covering 14 days across 5 countries. That's €1.25/GB, far cheaper than any physical SIM I could have bought at various borders. Good luck, and happy travels.
Frequently Asked Questions
Why does my eSIM say 'no service' even after activation?
Even after activation, an eSIM can show 'no service' due to several reasons, including disabled data roaming for that specific eSIM profile, incorrect APN settings, or your phone clinging to a weak or incompatible network. Always check your phone's cellular settings to ensure the eSIM is enabled for data and data roaming.
How can I check if my eSIM is actually turned on?
To check if your eSIM is turned on, navigate to your phone's cellular or mobile data settings. You'll typically find a list of your installed SIMs/eSIMs. Tap on your eSIM profile and look for a toggle switch labeled 'Turn On This Line' or 'Enable SIM'. Ensure it's in the ON position.
What are APN settings and why are they important for my eSIM?
APN (Access Point Name) settings are crucial configurations that allow your phone to connect to the internet through your cellular provider. While most eSIMs automatically configure these, sometimes manual input is required. Incorrect APN settings can prevent your eSIM from accessing data, resulting in 'no service' or very slow speeds.
Should I keep 'data roaming' on or off for my international eSIM?
For most international eSIMs, you should keep 'data roaming' ON. This allows your eSIM to connect to local partner networks in the country you are visiting. Unlike your home physical SIM, where roaming incurs high costs, an international eSIM's plan already accounts for this usage.
My eSIM worked in one country but stopped at the border, what happened?
eSIMs can sometimes experience glitches at border crossings as your phone struggles to switch from one country's network to another. Try power cycling your phone (turn it off and on) as soon as you cross the border. If that doesn't work, manually select a network operator from your phone's settings to force a connection to the local network.
What should I do if my eSIM still shows 'no service' after trying all troubleshooting steps?
If you've exhausted all troubleshooting steps and your eSIM still shows 'no service', contact your eSIM provider's customer support. Use Wi-Fi to reach them, and be prepared to provide details of the steps you've already taken. As a last resort, consider purchasing a local physical SIM card for immediate connectivity.