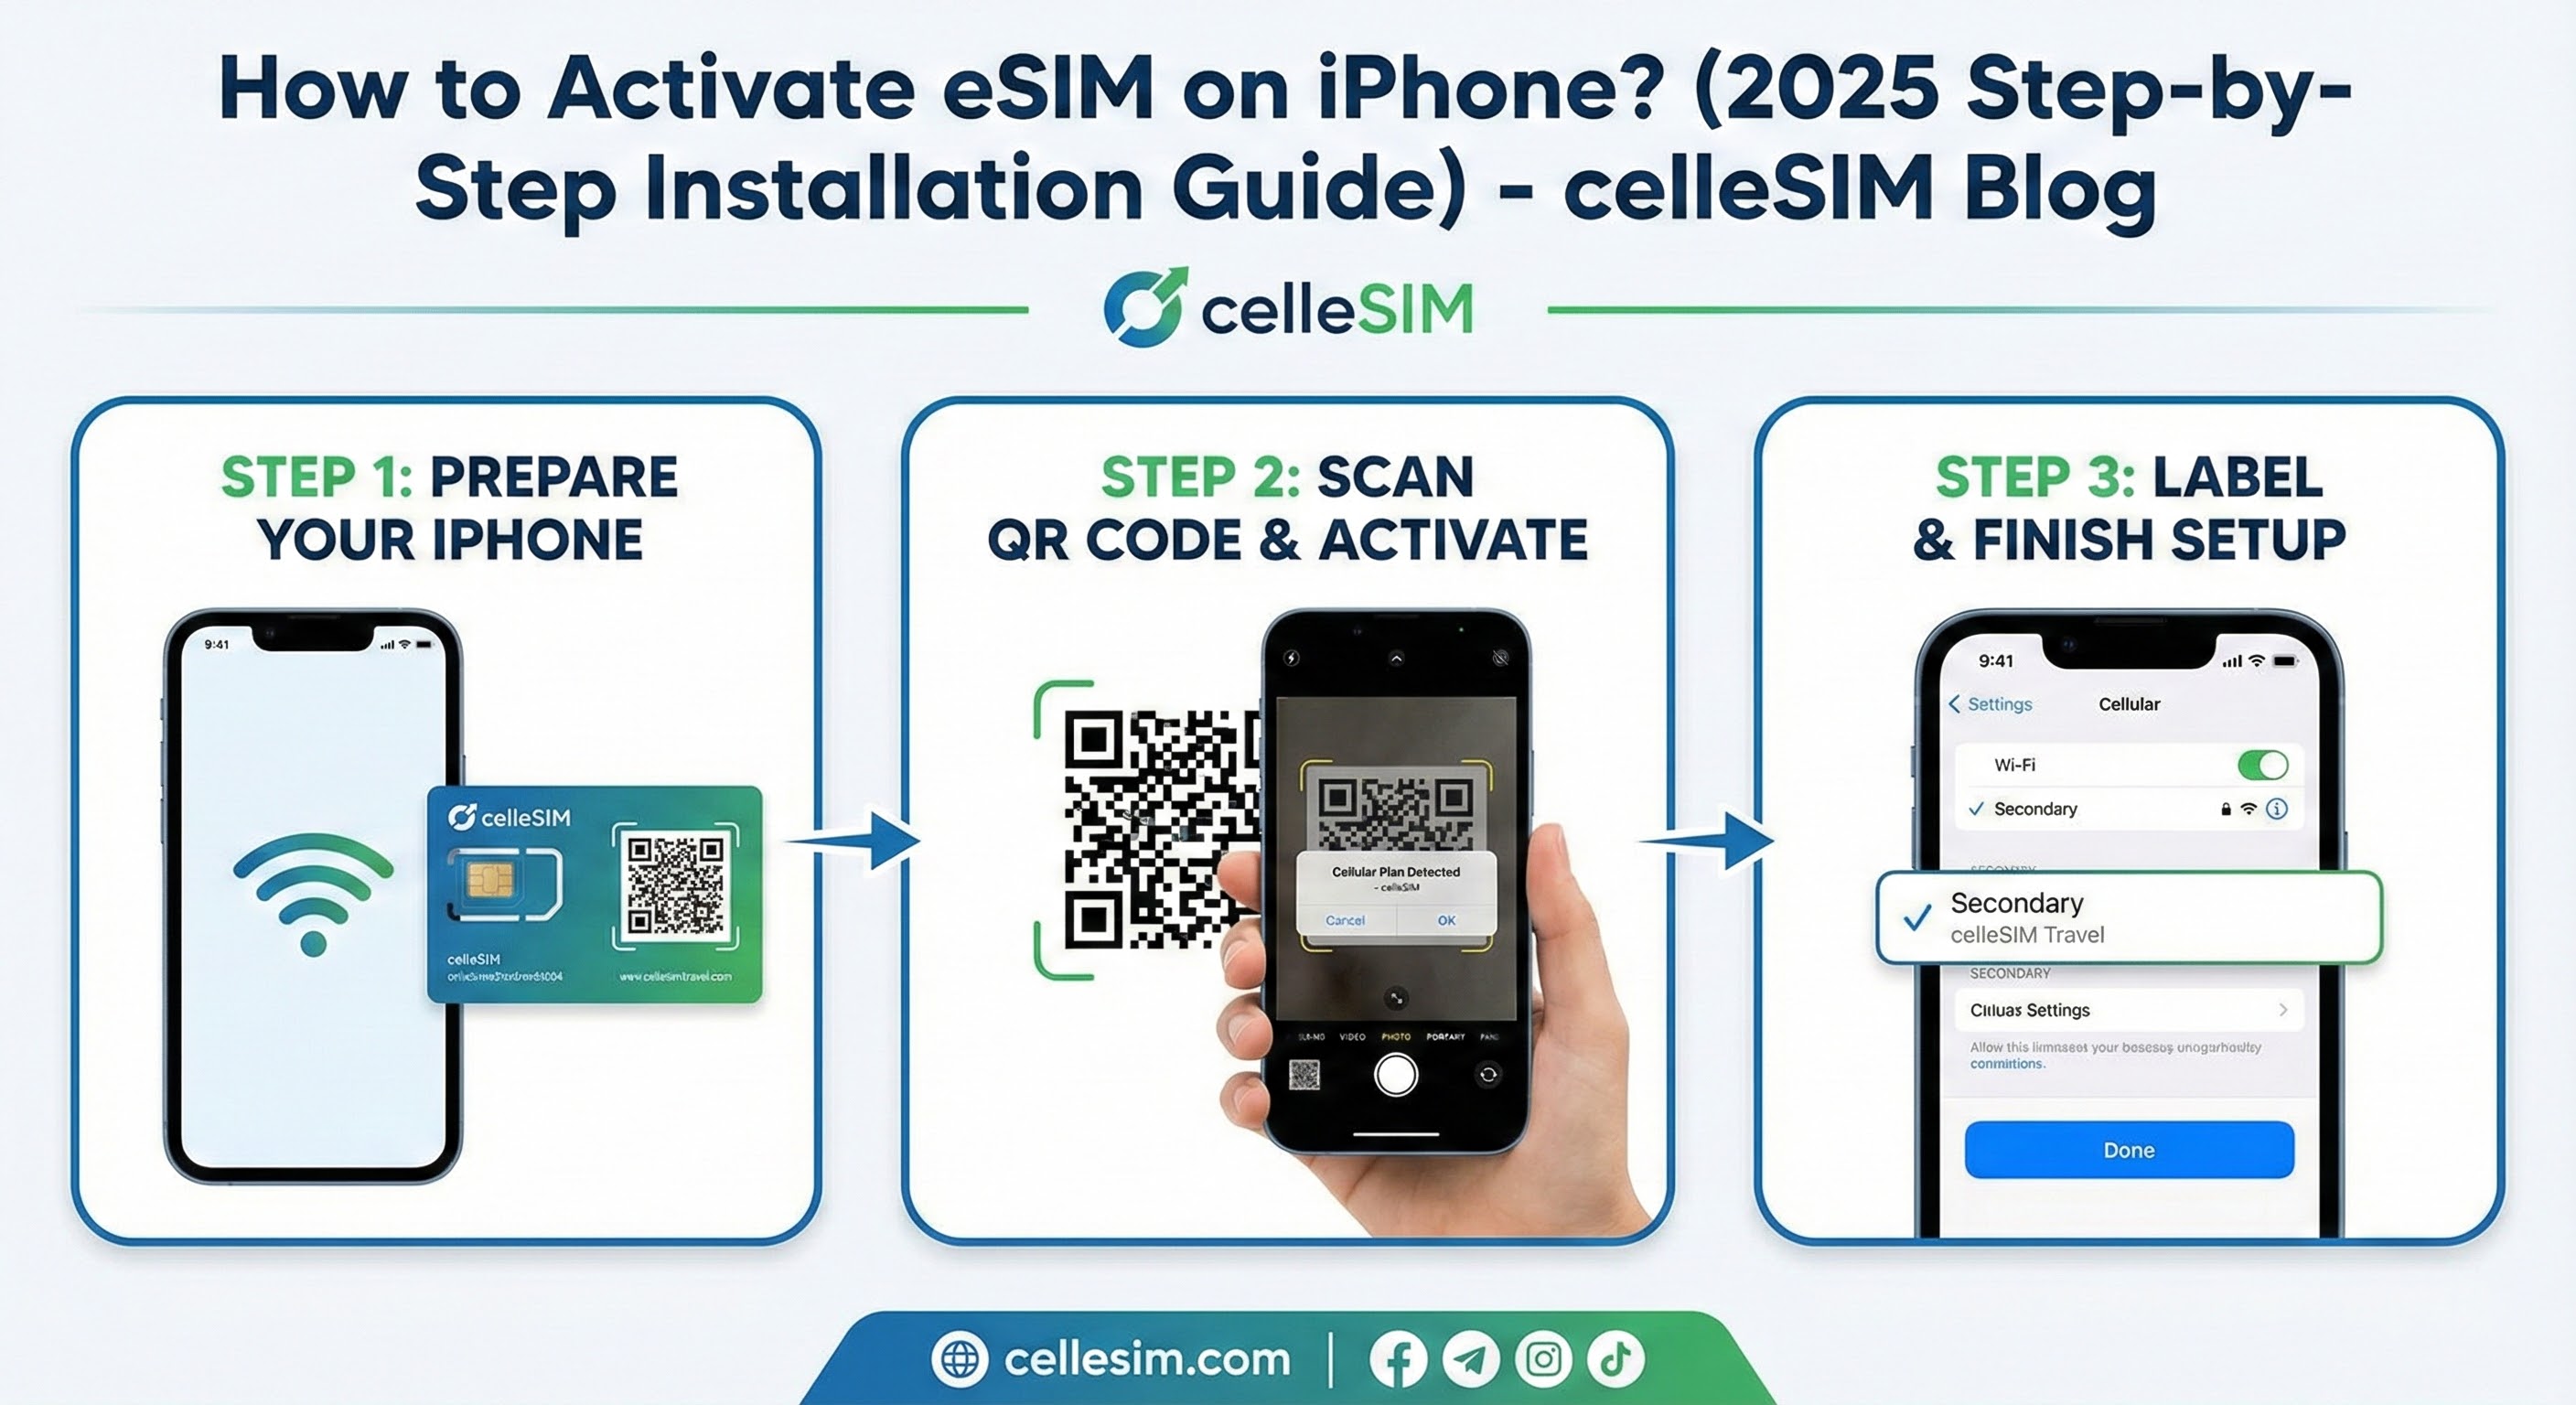

You’ve purchased an eSIM for your upcoming trip, and the QR code has arrived in your email. But there’s a catch: The QR code is on your phone screen,...
מְדִינָה
A-B
C-E
F-H
I-Z
הפעלה מיידית
מהירויות אינטרנט גבוהות
שיתוף נקודות חמות
ללא חיובים נסתרים
אֵזוֹר

הפעלה מיידית
מהירויות אינטרנט גבוהות
שיתוף נקודות חמות
ללא חיובים נסתרים
לאפריקה (29 מדינות)
מ-$9.69
5G
ספק רשת:
Airtel, AirtelTigo, Cell C
- אפשרויות תוכנית 3 זמינות
- תומך ב-5G ונקודה חמה
- הפעלה תוך 2 דקות
- שירות לקוחות 24/7
- 100% הבטחה להחזר כספי
אסיה (20 מדינות)
מ-$6.12
5G
ספק רשת:
3, AirTel, CTM
- אפשרויות תוכנית 9 זמינות
- תומך ב-5G ונקודה חמה
- הפעלה תוך 2 דקות
- שירות לקוחות 24/7
- 100% הבטחה להחזר כספי
Australia & New Zealand
מ-$1.87
5G
ספק רשת:
Optus, Spark
- אפשרויות תוכנית 10 זמינות
- תומך ב-5G ונקודה חמה
- הפעלה תוך 2 דקות
- שירות לקוחות 24/7
- 100% הבטחה להחזר כספי
הבלקן (5+ areas)
מ-$2.55
5G
ספק רשת:
A1, T-Mobile, Tele2
- אפשרויות תוכנית 9 זמינות
- תומך ב-5G ונקודה חמה
- הפעלה תוך 2 דקות
- שירות לקוחות 24/7
- 100% הבטחה להחזר כספי
הקריביים (24 מדינות)
מ-$5.10
5G
ספק רשת:
Altice, Antel, Claro
- אפשרויות תוכנית 5 זמינות
- תומך ב-5G ונקודה חמה
- הפעלה תוך 2 דקות
- שירות לקוחות 24/7
- 100% הבטחה להחזר כספי
Central Asia
מ-$1.02
4G
ספק רשת:
Beeline, Hutch, Jazz
- אפשרויות תוכנית 8 זמינות
- תומך ב-5G ונקודה חמה
- הפעלה תוך 2 דקות
- שירות לקוחות 24/7
- 100% הבטחה להחזר כספי
China (mainland HK Macao)
מ-$1.53
5G
ספק רשת:
CTM, China Unicom, csl
- אפשרויות תוכנית 13 זמינות
- תומך ב-5G ונקודה חמה
- הפעלה תוך 2 דקות
- שירות לקוחות 24/7
- 100% הבטחה להחזר כספי
אירופה (42 מדינות)
מ-$5.44
5G
ספק רשת:
3, 7acht, A1
- אפשרויות תוכנית 6 זמינות
- תומך ב-5G ונקודה חמה
- הפעלה תוך 2 דקות
- שירות לקוחות 24/7
- 100% הבטחה להחזר כספי
לאמריקה הלטינית (17 מדינות)
מ-$9.69
5G
ספק רשת:
Antel, Claro, Digicel
- אפשרויות תוכנית 5 זמינות
- תומך ב-5G ונקודה חמה
- הפעלה תוך 2 דקות
- שירות לקוחות 24/7
- 100% הבטחה להחזר כספי
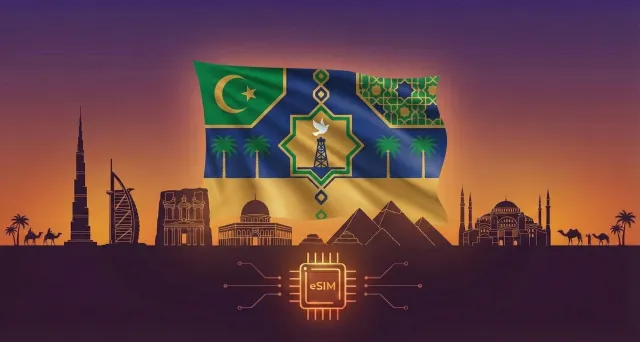
למזרח התיכון (11 מדינות)
מ-$11.90
5G
ספק רשת:
Bakcell, Beeline, Etisalat
- אפשרויות תוכנית 3 זמינות
- תומך ב-5G ונקודה חמה
- הפעלה תוך 2 דקות
- שירות לקוחות 24/7
- 100% הבטחה להחזר כספי
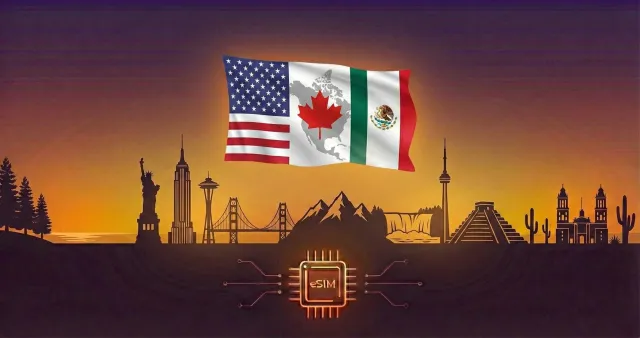
לצפון אמריקה (3 מדינות)
מ-$1.95
5G
ספק רשת:
AT&T, Bell, Movistar
- אפשרויות תוכנית 16 זמינות
- תומך ב-5G ונקודה חמה
- הפעלה תוך 2 דקות
- שירות לקוחות 24/7
- 100% הבטחה להחזר כספי
תוכנית eSIM גלובלית (127 מדינות)
מ-$12.92
5G
ספק רשת:
3, 7acht, A1
- אפשרויות תוכנית 6 זמינות
- תומך ב-5G ונקודה חמה
- הפעלה תוך 2 דקות
- שירות לקוחות 24/7
- 100% הבטחה להחזר כספי