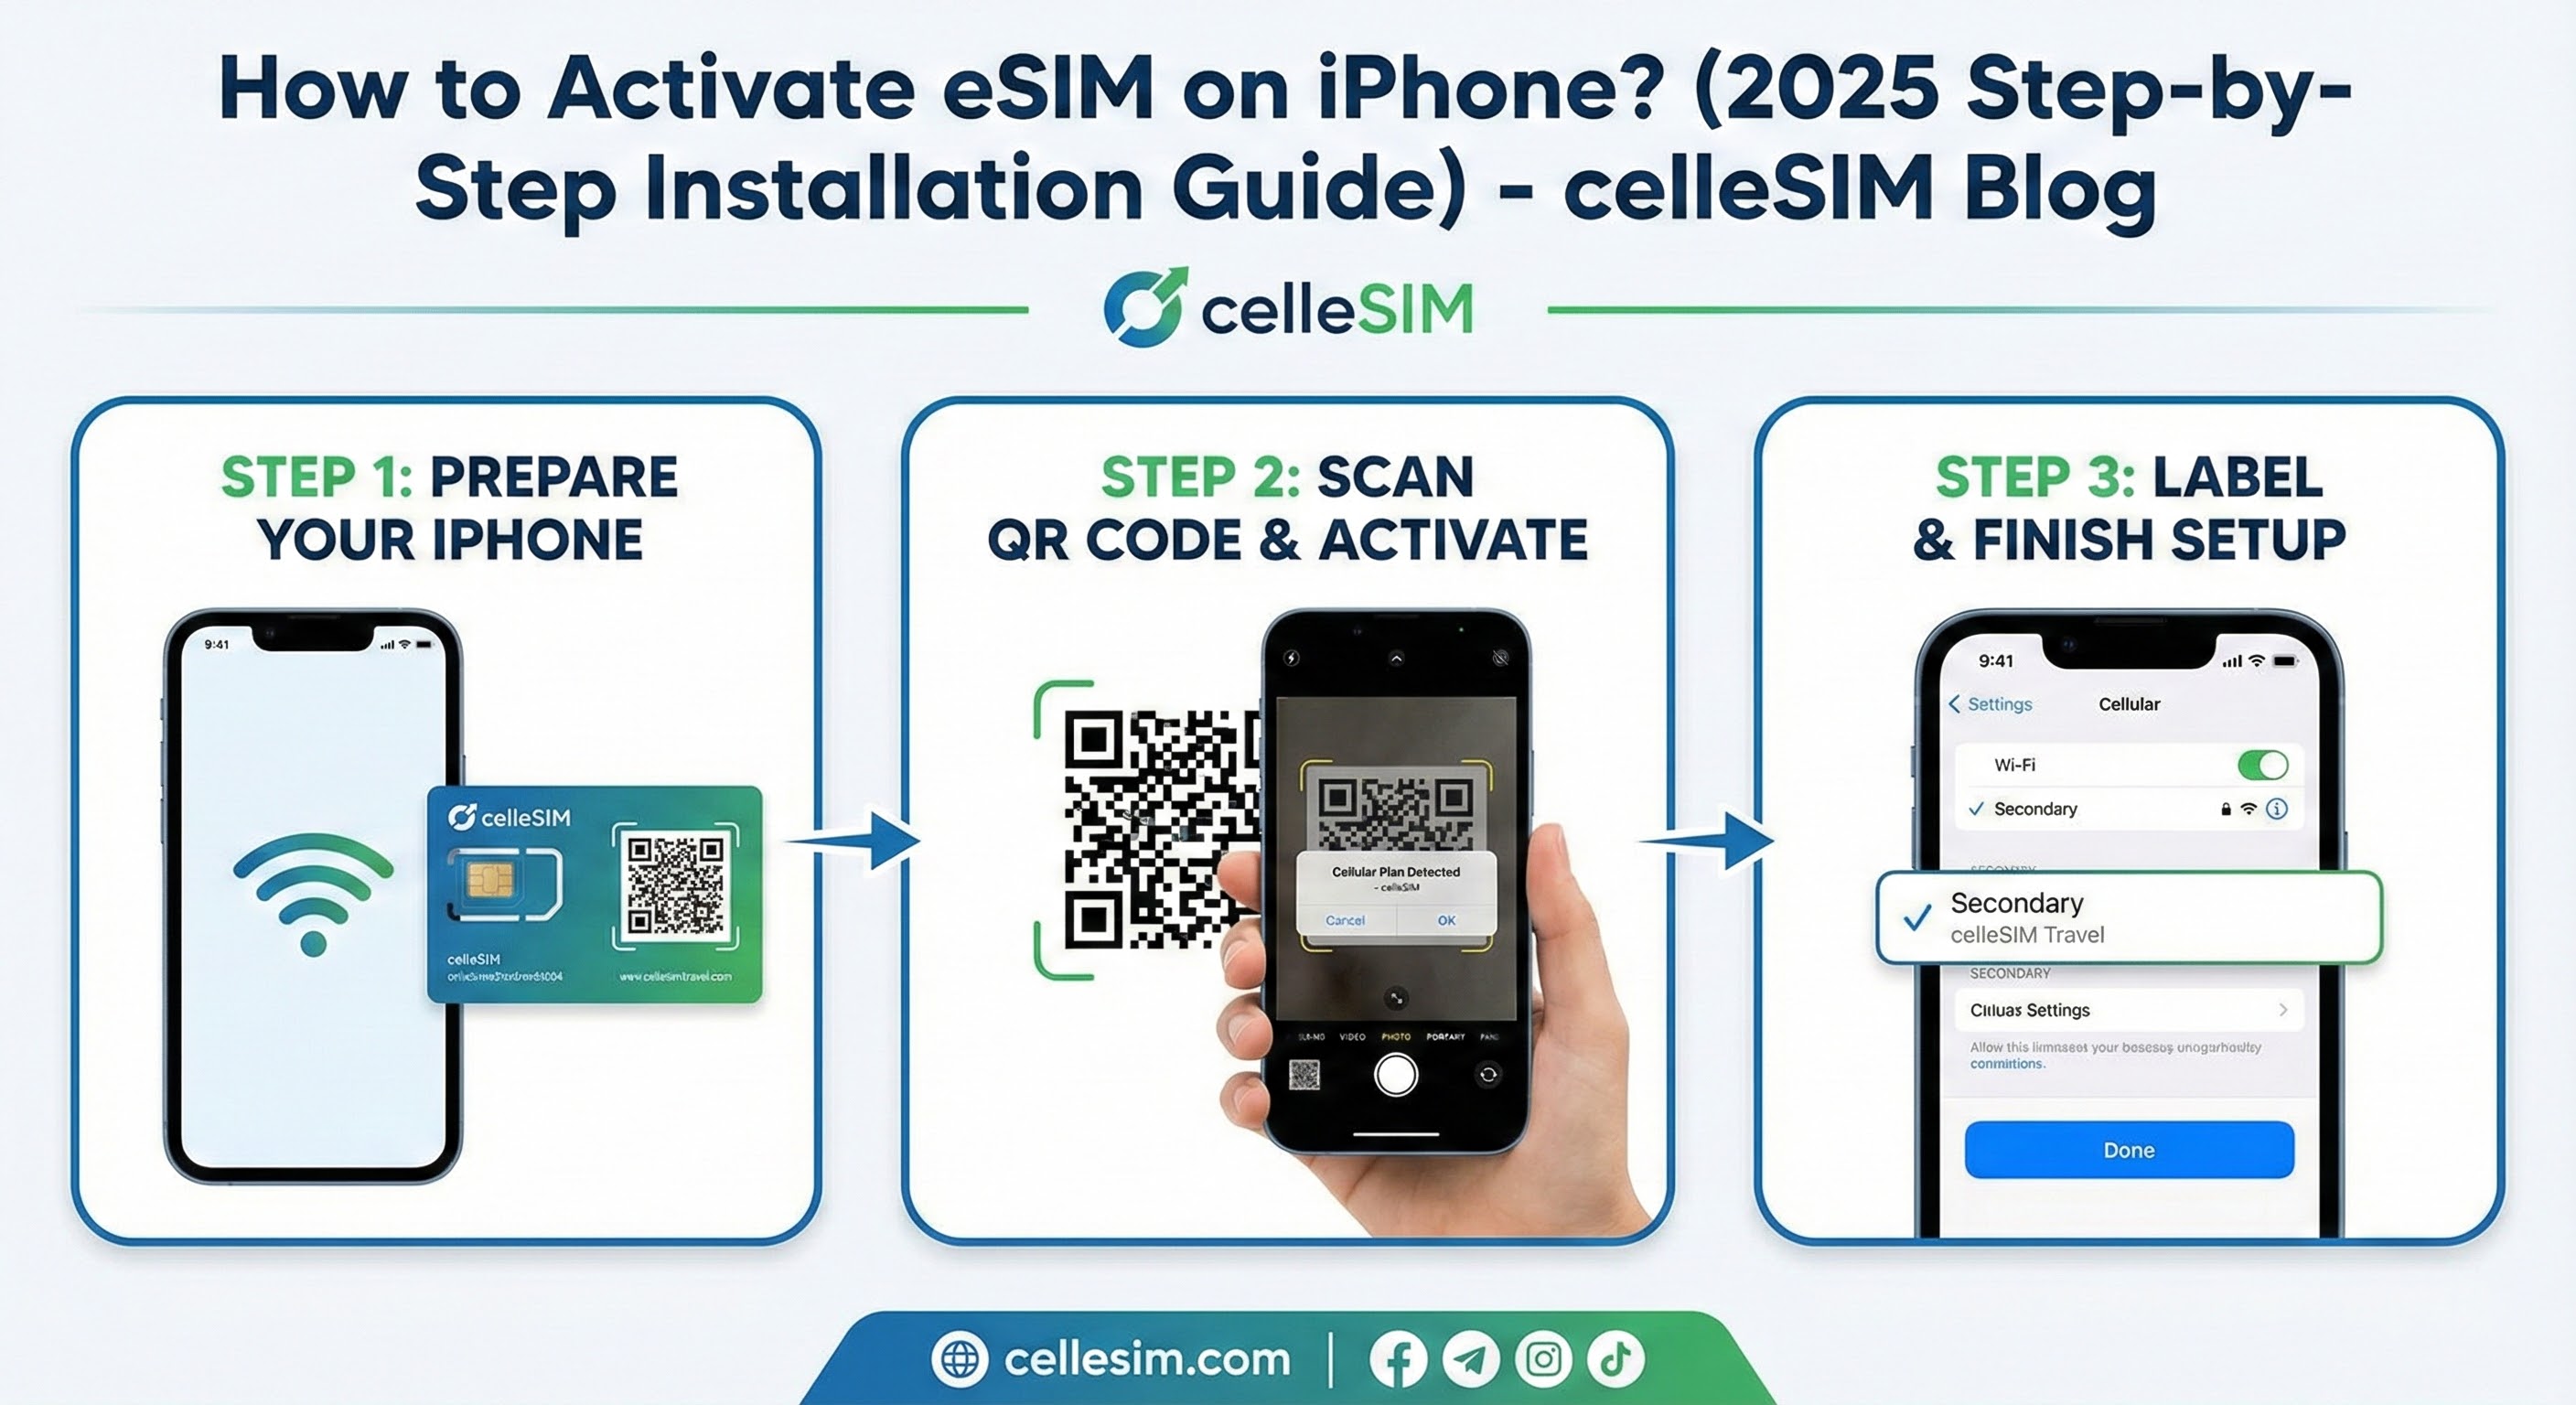

You’ve purchased an eSIM for your upcoming trip, and the QR code has arrived in your email. But there’s a catch: The QR code is on your phone screen,...
국가
A-B
C-E
F-H
I-Z
즉각적인 활성화
높은 인터넷 속도
핫스팟 공유
숨겨진 비용 없음
지역

즉각적인 활성화
높은 인터넷 속도
핫스팟 공유
숨겨진 비용 없음
아프리카 eSIM (29개국)
$9.69에서
5G
네트워크 제공자:
Airtel, AirtelTigo, Cell C
- 3 계획 옵션 사용 가능
- 5G 및 핫스팟 지원
- 2분 이내에 활성화
- 연중무휴 고객 서비스
- 100% 환불 보장
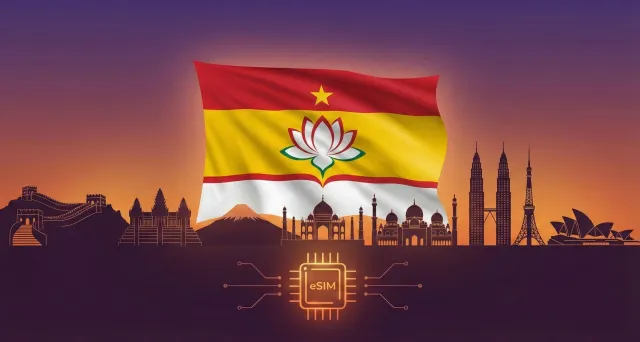
아시아 eSIM (20개국)
$6.12에서
5G
네트워크 제공자:
3, AirTel, CTM
- 9 계획 옵션 사용 가능
- 5G 및 핫스팟 지원
- 2분 이내에 활성화
- 연중무휴 고객 서비스
- 100% 환불 보장
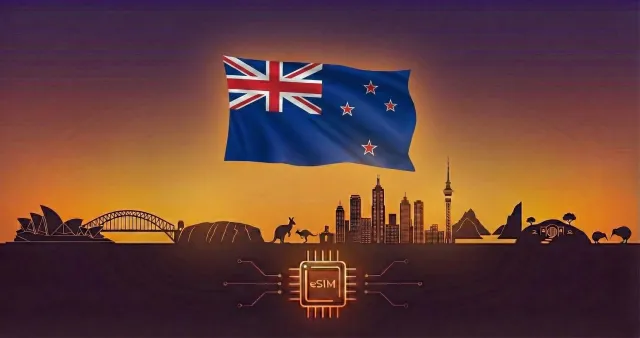
호주 & 뉴질랜드
$1.87에서
5G
네트워크 제공자:
Optus, Spark
- 10 계획 옵션 사용 가능
- 5G 및 핫스팟 지원
- 2분 이내에 활성화
- 연중무휴 고객 서비스
- 100% 환불 보장
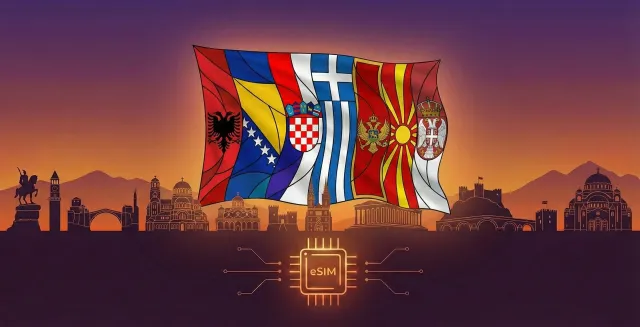
발칸 (5+ areas)
$2.55에서
5G
네트워크 제공자:
A1, T-Mobile, Tele2
- 9 계획 옵션 사용 가능
- 5G 및 핫스팟 지원
- 2분 이내에 활성화
- 연중무휴 고객 서비스
- 100% 환불 보장
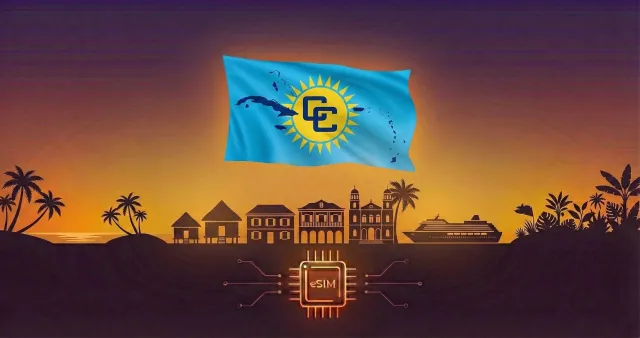
카리브해 (24개국)
$5.10에서
5G
네트워크 제공자:
Altice, Antel, Claro
- 5 계획 옵션 사용 가능
- 5G 및 핫스팟 지원
- 2분 이내에 활성화
- 연중무휴 고객 서비스
- 100% 환불 보장
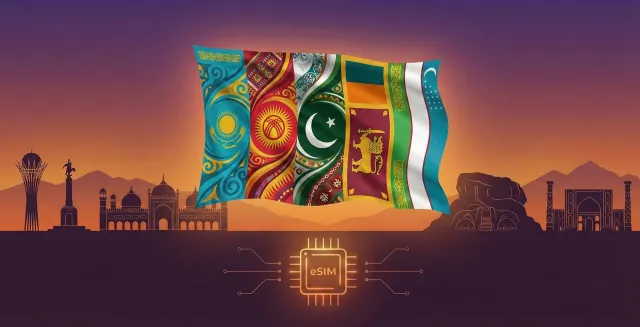
Central Asia
$1.02에서
4G
네트워크 제공자:
Beeline, Hutch, Jazz
- 8 계획 옵션 사용 가능
- 5G 및 핫스팟 지원
- 2분 이내에 활성화
- 연중무휴 고객 서비스
- 100% 환불 보장
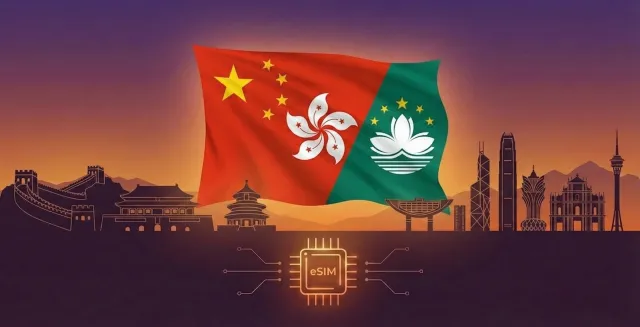
China (vasteland HK Macau)
$1.53에서
5G
네트워크 제공자:
CTM, China Unicom, csl
- 13 계획 옵션 사용 가능
- 5G 및 핫스팟 지원
- 2분 이내에 활성화
- 연중무휴 고객 서비스
- 100% 환불 보장
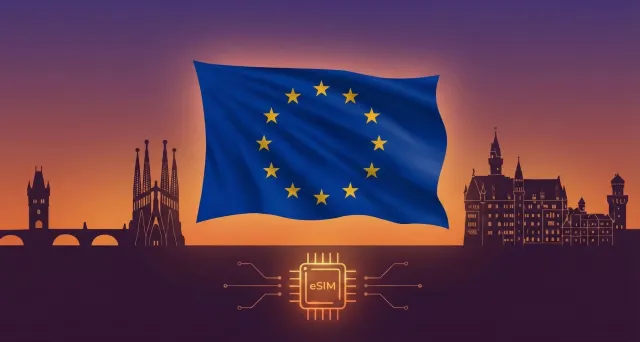
유럽 eSIM (42개국)
$5.44에서
5G
네트워크 제공자:
3, 7acht, A1
- 6 계획 옵션 사용 가능
- 5G 및 핫스팟 지원
- 2분 이내에 활성화
- 연중무휴 고객 서비스
- 100% 환불 보장
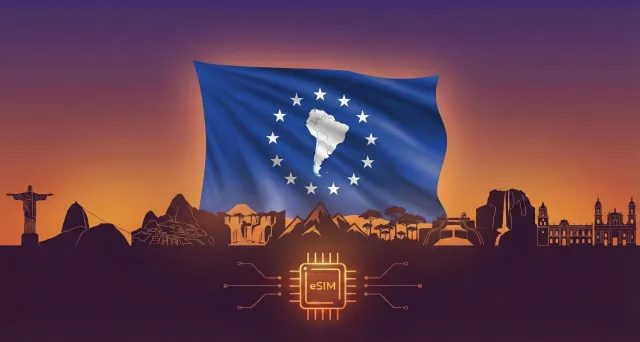
중남미 eSIM (17개국)
$9.69에서
5G
네트워크 제공자:
Antel, Claro, Digicel
- 5 계획 옵션 사용 가능
- 5G 및 핫스팟 지원
- 2분 이내에 활성화
- 연중무휴 고객 서비스
- 100% 환불 보장
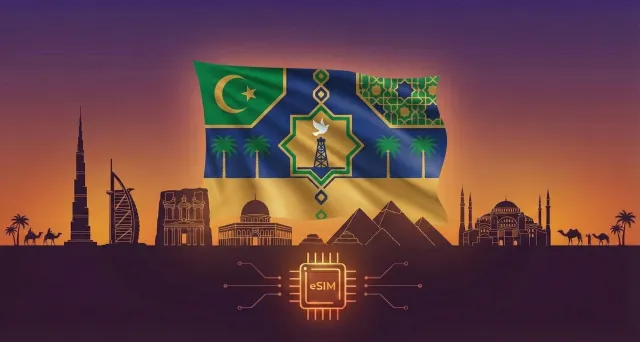
중동 eSIM 요금제 (11개국)
$11.90에서
5G
네트워크 제공자:
Bakcell, Beeline, Etisalat
- 3 계획 옵션 사용 가능
- 5G 및 핫스팟 지원
- 2분 이내에 활성화
- 연중무휴 고객 서비스
- 100% 환불 보장
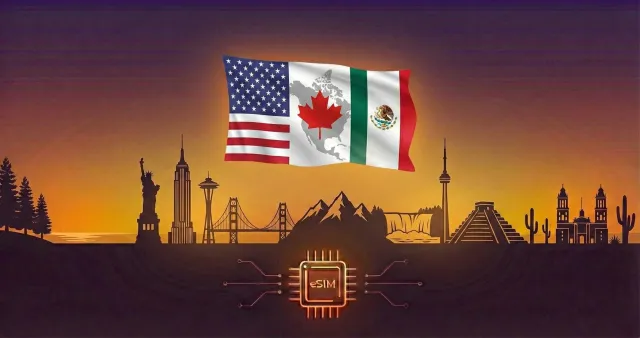
북미 (3개국)
$1.95에서
5G
네트워크 제공자:
AT&T, Bell, Movistar
- 16 계획 옵션 사용 가능
- 5G 및 핫스팟 지원
- 2분 이내에 활성화
- 연중무휴 고객 서비스
- 100% 환불 보장
글로벌 eSIM (127개국)
$12.92에서
5G
네트워크 제공자:
3, 7acht, A1
- 6 계획 옵션 사용 가능
- 5G 및 핫스팟 지원
- 2분 이내에 활성화
- 연중무휴 고객 서비스
- 100% 환불 보장