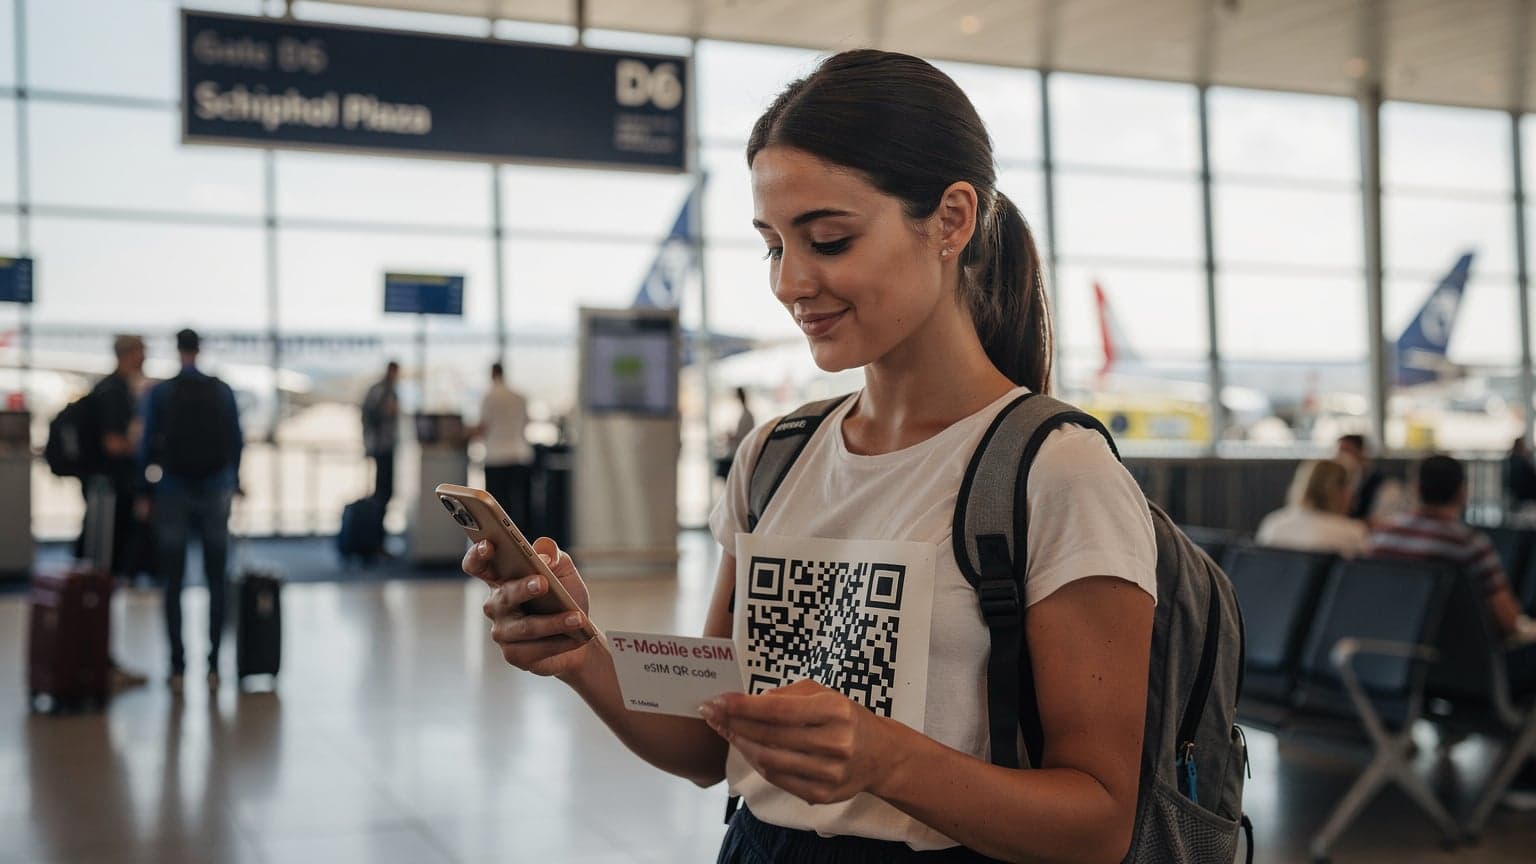
AT&T's eSIM for International Travel, What's the Catch?
Look, I've been on the road for years, bouncing between Chiang Mai, Lisbon, and Medellin. The first thing you learn is that your home carrier, bless their heart, is rarely your best friend when it comes to international data. AT&T, like most major US carriers, offers options for international travel, primarily through their International Day Pass or specific international plans. The eSIM on your iPhone makes managing these theoretically easier, but there are always trade-offs.
International Day Pass, for example, costs you a flat daily fee, typically around $10-12, for each 24-hour period you use data, make a call, or send a text in an eligible country. After 10 days in a billing cycle, the charges are capped for that cycle, but that's still $100-120 a month on top of your regular bill. For a quick weekend trip to Toronto, it's fine. For a month in Mexico City, where I spent a good chunk of last year working out of WeWork Montes Urales, it's a budget killer. My rent there was about $800 a month for a decent apartment in Roma Norte, and I wasn't about to blow another $100 on just data.
Then there are specific international plans, which can sometimes be more cost-effective for longer stays, but they often come with data caps that feel like a joke when you're used to unlimited domestic data. I remember trying to rely on a T-Mobile international plan in Brazil, only to find out that a local bank app, like Itaú, required a Brazilian SIM to even get past the sign-up screen, regardless of my data plan. Your AT&T eSIM can hold these plans, but the underlying limitations remain.
The Hidden Costs of "Convenience"
The biggest catch with AT&T's international options is the cost per gigabyte. While convenient, the price you pay for data often dwarfs what you'd get from a local carrier or a dedicated travel eSIM provider. This isn't just about saving a few bucks, it's about having enough bandwidth to actually live your life, stream that obscure local documentary, or upload daily videos without constant anxiety about hitting a cap. I've seen fellow nomads get hit with hundreds of dollars in overage fees because they miscalculated their Day Pass usage or blew through a tiny data allowance on an international plan.
For instance, if you're exploring the markets in Marrakech and need to upload a quick story to Instagram, that International Day Pass will kick in. Do that every day for a week, and you've spent $70. A local Morocco eSIM would give you gigs for that price. It's about being savvy, not cheap.
Getting Your AT&T eSIM Ready Before You Go
Preparation is key. You don't want to be fumbling with your phone at the arrival gate in Bogotá, trying to figure out why your data isn't working. Trust me, I've been there, staring at a blank signal bar while trying to call an Uber. It's not a fun start to any trip.
Confirming eSIM Compatibility on Your iPhone
First things first: does your iPhone actually support eSIM? Most modern iPhones (iPhone XS, XS Max, XR, and newer) do. If you bought your iPhone in the US, especially after 2022, it's likely physical SIM-card-free and relies solely on eSIM. Check your settings:
- Go to Settings: Tap the Settings icon.
- Navigate to Cellular: Select "Cellular" (or "Mobile Data" in some regions).
- Look for "Add eSIM" or "Add Data Plan": If you see these options, your phone is eSIM compatible. If you only see options related to a physical SIM, you might have an older model or one from a region that still includes a physical SIM slot.
Also, make sure your iPhone is unlocked. An unlocked phone means it's not tied to a specific carrier like AT&T, allowing you to use other networks, which is crucial for using local eSIMs. You can usually check this by going to Settings > General > About and looking for "Carrier Lock" or "Network Provider Lock." It should say "No SIM restrictions." If it says otherwise, you'll need to contact AT&T to get it unlocked, which typically requires fulfilling your contract terms.
Downloading Your AT&T eSIM Profile
If you've migrated from a physical SIM to an eSIM with AT&T, your eSIM profile is already on your phone. If you're activating a new AT&T line or converting an existing one to eSIM for the first time, you'll usually do this through the My AT&T app or by scanning a QR code provided by AT&T. The process is pretty straightforward for most iPhones:
- Open Settings: Go to Settings > Cellular.
- Tap "Add eSIM": Select this option.
- Choose Activation Method: You'll likely be prompted to "Transfer From Nearby iPhone" or "Use QR Code." If AT&T sent you a QR code, choose that.
- Scan QR Code: Position your camera over the QR code from AT&T.
- Follow Prompts: Your iPhone will walk you through the rest, including labeling your lines (e.g., "Primary," "Travel").
Make sure you do this in a place with reliable Wi-Fi, like your home or a trusted cafe. Trying to do it with flaky airport Wi-Fi is just asking for trouble.
Activating an AT&T International Plan on Your eSIM
Alright, so you've decided to stick with AT&T for your international data. Maybe it's a short trip, or your company is footing the bill (lucky you). Here's how to get one of their international plans onto your eSIM.
Using the My AT&T App
This is usually the easiest way. The My AT&T app is pretty robust for managing your account, and adding international features is usually a few taps away.
- Open My AT&T App: Log in with your credentials.
- Navigate to Plans & Features: Look for a section related to managing your plan or adding features.
- Select International Options: You'll usually see choices for International Day Pass or specific international packages.
- Choose Your Plan: Select the one that fits your trip duration and data needs.
- Confirm Activation: Follow the on-screen prompts to confirm and activate the plan. It should apply to your primary AT&T eSIM line automatically.
I’ve used this for short hops, like a quick trip to Vancouver from Seattle. It’s convenient for that, especially if you just need to keep your US number active for texts or calls with clients back home.
Contacting AT&T Customer Service
Sometimes, the app just isn't cutting it, or you have a complicated account setup. Don't be afraid to call AT&T customer service. Explain your travel plans, and they can help you add the right international feature to your eSIM line. Be prepared to wait, though, especially during peak travel seasons. I always recommend doing this a few days before your departure, not the morning of your flight.
Why a Local eSIM is Often Better Than AT&T's Roaming
Let's be real. For long-term travel or even trips longer than a week, AT&T's international options become cost-prohibitive. This is where eSIMs for iPhones from providers like Cellesim truly shine. They offer local data rates, often with much larger data allowances, without the crazy roaming fees.
I spent three months in Vietnam last year, splitting time between Hanoi and Da Nang. If I had relied on AT&T's Day Pass, that would have been over $300 a month just for data. Instead, I grabbed a local eSIM from Cellesim for about $20 for 30GB. I had plenty of data for navigating Grab rides, looking up street food vendors, and staying connected at the coworking space, Toong, in Hanoi's Tay Ho district. That kind of saving allows you to put money towards things that actually matter, like another bowl of Bún chả or a flight to Phu Quoc.
Cost Savings and Data Allowance
The numbers don't lie. Compare AT&T's $10/day for limited roaming speeds to a Cellesim regional eSIM that might give you 10-20GB for 30 days for $30-50. It’s a no-brainer for anyone not on an expense account. The data allowance also means you don't have to constantly hunt for Wi-Fi. While I love the Wi-Fi at my usual spot, Kaizen Coffee Co. in Bangkok, it’s not always convenient when you’re out and about.
| Provider | Data Plan (Example) | Cost (Example) | Best For |
|---|---|---|---|
| AT&T International Day Pass | Uses existing domestic plan | $10-12/day (capped at 10 days/billing cycle) | Short trips (1-3 days), business travel (expensed) |
| AT&T International Plan | Limited data (e.g., 5GB/month) | $70-100/month (approx) | Specific use cases, less data-intensive travel |
| Cellesim Local/Regional eSIM | 10GB for 30 days | $20-50 (varies by region) | Longer trips, budget-conscious nomads, heavy data users |
Maintaining Your Primary Number
This is the sweet spot. When you use a travel eSIM for data, your AT&T eSIM remains active for calls and texts. This means your friends and family can still reach you on your familiar US number, and you can still receive verification codes for banking apps (though, as I mentioned, some apps, especially in places like India with Aadhaar requirements, will need a local SIM for full functionality). You simply set your travel eSIM as the primary for cellular data and your AT&T eSIM for voice and SMS.
The Mechanics, Juggling Multiple eSIMs on Your iPhone
Your iPhone is built for this. With Dual SIM capabilities (using one physical SIM and one eSIM, or two eSIMs on newer models), managing multiple lines is surprisingly easy once you get the hang of it. I've run three eSIMs at once before, though I wouldn't recommend it for sanity's sake unless absolutely necessary.
Setting Up Your Travel eSIM Alongside AT&T
Let's say you've picked up a Cellesim eSIM for your trip to Ecuador. The process for activation is similar to AT&T's, but you'll get the QR code or manual details from Cellesim.
- Purchase Cellesim eSIM: Buy your desired regional or country-specific eSIM from the Cellesim website.
- Receive Activation Details: You'll typically get an email with a QR code or manual installation instructions.
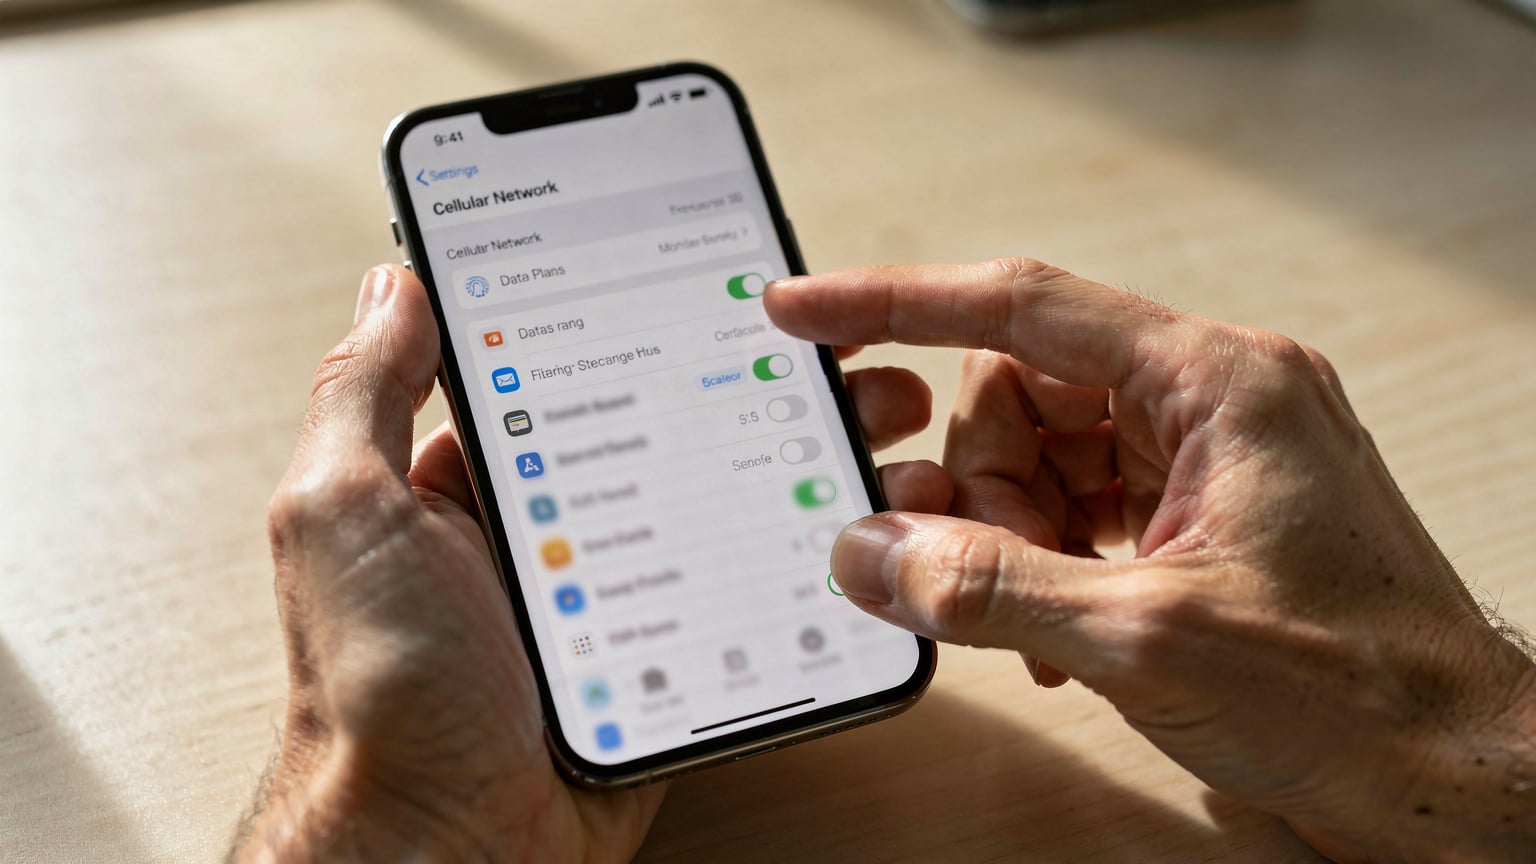
- Add eSIM to iPhone: Go to Settings > Cellular > Add eSIM.
- Scan QR Code/Enter Details: Use the QR code or manually enter the SM-DP+ Address and Activation Code.
- Label Your Lines: This is crucial. Label your AT&T line "Primary" or "Home" and your Cellesim line "Travel" or "Data Abroad."
- Set Default Line for Data: When prompted, choose your Cellesim eSIM as the "Primary Line for Cellular Data."
- Set Default Line for Calls/SMS: Keep your AT&T eSIM as your default for calls and SMS (unless you want to use the local number for calls too, which usually incurs extra cost).
This setup allows you to receive calls and texts on your AT&T number without using its data, while your Cellesim eSIM handles all your internet needs. This is what you want. I used this exact setup when I was sorting out my Ecuador residency, keeping my US number for official calls while relying on a local data plan.
Switching Between Data Lines
Need to temporarily use AT&T data? Maybe you're in a pinch and the local network is down (it happens, especially in more remote areas). It's easy to switch:
- Go to Settings: Navigate to Cellular.
- Tap "Cellular Data": Under the "Cellular Plans" section, you'll see your labeled eSIMs.
- Select Desired Line: Choose which eSIM you want to use for data.
Remember to switch back to your travel eSIM once you're done, or you'll trigger AT&T's International Day Pass. I keep a quick shortcut in my Control Center for Cellular Data, making it even faster to toggle.
Common AT&T eSIM Issues Abroad and How to Fix Them
Even with the best preparation, things can go sideways. I've had my share of "no service" moments in strange countries. Here's a rundown of common issues and how I usually troubleshoot them.
"No Service" or Limited Connectivity
This is the classic. You land, turn off airplane mode, and... nothing. Or maybe just an SOS signal. Annoying.
- Check Roaming Settings: For your AT&T line, make sure "Data Roaming" is turned on if you intend to use their international plan. For your travel eSIM, make sure its data roaming is also enabled (some international eSIMs require it to connect to partner networks). Go to Settings > Cellular > [Your eSIM Name] > Data Roaming.
- Restart Your iPhone: The oldest trick in the book, but it often works. A fresh connection can sometimes resolve network issues.
- Manual Network Selection: Sometimes your phone struggles to pick the right partner network. Go to Settings > Cellular > [Your eSIM Name] > Network Selection. Turn off "Automatic" and manually select a local carrier. You might need to try a few before one sticks. (When I was in Jakarta, sometimes my Telkomsel eSIM would default to a weaker network, and manually selecting the strongest one made all the difference.)
- Reset Network Settings: This is a more drastic step, but it clears all Wi-Fi passwords and cellular settings. Go to Settings > General > Transfer or Reset iPhone > Reset > Reset Network Settings. Only do this if other options fail.
Incorrect Data Usage or Charges
This is where things can get expensive. Keep a close eye on your usage.
- Monitor My AT&T App: Regularly check your data usage through the My AT&T app for your primary line.
- Monitor Cellesim App/Dashboard: Most travel eSIM providers, like Cellesim, have an app or web portal where you can track your data consumption in real-time.
- Disable Wi-Fi Assist: This feature uses cellular data when Wi-Fi is poor. While useful at home, it can inadvertently trigger roaming charges abroad. Go to Settings > Cellular and scroll to the bottom to turn off Wi-Fi Assist.
- Background App Refresh: Limit which apps can refresh in the background. Settings > General > Background App Refresh. Turn off anything you don't absolutely need.
Data Usage, Keeping an Eye on Your Wallet
Understanding how much data you actually need is crucial for not overspending. I've seen travelers buy huge data packages they barely touch, and others run out in a week because they underestimated their usage. For perspective, I usually burn through about 20-30GB a month when I'm actively working, streaming, and navigating.
Estimating Your Data Needs
Here’s a rough guide to common activities:
- Social Media Scrolling: 200-500 MB per hour (heavy video content on TikTok/Instagram)
- Email & Messaging: 5-20 MB per hour
- Web Browsing: 50-100 MB per hour
- Standard Definition Video Streaming: 700 MB - 1 GB per hour
- High Definition Video Streaming: 2-3 GB per hour
- Video Calls (Zoom, WhatsApp): 500 MB - 1 GB per hour
- Music Streaming: 100-150 MB per hour
- Navigation (Google Maps): 5-10 MB per hour
If you're constantly on video calls for work, plan for higher usage. If you mainly use data for maps and WhatsApp, you can get away with less. Think about what you actually do on your phone when you're not on Wi-Fi.
Utilizing Wi-Fi Whenever Possible
This sounds obvious, but you'd be surprised how many people forget. Every coffee shop, coworking space, and hostel will have Wi-Fi. Use it. Download maps offline, pre-load streaming content, and save your heavy uploads for when you're connected to a stable Wi-Fi network. While I enjoy the flexibility of an eSIM like Maya for data, there's no substitute for free, fast Wi-Fi when you find it.
My go-to spots for reliable Wi-Fi often include places like Starbucks (predictable, if unexciting), local coworking spaces (like Selina in Latin America), and even some of the more modern food courts in malls. In Kuala Lumpur, the Pavilion mall's food court had surprisingly decent free Wi-Fi, which became my Tuesday lunch spot for checking emails.
Staying Connected, My Go-To Gear and Apps
Beyond the eSIM itself, there are a few other things that make a huge difference in staying connected and productive on the road. It’s not just about the data, it's about the ecosystem.
Portable Charger and Power Bank
This is non-negotiable. Running out of battery when you're lost, trying to find your Airbnb, or waiting for an important message is a nightmare. I carry a Anker PowerCore 20000 mAh, which can charge my iPhone multiple times. It's a lifesaver, especially on long bus rides or when I'm out exploring all day.
Essential Connectivity Apps
These are the apps that keep my digital nomad life running:
- WhatsApp: Universal for messaging, voice calls, and video calls. Essential for connecting with locals and other nomads.
- Google Maps (Offline Maps): Download maps of the areas you'll be visiting. This saves data and works even when you have no signal.
- Google Translate (Offline Translation): Similar to maps, download language packs for offline use.
- Wise (formerly TransferWise): For managing international finances and avoiding ATM fees.
- VPN: Crucial for security on public Wi-Fi networks and sometimes for accessing region-locked content.
Having these prepped and ready to go before you even leave home makes a huge difference. Don't wait until you're already overseas to realize you need to download a 500MB language pack.
Frequently Asked Questions
Can I use my AT&T eSIM in any country?
AT&T's international plans, like International Day Pass, cover over 200 countries. However, coverage quality and speed can vary significantly by location and local partner networks. Always check AT&T's eligible countries list for your specific plan before traveling.
Will I be charged for receiving calls or texts on my AT&T eSIM while abroad?
Yes, if you're using AT&T's International Day Pass, any incoming or outgoing call or text will trigger the daily fee. If you're on a different international plan, charges will depend on that plan's specific terms. Using a separate travel eSIM for data allows you to keep your AT&T line active for minimal call/text use without triggering data roaming charges.
How do I avoid high AT&T roaming charges?
The most effective way to avoid high AT&T roaming charges is to purchase a local or regional travel eSIM from a third-party provider like Cellesim. You can then use this eSIM for all your data needs while keeping your AT&T eSIM active but primarily set for calls and texts only, or even turn off its data roaming entirely.
What happens if I forget to turn off data roaming for my AT&T eSIM?
If you have International Day Pass, data roaming will automatically activate the $10-12 daily fee the moment your phone uses data in an eligible country. If you don't have an international plan, you could incur significant pay-per-use roaming charges, which are often extremely expensive.
Can I switch back and forth between my AT&T eSIM and a travel eSIM for data?
Yes, your iPhone allows you to easily switch which eSIM is used for cellular data through your phone's Cellular settings. Simply go to Settings > Cellular > Cellular Data and select the desired eSIM. Remember to switch back to your travel eSIM to avoid unexpected AT&T charges.
Do I need Wi-Fi to activate a new eSIM?
Yes, you generally need a stable Wi-Fi connection to download and activate a new eSIM profile onto your iPhone. This applies to both AT&T eSIMs and third-party travel eSIMs. It's best to do this before you leave home or in a location with reliable internet access.