

 eSIM Destination
Canada eSIM
Canada: compare travel eSIMs for maps, messages, and mobile data.
Canada: mobile networks
4 carriers supported
- SaskTel5G
- Telus5G
- Rogers Wireless5G
- Bell Mobility
Highest generation per operator is displayed; some plans may use a fallback band based on local conditions.
Free VPN with your eSIM
Every active Cellesim eSIM comes with a free VPN. Browse securely on public Wi-Fi and reach the apps you rely on from anywhere, at no extra cost and with no separate signup.
- 4.5(284)
- 5G
- Digital setup
- Refund policy
Data Plans / Unlimited
7 days
30 days
Canada: mobile networks
4 carriers supported
- SaskTel5G
- Telus5G
- Rogers Wireless5G
- Bell Mobility
Highest generation per operator is displayed; some plans may use a fallback band based on local conditions.
Free VPN with your eSIM
Every active Cellesim eSIM comes with a free VPN. Browse securely on public Wi-Fi and reach the apps you rely on from anywhere, at no extra cost and with no separate signup.
Canada: our plans at or below the market median
We compare our Canada plans with the public prices of other eSIM providers. The plans below cost the same as or less than the median price for the same data and validity.
- 1 GB · 7 days$5.15market median $5.29 · 3% below
Competitor prices checked on Oct 19, 2026. Prices change; the price shown at checkout is final.
Canada: choose an eSIM for your trip
Choose how much data you need and for how long. Before you buy, check that your phone is compatible and that the plan covers where you're going. Canada: plans start from $5.15. 4.5/5 · Based on 284 reviews Compare the plans below, including details on activation, hotspot use, and top-ups.
- Compare price and how much data you get
- Check networks and coverage
- Contact support if you need help
Frequently Asked Questions
This specific plan is valid only within Canada. This is a critical question for travelers. If your trip involves crossing the border into the USA (e.g., visiting Niagara Falls, driving from Seattle to Vancouver), your connection will stop. For a seamless trip, we highly recommend our North America Regional eSIM, which covers both Canada and the USA with one single plan.
Our Canada eSIM connects to the country's leading mobile networks, including Bell, Rogers, and Telus, ensuring premium coverage and speeds.
Canada's vast mobile landscape is dominated by these three premium providers. By connecting to their top-tier infrastructure, your eSIM guarantees access to the fastest 4G/LTE and 5G speeds available. This wide coverage extends across the country, from bustling urban centers like downtown Toronto to the scenic regions of Quebec, ensuring you stay connected wherever your travels take you.
When you use our Canada eSIM, you're leveraging the same robust networks that local subscribers rely on. This means you won't experience a drop in quality compared to a direct carrier plan. It's important to understand that while our eSIM utilizes the networks of Bell, Rogers, or Telus, it is a travel-specific eSIM designed for convenience and flexibility, rather than a direct product offered by any of these individual carriers. This approach provides seamless connectivity without the need for a local SIM card or a long-term contract.
Planning the trip? See our Canada eSIM plans, install in one tap before you fly, and land online. Free VPN included.
Yes, in key areas. The drive through the Rocky Mountains is spectacular. You will have reliable 4G/LTE coverage in the townsites of Banff, Jasper, Lake Louise, and Canmore. However, on the Icefields Parkway (the highway connecting Banff and Jasper), coverage is notoriously spotty and non-existent for long stretches. We strongly recommend downloading offline maps before starting that scenic drive.
Yes, in most cases. US carriers' "Roam North" or "Day Pass" plans often charge $10-$14 per day, which can add up to $100 for a 10-day trip. A Cellesim eSIM is a one-time prepaid fee. For the same price as two days of US roaming, you can often get enough data for your entire 2-week Canadian vacation, saving you significant money.
No. This is a data-only eSIM and does not come with a local phone number for calls or SMS. However, you can use WhatsApp, FaceTime, or Skype (which are very popular) to make all your voice and video calls over the high-speed data connection. You can also keep your primary US/UK number active for incoming calls while using our eSIM for data.
Yes. Tethering (Personal Hotspot) is fully supported. This is perfect for the classic Canadian road trip. You can share your data connection with your family's iPads, your laptop, or your car's navigation system while driving through different provinces.
Yes, we highly recommend it. You can install the eSIM at home before you fly. The validity only starts when you connect to a Canadian network. This way, you can skip the terrible airport Wi-Fi, avoid roaming charges on landing, and order an Uber or check the UP Express (Toronto) train schedule the moment you step off the plane.
Yes, WhatsApp, FaceTime, and other video/voice calling apps work perfectly fine over mobile data throughout Canada, just as they do in most unrestricted countries.
Canada boasts robust mobile infrastructure, with major carriers like Bell, Rogers, and Telus providing extensive 4G LTE and 5G coverage across populated regions. This ensures that your video and voice calls via apps like WhatsApp, FaceTime, Google Meet, or Zoom will be clear and reliable. Your eSIM will automatically connect to the strongest available major network upon arrival, allowing you to stay connected without hassle. The specific network your eSIM utilizes may vary depending on your chosen plan.
- For optimal performance, especially for video calls, ensure you have a strong data signal.
- Be mindful that video calls consume more data than standard voice calls.
- Public Wi-Fi networks are also widely accessible in cities, hotels, and cafes, offering an alternative for calls.
Planning the trip? See our Canada eSIM plans, install in one tap before you fly, and land online. Free VPN included.
Our Canada eSIM automatically connects to the strongest available major mobile network, typically one of Canada's leading providers like Bell, Rogers, or Telus.
Canada boasts a highly developed telecommunications infrastructure, primarily serviced by these three national carriers. Your eSIM is engineered to automatically select the best performing network at your current location, ensuring you have reliable data coverage. This means you can stay connected whether you're navigating the bustling streets of Toronto, exploring the scenic beauty around Vancouver, or visiting the historic charm of Montreal. The specific network partner your eSIM utilizes can vary based on the particular plan you select, but rest assured, all our Canada eSIMs are designed to leverage these top-tier networks for optimal performance across the country.
Yes, ride-hailing apps like Uber and Lyft operate normally in Canada and will work seamlessly when using your eSIM for data connectivity.
These apps rely on a stable internet connection to locate drivers, process payments, and provide navigation. Your eSIM provides this essential data access by connecting to the strongest available major mobile network across Canada, ensuring you can request rides wherever service is available. While Uber and Lyft are widely available in major Canadian cities such as Toronto, Vancouver, Montreal, and Calgary, their presence can be limited or non-existent in smaller towns and remote areas. Always check app availability for your specific destination. The exact network your eSIM connects to may vary by plan and location, but it will always aim for optimal coverage.
Planning the trip? See our Canada eSIM plans, install in one tap before you fly, and land online. Free VPN included.
About Canada eSIM
Canada eSIM: Travel Data Plans and Trip Guide
Compare Canada eSIM data plans for Toronto, Vancouver and longer trips. Check validity, route coverage and whether you need a local phone number.
🏙️ Toronto · Vancouver · Montreal
Current plans start from $5.15. This is the total price of the lowest-priced available package, not a daily rate or the price of every data allowance.
City breaks and the Rockies need different preparation
For Toronto or Montreal, plan data for maps, bookings and local transport. For a Vancouver-to-Rockies itinerary, download maps and accommodation details before rural legs. Parks Canada identifies the Icefields Parkway as a route with no cell coverage. Buying more GB does not remove that limitation, so do not treat the eSIM as an emergency communication system.
Travel data versus a Canadian mobile subscription
This page helps visitors choose prepaid travel data. If you are moving to Canada and need a Canadian number, recurring service or conventional calls, compare local subscriptions separately. For a trip through the USA or Mexico, verify both countries in the exact regional package. A Canada-only product does not automatically cover a North American road trip.
How much data for 7 or 14 days?
Planning examples, not measured usage averages: multiply your own daily allowance by the number of travel days, then add a buffer. The examples below are calculations, not packages offered for sale.
| Assumed daily use | 7 days | 14 days |
|---|---|---|
| 0.5 GB/day | 3.5 GB | 7 GB |
| 1 GB/day | 7 GB | 14 GB |
Choose a package with enough data and validity for the full trip. A 7-day package will not cover a 14-day stay even if it has data left. Add laptop sharing, video calls and cloud backups separately; review hotspot rules and any fair-use speed limits.
Before departure and after landing
- Check the exact phone model and regional version for eSIM support and carrier unlocking.
- Read the selected package’s activation rule before installing over a stable internet connection. Installation and the start of validity may be different.
- On arrival, select the travel eSIM for mobile data and follow its roaming/APN instructions. Turn off data roaming and automatic data switching on the home line.
A travel data package does not automatically include a local phone number, voice calls or SMS. Keeping your home line active can still incur its own charges. Check these separately if you need banking texts or conventional calls.
Plan your next step
Sources checked on 9 September 2026
Canada eSIM reviews from real travelers
Based on 284 reviews
- Emily T.·Jun 29, 2026
Perfect. !!
- Jess H.·Jun 4, 2026
great signal ok
the app was
User199 S.·May 24, 2026the app was awesome.
Used in CA
User199 K.·May 16, 2026Used in CA, solid experience
Great eSIM
Michael G.·May 13, 2026Exactly what I needed for my trip. Data network was completely flawless everywhere. Fair pricing for a generous amount of data. Highly recommend Cellesim to anyone!
- Anon O.·May 2, 2026
Do not recommend. Couldn't get it to work. Total waste of money in CA
- Sophie X.·Jun 28, 2026·fr
Parfait. Je recommande.
- Taka Z.·Jun 28, 2026·ja
速い。 素晴らしい。 とても良いです。 機能します。
Flott
Ingrid·Jun 22, 2026·noFlott. Anbefales 🔥
- Matteo Y.·Jun 16, 2026·it
Molto bene. Eccellente. Perfetto. (CA)
funktioniert. schnell. gerne
max·Jun 15, 2026·defunktioniert. schnell. gerne wieder.
- Nikos R.·Jun 10, 2026·el
Πολύ αργό QR code
Canada eSIM guides:what travellers ask before they go
Coverage, install steps, real connection speeds, and the small stuff that ruins a trip if you skip it. Curated for Canada.
 Travel Styles / Personas
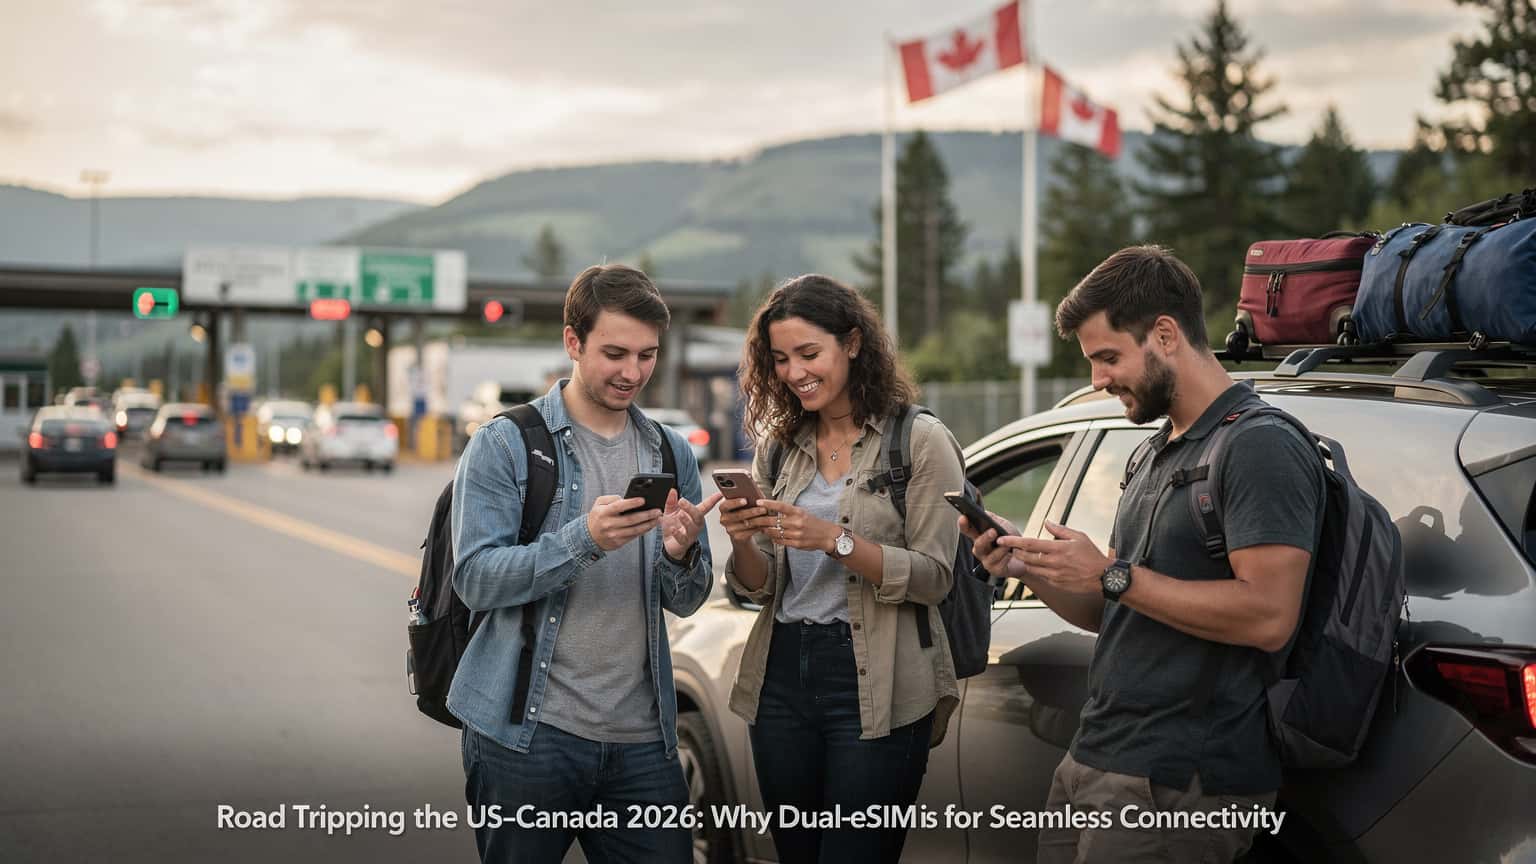
Road Tripping the US-Canada Border 2026: Why Dual-eSIM is Your Best Bet for Seamless Connectivity
Crossing the US-Canada border on a road trip can turn your data plan into a nightmare. Roaming fees bite hard, and physical SIMs are a pain. I just wrapped up 10 days, 3 states, and 2 provinces, spending only €28 on data with a dual-eSIM setup. Here's how to skip the stress and stay connected.
Read the guide Travel Styles / Personas
Summer Road Trip 2026: Why Your US/UK eSIM is Essential for Seamless US National Park & Canada Border Hopping
Forget frantic Wi-Fi hunts and exorbitant roaming charges on your next family road trip across the US National Parks and into Canada. An eSIM is the savvy parent's secret weapon, ensuring everyone, from the GPS navigator to the Disney+ streamer in the back seat, stays connected without a hitch. It's about peace of mind, from Yellowstone's valleys to Vancouver's cityscape.
Read the guide Travel Styles / Personas
Summer Road Trip 2026: Ditch Roaming Fees on Your USA & Canada Adventure with an eSIM
My old beat-up Mazda, a map that's seen better days, and a playlist for every stretch of highway, that's my kind of summer. But there's one thing I don't leave to chance anymore: my phone data. Crossing borders, even just from Vermont into Quebec, used to be a headache of roaming charges. Not anymore, thanks to the humble eSIM.
Read the guide Travel Styles / Personas
Summer Road Trip 2026: Ditch the Dead Zones with the Best eSIM for US & Canada
Forget the anxiety of losing signal on America's open roads or Canada's vast landscapes. This summer, an eSIM is your secret weapon against dead zones, keeping your maps live, your playlists streaming, and your travel stories instantly shareable, all without surprise roaming charges.
Read the guide Destination Guides
Conquer US National Parks: Best eSIM for Remote Road Trips
Explore US National Parks with reliable eSIM data in 2026. Stay connected on remote road trips, navigate safely, and share memories. Get your Cellesim eSIM now.
Read the guide Destination Guides
T-Mobile International Data Pass vs. Cellesim eSIM: Save More Abroad in 2026
Compare T-Mobile's International Data Pass with Cellesim eSIM in 2026. Discover how to get reliable data, avoid roaming, and save money on your next international trip.
Read the guide Destination Guides
T-Mobile International Data Pass Alternatives: Discover Cellesim eSIM
Ditch expensive T-Mobile International Data Passes in 2026. Discover Cellesim eSIM for faster speeds, wider coverage, and transparent pricing. Explore plans now!
Read the guide Destination Guides
iPhones & SIM Cards: The Traveler's Ultimate eSIM Guide for 2026
Master iPhone travel with eSIMs in 2026. Avoid roaming fees, get instant data, and stay connected globally. Explore Cellesim's worldwide eSIM plans now!
Read the guide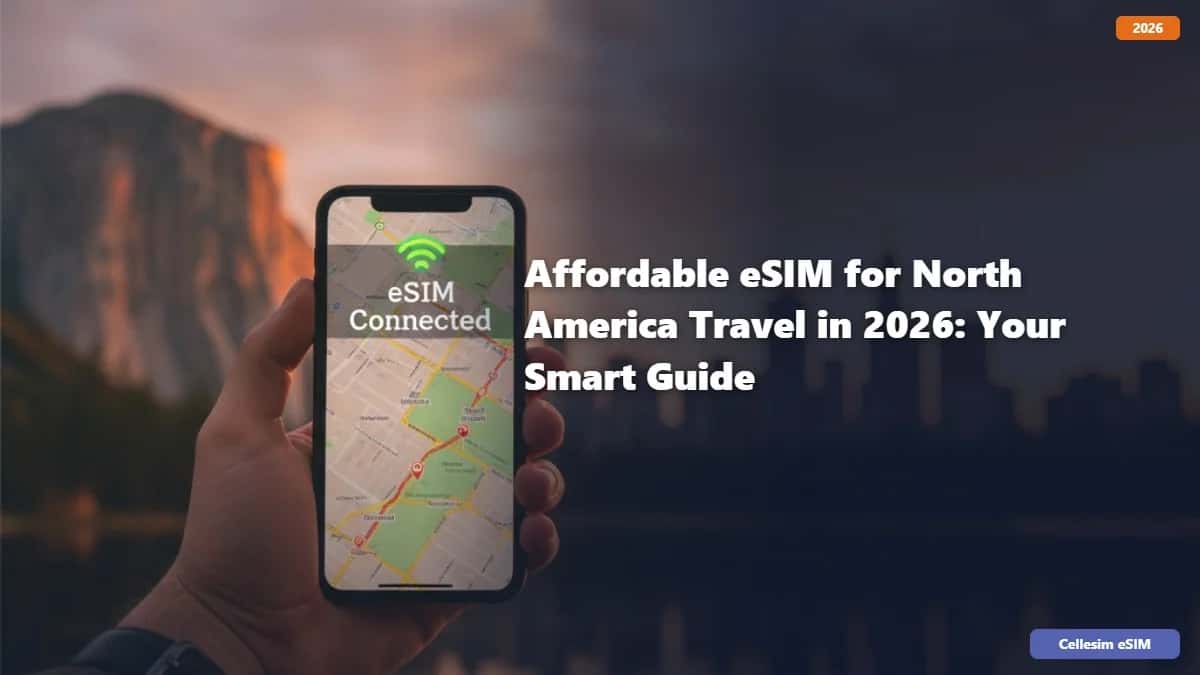 Destination Guides
Affordable eSIM for North America Travel in 2026: Your Smart Guide
Find the cheapest eSIM for North America travel in 2026. Get instant data for USA, Canada, and Mexico with Cellesim's affordable plans. Explore now!
Read the guide eSIM Guide
When Is Turkey Day 2026? Your Ultimate Thanksgiving Guide
Find out when Turkey Day 2026 is celebrated in the USA & Canada. Plan your holiday travel with Cellesim eSIM for seamless connectivity.
Read the guide Destination Guides
How to Avoid Roaming Fees on Your 2026 Italy Summer Vacation
Planning your 2026 Italy vacation? Discover how to eliminate expensive roaming fees and stay connected effortlessly with Cellesim eSIM. Get instant data now!
Read the guide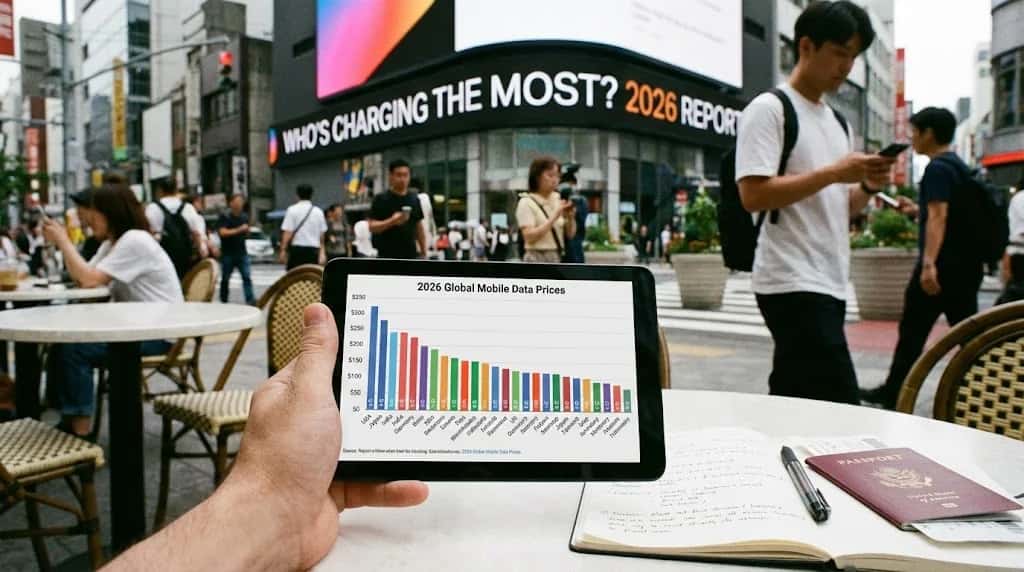 Savings & Comparisons
The 2026 Global Mobile Data Price Report: Who's Charging the Most?
A deep dive into the 2026 global mobile data price rankings. We uncover the most expensive countries for internet and show you how to stay connected affordably.
Read the guide
Canada: Popular cities
City-specific connectivity guides


Nearby Countries
Check coverage for every stop on your trip.


