Prerequisites: You have a smartphone, a budget in mind for data, and a trip planned. No advanced tech knowledge needed, just a willingness to save some cash and avoid data nightmares. You'll need about 10 minutes to read through this, maybe five more to check your phone's compatibility.
The SIM Card Decoded: Your Pocket Passport to Data
Let's get straight to it. A SIM card, short for Subscriber Identity Module, is that tiny chip that slides into your phone. It's not just a piece of plastic, it's a miniature computer that securely stores information to identify you on a mobile network. Think of it as your phone's passport, telling local towers, "Hey, this is Dave, and he's allowed to use your network."
Without a SIM, your phone is basically a fancy brick outside of Wi-Fi. It's how your device connects to cellular networks for calls, texts, and, most importantly for us budget travelers, mobile data. This small chip holds your unique IMSI (International Mobile Subscriber Identity) number and a secret authentication key, which are critical for connecting to any network. When you pop one in, it's like telling your phone, "Right, we're with Vodafone now."
For years, the physical SIM was the only game in town. You'd buy one at the airport or a corner shop, fumble with a tiny tray, and hope it worked. While eSIMs are gaining ground, knowing the basics of a physical SIM is still crucial, especially if you're traveling in places where eSIM adoption is still catching up, or you just prefer the old-school physical chip.
Physical SIM Cards: How to Install and Activate Like a Pro
Buying a local physical SIM can sometimes be the absolute cheapest option, especially if you're staying in one country for an extended period. I once spent 8 days in Indonesia and managed to get data for about €8 using a Telkomsel SIM, averaging out to about 1GB per day. My total data expenditure for the trip was roughly €280, mostly because I needed consistent connectivity across multiple countries. It's all about checking the local deals. Here's how you install one:
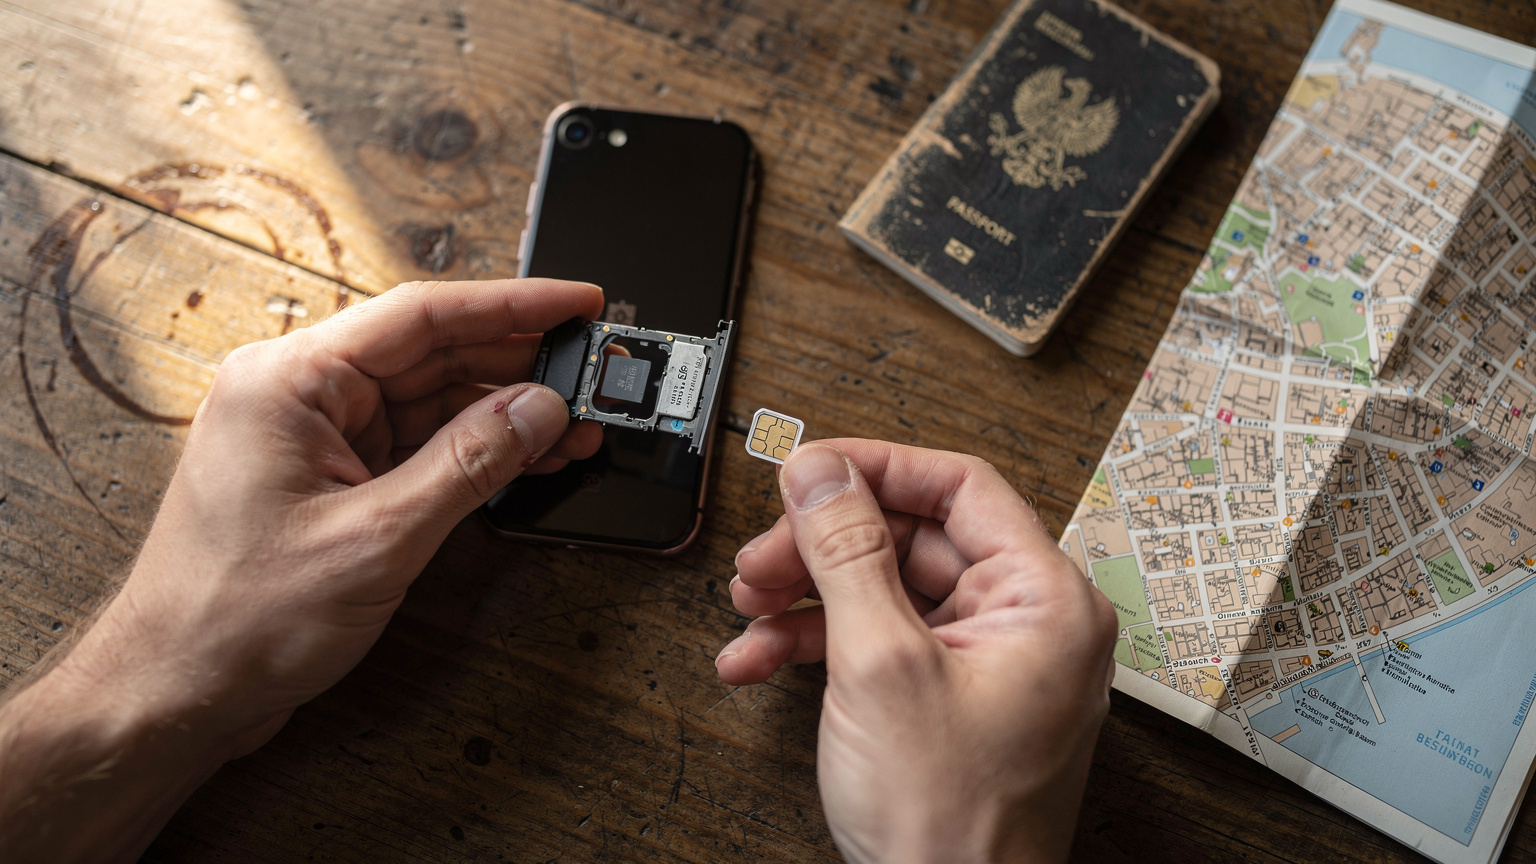
- Locate the SIM Tray: On most modern smartphones (iPhone 11 and newer, many Androids), the SIM tray is usually on the side of the phone. Look for a tiny pinhole.
- Eject the Tray: Use the SIM ejector tool that came with your phone, or if you're like me and lost it on day one, a straightened paperclip or earring will do the trick. Gently push it into the pinhole until the tray pops out.
- Insert the SIM: Place the new physical SIM card into the tray. Make sure it's oriented correctly, usually with a clipped corner aligning with the tray's shape.
- Reinsert the Tray: Carefully slide the tray back into your phone until it's flush with the side.
- Activate (if needed): Some local SIMs activate automatically. Others require a quick text message or a call to a local number. For example, when I got my Cosmote eSIM in Greece, it was almost instant. But with a physical SIM, you might need to dial *123# and follow prompts. Always ask the vendor at the kiosk if you need to do anything specific.
Remember, your phone needs to be unlocked by your home carrier to accept another country's SIM. If you get a "SIM Not Supported" message, your phone is likely locked. This is a common hiccup that can leave you scrambling. For a deep dive into avoiding these issues, check out our guide on frequently asked questions about eSIMs.
The eSIM Advantage: Digital Data for the Savvy Traveler
Okay, so physical SIMs are the old guard, but eSIMs, or embedded SIMs, are the future for budget-conscious travelers. Instead of a physical chip, an eSIM is a small chip already built into your phone (most iPhones from the XR/XS and newer, and many recent Android flagships have them). You activate it digitally by scanning a QR code or entering a code.
The big win here? You can buy and activate data plans from anywhere, often before you even land. No more hunting for a SIM card vendor in a chaotic airport after a 14-hour flight. Plus, you can often keep your home SIM active for calls and texts while using the eSIM for data. This is how I manage my budget. I'll get a Cellesim eSIM for the data, like the Cellesim option for Indonesia, which often beats the local rates if you're only there for a week or two, and my home SIM keeps me reachable.
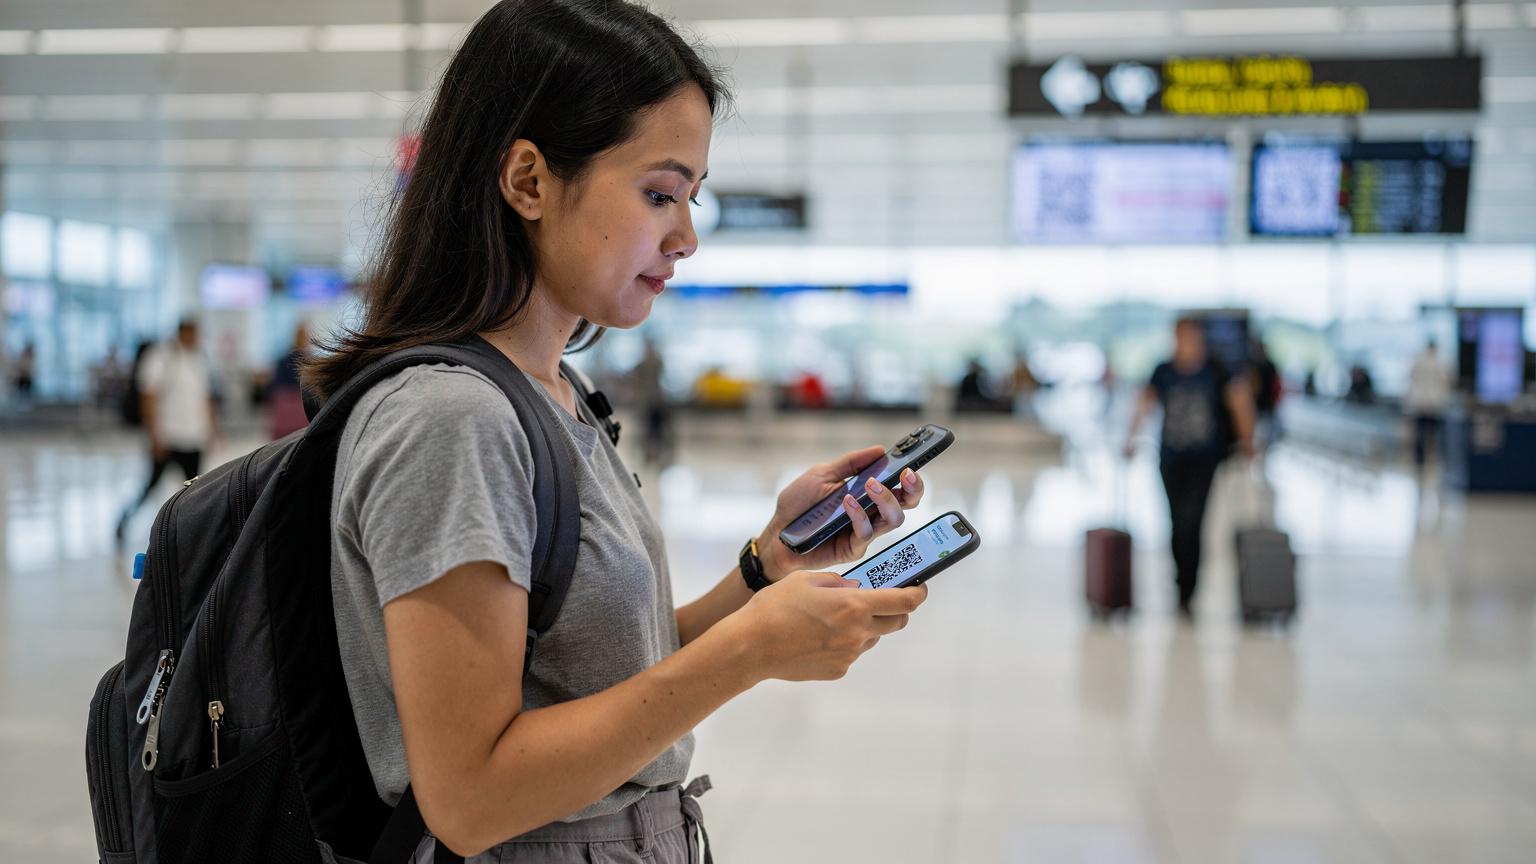
Here's how easy it is to get connected with an eSIM:
- Check Device Compatibility: First, confirm your phone supports eSIM. Most devices from the past few years do, but it's worth a quick check in your phone's settings (usually under "Cellular" or "Mobile Data").
- Choose Your Plan: Head to Cellesim's website or app. Browse plans for your destination, say, a 5GB plan for 15 days in Vietnam. Pay for it directly.
- Receive Activation Details: You'll get an email with a QR code or manual activation details.
- Activate Your eSIM: Go to your phone's settings > Cellular (or Mobile Data) > Add eSIM. Scan the QR code or enter the details manually. Follow the on-screen prompts, which usually involve naming your new plan (e.g., "Vietnam Data") and setting it as your primary for data.
That's it. You're connected. No physical swapping, no language barriers at a local shop. It's just a few taps and you're good to go. I used about 0.5 GB/day while backpacking through Europe, so a 15GB plan for a month would be plenty for about €25. You can track your usage through your phone's settings or the Cellesim app.
Border Crossing Tactics: Avoiding the Roaming Trap
This is where physical SIMs can bite you and where eSIMs truly shine. I've seen countless travelers get hit with outrageous roaming charges because they forgot to swap SIMs or didn't understand how their data plan worked across borders. Take the classic example of crossing from France into Switzerland, or from Germany into Czech Republic. Your home EU SIM will roam freely across most of the EU, but hit Switzerland, and suddenly you're paying €5 per MB if you're not careful.
Here's the budget backpacker's border crossing playbook:
- Before You Cross: If you're using a physical SIM for Country A, and you're about to enter Country B, disable mobile data on your phone before you even get close to the border. Seriously, do it. I learned this the hard way trying to get a bus from Split, Croatia, into Montenegro. My phone briefly connected to a Montenegrin tower before I could swap SIMs, costing me €12 for literally two minutes of data.
- Research Local SIMs (Physical): If you're committed to a local physical SIM, find out where to buy it right at the border or in the first town. For instance, crossing into Cambodia from Thailand at Poipet, there are kiosks selling Metfone or Cellcard SIMs immediately after immigration. Prices are usually better than the airport. Ask about the 'tourist package' and compare it with the Cellesim options you would have bought beforehand.
- Leverage eSIMs for Multiple Countries: This is my go-to strategy for multi-country trips. With Cellesim, I can buy a regional eSIM that covers all the countries I'm visiting. For example, a Europe eSIM covering 30+ countries. No need to swap, no risk of roaming charges. Just make sure the eSIM plan covers all your destinations. Check out our guide on eSIM speed tests to ensure you're getting decent connectivity too.
Let's crunch some numbers. Say you use 1GB of data per day. For a 10-day trip across three countries, you need roughly 10GB. If you're buying three separate local SIMs, that's three purchases, three installations, and three potential activation headaches. A regional eSIM might cost €30 for 10GB, compared to three €10 local SIMs. The cost is similar, but the convenience and peace of mind of the eSIM are priceless when you're on a tight schedule or late-night bus.
Troubleshooting Common SIM Card Headaches
Even with the best planning, things can go wrong. As Cellesim's Technical Support Lead, I've seen it all. Here are the top three issues and what to do:
"SIM Not Supported" or "No Service"
This is usually due to one of two things: either your phone is carrier-locked, or the SIM isn't properly seated. If it's locked, you need to contact your home carrier to unlock it. If you're seeing "No Service" after installing a new SIM, try these steps:
- Reboot Your Phone: Simple, but often effective.
- Re-seat the SIM: Take the SIM card out, clean it gently (don't scratch), and put it back in firmly.
- Check APN Settings: Sometimes, especially with local physical SIMs, you need to manually configure the Access Point Name (APN). The SIM vendor should provide this, or you can find it on the carrier's website. Go to Settings > Mobile Data > Network Selection > APN and enter the details.
Slow or No Data, But You Have Signal
You've got bars, but nothing loads. Annoying, right? This often comes down to network congestion or incorrect settings.
- Toggle Airplane Mode: Turn Airplane Mode on for 30 seconds, then off. This forces your phone to reconnect to the network.
- Check Data Roaming Settings: For eSIMs, ensure data roaming is enabled for that specific eSIM plan in your phone's settings. For physical SIMs, it should generally be off if you're in the home country of that SIM, but if you're roaming on it, ensure it's on.
- Verify Data Plan Status: Log into your Cellesim account or contact the local carrier to ensure your data plan is active and you haven't run out of data.
QR Code Not Scanning for eSIM
This is a common one, usually a quick fix.

- Check Your Screen Brightness: Ensure the QR code image on your second device (or printout) is bright enough and not reflecting glare.
- Clean Your Camera Lens: A smudged camera lens can prevent proper scanning.
- Manual Entry: Every eSIM QR code comes with a "Manual Activation Code." If the scan fails, you can always enter these numbers manually in your phone's eSIM settings. You can find more detailed instructions in our guide on activating an eSIM for Indonesia from France.
Frequently Asked Questions
What is the difference between a physical SIM and an eSIM?
A physical SIM is a removable chip you insert into your phone's tray, while an eSIM is a digital SIM embedded directly into your phone's hardware. eSIMs offer more flexibility for travelers to switch plans without needing a new physical card.
Can I keep my home phone number with an eSIM?
Yes, absolutely. With an eSIM, you can often keep your primary physical SIM active for calls and texts on your home number, while using the eSIM for mobile data. This means you can still receive important calls without incurring roaming charges for data.
Is my phone compatible with eSIMs?
Most modern smartphones released since 2018 are eSIM compatible, including iPhone models XR/XS and newer, Google Pixel 3 and newer, and many Samsung Galaxy flagships. Always check your specific device's specifications or settings under 'Cellular' or 'Mobile Data'.
Are eSIMs more expensive than local physical SIMs?
Not necessarily. While some local physical SIMs might offer slightly cheaper rates for very long stays in a single country, eSIMs often provide better value and convenience for shorter trips or multi-country travel. The time and hassle saved often make eSIMs the more budget-friendly choice.
What should I do if my eSIM isn't working after activation?
First, ensure your phone's mobile data is enabled for the eSIM profile and that data roaming is turned on. Try toggling airplane mode. If problems persist, check your device's APN settings and verify your data plan is active with Cellesim. Our support team is always ready to help.
Can I use an eSIM in countries with limited internet infrastructure?
Evolving infrastructure means eSIMs work in most places with cellular coverage. However, in very remote regions or countries with less developed networks, a physical SIM from a strong local carrier might offer slightly better coverage or stability. Always check network availability for your destination.