


eSIM for PC: Why it Matters for Backpackers
Let's talk numbers first, because that's what we backpackers live by, right? On my last 8-day stint through Hungary and Slovakia, I spent a total of €280 on data for my laptop. That's a significant chunk of my €40/day budget, but it was essential for editing videos and submitting articles on the go. The good news? You can absolutely slash that cost with a proper eSIM plan for your PC.
Forget hunting for free Wi-Fi in every Starbucks or relying on a hostel's notoriously sluggish connection. When you're trying to upload a 2GB video or participate in a crucial client call, 'free' Wi-Fi often costs you more in lost time and missed opportunities. An eSIM in your laptop means you're connected from the moment you land, whether you're in the Budapest Keleti train station or a tiny café in Bratislava's Old Town.
For years, keeping a laptop online abroad meant either tethering to your phone, which drains both batteries faster than a free hostel breakfast disappears, or buying a clunky USB dongle. If you’re like me, you probably lost that dongle somewhere between Chiang Mai and Laos. Now, with more and more PCs integrating eSIM technology, we're finally getting the convenience we deserve. It's built right in, no extra hardware, no more fiddling with tiny plastic SIM cards.
This isn't about luxury travel, it's about efficiency and budgeting wisely. If you rely on your laptop for work, study, or even just keeping up with your travel blog, a dedicated eSIM connection can save you from a lot of headaches and unexpected expenses down the line.
The Pain of Public Wi-Fi: A True Story
I remember trying to submit a last-minute article from a hostel in Medellín. The Wi-Fi was so bad, it took me three hours to upload a 500KB draft. Three hours! That's three hours I could have spent exploring Comuna 13 or haggling for a cheap taxi to the airport. And let's not even start on the security risks of public Wi-Fi networks, especially when you're logging into banking apps or sensitive work portals. An eSIM connection provides a private, secure link to the internet, giving you peace of mind and, more importantly, consistent speeds.
Tethering Woes: Why Your Phone Isn't Always the Answer
Sure, you can tether. We've all done it. But have you ever tried to edit photos or stream a live event with your phone as a hotspot? Your phone battery evaporates, it heats up like a small furnace, and the speeds often drop significantly due to network congestion, especially if you're in a crowded area like a festival. (Speaking of festivals, dedicated data is non-negotiable there.) Using your phone as a hotspot pulls double duty, processing your phone's apps AND providing internet to your laptop. A laptop with its own eSIM bypasses this bottleneck entirely, offering a direct, often faster, and more stable connection.
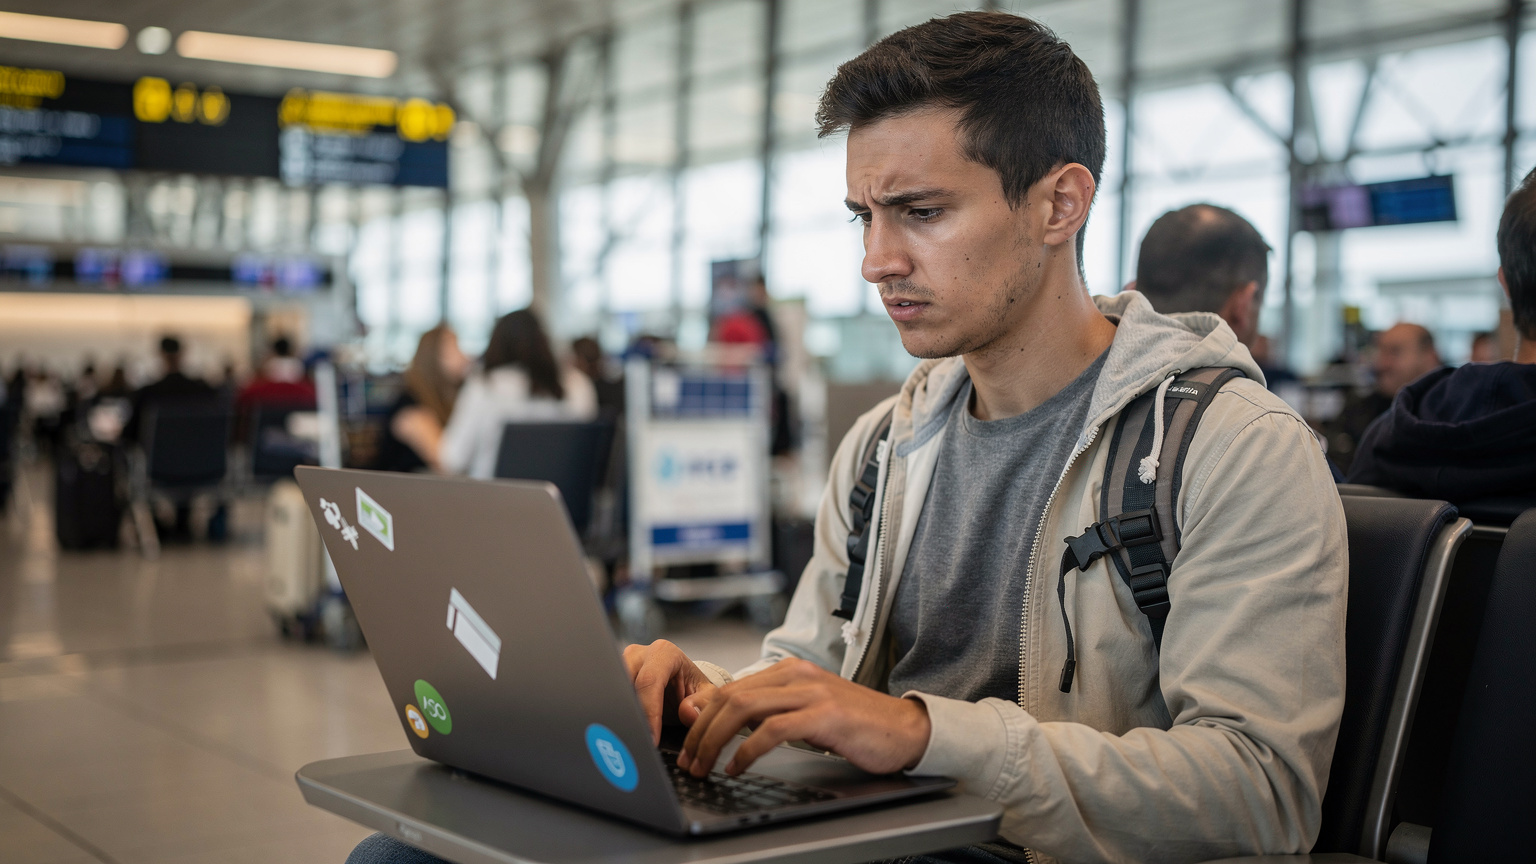
Does Your Laptop Even Have eSIM Compatibility?
This is the crucial first step, and it's not as universal as phone eSIMs yet. You can't just slap an eSIM onto any old laptop. Your PC needs to have an integrated eSIM module, also known as an embedded SIM or a WWAN (Wireless Wide Area Network) module that supports eSIM. Most modern business-oriented laptops and some higher-end consumer models from the past few years are starting to include this feature.
How do you check? Well, you don't need to dismantle your laptop with a tiny screwdriver. There are a few easier ways:
Checking for eSIM Hardware on Windows
- Open Settings: Click the Start button, then the gear icon to open Settings.
- Navigate to Network & Internet: Select 'Network & Internet' from the left-hand menu.
- Look for 'Cellular': If you see a 'Cellular' option, click it.
- Check for eSIM Profiles: Within the Cellular settings, look for 'Manage eSIM profiles' or 'eSIM settings.' If these options are present, your laptop has an eSIM module. If you only see options for a physical SIM card, it likely doesn't support eSIM.
Alternatively, you can check your laptop's specifications on the manufacturer's website. Look for terms like 'eSIM support,' 'WWAN module,' or 'LTE/5G connectivity with eSIM.' Brands like Dell (e.g., Latitude series), HP (e.g., EliteBook series), Lenovo (e.g., ThinkPad X series), and Microsoft (e.g., Surface Pro X, Surface Pro 9) are common contenders for eSIM integration.
Mac Laptops and eSIM: A Brief Reality Check
Unfortunately, as of 2026, Apple has not yet integrated eSIM functionality directly into its MacBook line. If you're a Mac user, your best bet for mobile data on your laptop abroad remains tethering to an eSIM-enabled iPhone or using a portable Wi-Fi hotspot. It's a bummer, I know, but that's the current state of play. Hopefully, they'll catch up soon, especially with the push towards iPhone eSIM-only models.
Choosing the Right eSIM Plan for Your PC Abroad
So, your laptop is eSIM-ready. Great! Now comes the fun part: picking a plan. This isn't just about the cheapest option, it's about getting the right amount of data for your needs, in the right region, for the right duration. Think about how much data you actually consume.
Data Consumption: Show the Math
This is where the rubber meets the road. I track my data usage religiously. For reference, here's a rough breakdown of my daily laptop data consumption when working:
- Email and light browsing: 100-200 MB/day
- Video calls (Zoom, Google Meet): 500 MB - 1 GB/hour (varies wildly with video quality)
- Streaming video (Netflix, YouTube): 1-3 GB/hour (depending on resolution)
- Large file uploads/downloads (my video edits): 2-5 GB per session
- Software updates (Windows, apps): Can be huge, 1-5 GB when they hit. Disable automatic updates when on metered connections!
On average, for a workday with a couple of video calls and some heavy browsing, I'm easily hitting 3-5 GB/day on my laptop. For a 10-day trip, that's 30-50 GB. Don't skimp here, or you'll be topping up constantly, which rarely saves money.
Regional eSIM Plans vs. Global Coverage
Cellesim offers both regional and global plans, and knowing the difference can save you a bundle. If you're just hitting up Europe for a few weeks, a regional Europe plan will be significantly cheaper per GB than a global plan that covers 100+ countries. However, if your itinerary includes hopping from, say, Jordan to Egypt to Turkey, a Middle East regional eSIM that covers those specific countries will be your best value. Always check the specific countries included in the regional package. It's like buying a Eurail pass versus individual train tickets.
Comparing eSIM Data Packages
Let's look at some hypothetical Cellesim packages tailored for a backpacker's laptop use:
| Plan Type | Data Allowance | Validity | Estimated Cost (USD) | Best Use Case |
|---|---|---|---|---|
| Europe Basic | 10 GB | 15 Days | $25 | Light browsing, emails, short trips |
| Europe Pro | 30 GB | 30 Days | $50 | Moderate work, occasional video calls |
| Global Nomad | 50 GB | 30 Days | $85 | Heavy work, streaming, multiple countries |
| Asia Explorer | 20 GB | 20 Days | $40 | Specific Asian region travel, moderate use |
Always do the math for your estimated usage: (GB consumed / day) × (days) = total. Don't fall for the 'unlimited' trap unless you've read the fine print on throttling. For a true backpacker, every euro counts.
Activating Your eSIM on Windows: A Step-by-Step Guide
Once you've bought your Cellesim eSIM plan, activation on your Windows PC is straightforward. No need for tiny SIM ejector tools or finding a local shop that's open past 6 PM. It's all digital, which is exactly what we need when we're constantly on the move.
The QR Code Method: Quick and Painless
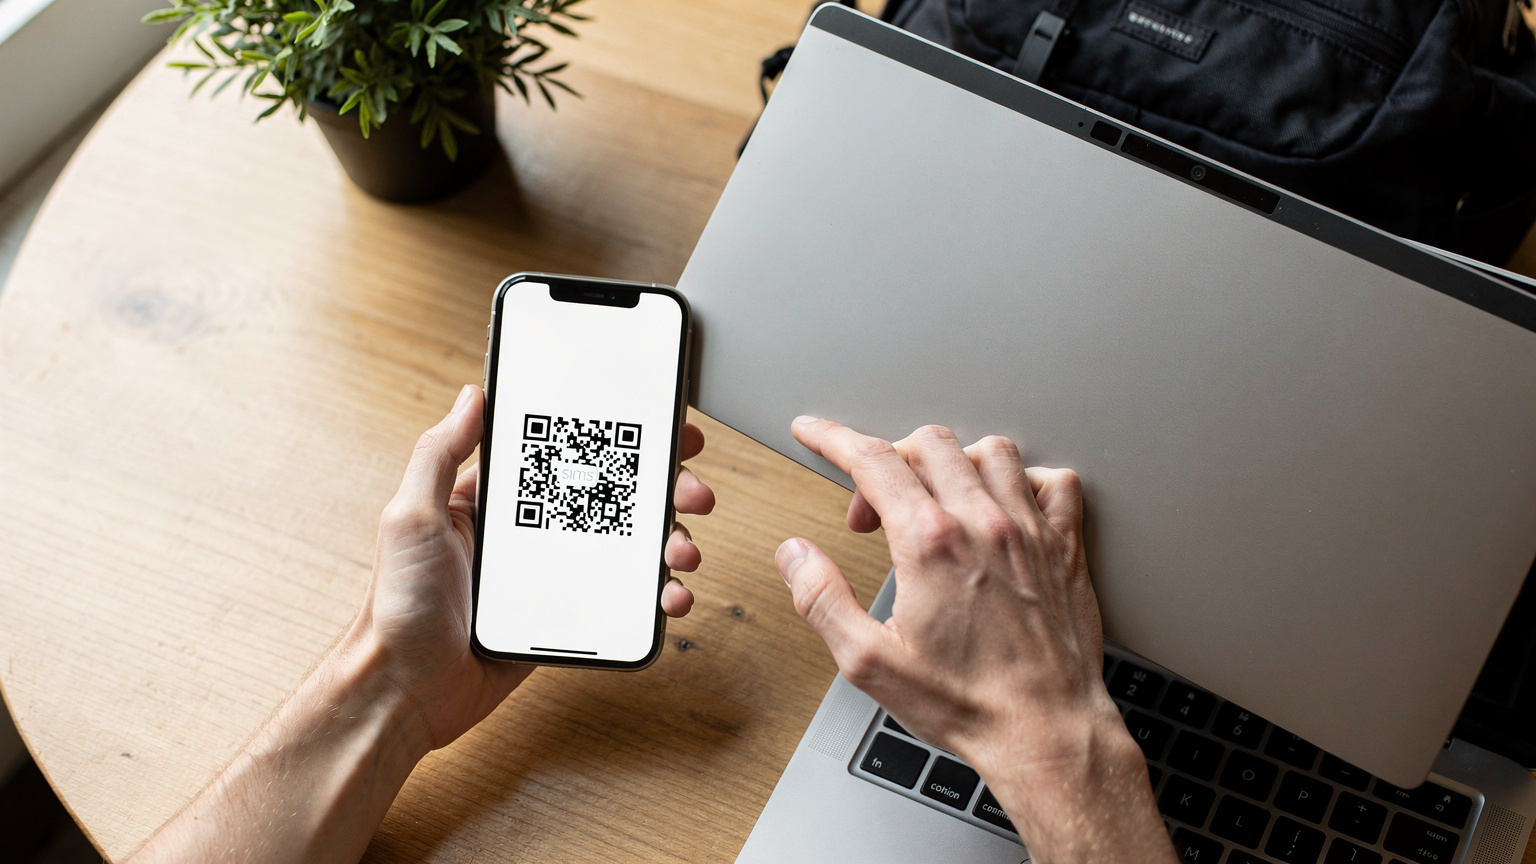
This is the fastest and easiest way, assuming you have another device (like your phone) to display the QR code Cellesim provides after purchase.
- Receive Your QR Code: After purchasing your Cellesim plan, you'll get an email or a display in your Cellesim account with a QR code and activation instructions.
- Open Windows Settings: On your PC, go to 'Start' > 'Settings' > 'Network & Internet' > 'Cellular'.
- Add an eSIM Profile: Click on 'Manage eSIM profiles' (or similar wording). You'll see an option to 'Add a new profile' or 'Add an eSIM'.
- Scan the QR Code: Choose 'Use a QR code' and point your PC's webcam at the QR code displayed on your phone or another screen.
- Confirm and Connect: Your PC will detect the profile. Follow the on-screen prompts to confirm and install it. Once installed, select the new eSIM profile and click 'Connect'.
Voila! You should be connected. This process usually takes less than five minutes, which is faster than finding a decent coffee in some smaller towns.
Manual Activation: When QR Codes Aren't an Option
Sometimes, scanning a QR code isn't feasible, perhaps if your phone battery is dead or you don't have a webcam. Cellesim also provides manual activation details.
- Get Activation Details: From your Cellesim account, locate the SM-DP+ Address and Activation Code for your purchased eSIM.
- Open Windows Settings: Go to 'Start' > 'Settings' > 'Network & Internet' > 'Cellular'.
- Add an eSIM Profile Manually: Click 'Manage eSIM profiles', then 'Add a new profile'. Choose 'Enter the activation code manually'.
- Input Details: Carefully enter the SM-DP+ Address and Activation Code into the respective fields. Double-check for typos, those are notorious time-wasters.
- Follow Prompts: Your PC will download and install the profile. Once complete, select it and connect.
Remember, the process is largely similar to how you would activate an eSIM on your phone, just on a different device.
Managing Data and Cost-Cutting Tactics
Getting connected is one thing, staying connected without blowing your budget is another. Data management is key, especially when you're paying per gigabyte.
Monitor Your Usage Religiously
Windows has built-in tools to track your data usage, which is a lifesaver. Go to 'Settings' > 'Network & Internet' > 'Data usage'. Here you can see which apps are consuming the most data and set usage limits. Set a monthly or per-plan limit that aligns with your eSIM package to avoid nasty surprises. I usually set mine to 80% of my total plan, just to give myself a buffer.
Optimize Windows and Apps for Metered Connections
Windows has a 'Metered connection' setting for cellular data. When enabled, it tells Windows to reduce data usage by postponing updates, syncing less frequently, and limiting background app activity. This is your best friend when traveling.
- To enable Metered Connection: Go to 'Settings' > 'Network & Internet' > 'Cellular'. Select your eSIM profile, then scroll down to 'Properties' and toggle 'Set as metered connection' to On.
- Disable automatic updates: This is a big one. Windows Update can chew through gigabytes in minutes. Temporarily disable automatic updates or set them to only download on Wi-Fi.
- Optimize streaming quality: If you're streaming Netflix or YouTube, set the video quality to standard definition (SD) instead of HD or 4K. Your eyes might barely notice on a smaller laptop screen, but your data plan will thank you.
- Cloud sync settings: Adjust services like Google Drive, Dropbox, or OneDrive to only sync when on an unmetered Wi-Fi connection.
The Power of Offline Access
Whenever possible, download what you need while on free hostel Wi-Fi. This means maps, movies, documents, even entire articles for offline reading. Google Maps lets you download regions, Netflix allows offline viewing, and many productivity apps have offline modes. This tactical approach saves you data and ensures you're never truly stranded without information.
eSIM vs. Local SIM Card for Your Laptop: The Real Cost
Okay, let's be fair. There's always the local SIM card option. For some, it might seem cheaper upfront. But when it comes to your laptop, the comparison gets a bit more complex. Most local SIMs are designed for phones, not necessarily for data-hungry laptops.
The Hidden Costs of Local Physical SIMs
If your laptop *does* have a physical SIM slot, you could theoretically buy a local SIM. But think about the process: finding a store, navigating language barriers, registration requirements (which can be strict in places like Indonesia with Telkomsel eSIM), and then the hassle of swapping cards. If you're crossing borders frequently, this becomes a monumental waste of time. I've spent hours at kiosks in India trying to get a SIM registered, and believe me, those are hours I'll never get back.
Moreover, local SIMs often require you to buy a specific 'data-only' plan for a tablet/laptop, which might not be advertised for tourists. A standard phone SIM might have lower data caps or throttled speeds when used in a laptop due to carrier policies.
| Feature | eSIM for PC (Cellesim) | Local Physical SIM for PC (Hypothetical) |
|---|---|---|
| Ease of Purchase | Online, instant delivery | Physical store, language barrier, registration |
| Activation Time | 5-10 minutes (QR or manual) | 30 minutes to several hours |
| Flexibility Across Borders | Seamlessly switch plans/countries | Buy new SIM per country, often inconvenient |
| Cost per GB (Regional) | Competitive, often better for short trips | Can be cheaper for long-term stay in one country |
| Hardware Requirement | Integrated eSIM module | Physical SIM slot (rare on laptops) |
| Security | Private, direct connection | Private, direct connection |
The Long-Term Value of eSIM for Digital Nomads
For someone like me, who might be in Germany one week and then crossing into Poland the next, the ability to switch eSIM profiles on my laptop in minutes is priceless. I'm not wasting precious travel time or money on local SIMs. It's an upfront investment in a capable laptop, but the operational savings, both in cash and time, quickly pay off. Time is money, especially when you're trying to keep your daily budget under €40.
Real-World Scenarios: Border Crossings and Remote Work
This is where eSIM for PC truly shines. Border crossings are notoriously tricky for connectivity. Remote work demands constant, reliable internet.
Seamless Border Crossing: No More Dead Zones
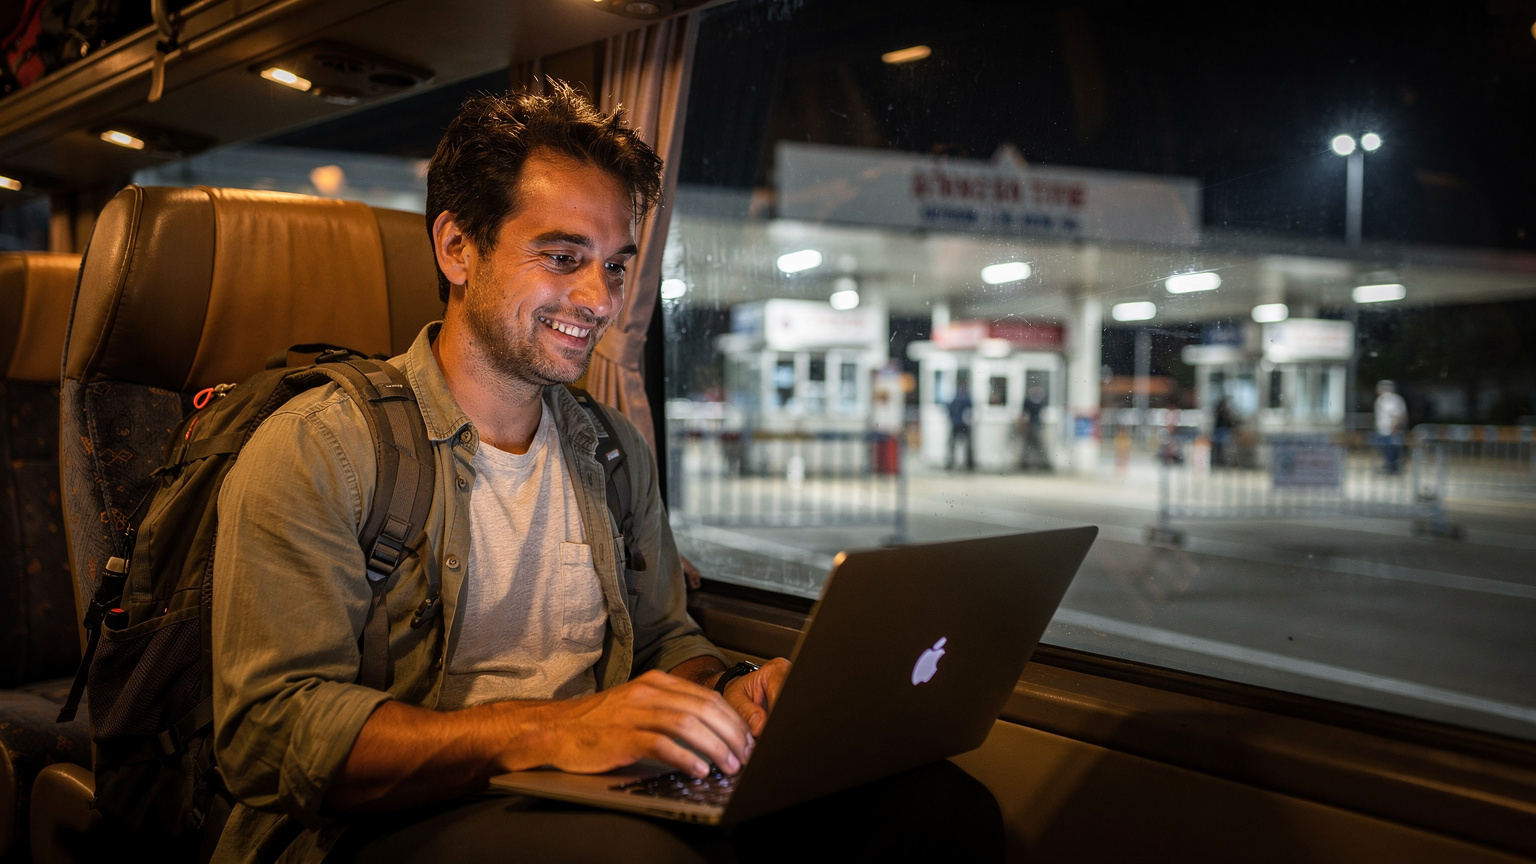
I've learned this the hard way: that 5-minute window between countries, especially on a night bus, is often a dead zone for connectivity. Take the border crossing from Laos to Cambodia at the Veun Kham/Dom Kralor checkpoint. You're stuck in limbo, sometimes for hours, and your old SIM will have dropped coverage long ago. With a Cellesim regional eSIM covering both countries, your laptop (and phone) can seamlessly transition. As soon as the new network registers, you're online. No fumbling with SIM cards in the dark, no desperate search for an open shop on the other side. This is particularly crucial if you're trying to book a last-minute hostel or check bus schedules for the next leg of your journey.
Remote Work From Anywhere, Even a Beach Bar
Imagine this: you're working from a beach bar in Koh Lanta, Thailand, sipping a cheap smoothie, and a client emails you with an urgent request. Your laptop, with its active eSIM, connects instantly. You can upload the revised document, join a quick video call, and then get back to your sunset view. No searching for the bar's Wi-Fi password, no worrying about dropping signal. This freedom is the dream of every digital nomad, and eSIM for PC makes it a reality. Just make sure to check if your chosen Cellesim Thailand eSIM plan covers the region you're in, as some smaller islands might have less robust coverage.
Troubleshooting Common eSIM PC Issues
Even with the best tech, sometimes things go sideways. Here are a few common issues and how to fix them:
- No Connection After Activation: Sometimes Windows needs a nudge. Try restarting your laptop. If that doesn't work, go back to 'Settings' > 'Network & Internet' > 'Cellular', make sure your eSIM profile is selected, and try toggling the connection off and on.
- Slow Speeds: Check your data usage (as mentioned above) to ensure you haven't hit a soft cap or been throttled. Also, verify you're not on a metered connection that's too restrictive. If you're in a crowded area like a major train station (say, Berlin Hauptbahnhof), network congestion can be a factor.
- eSIM Profile Disappears: This is rare but can happen after major Windows updates. Re-add the profile using the QR code or manual details. Keep those details safe!
- 'No Service' or 'Limited Service': Check Cellesim's coverage map for your specific location. Are you in a very remote area? Sometimes simply moving a few meters can help. If you've just crossed a border, it might take a minute or two for your laptop to register with the new network.
When in doubt, consult the Cellesim FAQ or contact their support. They're usually quick to respond, which is more than I can say for some local carriers I've dealt with.

Future of eSIM for Laptops: What to Expect in 2027 and Beyond
The trend is clear: eSIM is growing. While it's still somewhat niche for PCs, I expect 2027 to bring even broader adoption. More laptop manufacturers will include eSIM modules as standard, not just as an optional upgrade. We'll see more competition among eSIM providers, hopefully driving down prices and increasing data allowances.
5G Connectivity and Beyond
Currently, most eSIM-enabled laptops support LTE. However, 5G is becoming more prevalent, and newer eSIM modules will undoubtedly support faster 5G speeds. This means even smoother streaming, quicker downloads, and more reliable video calls, even in congested areas. Imagine live streaming your entire trek through Central Asia directly from your laptop without a single dropped frame. That's the dream.
More Flexible Plans and Global Roaming
I anticipate more flexible, pay-as-you-go, and even 'top-up-on-demand' options for laptop eSIMs. The market will mature to cater specifically to the varying data needs of digital nomads, remote workers, and casual travelers. We might even see more truly global plans that offer excellent value, making multi-country trips even easier on the connectivity front.
Ultimately, eSIM for PC isn't just a convenience, it's a strategic tool for any budget-conscious traveler who needs their laptop connected abroad. It saves you money, time, and a whole lot of stress.
Frequently Asked Questions
Can I use any eSIM plan on my laptop?
No, you need to ensure your laptop has an integrated eSIM module. Once confirmed, you can use any Cellesim eSIM plan that provides data in your destination country. Always check the plan's compatibility and data allowance for laptop usage.
Is eSIM for PC more expensive than a local SIM card?
For short trips across multiple countries, an eSIM is often more cost-effective and convenient. For long-term stays in a single country, a local physical SIM might offer slightly cheaper rates per GB, but you'll have to factor in the time and hassle of purchasing and activating it.
How much data does a laptop typically use per day while traveling?
Daily laptop data usage varies significantly. Light browsing and email might use 100-200 MB, while video calls can consume 500 MB to 1 GB per hour. Heavy streaming or large file transfers can easily push daily consumption to 3-5 GB or more. Monitor your usage to choose the right plan.
What operating systems support eSIM for laptops?
Currently, Windows laptops with integrated eSIM modules are the primary devices supporting eSIM. As of 2026, Apple MacBook laptops do not have built-in eSIM functionality, requiring users to tether to their phone or use a mobile hotspot.
Can I switch between multiple eSIM profiles on my laptop?
Yes, just like on a smartphone, you can store multiple eSIM profiles on your laptop and switch between them as needed. This is incredibly useful for travelers crossing multiple borders or needing different plans for different regions.
What should I do if my laptop eSIM isn't connecting?
First, restart your laptop. Then, check your Windows Cellular settings to ensure the correct eSIM profile is active and 'Metered connection' settings aren't overly restrictive. Verify your Cellesim plan is active and you have data remaining. If issues persist, contact Cellesim support.