

 eSIM Destination
Japan eSIM
Plan mobile data for your trip to Japan. Compare eSIM plans with pocket Wi-Fi and any roaming already included in your usual mobile plan.
Japan: mobile networks
4 carriers supported
- KDDI/au5G
- NTT docomo5G
- Rakuten Mobile5G
- SoftBank5G
Highest generation per operator is displayed; some plans may use a fallback band based on local conditions.
Free VPN with your eSIM
Every active Cellesim eSIM comes with a free VPN. Browse securely on public Wi-Fi and reach the apps you rely on from anywhere, at no extra cost and with no separate signup.
- 4.5(441)
- 5G
- Digital setup
- Refund policy
Data Plans / Unlimited
7 days
30 days
Japan: mobile networks
4 carriers supported
- KDDI/au5G
- NTT docomo5G
- Rakuten Mobile5G
- SoftBank5G
Highest generation per operator is displayed; some plans may use a fallback band based on local conditions.
Free VPN with your eSIM
Every active Cellesim eSIM comes with a free VPN. Browse securely on public Wi-Fi and reach the apps you rely on from anywhere, at no extra cost and with no separate signup.
Japan: our plans at or below the market median
We compare our Japan plans with the public prices of other eSIM providers. The plans below cost the same as or less than the median price for the same data and validity.
- 1 GB · 7 days$2.69market median $3.99 · 33% below
- 3 GB · 30 days$6.30market median $8.00 · 21% below
- 5 GB · 30 days$8.55market median $10.00 · 14% below
- 10 GB · 30 days$14.40market median $16.50 · 13% below
Competitor prices checked on Oct 19, 2026. Prices change; the price shown at checkout is final.
Japan: choose an eSIM for your trip
Choose how much data you need and for how long. Before you buy, check that your phone is compatible and that the plan covers where you're going. Japan: plans start from $2.69. 4.5/5 · Based on 441 reviews Compare the plans below, including details on activation, hotspot use, and top-ups.
- Compare price and how much data you get
- Check networks and coverage
- Contact support if you need help
Frequently Asked Questions
Quality is non-negotiable in Japan. To ensure you have a signal everywhere from the neon lights of Tokyo to the temples of Kyoto, our eSIM connects to Japan’s premium networks: NTT Docomo, KDDI (au), or Softbank. Docomo is widely considered the gold standard for coverage, ensuring you stay connected even in rural Hokkaido or near Mount Fuji.
Planning the trip? See our Japan eSIM plans, install in one tap before you fly, and land online. Free VPN included.
Yes, for convenience and freedom. Renting a Pocket Wi-Fi means carrying an extra device, charging two batteries, and worrying about losing it (and paying a fine). A Cellesim Japan eSIM is 100% digital. You don't need to pick up or return a device at Narita or Haneda airports. It is cheaper, lighter, and you can’t lose it!
Yes. Japan’s infrastructure is world-class. You will have a stable 4G/5G signal while traveling on the Shinkansen between cities (e.g., Tokyo to Osaka). Even in the extensive underground subway networks of Tokyo and Osaka, mobile signal is available in stations and tunnels, allowing you to check Google Maps or train schedules via HyperDia or Navitime continuously.
Planning the trip? See our Tokyo eSIM plans, install in one tap before you fly, and land online. Free VPN included.
No. This is a data-only eSIM. It does not come with a local +81 phone number. In Japan, getting a voice SIM as a tourist is very difficult due to regulations. However, most modern restaurants accept online reservations (via TableCheck or Google). For calls, you can use WhatsApp, LINE (very popular in Japan), or Skype using your high-speed data connection.
Absolutely. Not speaking Japanese can be challenging, making instant translation apps essential. Our eSIM offers low-latency 4G/5G speeds, allowing you to use Google Lens to translate restaurant menus instantly or use voice translation to communicate with locals without any "loading" delays.
Yes. Tethering (Personal Hotspot) is fully supported. This is perfect if you need to get some work done on your laptop at a cafe in Shibuya or if you want to share data with your family members to save money instead of buying multiple SIM cards.
Yes. Your Cellesim eSIM for internet and your digital Suica/Pasmo/ICOCA cards (for trains and payments) work independently on the same iPhone or Android device. Using the eSIM for data will not interfere with your ability to tap your phone at ticket gates or convenience stores (Konbini).
Yes, WhatsApp, FaceTime, and other video/voice calling apps work perfectly fine in Japan over mobile data.
Japan boasts a world-class mobile network infrastructure with excellent coverage across the country, including major cities like Tokyo, Osaka, and Kyoto, as well as popular tourist regions. Unlike certain other nations, there are absolutely no government restrictions or throttling on Voice over IP (VoIP) services here. This means you can freely make and receive calls, send messages, and enjoy high-quality video chats with friends and family using your preferred apps without needing any workarounds or a VPN.
When you use an eSIM for your trip, your device will automatically connect to the strongest available major network in Japan, ensuring reliable connectivity for all your communication needs. The exact network partner can vary by plan, but your VoIP apps will function normally.
Absolutely. You must have an active internet connection to use the USJ App inside the park to claim your "Timed Entry e-Ticket" or "Standby Entry Ticket" for the Nintendo area.
Yes. During the official climbing season (July to September), major networks provide strong 4G coverage along the trails and even at the summit, allowing you to live-stream the sunrise (Goraiko).
About Japan eSIM
Japan eSIM: Travel Data Plans and Trip Guide
Compare Japan eSIM plans for Tokyo, Kyoto and Osaka. Estimate data for 7 or 14 days and compare eSIM, pocket Wi-Fi and your existing roaming plan.
🏙️ Tokyo · Osaka · Kyoto · Fukuoka · Sapporo · Hiroshima · Nagoya
Current plans start from $2.69. This is the total price of the lowest-priced available package, not a daily rate or the price of every data allowance.
Tokyo to Kyoto and Osaka
For a week in Tokyo, maps, translation and booking confirmations are practical starting points for your estimate. A two-week itinerary through Kyoto and Osaka needs validity across every travel day. Download route details and tickets before rail journeys; an eSIM does not guarantee reception in every tunnel, carriage or rural stop.
Choose between eSIM, pocket Wi-Fi and roaming
An eSIM lets an eligible phone connect without carrying a separate router. Pocket Wi-Fi can suit a group that stays together, but check collection, return, battery life and its data policy. Separate eSIMs may be more practical when travellers split up. JNTO lists these connectivity options; compare your own operator’s included Japan allowance before buying extra data.
How much data for 7 or 14 days?
Planning examples, not measured usage averages: multiply your own daily allowance by the number of travel days, then add a buffer. The examples below are calculations, not packages offered for sale.
| Assumed daily use | 7 days | 14 days |
|---|---|---|
| 0.5 GB/day | 3.5 GB | 7 GB |
| 1 GB/day | 7 GB | 14 GB |
Choose a package with enough data and validity for the full trip. A 7-day package will not cover a 14-day stay even if it has data left. Add laptop sharing, video calls and cloud backups separately; review hotspot rules and any fair-use speed limits.
Before departure and after landing
- Check the exact phone model and regional version for eSIM support and carrier unlocking.
- Read the selected package’s activation rule before installing over a stable internet connection. Installation and the start of validity may be different.
- On arrival, select the travel eSIM for mobile data and follow its roaming/APN instructions. Turn off data roaming and automatic data switching on the home line.
A travel data package does not automatically include a local phone number, voice calls or SMS. Keeping your home line active can still incur its own charges. Check these separately if you need banking texts or conventional calls.
Plan your next step
Sources checked on 9 September 2026
Japan eSIM reviews from real travelers
Based on 441 reviews
- Chris·Jul 6, 2026
Awesome! Used in JP, awesome experience.
- Traveler D.·Jul 6, 2026
Great! I installed without any issues. Setup was super
setup was perfect
Jess Q.·Jun 29, 2026setup was perfect.
Used in JP
Chris Q.·Jun 20, 2026Used in JP, brilliant experience. I tried it without any issues. The connection was awesome.
setup was solid
Dave D.·Jun 19, 2026setup was solid
- User199 P.·Jun 18, 2026
Setup was flawless. ...
매우 좋습니다
Min-su O.·Jul 5, 2026·ko매우 좋습니다. 완벽하게 작동합니다
- Maria·Jul 4, 2026·bg
Работи перфектно WiFi. Много добре
Rápido. Todo bien
Jose638·Jul 2, 2026·esRápido. Todo bien. ok
- Min-su93·Jun 28, 2026·ko
완벽하게 작동합니다 eSIM. 최고에요
Perfecto. Funciona. Todo
Carlos·Jun 25, 2026·esPerfecto. Funciona. Todo bien. (JP)
- Hugo91·Jun 14, 2026·fr
très bien. really
Japan eSIM guides:what travellers ask before they go
Coverage, install steps, real connection speeds, and the small stuff that ruins a trip if you skip it. Curated for Japan.
 Travel Styles / Personas
Verizon Japan Roaming: Costs and eSIM Alternatives for Travelers
Traveling to Japan with Verizon? Understand the costs of TravelPass and the International Monthly Plan, and explore how a travel eSIM can offer a more cost-effective and flexible alternative for data.
Read the guide Destination Guides
SoftBank eSIM in Japan: The Network You Mostly Cannot Buy as a Tourist
Japan requires a residence card for a normal mobile contract, so tourists get a legacy data-only product at 1,650 yen for 500 MB. Here is what actually works instead.
Read the guide Travel Styles / Personas
Japan eSIM: The Budget Backpacker's 2026 Connectivity Playbook
Japan is incredible, but data costs can eat into your ramen fund. I just spent 14 days in Japan, burned through 20GB of data, and kept my connectivity costs under €35. Here's exactly how I did it, avoiding rip-off roaming and expensive local SIMs, all while staying connected from Shibuya crossing to the quiet lanes of Kyoto.
Read the guide Destination Guides
Japan Travel 2026: Does a Cellesim JP eSIM Actually Save You Yen?
Planning a Japan trip in 2026? You're probably wondering about data. I spent 8 days in Japan, and my data cost me ¥3,900. Here's a deep dive into whether Cellesim's JP eSIM beats local SIMs or pocket Wi-Fi for your budget and sanity.
Read the guide Destination Guides
eSIM for Japan: Your 2026 Guide to Seamless Connectivity in the Land of the Rising Sun
Japan is a marvel, a blend of ancient traditions and futuristic tech. But getting connected can feel like a game of pachinko if you're not prepared. This guide cuts through the confusion, helping you choose the right eSIM for your 2026 adventure, from Shibuya to the serene temples of Kyoto.
Read the guide Savings & Comparisons
Japan Trip 2026: Roaming Costs $250 , Here's How eSIM Saves You 90%
Japan roaming bills average $250/week. With eSIM? Just $15. Compare plans, avoid bill shock, and save up to 90% on your 2026 trip.
Read the guide Travel Tips
Navigating Asia in 2026: 7 Essential Tips for Seamless eSIM Connectivity
Imagine losing GPS in Bangkok. Roaming bills can hit $200. This 2026 guide reveals 7 insider tips to save 90% on data across Asia with eSIM. Get connected instantly.
Read the guide Savings & Comparisons
South Korea eSIM Cost 2026: Avoid Seoul Roaming Rip-Offs
Roaming in Seoul could cost $15/day. An eSIM? As low as $2. Compare plans, avoid bill shock, and save up to 80% on data for your 2026 trip.
Read the guide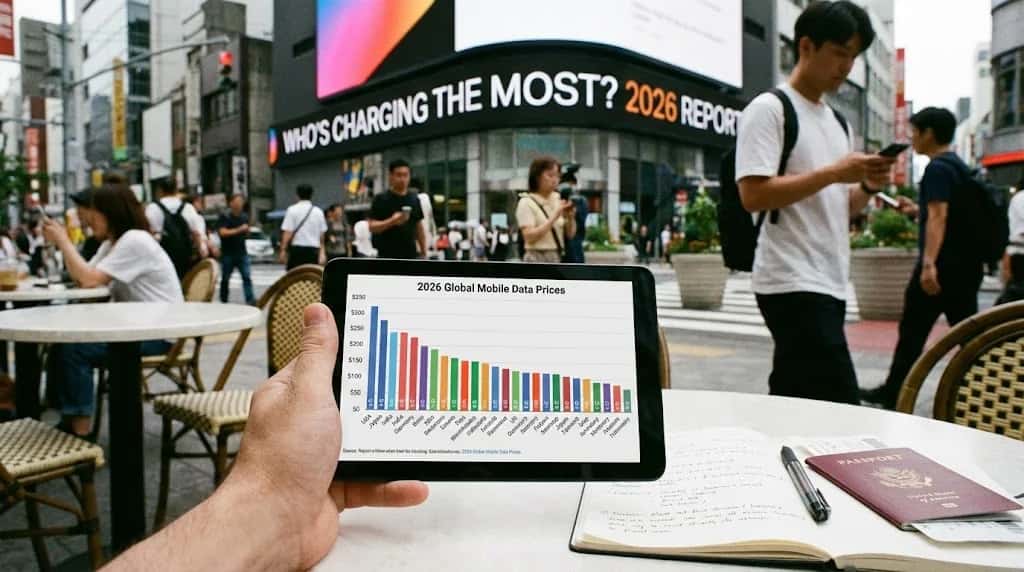 Savings & Comparisons
The 2026 Global Mobile Data Price Report: Who's Charging the Most?
A deep dive into the 2026 global mobile data price rankings. We uncover the most expensive countries for internet and show you how to stay connected affordably.
Read the guide Savings & Comparisons
Cellesim vs. Airalo Asia: The Ultimate eSIM Showdown for Backpackers
A head-to-head battle between Cellesim and Airalo's Asia eSIMs. We break down coverage, speed, value, and support to help backpackers choose the best option.
Read the guide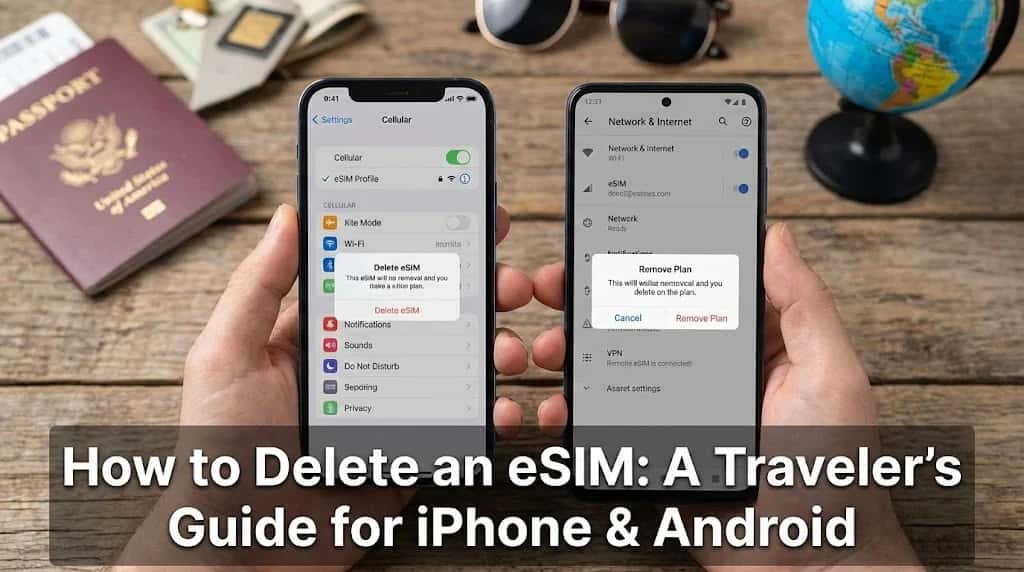 How-to & Guides
How to Delete an eSIM: A Traveler's Guide for iPhone & Android
Keep your phone organized by learning how to delete an eSIM after your trip. Our step-by-step guide for iPhone and Android makes travel eSIM management simple.
Read the guide How-to & Guides
How to Use Your iPad or Tablet Without Wi-Fi While Traveling
Your iPad is a powerful travel tool, but not without the internet. Learn how to use your iPad without Wi-Fi using eSIMs, hotspots, and other smart travel tricks.
Read the guide
Japan: Popular cities
City-specific connectivity guides


Nearby Countries
Check coverage for every stop on your trip.


