Why Your EE Day Pass is a Rip-Off for Indonesia
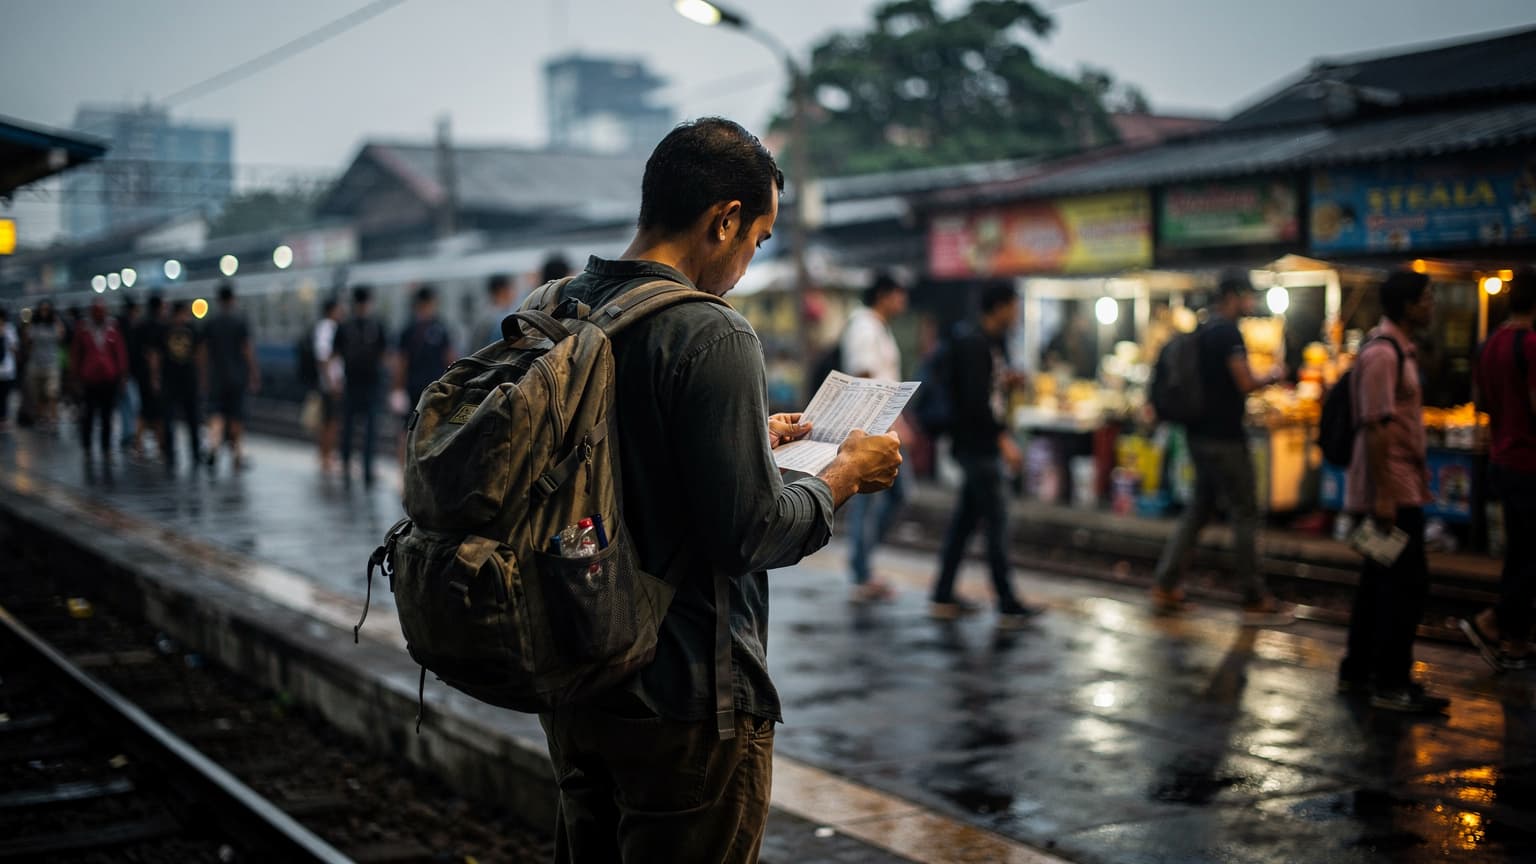
Let's get this straight from the jump: your EE day pass, or any equivalent from a European carrier for that matter, is a financial black hole when you're headed to Indonesia. I've seen travelers, fresh off a flight from Heathrow, burn through €15-€20 a day just to check Instagram stories. That's a hostel bed, or three good meals at a warung, gone. Seriously, I've budgeted entire countries on less than that daily.
When you're travelling around Thanksgiving 2026, every euro counts, especially if you're like me and prefer to stretch your budget for experiences, not overpriced data. These carrier day-passes are designed for short business trips where someone else is footing the bill, not for backpackers exploring Bali or trekking through Komodo. The per-MB cost is astronomical, and the caps are often so low you'll hit them just by loading Google Maps a few times.
Think about it: €15 a day for 8 days is €120. For that same money, you could buy a 20GB eSIM that lasts a month, giving you peace of mind and more data than you'll likely use. It's a no-brainer if you're trying to keep that €40/day budget intact. I've seen too many people stuck in a cycle of topping up their expensive roaming, and it's always the same story: they didn't do the math beforehand.
The True Cost of Data: My Indonesia Bill Breakdown
Okay, let's talk numbers. My last trip to Indonesia, 8 days, involved a mix of Bali, a quick hop to Lombok, and some time in Canggu. My total data spend was €280. Before you gasp, let me break it down and explain why, so you don't repeat my mistake. This was a learning experience, folks, and I'm sharing it so you can be smarter.
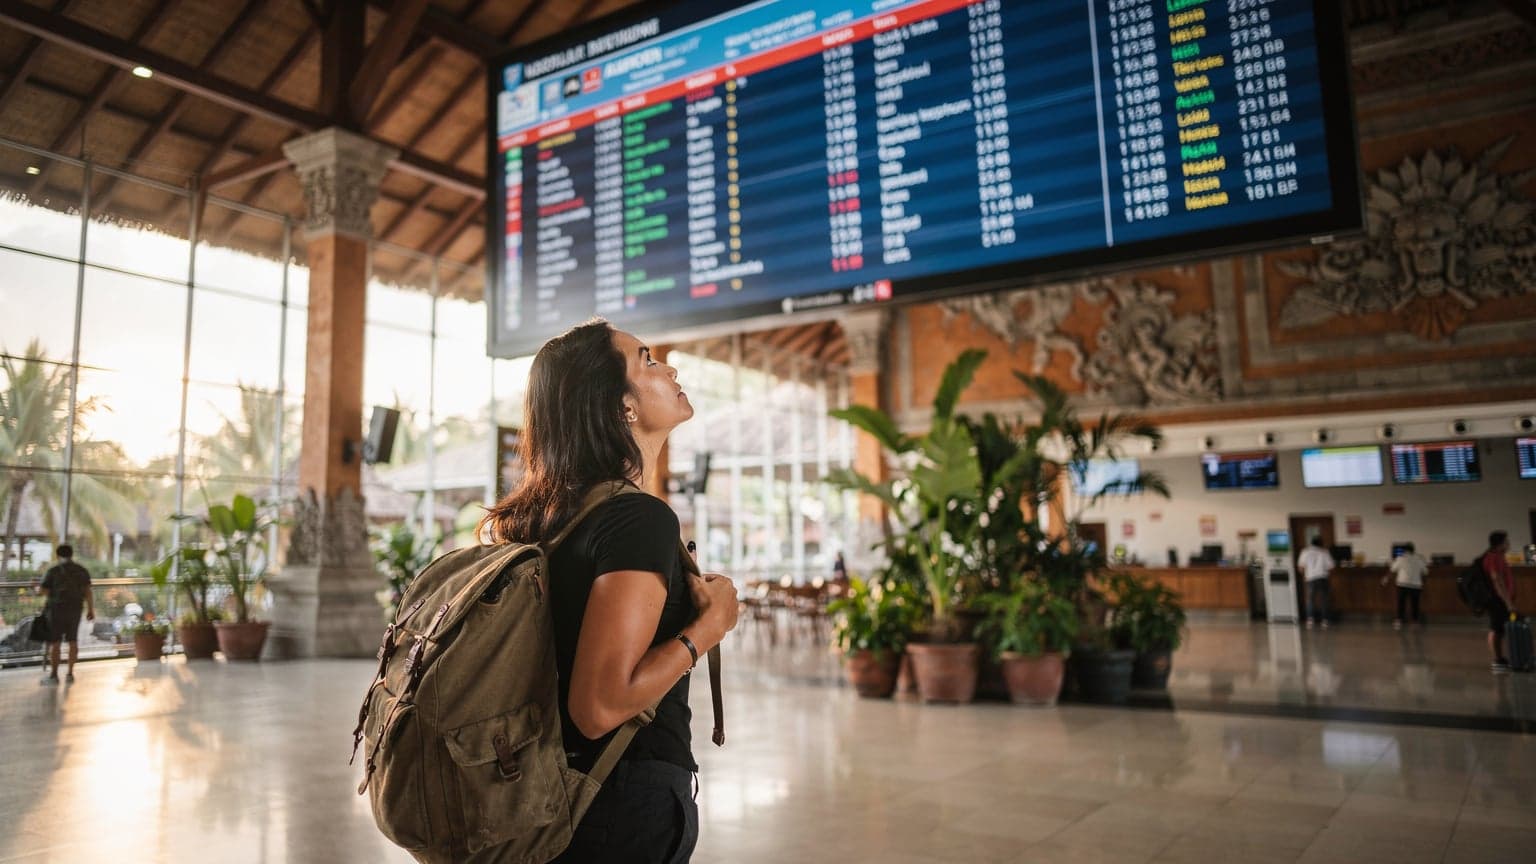
I landed in Denpasar, slightly jet-lagged, and immediately needed data for my Grab ride to the hostel. I grabbed a local SIM at the airport because I hadn't pre-ordered an eSIM. Big mistake. The airport vendors, bless their hearts, prey on tired travelers. I paid about 300,000 IDR (roughly €18 at the time) for a Telkomsel SIM with 10GB. Sounds good, right? Except I didn't verify the activation, and it took almost 24 hours to properly kick in. During that time, I fell back on my EE roaming for essential navigation, which racked up another €45.
Once the local SIM was running, 10GB wasn't enough for my usage. I was constantly checking hostelworld, uploading photos, navigating without Wi-Fi, and doing some light video calls. My typical usage is about 1.5GB a day when I'm actively traveling. So, for 8 days, that's roughly 12GB needed.
Here's the math: 1.5 GB/day × 8 days = 12 GB total. My 10GB local SIM was short. I had to top up twice, each time costing me about 150,000 IDR (€9) for an additional 5GB. These top-ups were often from convenience stores that added their own small markup. So, the local SIM ended up being €18 + €9 + €9 = €36.
The bulk of my €280 bill came from an emergency situation where I had to coordinate a last-minute flight change and book a new hostel while in a remote area with spotty local network coverage. I ended up enabling my EE roaming for a full 3 days, which cost me a staggering €60 per day through their 'Roam Further' plan, totaling €180. Add that to the €36 for the local SIM and the initial €45 roaming, and you get €261. The remaining €19 was incidentals, small top-ups, and currency conversion fees that always add up. My major mistake was not having a reliable eSIM backup or sufficient data from the start.
eSIM vs. Local SIM Card in Indonesia: The Real Deal
So, should you grab a local SIM or go with an eSIM? This is where the budget backpacker's tactical mind kicks in. Both have their place, but one is usually a lot less hassle.
Local SIM Card: The Cheapest Alternative (If You're Savvy)
The absolute cheapest way to get data in Indonesia is often to buy a local physical SIM card from a reputable, authorized dealer, not the airport hawkers. Look for official Telkomsel, XL Axiata, or Indosat Ooredoo stores in larger towns or malls (like those in Denpasar or Jakarta). You'll typically pay around 100,000-150,000 IDR (€6-€9) for a decent chunk of data, say 10GB-15GB. The catch? You need to register it with your passport, which can be a slow process, and you need to ensure it's activated correctly before you leave the store.
I've heard stories of travelers struggling for hours to get a SIM working, only to find out it wasn't properly linked to their passport. If you're arriving late, tired, or just want to hit the ground running, this isn't the move. Also, if you're planning to travel between islands, Telkomsel generally has the best coverage, especially in more remote areas. XL Axiata and Indosat Ooredoo can be cheaper but might have spotty service outside major hubs. For more on local options, you can check out my take on Telkomsel Tourist eSIM: Bali'de Gerçek Maliyet ve Alternatifler 2026.
eSIM: The Convenience King (Worth the Extra Euro)
For most travelers, especially those who value time and convenience, an eSIM is the superior choice. You can purchase and activate it before you even leave France, ensuring you have data the moment your plane touches down in Indonesia. No haggling, no passport registration lines, no language barriers, and no fumbling with tiny SIM cards.
The slight premium you pay for an eSIM is often worth it for the peace of mind. It also means you can keep your home SIM active for SMS verification codes or important calls, simply switching your data line to the eSIM. This is a crucial detail for anyone managing banking or other services that require home-country SMS.
Here's a quick comparison:
| Feature | Local Physical SIM (Savvy Buy) | eSIM (Pre-purchased) |
|---|---|---|
| Cost (10GB) | €6-€9 (excl. airport markup) | €15-€30 |
| 15-60 minutes (in-store) | Instant (QR code setup) | |
| Passport required, can be slow | None | |
| Physical card (easy to lose/damage) | Digital (tied to device) | |
| Must remove home SIM | Can keep home SIM active | |
| Depends on local carrier chosen | Uses local carrier networks (often Telkomsel) |
Picking the Best eSIM for Indonesia from France
Alright, you're convinced on the eSIM. Good. Now, which one to pick? The market is flooded with options, and not all are created equal. I've tested a bunch, and for Indonesia, you want reliability and good coverage. Given that you're coming from France, you'll want to ensure you can purchase and set it up seamlessly before you depart.
Many eSIM providers partner with local Indonesian carriers like Telkomsel, which is generally considered the best for coverage across the archipelago, especially if you're venturing beyond Bali. Always check which local network an eSIM provider uses. Some providers might offer cheaper plans but rely on smaller, less reliable networks.
When I'm comparing eSIMs, I look at three main things: price per GB, validity period, and network coverage. Avoid any provider that offers 'unlimited' data at suspiciously low prices; it usually comes with a daily fair-use policy that throttles your speed after a certain amount. I've been burned by those before in South Korea, where their South Korea 4G eSIM Daily Limits: What to Know Before You Go 2026 taught me a harsh lesson.
Here are a few strong contenders for Indonesia eSIMs you can buy from France, with an eye on value for money in 2026:
| eSIM Provider | Data Plan (Example) | Price (Approx. €) | Validity | Local Network (Often) |
|---|---|---|---|---|
| Cellesim | 10 GB | 35 | 15 Days | Telkomsel / XL Axiata |
| Airalo | 10 GB | 38 | 30 Days | Telkomsel |
| Nomad | 10 GB | 42 | 30 Days | Telkomsel / Indosat |
| Holafly | Unlimited* | 55 | 15 Days | XL Axiata |
*Note on Holafly: While advertised as 'unlimited', these plans typically have a daily high-speed data cap, after which speeds are reduced. Always read the fine print. For more on Holafly and their value, check out my brutally honest take: Holafly İndirim Kodları 2026: Değer mi, Yoksa Daha Ucuza eSIM Var mı?
My personal go-to is usually a Cellesim plan for its balance of cost and reliable network access. For a Thanksgiving 2026 trip, a 10GB plan for 15 days should cover most budget travelers, especially if you're strategic about using Wi-Fi at your hostel or cafes. If you need more data, it's often more economical to buy a larger plan upfront than to top up multiple times.
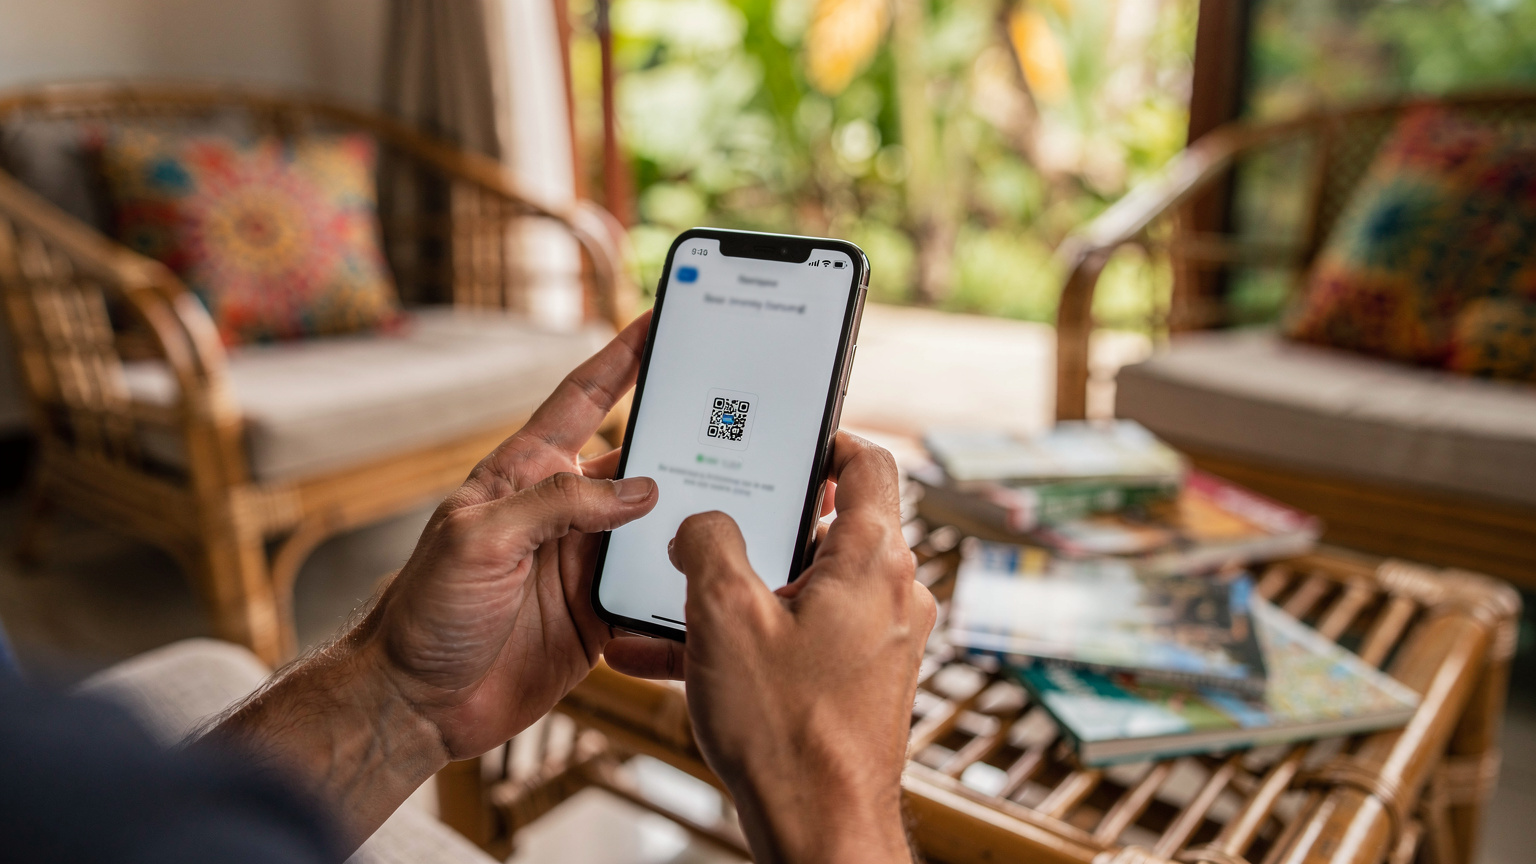
How to Activate Your Indonesia eSIM: Step-by-Step
Activating an eSIM is straightforward, but it's crucial to do it right. Here's my standard procedure, which has saved me headaches at countless border crossings:
- Purchase Your eSIM Before Departure: Buy your Indonesia eSIM plan online from Cellesim (or your chosen provider) while you're still in France. You'll receive a QR code and activation instructions via email. Do this a few days before you fly, not in the airport lounge.
- Download the eSIM Profile: On an iPhone (or Android equivalent), go to Settings > Cellular > Add eSIM. Choose 'Use QR Code' and scan the code you received. Make sure you're connected to Wi-Fi when you do this. Your phone will download the eSIM profile.
- Label Your eSIM: Immediately label your new eSIM line something clear, like 'Indonesia Data' or 'Bali eSIM'. This helps avoid confusion with your primary EE line.
- Disable Your Primary Data Roaming: This is critical. Before you land in Indonesia, go to your phone's cellular settings and turn off 'Data Roaming' for your EE primary SIM. This prevents any accidental charges.
- Set eSIM as Primary Data Line: Once you've landed in Indonesia (or even just before takeoff if you're feeling brave), switch your 'Cellular Data' option to your 'Indonesia Data' eSIM. Keep your EE line active for calls and texts if needed, but ensure data is off.
- Test Your Connection: As soon as you land and turn off airplane mode, check your internet connection. Open a browser or a mapping app. If it's working, you're golden. If not, try restarting your phone or double-checking your APN settings (though this is rare with most eSIMs).
This process takes literally two minutes on an iPhone once you have the QR code. It's far less stressful than trying to find a SIM card vendor after a long flight, especially if you're landing at Ngurah Rai late at night.
Border-Crossing Data Hacks and Unexpected Costs
Border crossings, especially in Southeast Asia, can be tricky for connectivity. I've learned a few things the hard way, and these tactical tips will save you grief (and euros).
When crossing borders, particularly if you're island-hopping or moving between different regions within Indonesia, always assume your data might drop for a short period. This is normal. Having an activated eSIM before you land gives you a massive advantage because you're not reliant on finding a local SIM vendor immediately.
Land Borders and Island Hopping: If you're planning a trip that involves land travel from, say, Malaysia to Sumatra, or ferry rides between Bali and Lombok, understand that network coverage can be spotty. An eSIM that relies on a strong national carrier like Telkomsel is usually your best bet. Some smaller islands, like Nusa Lembongan or the Gilis, might have fewer towers, meaning slower speeds or occasional drops. I always download offline maps for these areas as a backup.
Unexpected Data Drainers: Even with an eSIM, watch out for apps running in the background. Social media, especially video-heavy platforms like TikTok or Instagram, will chew through data faster than a street dog on a dropped nasi goreng. Set data limits on these apps in your phone settings. Also, automatic cloud backups for photos can be a huge drain. Only do these over Wi-Fi. (I once blew through 5GB in a day because I forgot to turn off photo syncing.)
Free Wi-Fi: A Double-Edged Sword: Most hostels, cafes, and even some public areas in Indonesia offer free Wi-Fi. Use it! Download maps, check emails, do video calls. But be aware of security risks. Public Wi-Fi is rarely secure. Use a VPN if you're accessing sensitive information. Also, some free Wi-Fi networks require a local phone number for verification, which is another reason an active eSIM or local SIM is handy.
Currency Conversion and Hidden Fees: When purchasing local SIM cards or topping up, pay attention to the exchange rate. Small shops might round up in their favor. Using your card from France can incur foreign transaction fees. Always try to pay in local currency (IDR) and be aware of your bank's charges. For eSIMs, the price is set in euros, so you know exactly what you're paying upfront, no surprises.
The Thanksgiving Effect: Travel around popular holidays like Thanksgiving 2026 can mean more people, more strain on networks, and potentially fewer staff at local SIM kiosks. Pre-ordering an eSIM eliminates this seasonal stress, allowing you to focus on your holiday instead of chasing connectivity.
Bottom Line for Your Indonesia Trip in 2026
When you're packing your bags in France for Indonesia, the smart money is on an eSIM. My €280 data bill for 8 days was a hard lesson, mostly from relying on expensive roaming in a pinch and mismanaging a local SIM purchase. You can easily cut that down to €35-€50 for a solid 10GB-15GB plan, which is more than enough for most budget travelers on an 8-10 day trip.
Ditch the EE day pass. It's a trap. While a local physical SIM can be slightly cheaper, the hassle and potential for activation issues often outweigh the savings. An eSIM offers instant connectivity the moment you land, keeps your home SIM active, and provides predictable costs. For a country as vast and beautiful as Indonesia, you want to focus on the experience, not on hunting for Wi-Fi or worrying about your data bill. Get your eSIM sorted before you leave, label it clearly, and enjoy those Indonesian sunsets without connectivity stress.
Frequently Asked Questions
What is the cheapest way to get data in Indonesia for a short trip?
The absolute cheapest option is usually a local physical SIM card purchased from an official Telkomsel, XL Axiata, or Indosat Ooredoo store in a major city, not at the airport. You might pay around 100,000-150,000 IDR (€6-€9) for 10-15GB. However, this requires passport registration and can take time to activate, making it less convenient than an eSIM.
Can I use my EE roaming plan in Indonesia without huge costs?
No, your EE roaming plan will likely incur significant costs in Indonesia. Day passes can easily run €15-€20 per day, quickly adding up to hundreds of euros for even a short trip. It's far more economical to purchase a dedicated eSIM or local SIM for your data needs in Indonesia.
How much data do I really need for 8 days in Indonesia?
For 8 days of active travel with navigation, social media, and some light video calls, I recommend at least 10GB of data. This averages out to about 1.25GB per day. If you plan on streaming more video or working remotely, consider a 15-20GB plan or look for an eSIM that allows easy top-ups.
What's the best local network in Indonesia for an eSIM?
Telkomsel generally offers the best and most widespread coverage across Indonesia, including many smaller islands. When choosing an eSIM, check if they partner with Telkomsel or XL Axiata, as these are typically the most reliable options for consistent connectivity throughout the archipelago.
Should I activate my eSIM before leaving France or when I land in Indonesia?
You should purchase your eSIM before leaving France and download the profile while connected to Wi-Fi at home or at the airport. You can then activate it (switch your data line to the eSIM) either just before takeoff or immediately after landing in Indonesia. This ensures you have instant connectivity upon arrival without fumbling around.