


Understand data roaming in 2026 and how to avoid high fees. Learn about eSIMs as the smart alternative for Cellesim travelers. Stay connected affordab...
Country
A-B
C-E
F-H
I-Z
Instant Activation
High Internet Speeds
Hotspot Sharing
No Hidden Charges

Belgium
FROM $3.19
5G
Network Provider:
Base, ORANGE Belgium, Orange
- 23 plan options available
- 5G and hotspot-enabled
- Activation within 2 mins
- 24x7 Customer Service
- 100% Money-back Guarantee

Brazil
FROM $3.90
5G
Network Provider:
Claro, TIM, TIM Brasil
- 26 plan options available
- 5G and hotspot-enabled
- Activation within 2 mins
- 24x7 Customer Service
- 100% Money-back Guarantee
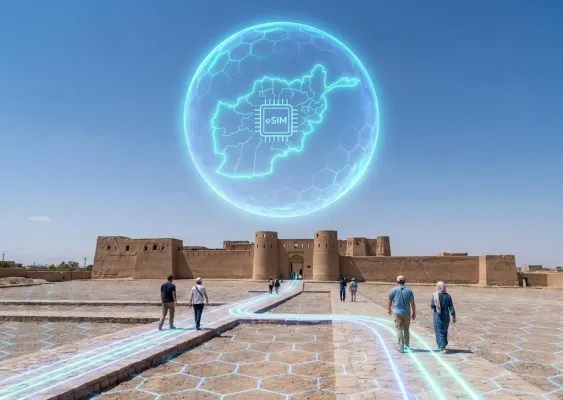
Afghanistan
FROM $8.90
4G
Network Provider:
Afghan Wireless Afghanistan, Etisalat, Roshan Afghanistan
- 4 plan options available
- 5G and hotspot-enabled
- Activation within 2 mins
- 24x7 Customer Service
- 100% Money-back Guarantee

Albania
FROM $3.99
5G
Network Provider:
ALBTelecom, One Albania, Vodafone
- 22 plan options available
- 5G and hotspot-enabled
- Activation within 2 mins
- 24x7 Customer Service
- 100% Money-back Guarantee

Algeria
FROM $3.90
4G
Network Provider:
Mobilis, Ooredoo
- 6 plan options available
- 5G and hotspot-enabled
- Activation within 2 mins
- 24x7 Customer Service
- 100% Money-back Guarantee

Andorra
FROM $6.90
5G
Network Provider:
Andorra Telecom, Mobiland
- 20 plan options available
- 5G and hotspot-enabled
- Activation within 2 mins
- 24x7 Customer Service
- 100% Money-back Guarantee

Anguilla
FROM $9.99
4G
Network Provider:
Flow Anguilla
- 18 plan options available
- 5G and hotspot-enabled
- Activation within 2 mins
- 24x7 Customer Service
- 100% Money-back Guarantee
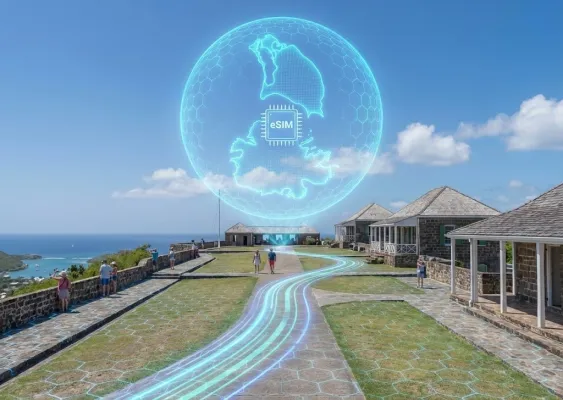
Antigua and Barbuda
FROM $8.90
4G
Network Provider:
FLOW, Flow Antigua & Barbuda
- 24 plan options available
- 5G and hotspot-enabled
- Activation within 2 mins
- 24x7 Customer Service
- 100% Money-back Guarantee

Argentina
FROM $4.90
4G
Network Provider:
Claro, Movistar, Movistar Argentina
- 28 plan options available
- 5G and hotspot-enabled
- Activation within 2 mins
- 24x7 Customer Service
- 100% Money-back Guarantee

Armenia
FROM $4.90
5G
Network Provider:
Telecom Armenia, VivaCell, Vivacell
- 26 plan options available
- 5G and hotspot-enabled
- Activation within 2 mins
- 24x7 Customer Service
- 100% Money-back Guarantee

Australia
FROM $3.19
5G
Network Provider:
Optus, Telstra, Vodafone
- 29 plan options available
- 5G and hotspot-enabled
- Activation within 2 mins
- 24x7 Customer Service
- 100% Money-back Guarantee

Austria
FROM $3.15
5G
Network Provider:
3, A1 Austria, Drei Austria
- 22 plan options available
- 5G and hotspot-enabled
- Activation within 2 mins
- 24x7 Customer Service
- 100% Money-back Guarantee
Region


Instant Activation
High Internet Speeds
Hotspot Sharing
No Hidden Charges
Africa (29 Countries)
FROM $12.49
5G
Network Provider:
Airtel, AirtelTigo, Cell C
- 3 plan options available
- 5G and hotspot-enabled
- Activation within 2 mins
- 24x7 Customer Service
- 100% Money-back Guarantee
Asia (20 Countries)
FROM $5.99
5G
Network Provider:
3, AirTel, CTM
- 6 plan options available
- 5G and hotspot-enabled
- Activation within 2 mins
- 24x7 Customer Service
- 100% Money-back Guarantee
Australia & New Zealand
FROM $3.99
5G
Network Provider:
Optus, Spark
- 5 plan options available
- 5G and hotspot-enabled
- Activation within 2 mins
- 24x7 Customer Service
- 100% Money-back Guarantee
Balkans (5+ areas)
FROM $4.49
5G
Network Provider:
A1, T-Mobile, Tele2
- 5 plan options available
- 5G and hotspot-enabled
- Activation within 2 mins
- 24x7 Customer Service
- 100% Money-back Guarantee
Caribbean (24 Countries)
FROM $9.49
5G
Network Provider:
Altice, Antel, Claro
- 4 plan options available
- 5G and hotspot-enabled
- Activation within 2 mins
- 24x7 Customer Service
- 100% Money-back Guarantee
Central Asia (5 Countries)
FROM $3.99
4G
Network Provider:
Beeline, Hutch, Jazz
- 4 plan options available
- 5G and hotspot-enabled
- Activation within 2 mins
- 24x7 Customer Service
- 100% Money-back Guarantee
China (Mainland, HK, Macao)
FROM $3.49
5G
Network Provider:
CTM, China Unicom, csl
- 7 plan options available
- 5G and hotspot-enabled
- Activation within 2 mins
- 24x7 Customer Service
- 100% Money-back Guarantee
Europe (42+ Countries)
FROM $4.89
5G
Network Provider:
3, 7acht, A1
- 5 plan options available
- 5G and hotspot-enabled
- Activation within 2 mins
- 24x7 Customer Service
- 100% Money-back Guarantee
South America (17 Countries)
FROM $8.99
5G
Network Provider:
Antel, Claro, Digicel
- 4 plan options available
- 5G and hotspot-enabled
- Activation within 2 mins
- 24x7 Customer Service
- 100% Money-back Guarantee
Middle East (11 Countries)
FROM $9.99
5G
Network Provider:
Bakcell, Beeline, Etisalat
- 3 plan options available
- 5G and hotspot-enabled
- Activation within 2 mins
- 24x7 Customer Service
- 100% Money-back Guarantee
North America (3 Countries)
FROM $4.49
5G
Network Provider:
AT&T, Bell, Movistar
- 6 plan options available
- 5G and hotspot-enabled
- Activation within 2 mins
- 24x7 Customer Service
- 100% Money-back Guarantee
Global eSIM Plan (127 Countries)
FROM $12.99
5G
Network Provider:
3, 7acht, A1
- 5 plan options available
- 5G and hotspot-enabled
- Activation within 2 mins
- 24x7 Customer Service
- 100% Money-back Guarantee